
- Added to stash: 2022
- Built: 2022
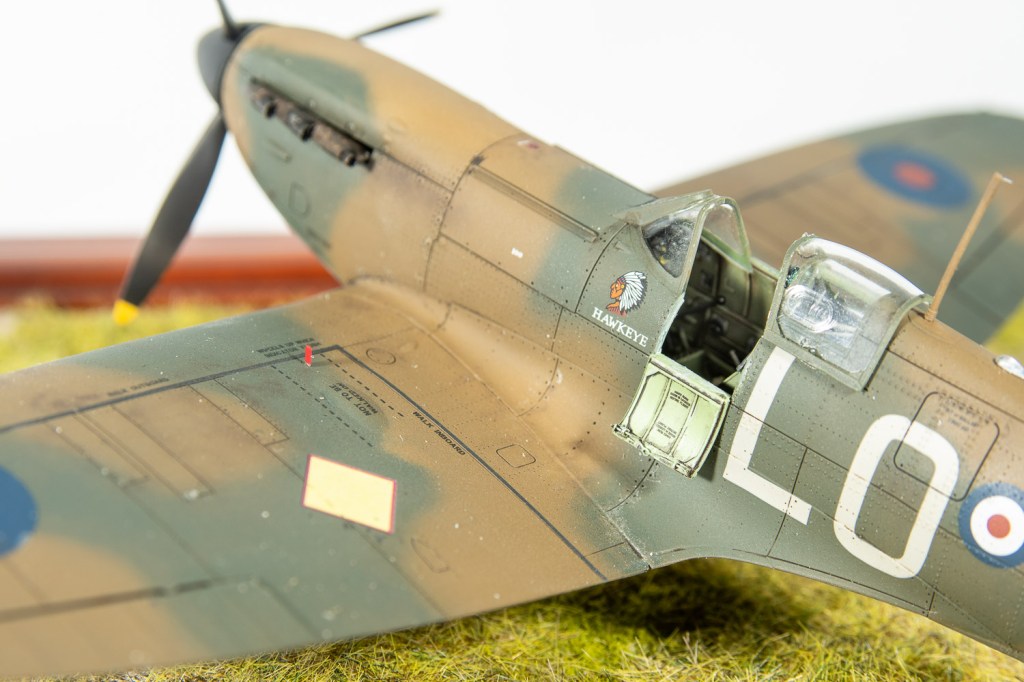
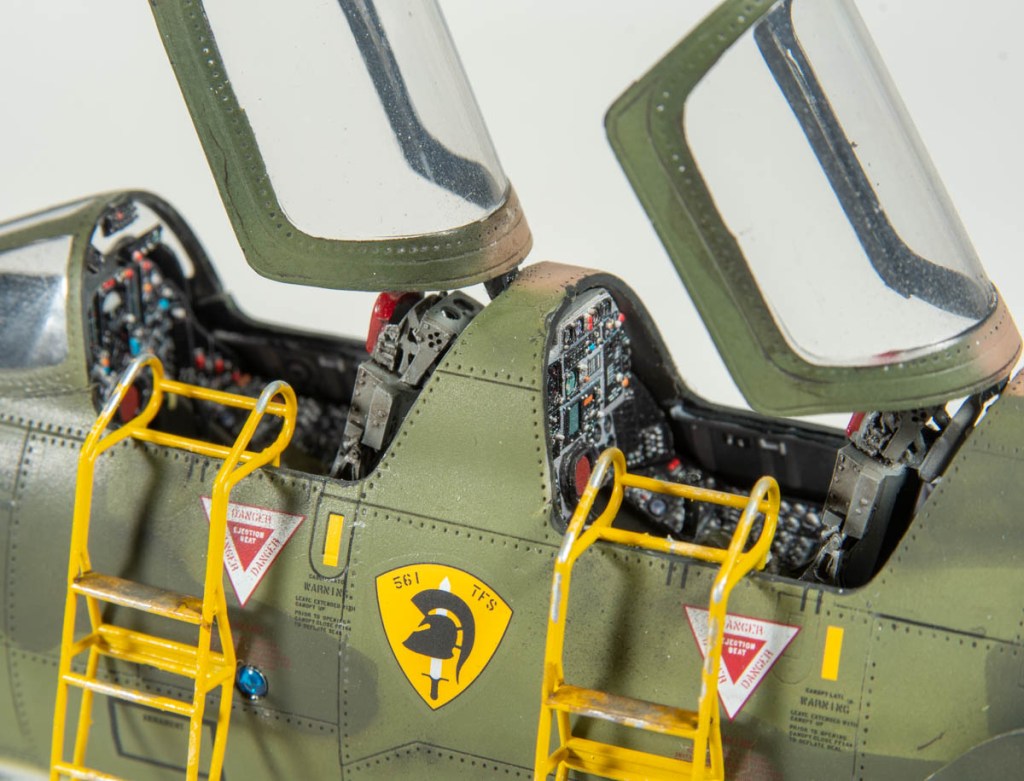
- Enhancements: Seat belts- Eduard
- Decals: Combination of kit and home made masks
There is not really much to say about the construction off this kit at all, it being virtually viceless
The model was purchased off Facebook along with the hasegawa Val, both fine examples of Hasegawa single engined Japanese WW2 aircraft dating from the early 2000s. Kits that have pretty much stood the test of time well, although some of the details could now be considered a bit clunky.
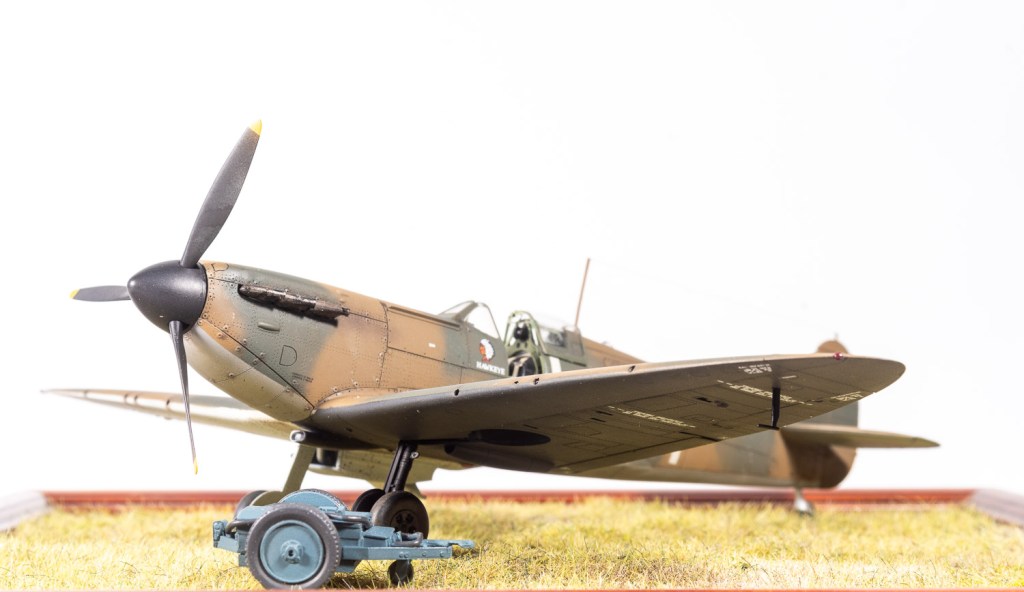
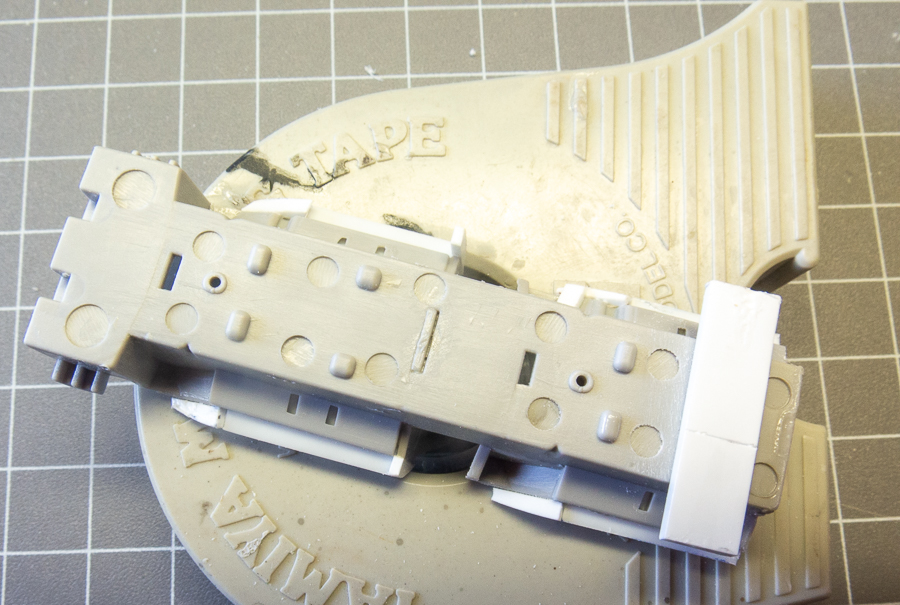
The only tweak made to the model was to insert a spreader bar of plastic to eliminate a wing root gap.
Aside from this, assembly was trouble free. The model was assembled with super glue in an effort to avoid ghost seams. The fact I still experienced some has left me on the fence about assembling kits with superglue. Certainly with this kit, it led to no advantage.
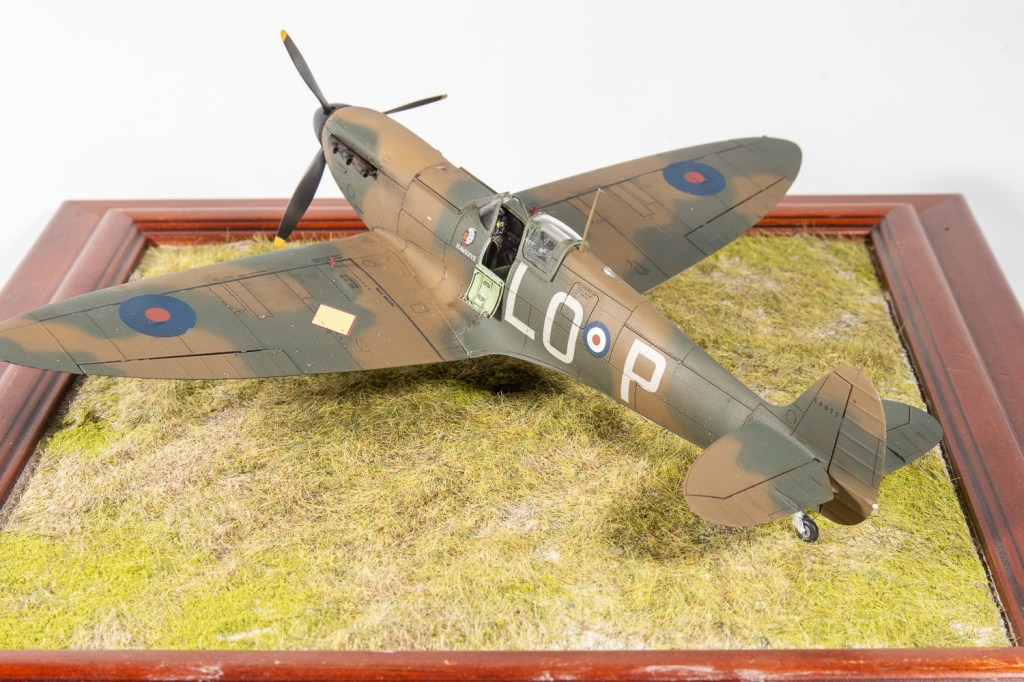
The intent behind this model was purely as a fun build and to test my airbrush skills whilst I waited for resin bits to arrive for my Meng Super Hornet build. As such, only PE seatbelts were added and I left it as a clean unweathered build. Given the simple shapes of the markings, the opportunity was taken to further learn how to use my silhouette machine. The decal sheet was scanned and the required decals traced out and cut from Oromask 810. This is certainly getting easier, the more I use the machine and software.
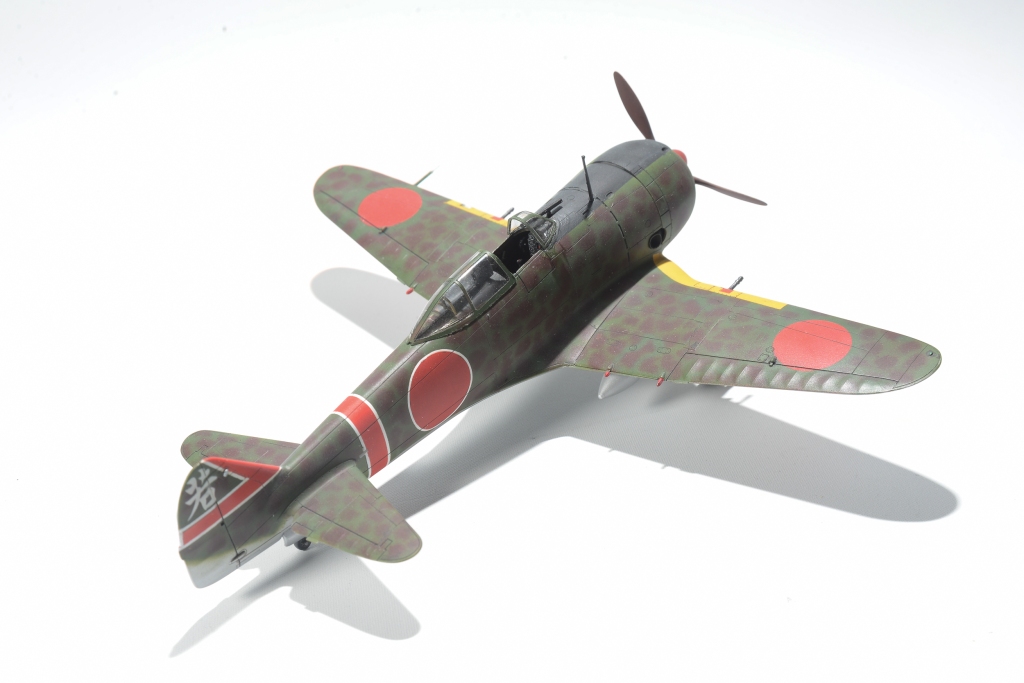
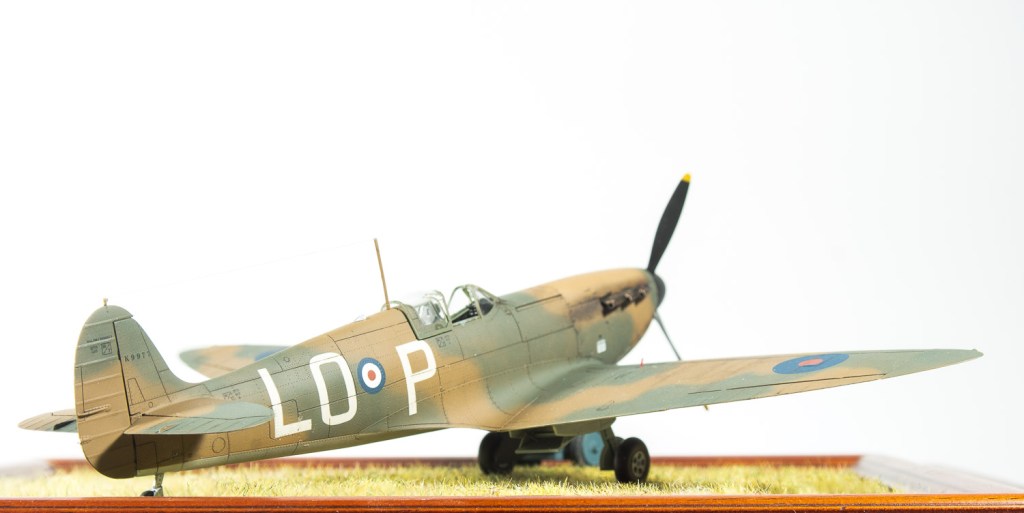
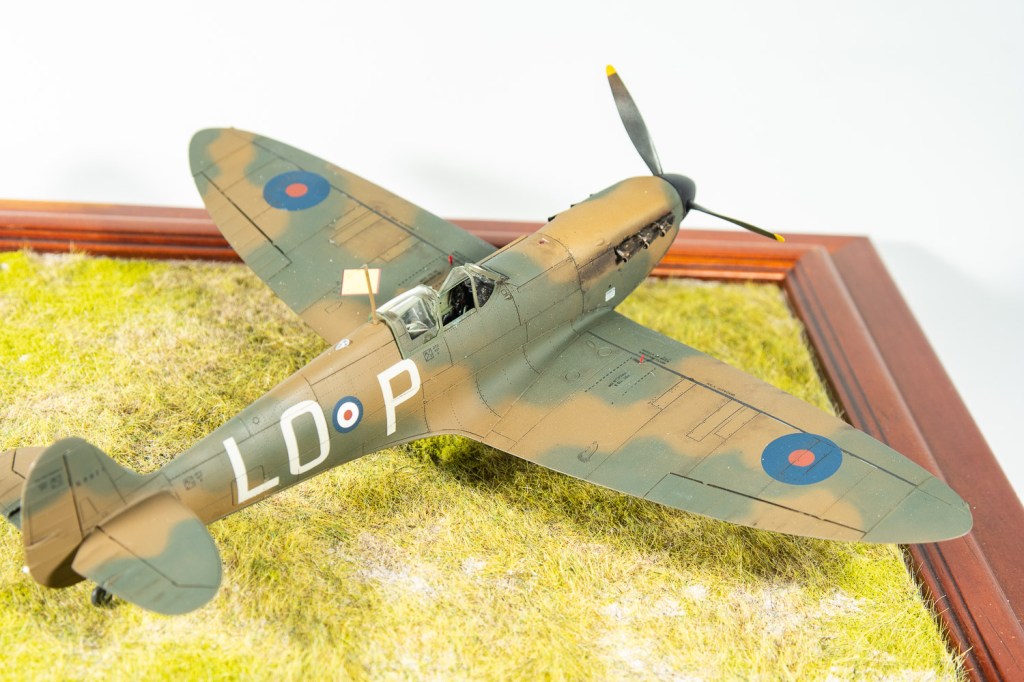
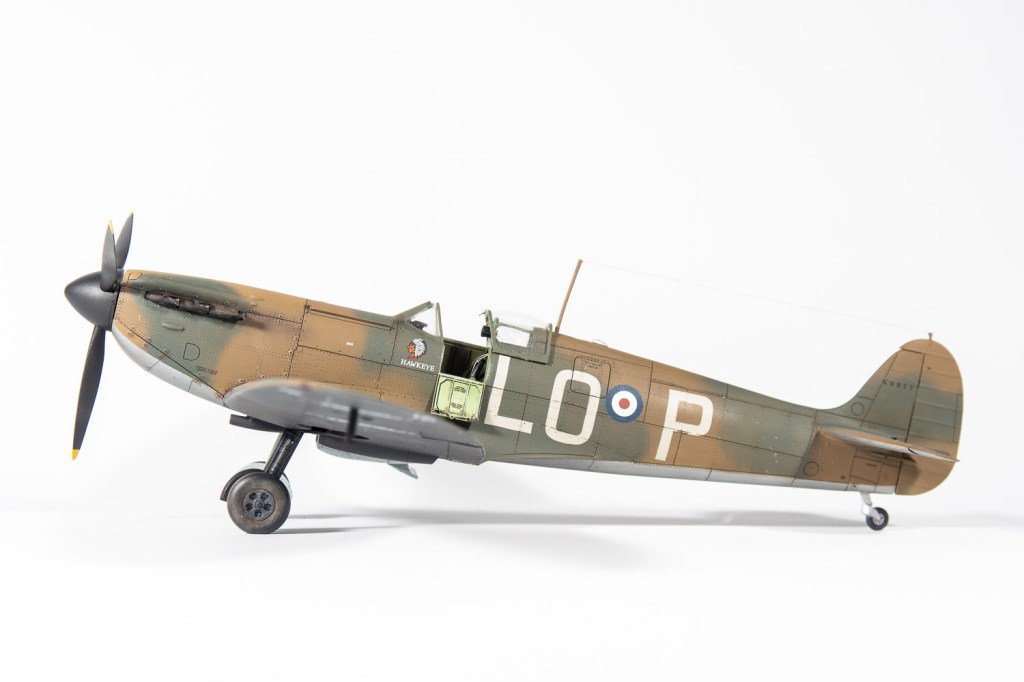
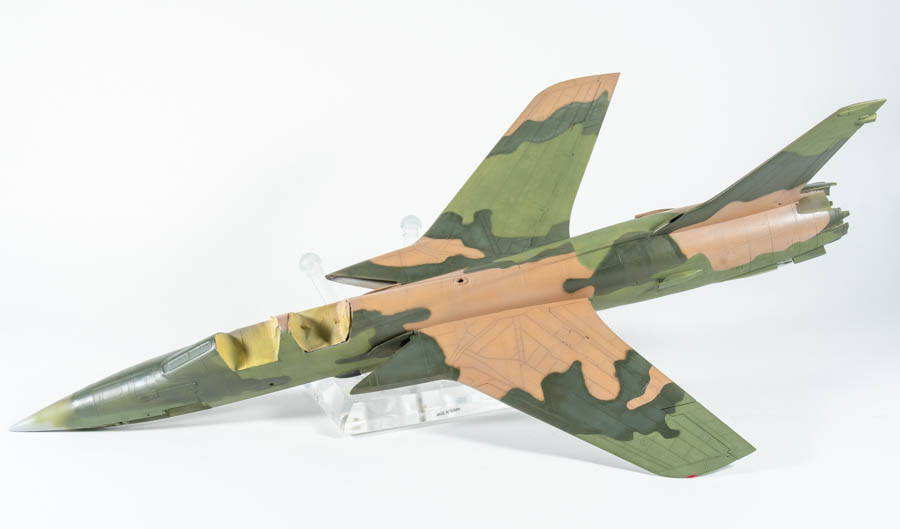
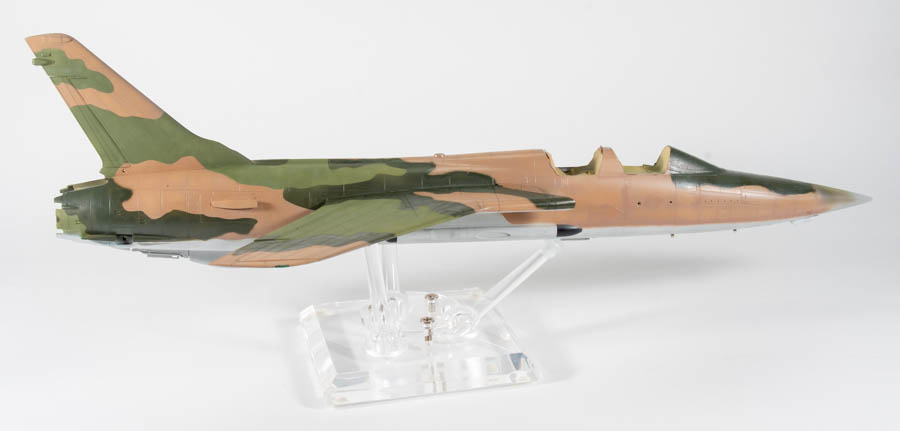
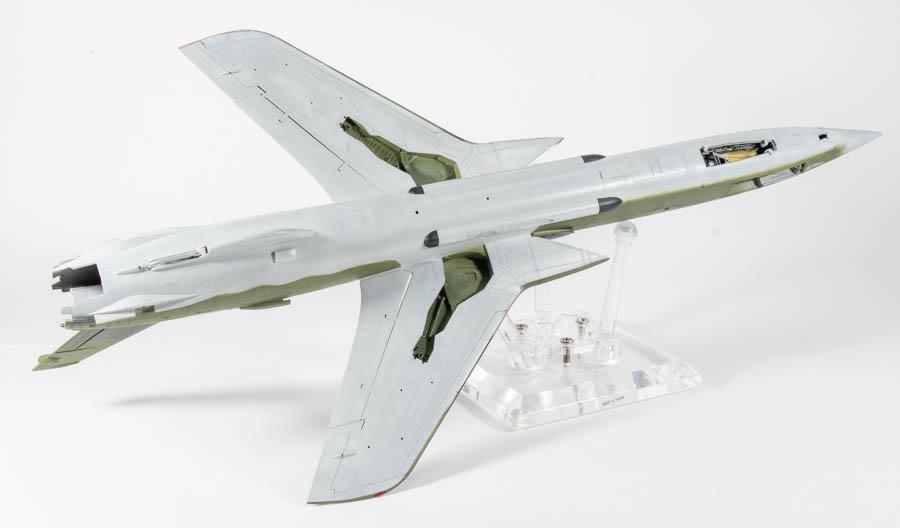
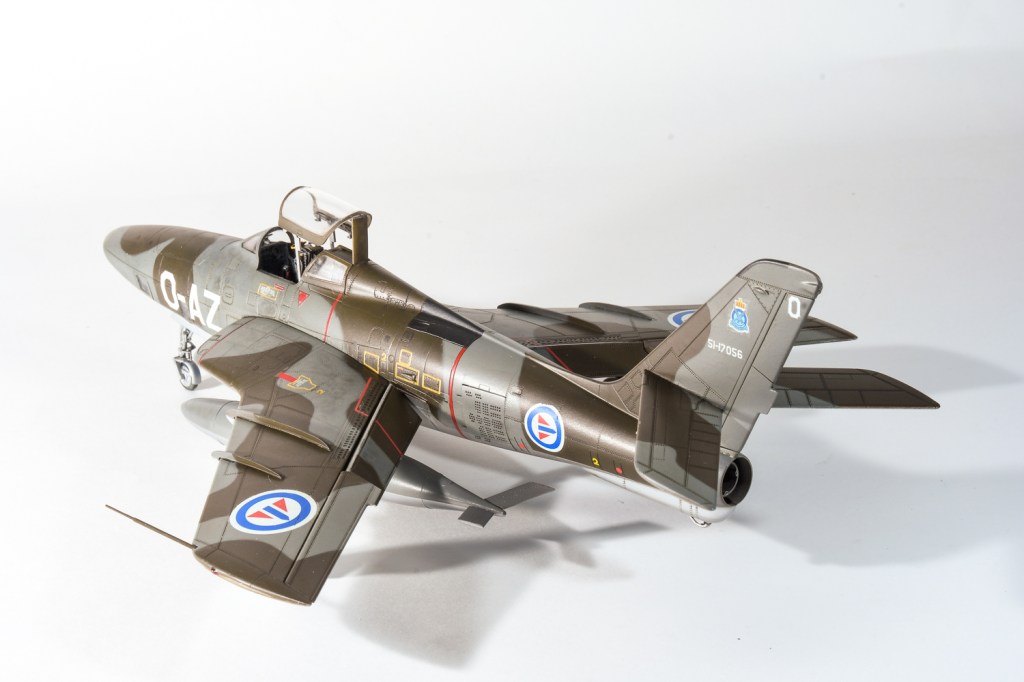
Undersides were painted in tamiya LP11 whilst upper surfaces were done using Mr Color nakajima green and a mix of tamiya acrylics to match the gunze colour “propeller colour” which is a dark brown. It took me two goes with my Iwata HP-C, the first being stripped back as the mottle did not look dense enough compared to the kit paint guide.
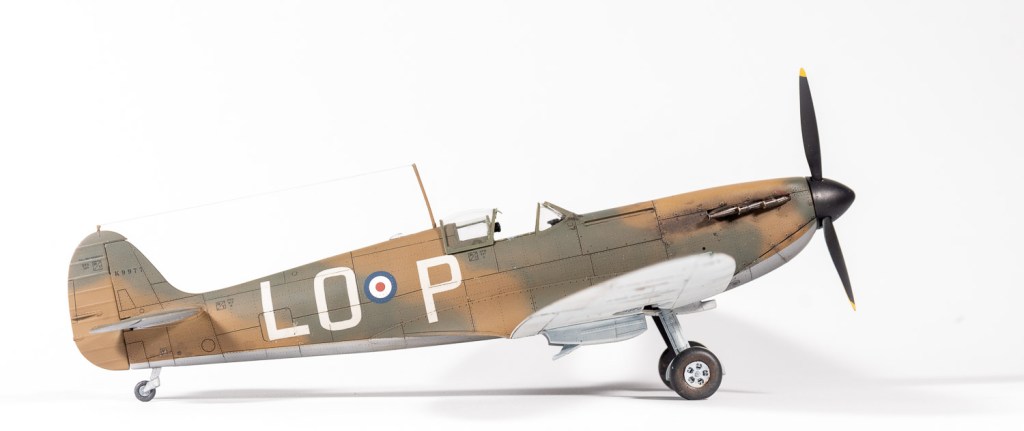
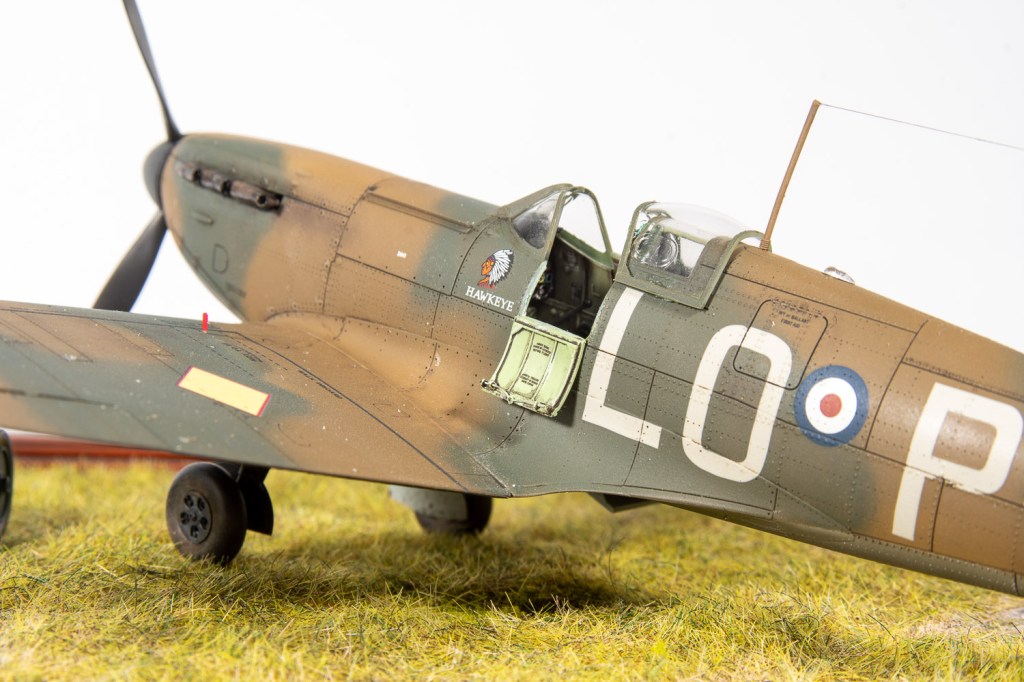
Yellow ID bands were gunze yellow with a bit of red added. Lastly the black anti glare panel was added before all the bits such as undercarriage, doors, tanks were glued on. Well, not all bits, the telescope sight managed to end up in that alternate universe a lot of plastic kit parts end up in. This necessitated a new one being made from some plastic rod and the windscreen being levered off to fit it. I never managed to get a clean fit on the windscreen again, so left it slightly wonky.
The Hasegawa Tojo was a fun little build. I didn’t get it done in the last week of my holidays as planned due to coming down with Covid, and its certainly not my best work, I mean look at that windscreen for gods sake! As a break from larger and more complicated builds though, it certainly was the required tonic. The big brother of this kit lives in my stash, and I wouldn’t mind doing this one in the box scheme from this kit with those striking blue bands.
Nakajima Ki44-II “tojo” 2nd Company 85th Flight Reg.
Imperial Japanese Army. China 1944


Leave a comment