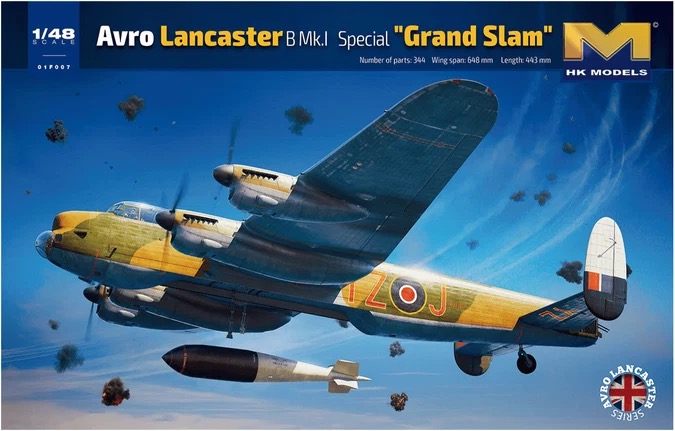
- Purchased; 2024
- Completed; 2026
- Enhancements;
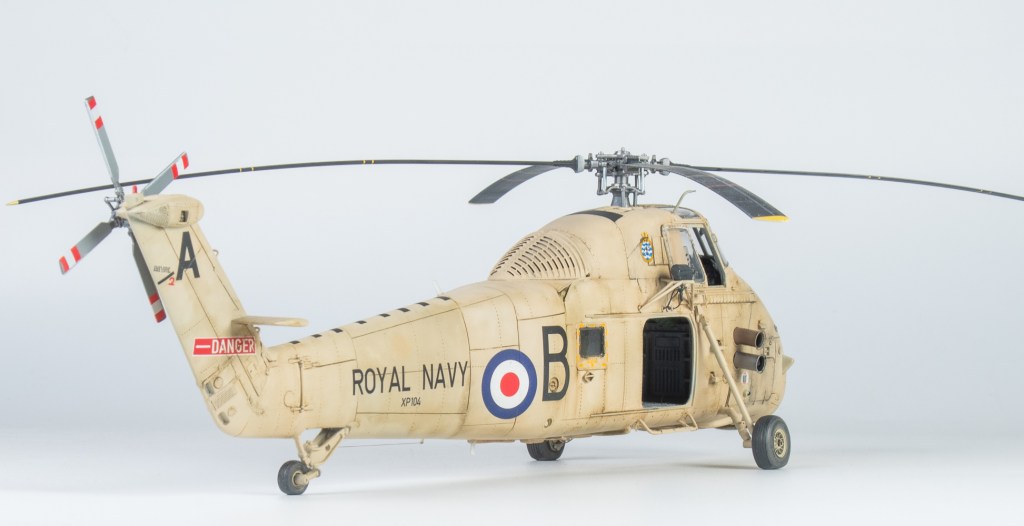
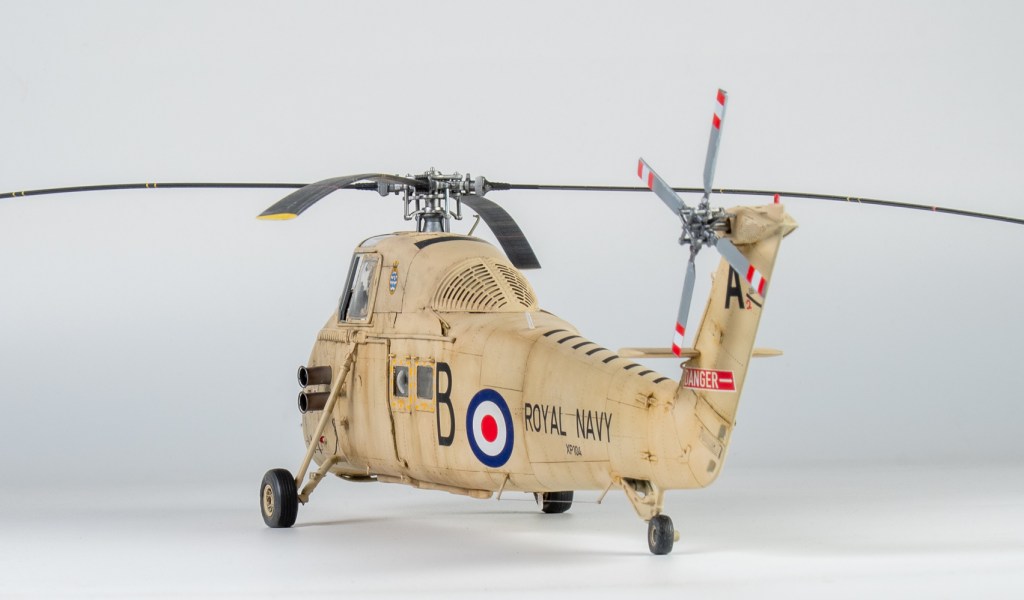
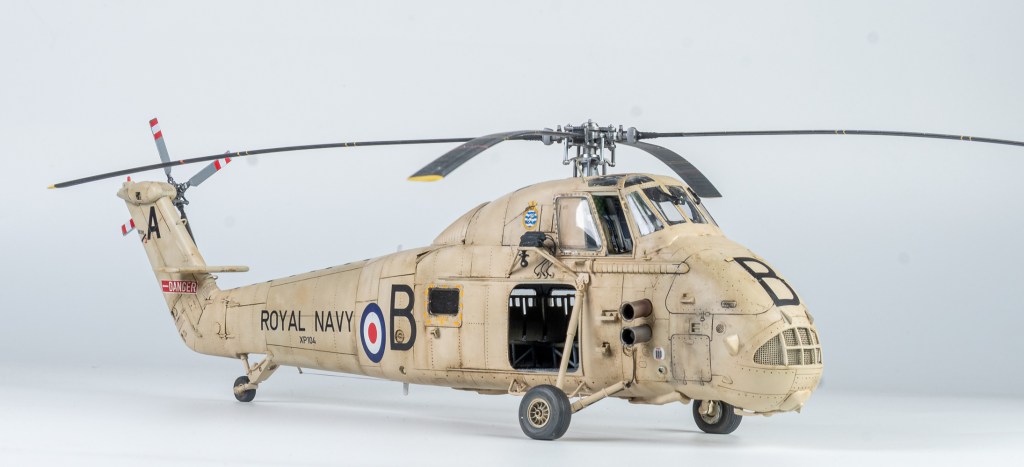
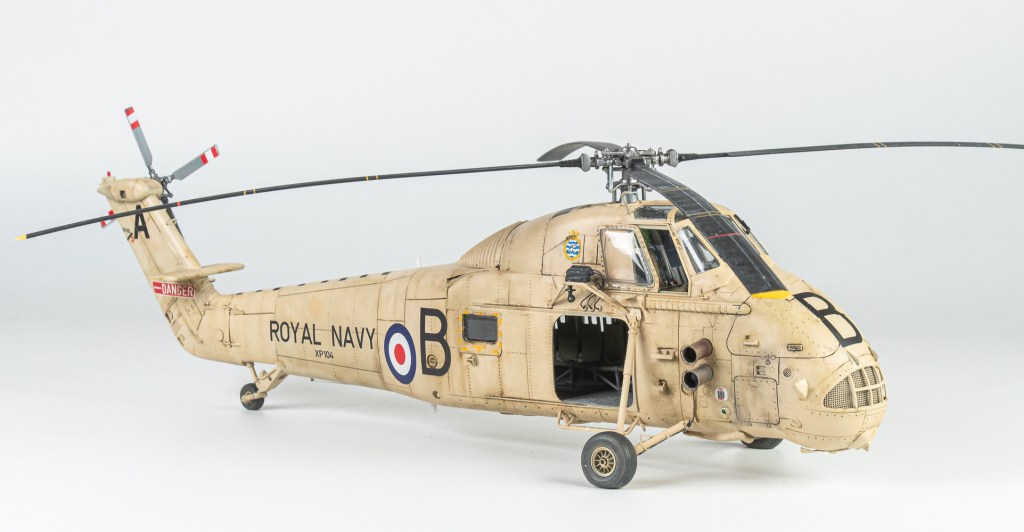
- Gun Barrels- Quickboost
- Exhausts-CMK
- Seat belts- Eduard
- Wheels- Armory
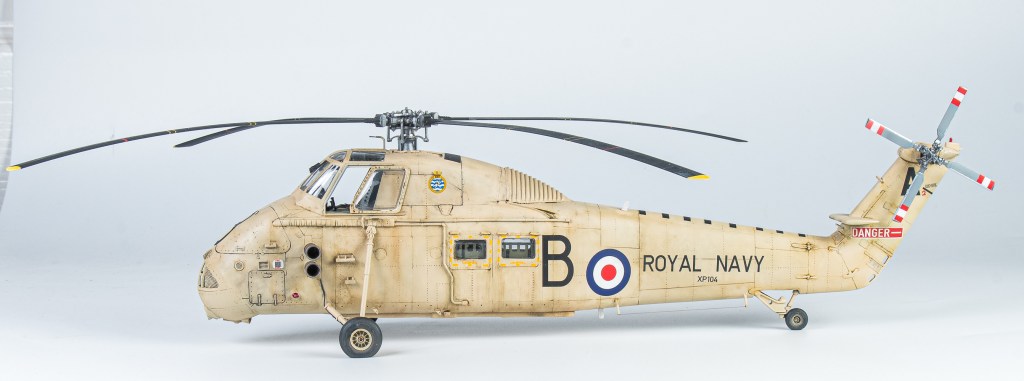
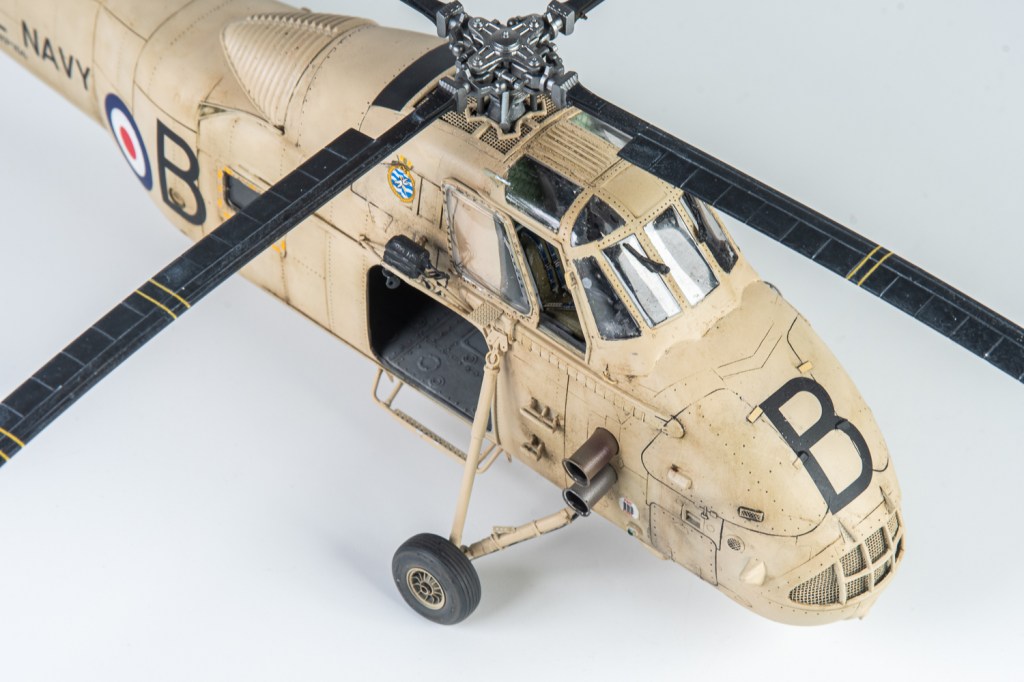
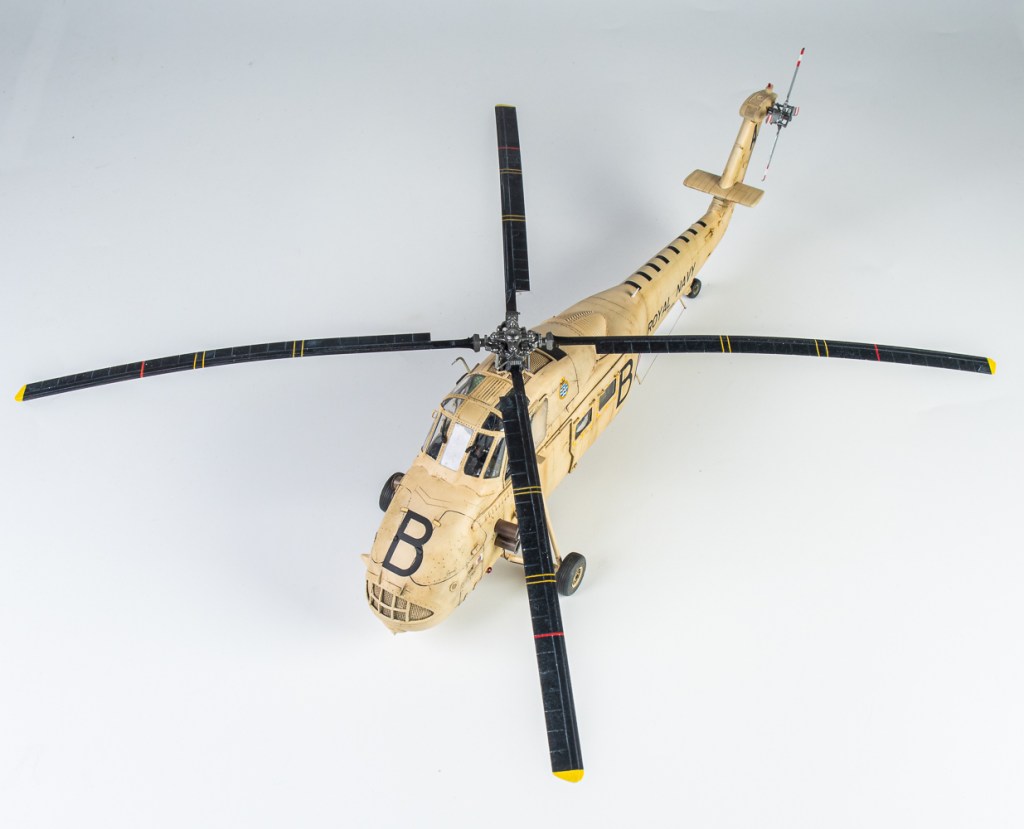
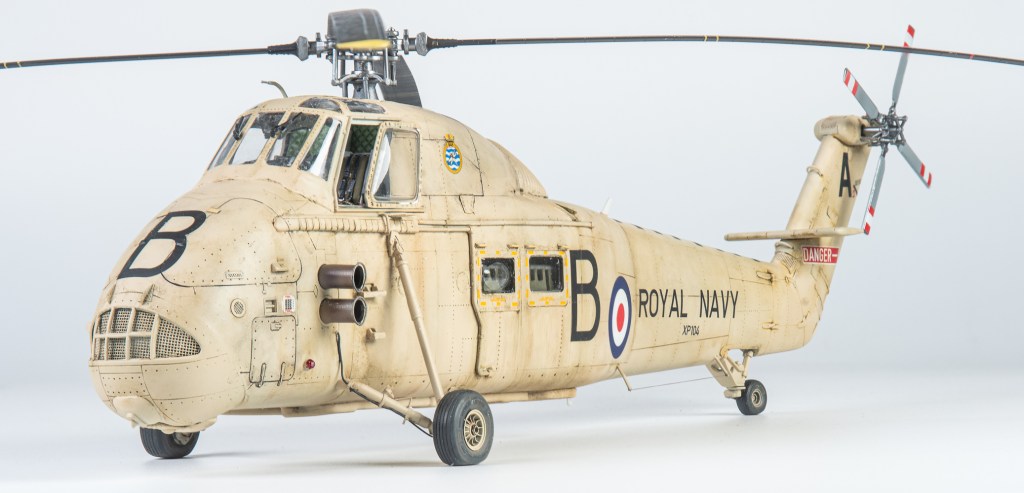
- Decals – combination of 1man Army and home made masks
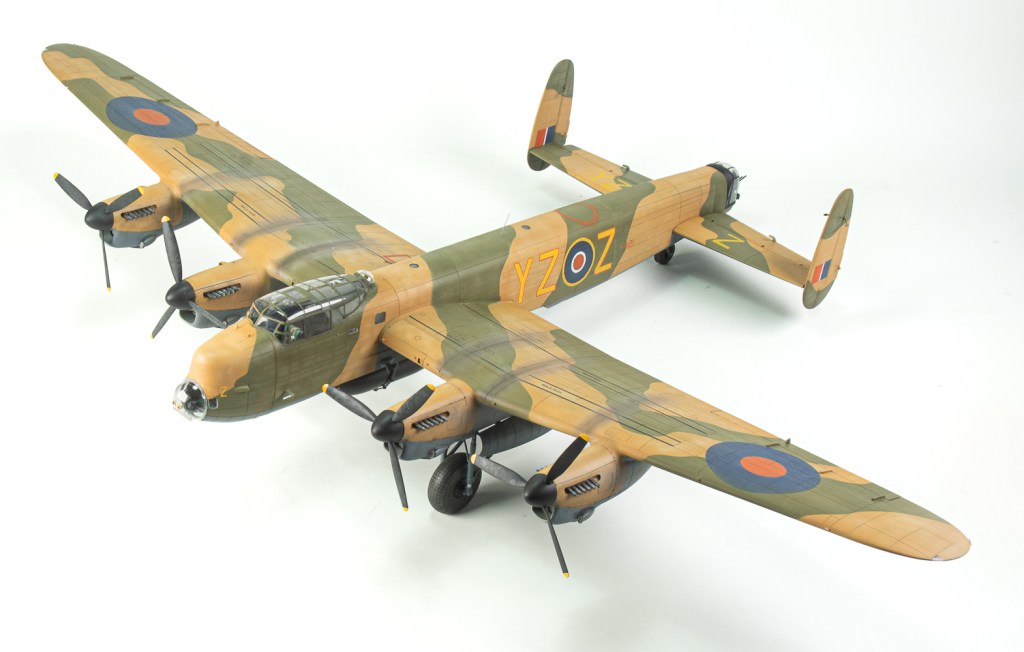
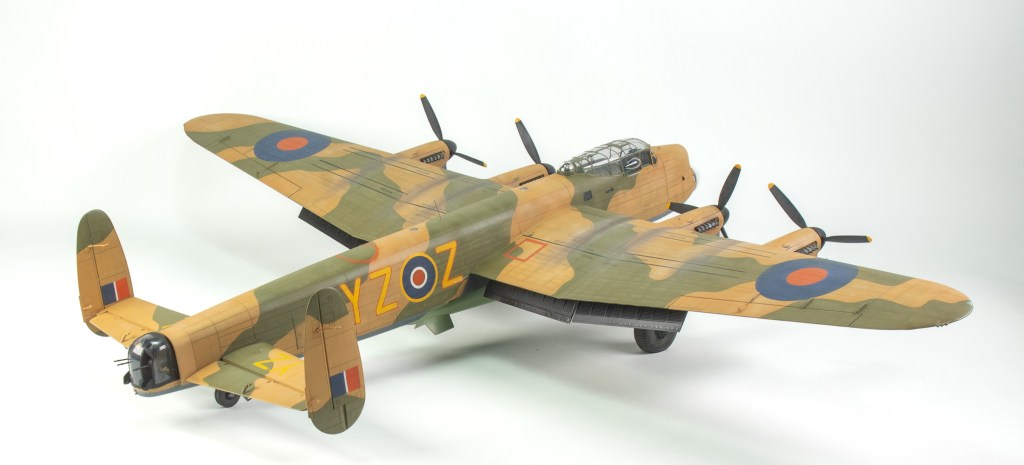
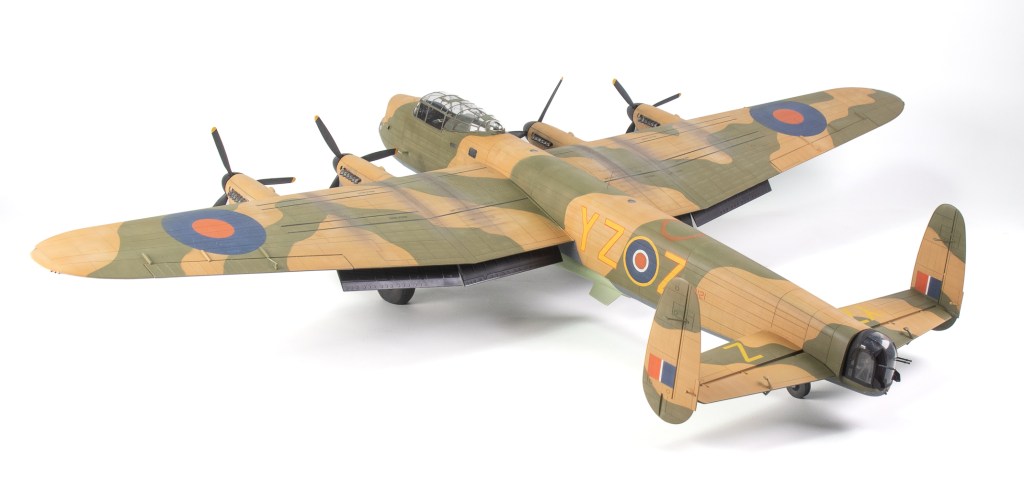
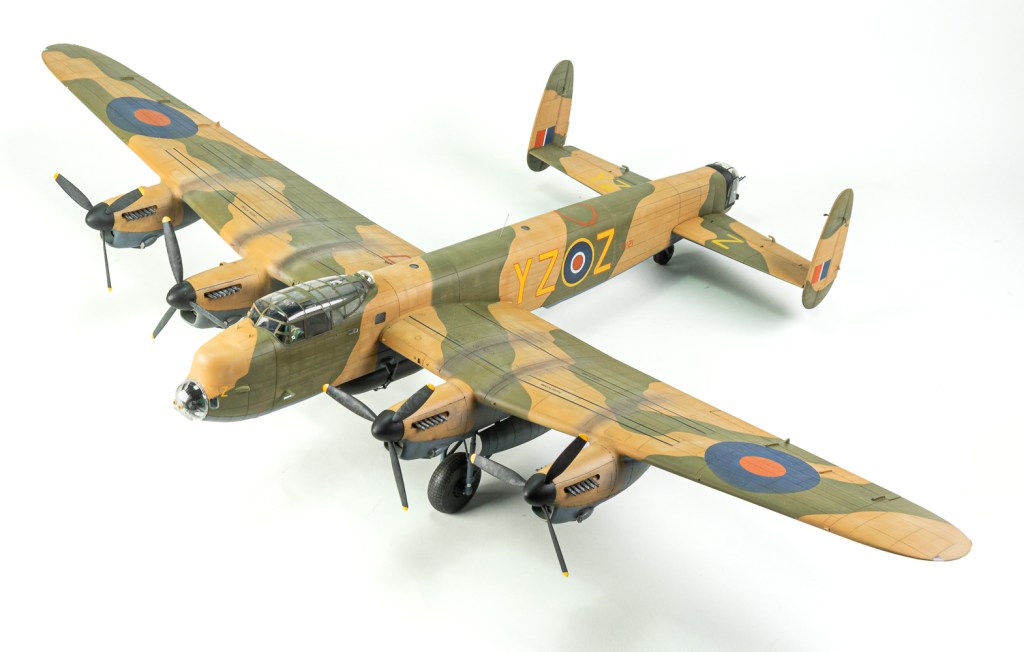
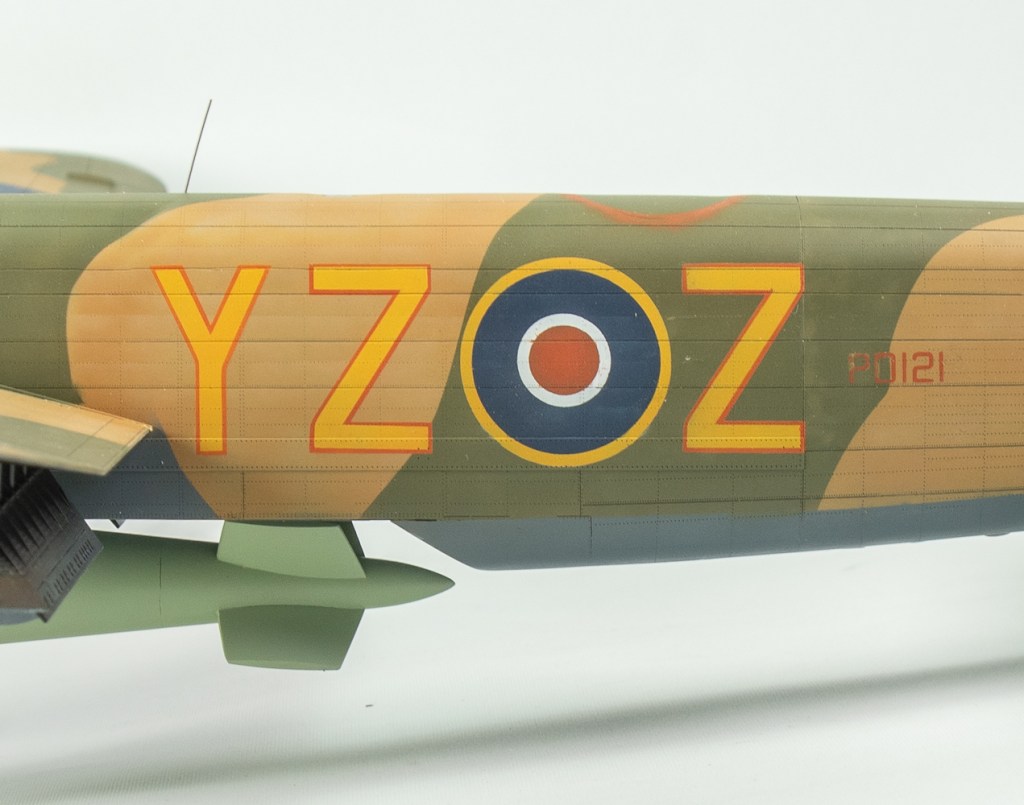
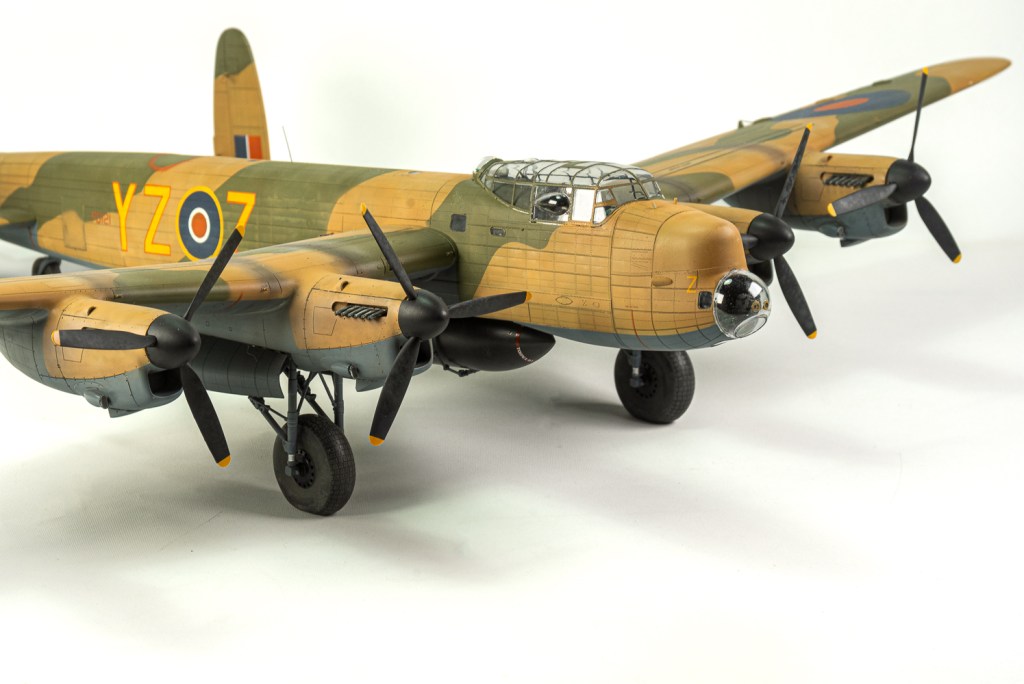
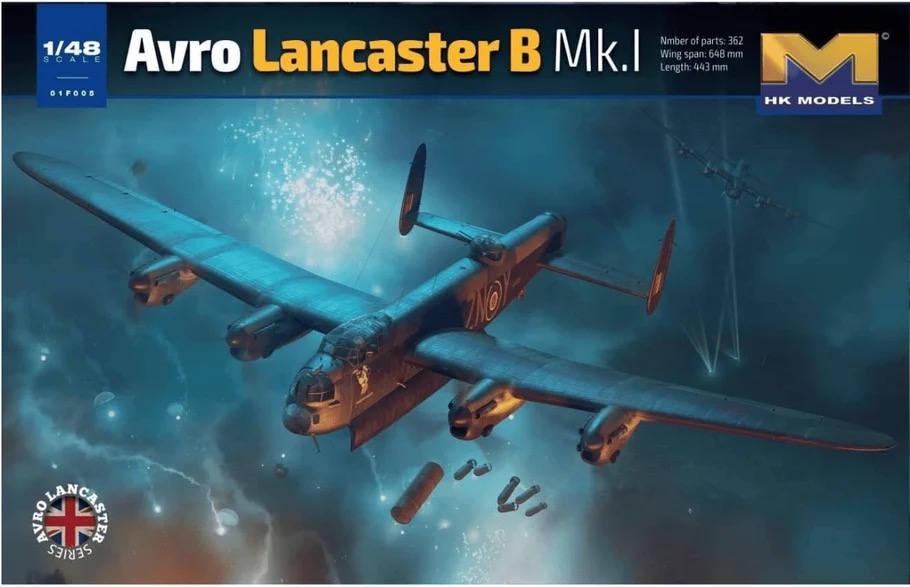
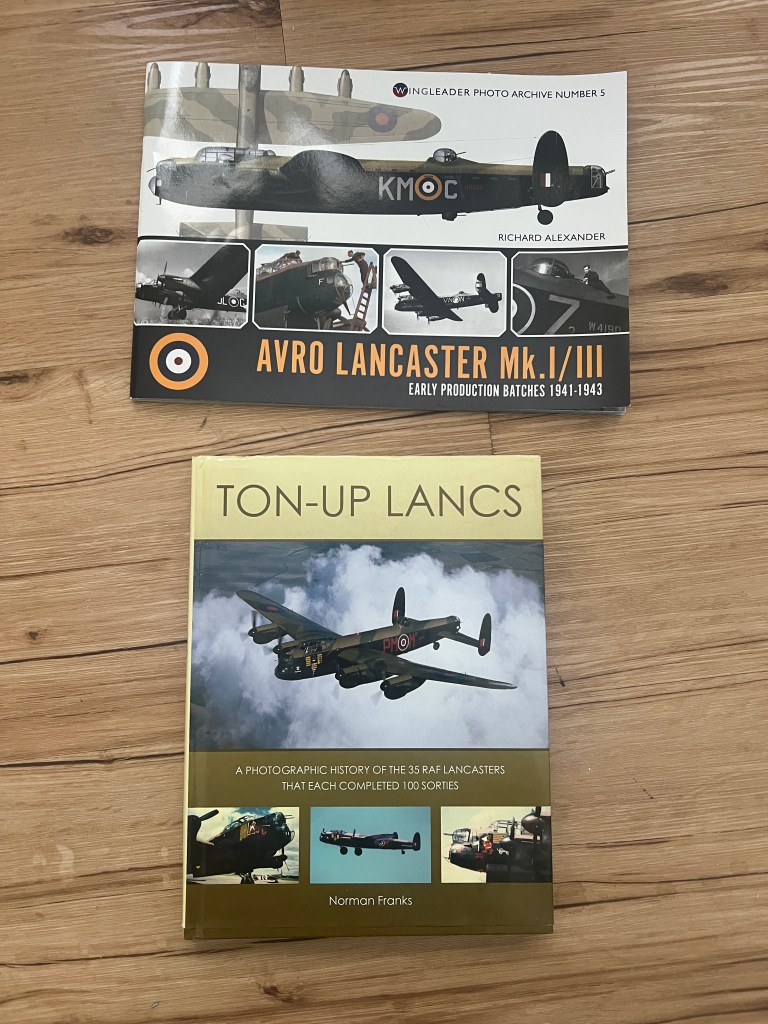
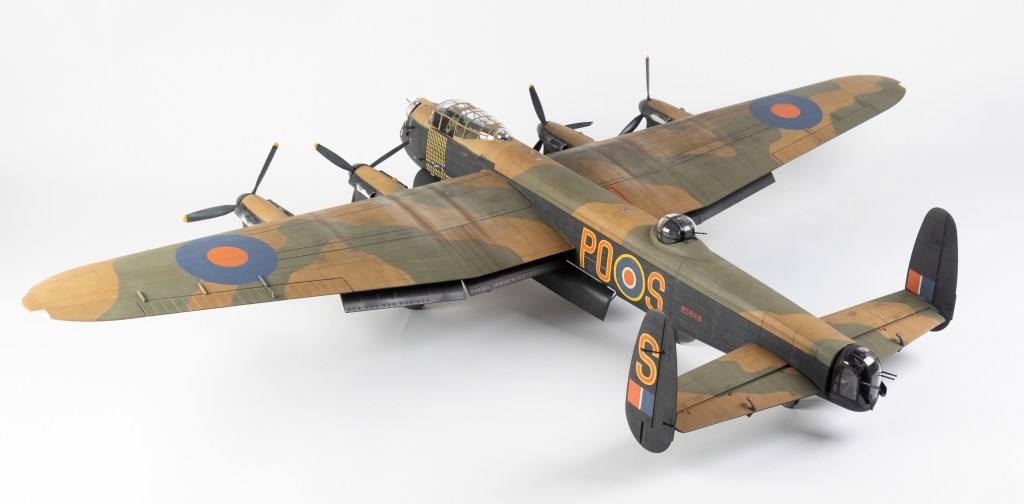
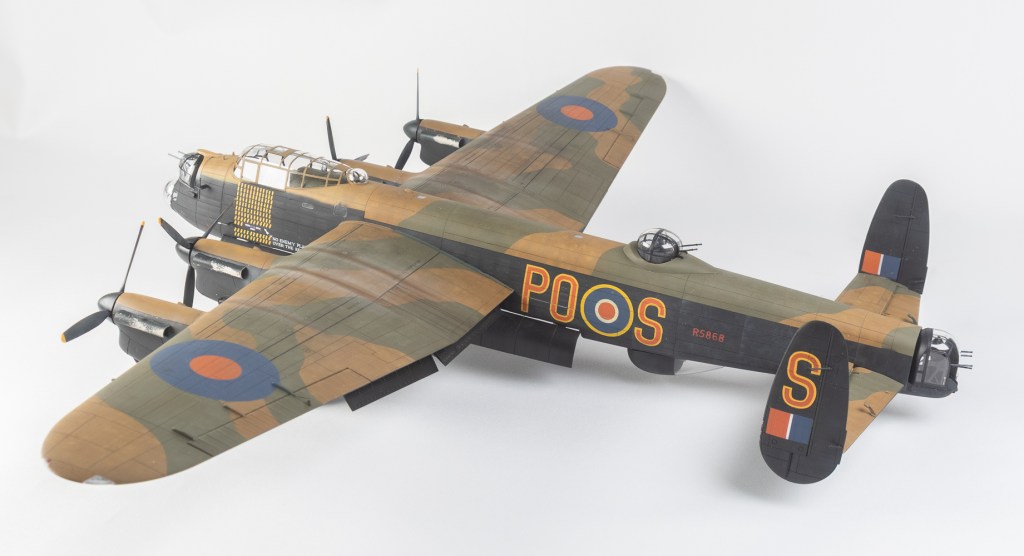
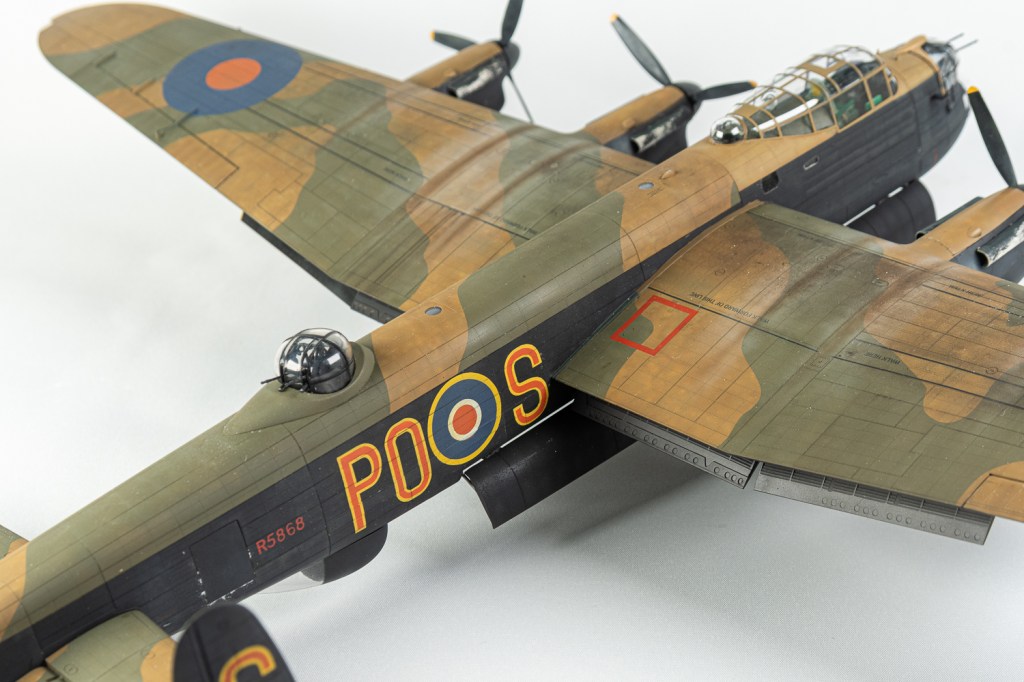
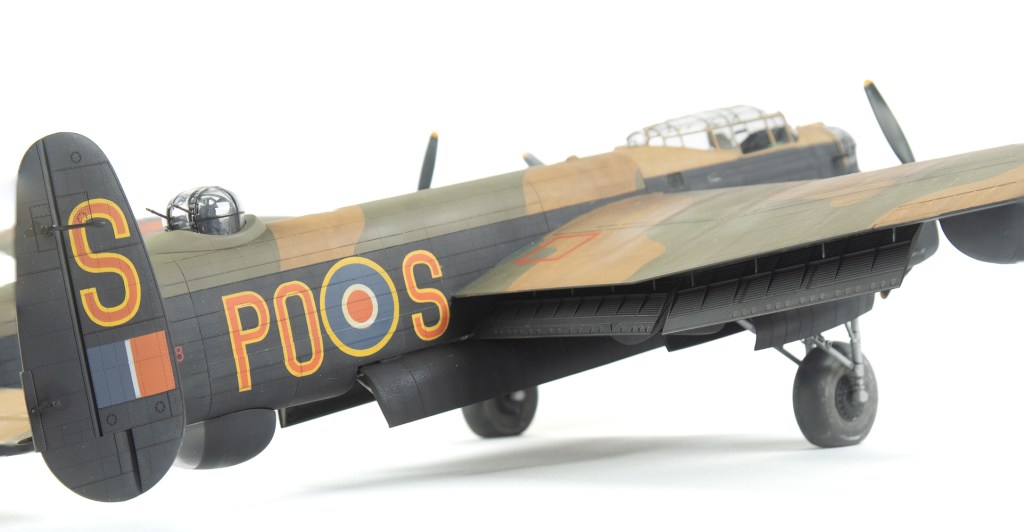
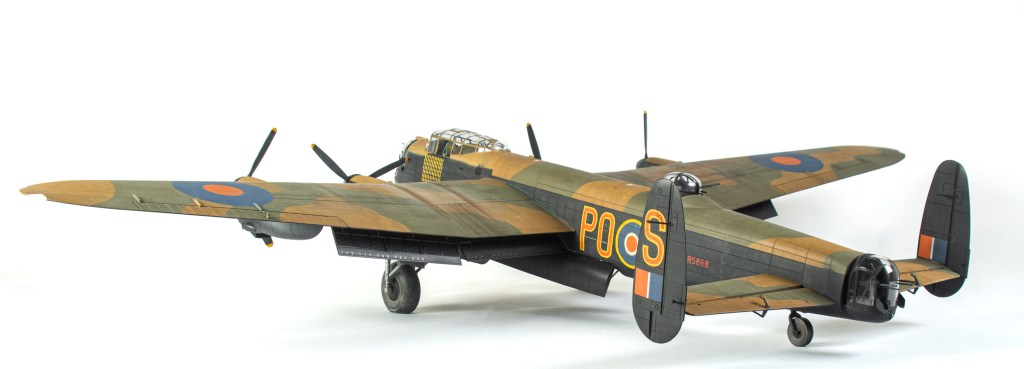
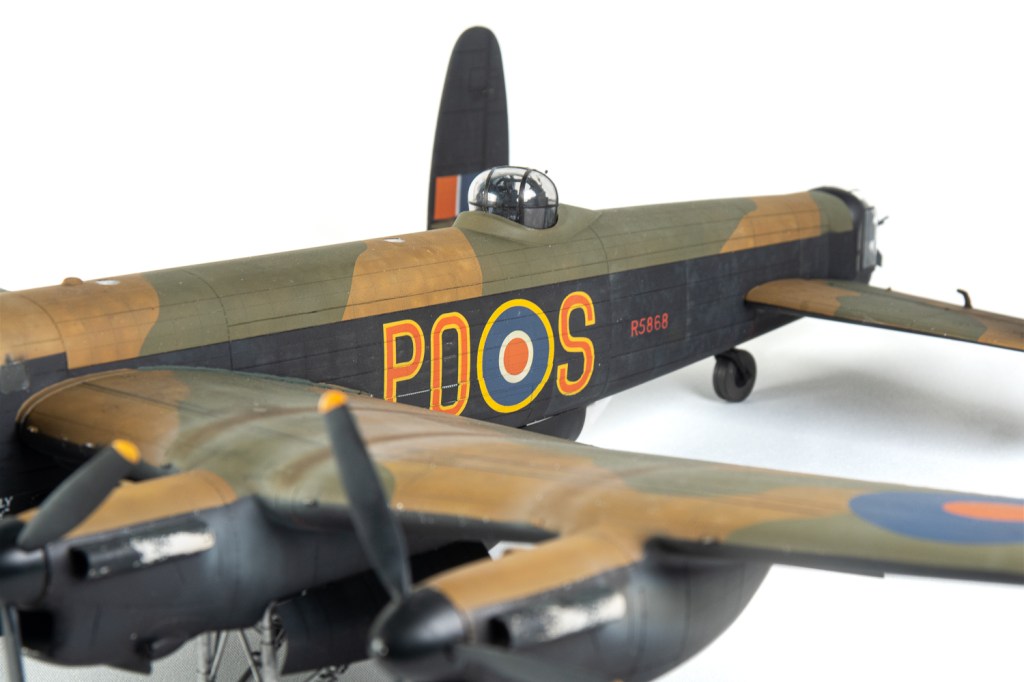
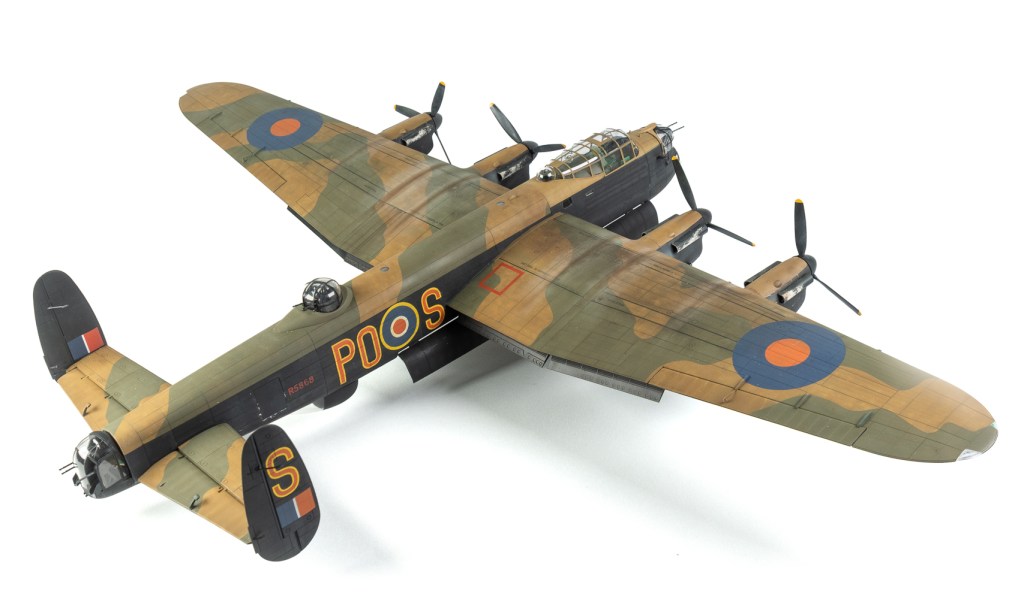
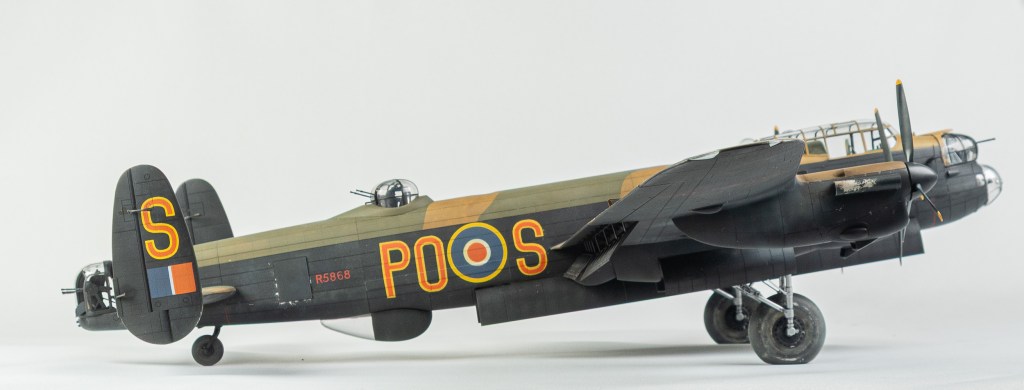
The reasoning behind my decision to make two 1/48 Lancasters at the same time must surely rate as “It seemed a good idea at the time”. It also sounds like it would be a long involved 6 month slog a build. But it really wasn’t that onerous or painful to be honest. In major part, due to the not-as-complex-as-it-looks HKM kit. The main reason for this build was an old ADS decal sheet I unearthed whilst researching my other Lancaster build One of the schemes was a post war Lancaster in Light Earth and Green with Ocean Grey undersides and red outlined yellow codes, the opposite of the normal yellow outlined red codes that came into being in 1944.
This scheme quite appealed to me as it would really ring the changes of the Grand Slam model when placed alongside my previous build.
Construction Notes
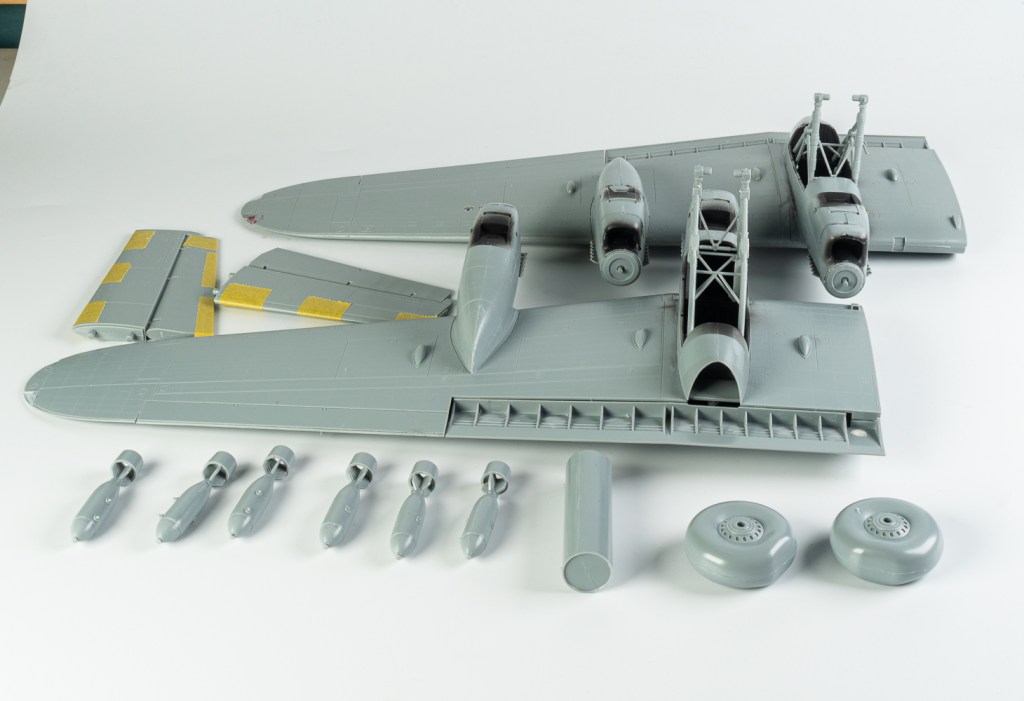
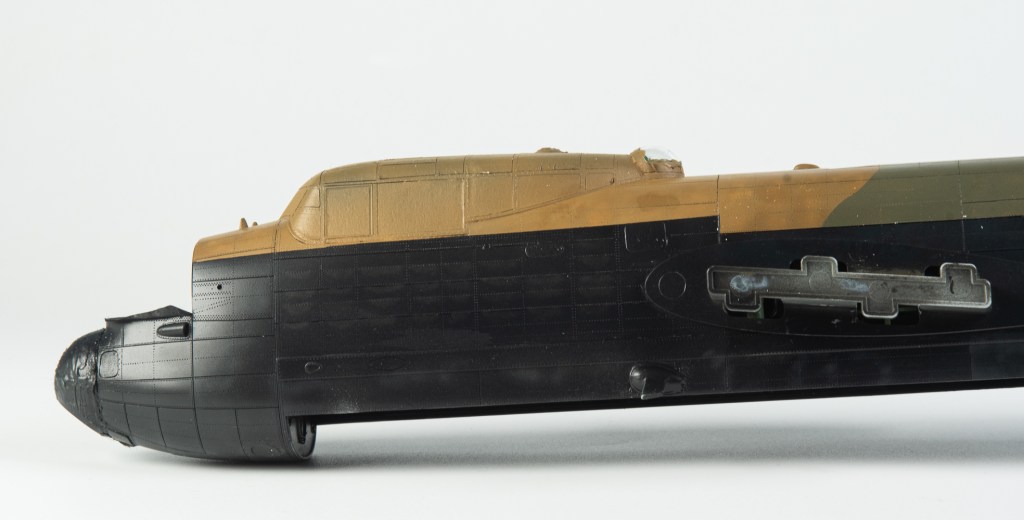
Nothing too different here compared to the other Lancaster obviously. HKM have done a good job calling out the Grand Slam specific parts in their kit, and noting any modifications needed such as cutting off the head armour on the pilot’s seat. It would have been nice if they had included the Stabilised Automatic Bomb Sight though as this was fitted to all B1 Specials. It and its associated supports are very noticeable in all photos. Also missing but needed for the B1 Special is a canopy with the tall astrodome. Whilst addressing the SABS, the kit astrodome was not modified.
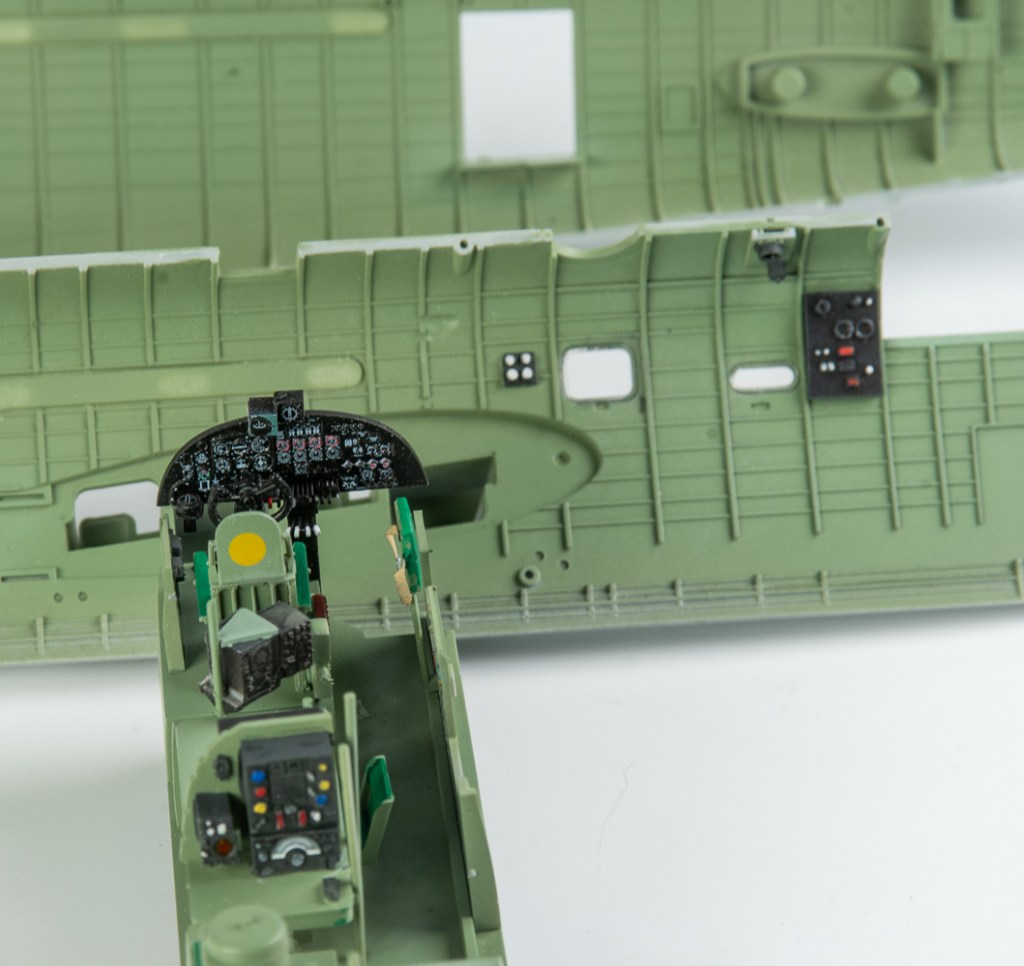
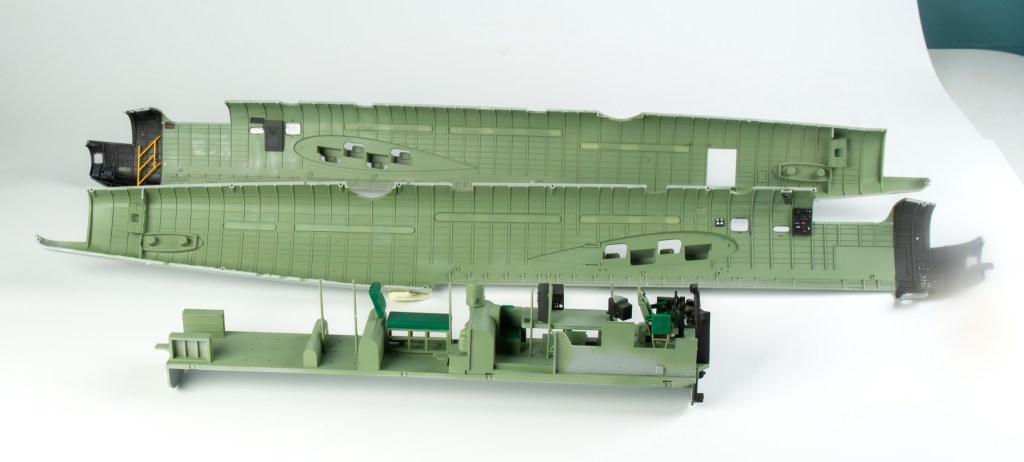
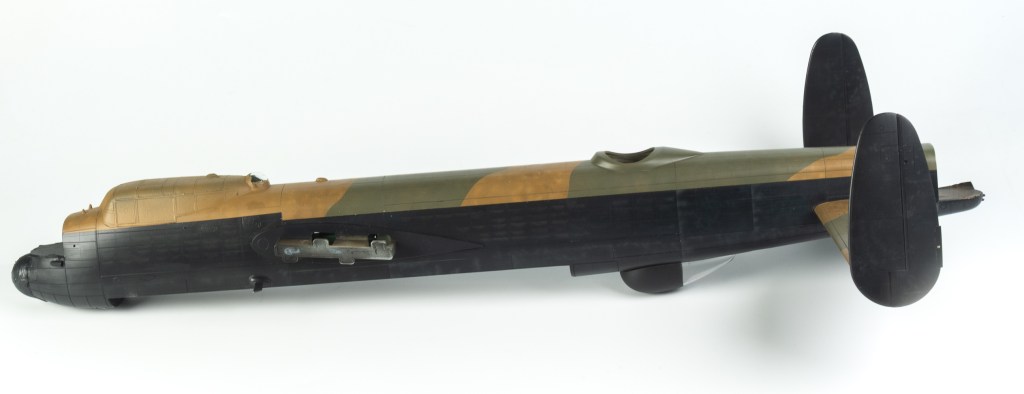
Again all the rear windows will need to be filled and the surface details rescribed. These Specials were late war builds, and the rear windows had been well and truly deleted from the production line by this stage. Again, a lot of the interior was left out as it will never been seen.
My SABS was cobbled together using parts from a Norden bombsight and is nowhere close to the real thing. I just wanted a bigger bombsight to be visible through the Bomb Layer’s blister. Again I had to pare down the rear decking to allow the canopy to fit properly. It was glued with Tamiya Extra thin and clamping gently applied to ensure it sat correctly. All this ensuring it was well and truly glued down came back to haunt me, as we will see.
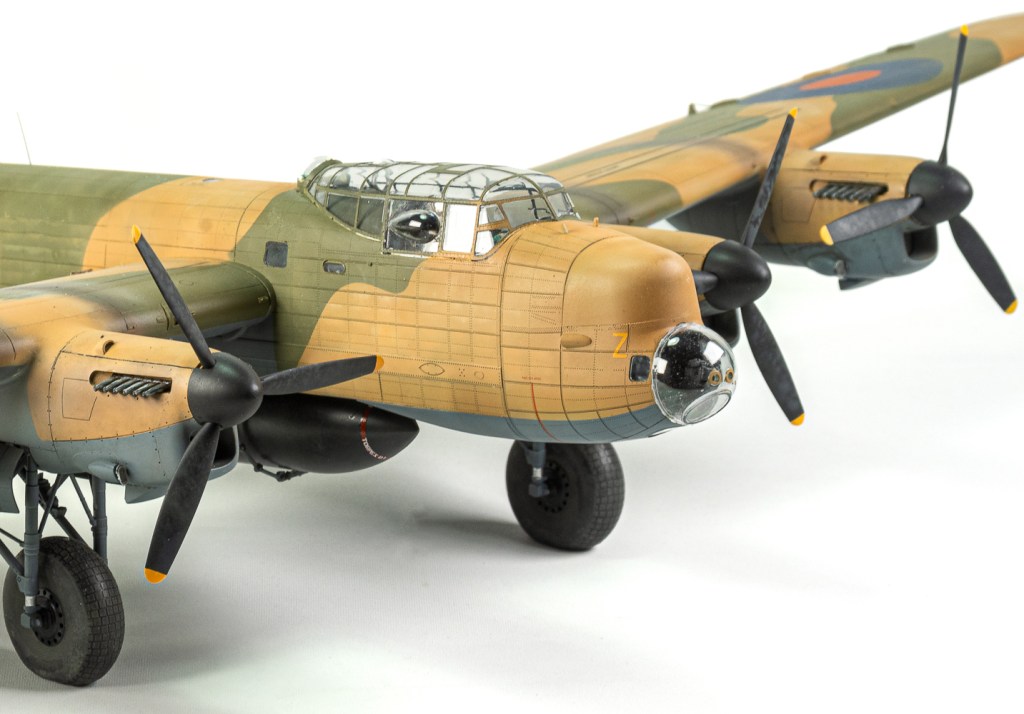
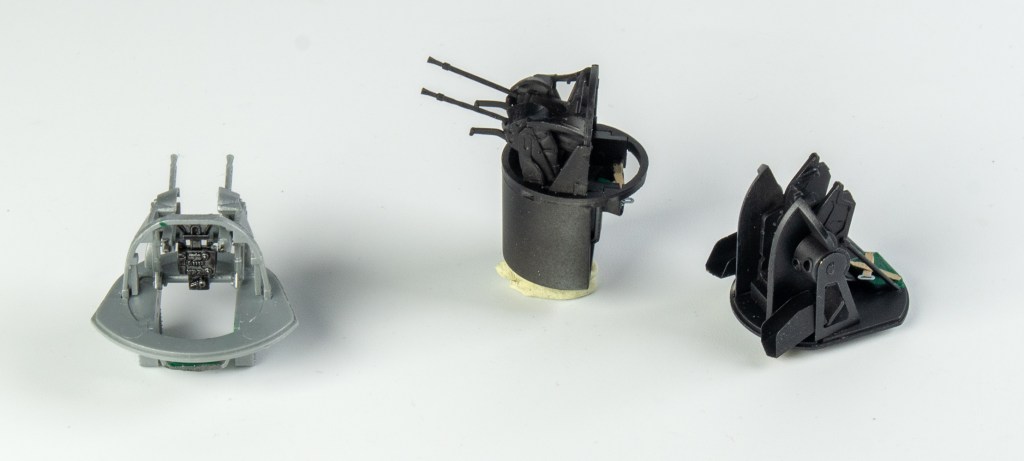
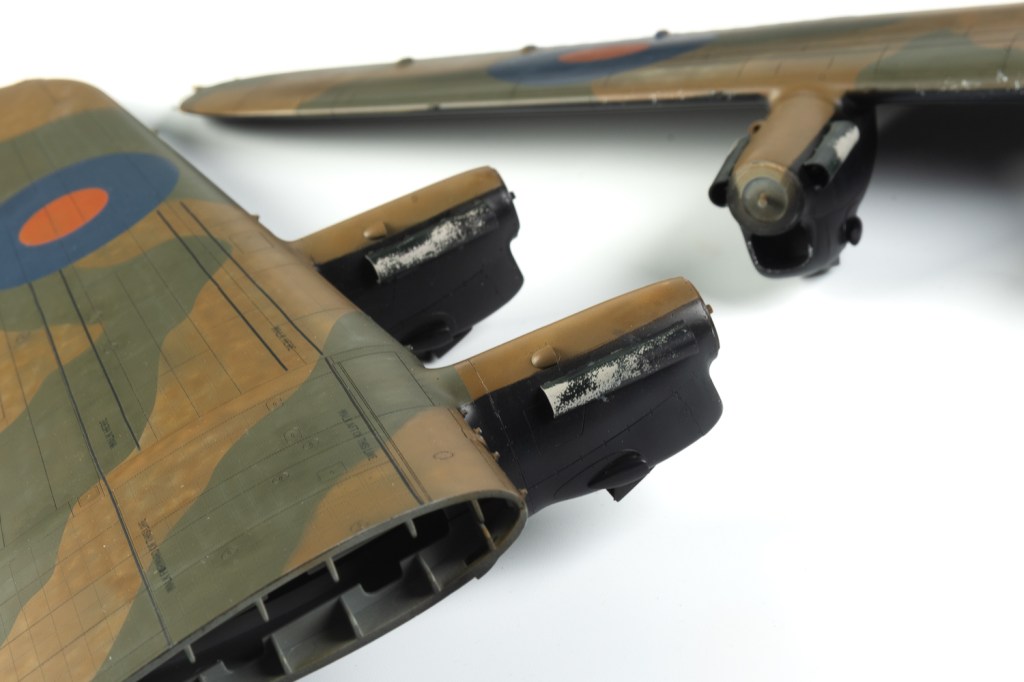
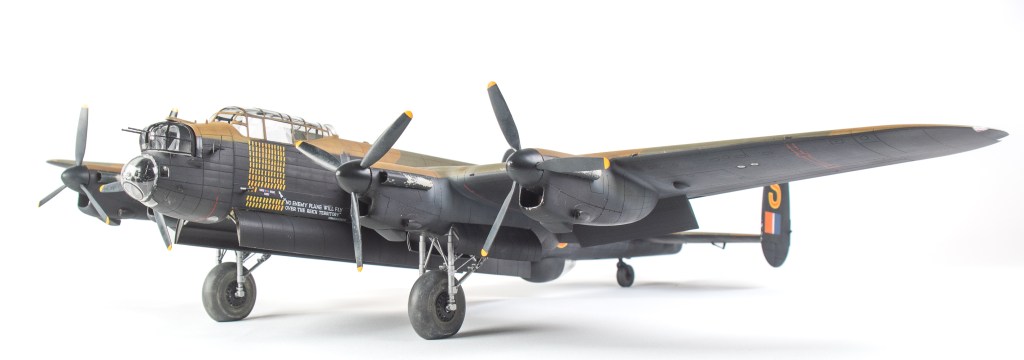
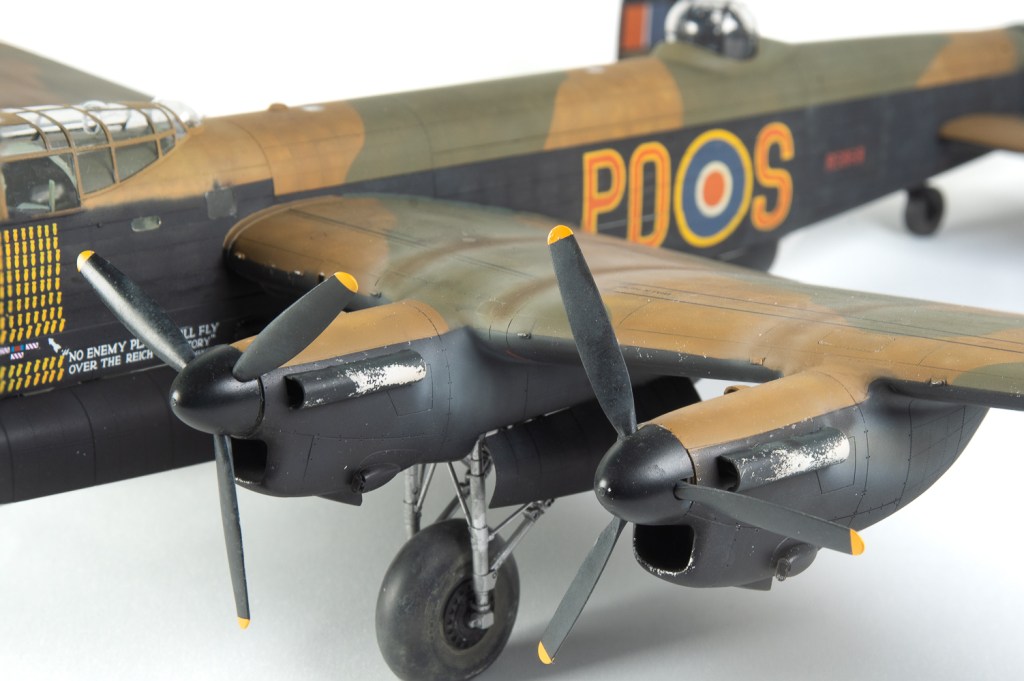
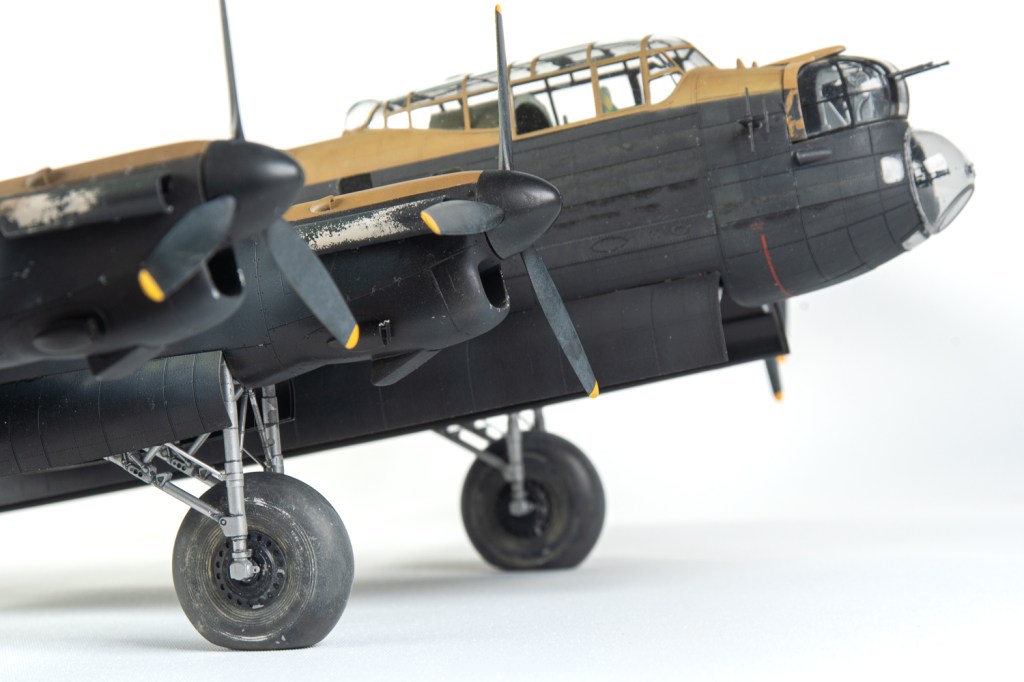
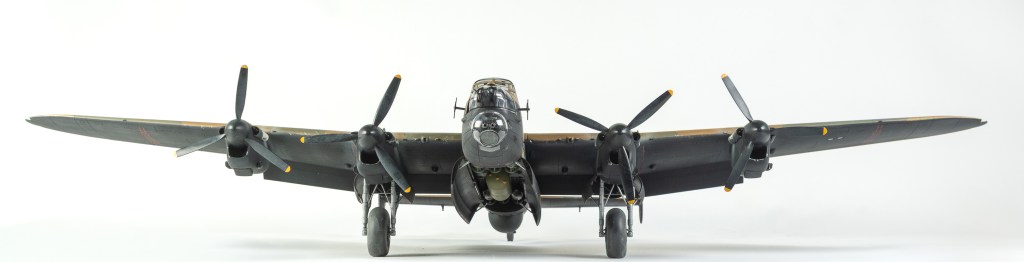
As the exhausts on the Special are unshrouded, more detailed aftermarket items from CMK were used rather than the bland kit ones. The fairings for the covered turrets are not a bad fit. With a bit of care a better fit than on my model can be easily achieved.
The slots for the tail fins and holes for the tailplanes will need gentle easing out to assist the fit of these parts. The slots on the wings that fit the tabs on the fuselage were also sanded to allow easier sliding on of the wings.
Painting the beast
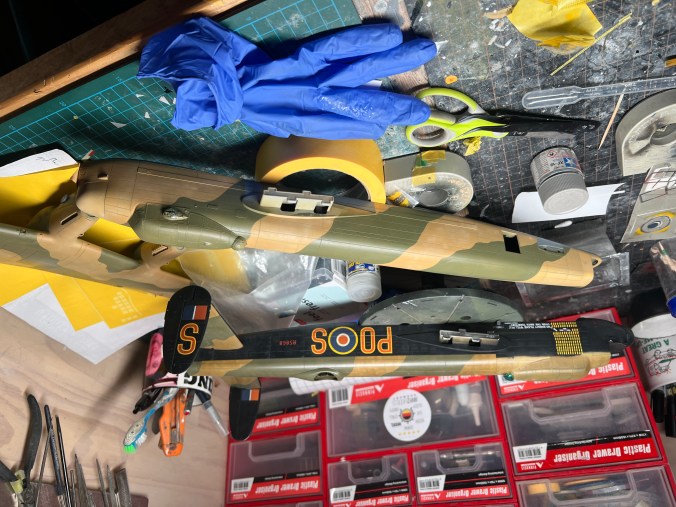
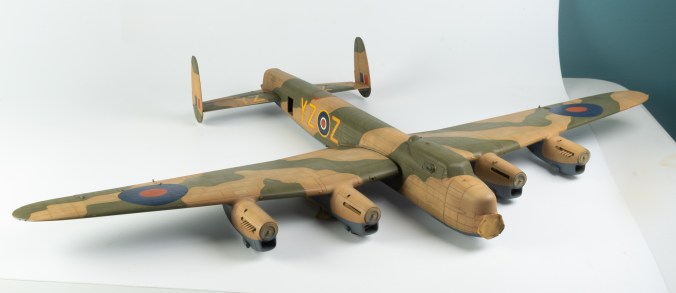
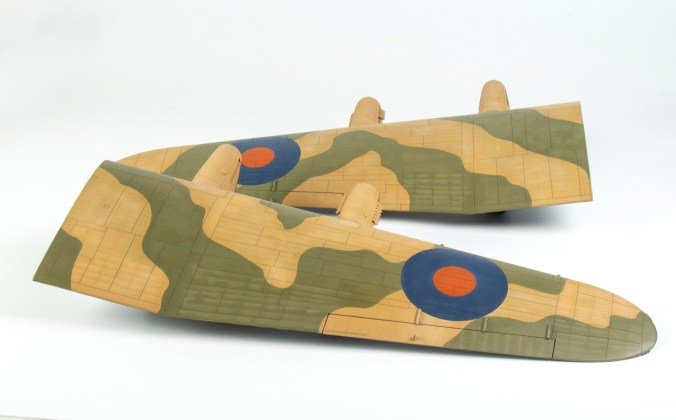
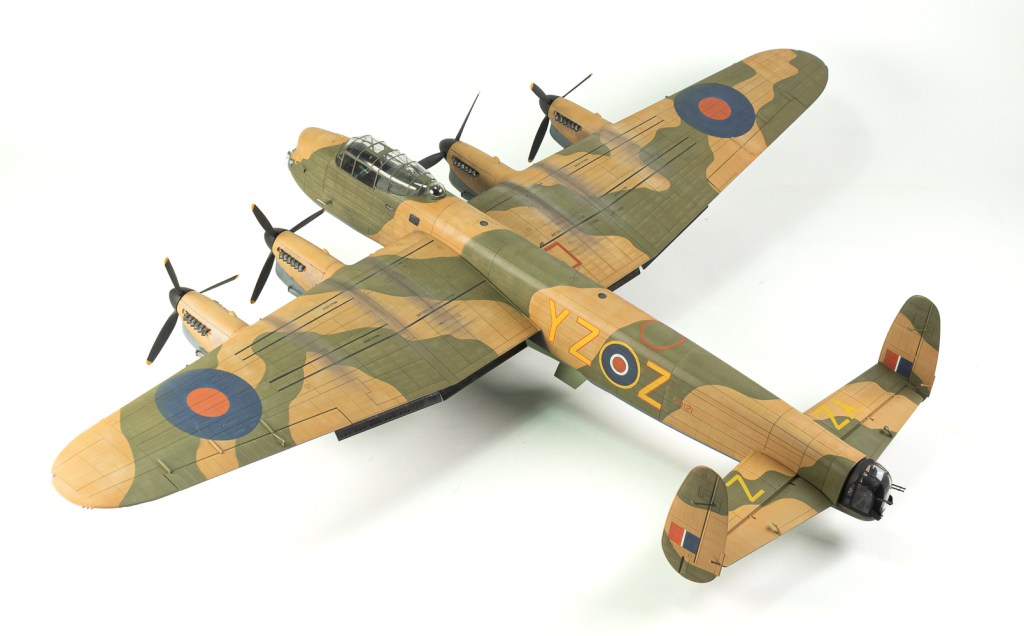
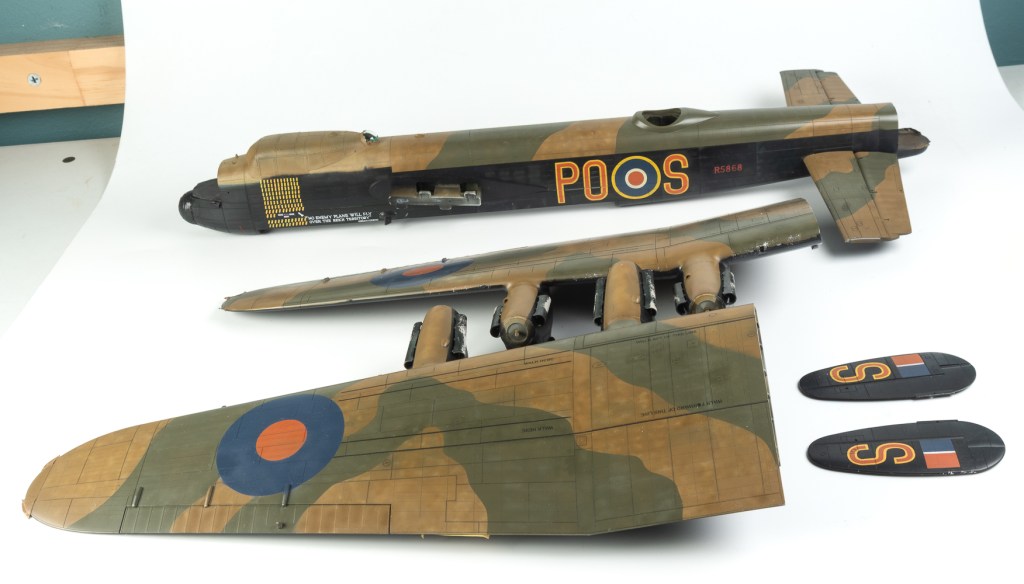
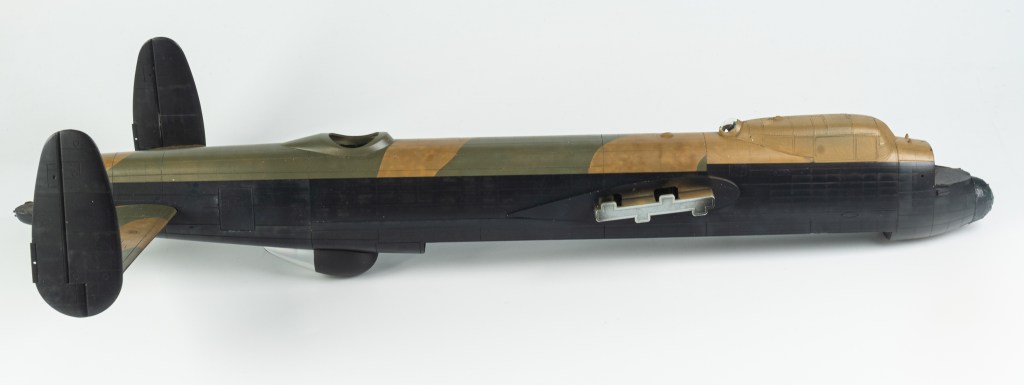
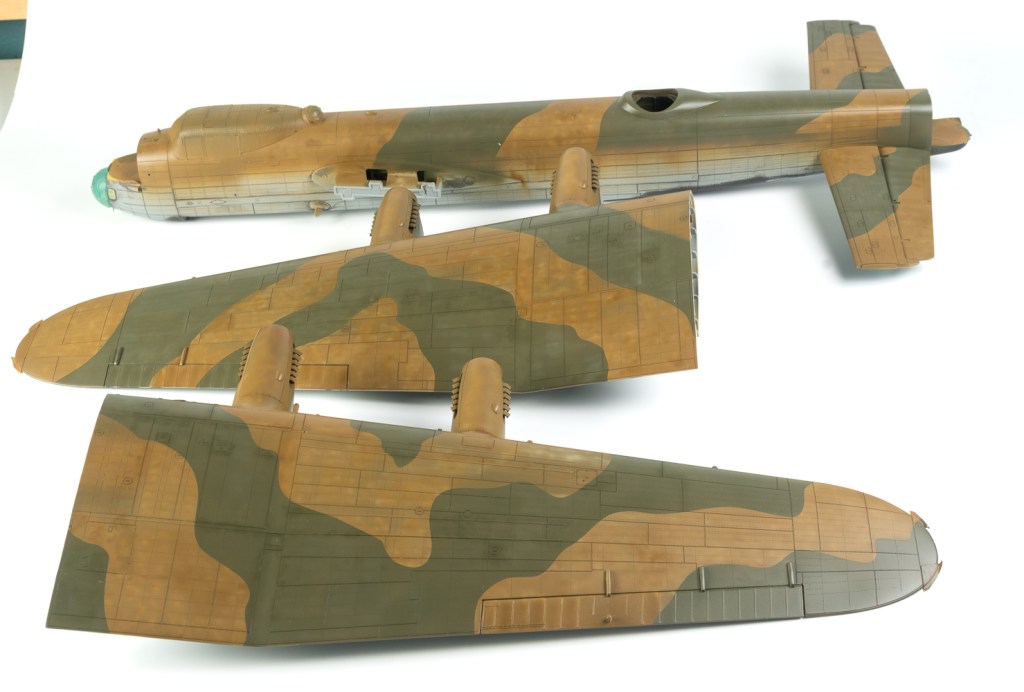
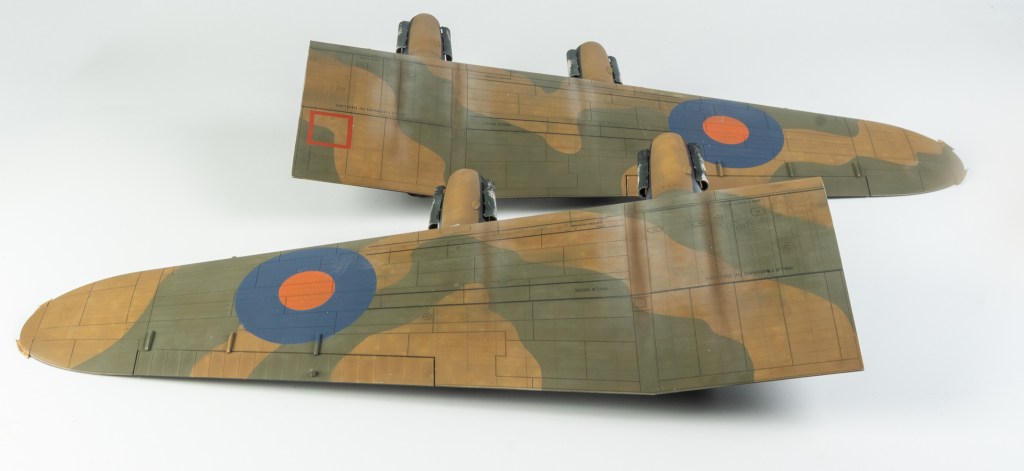
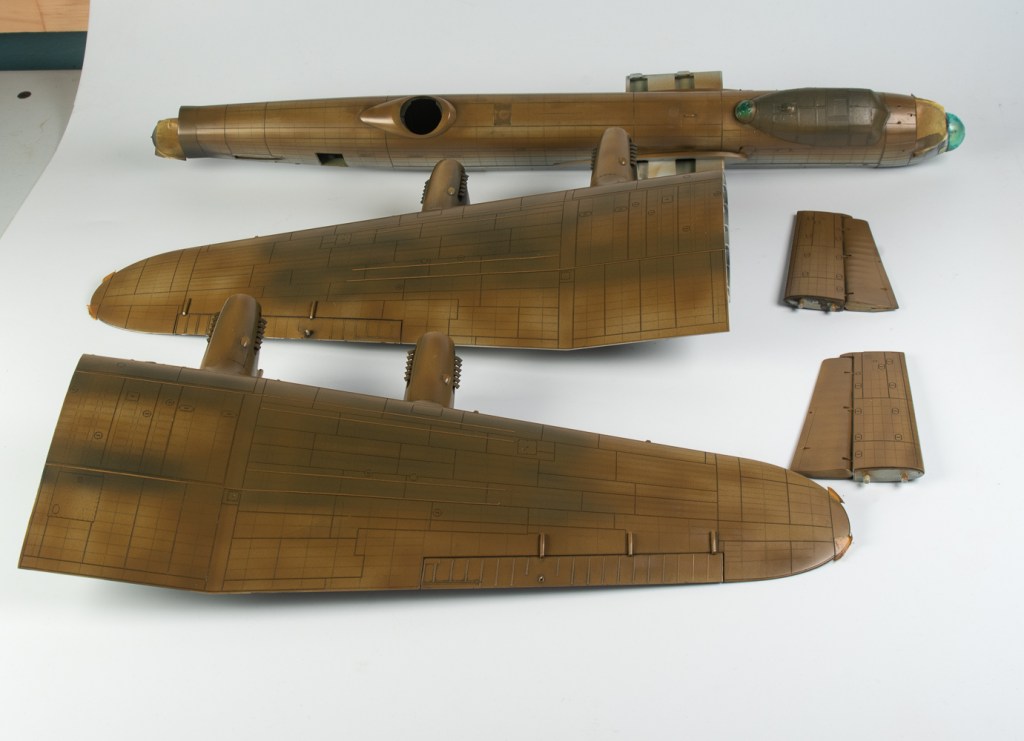
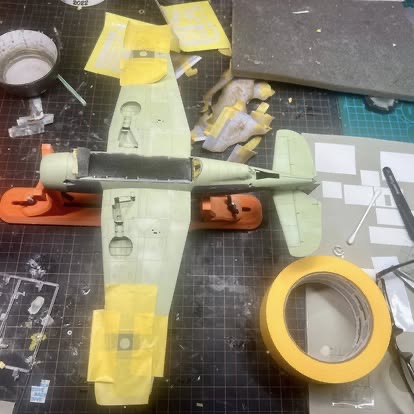
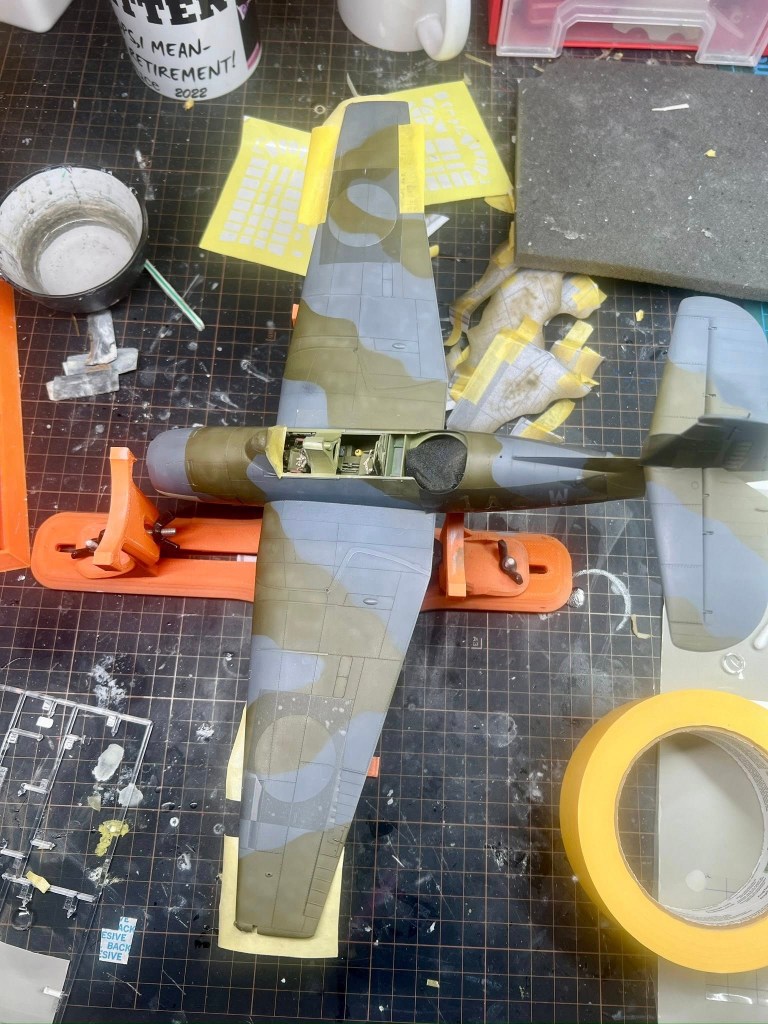
Again, the model was painted as subassemblies comprising fuselage, wings and tailplanes with the fins left separate at this stage. This makes painting and handling the model so much easier, especially if like me, you only have a small paintbooth. There has been much conjecture on the scheme of these Grand Slam/Tallboy bombers. Some people subscribing to the theory they were not Light Green/Light Earth at all but normal Dark Earth and Dark Green that had faded. The ADS instructions state my particular aircraft was examined close up by the noted aviation artist C Rupert Moore and he indeed noted it as LG/LE with Ocean Grey undersides. Looking through various responses to the question of Grand Slam bombers on Britmodeller pointed me to the original article on the colours being published in a Scale Models issue from 1973. As an aside there was a bit of dismissal of Moore’s eyewitness account of the colours, until a poster reminded members that dismissing the knowledge of these people was done at people’s peril.
A lot of these UK aircraft spotters kept quite detailed contemporaneous notes of aircraft they had viewed on wartime airfields. In Moore’s case, as an Aviation artist he also had with him samples of MAP colours. I was reminded of various so called experts dismissing the notes and observations of wartime spotters who called out blue Mustangs. Despite being close enough to write down the code letters and serial numbers!
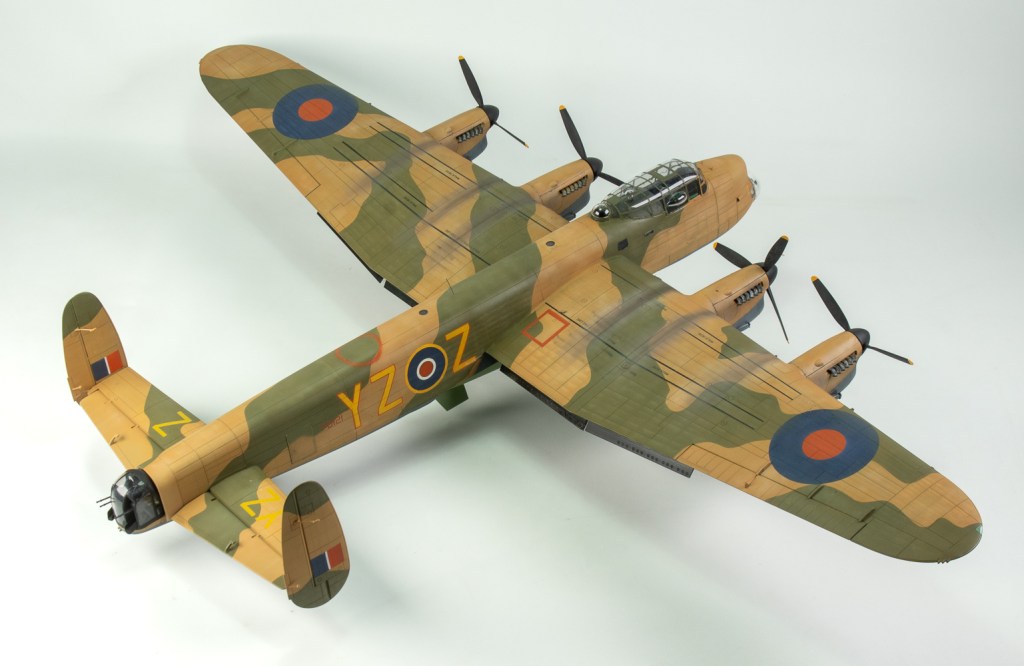
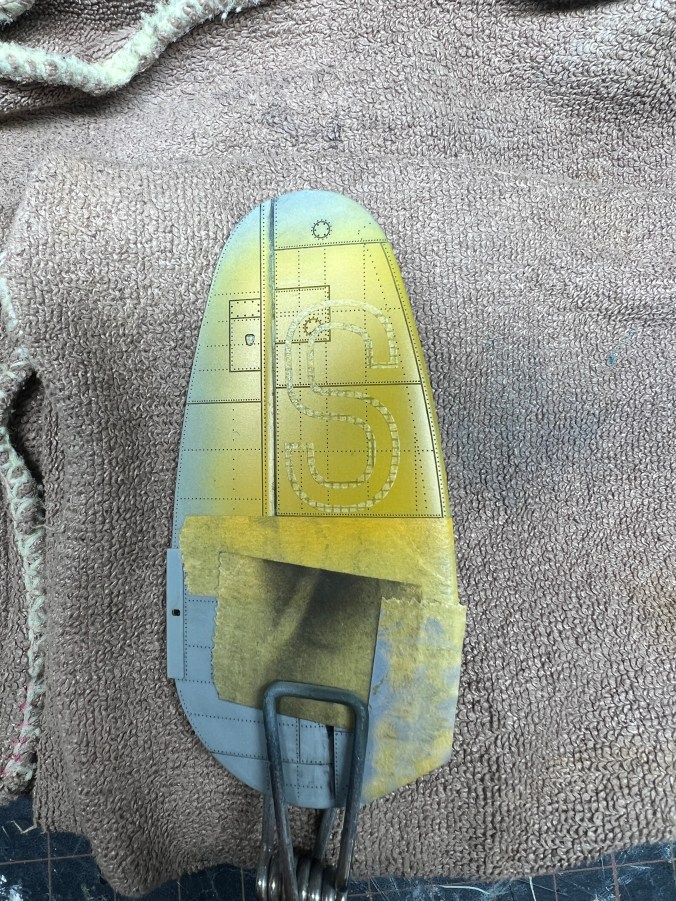
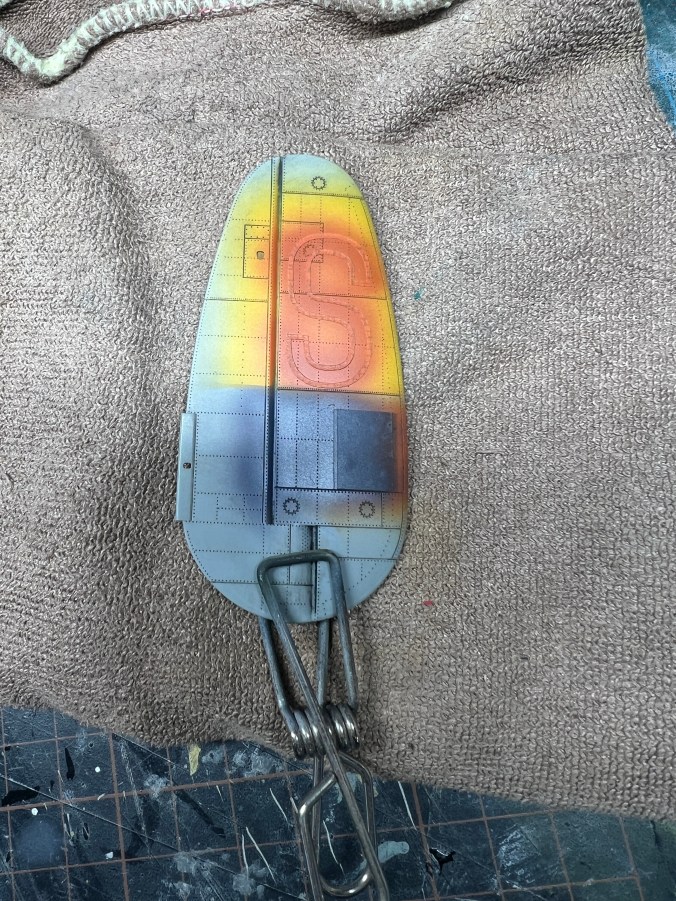
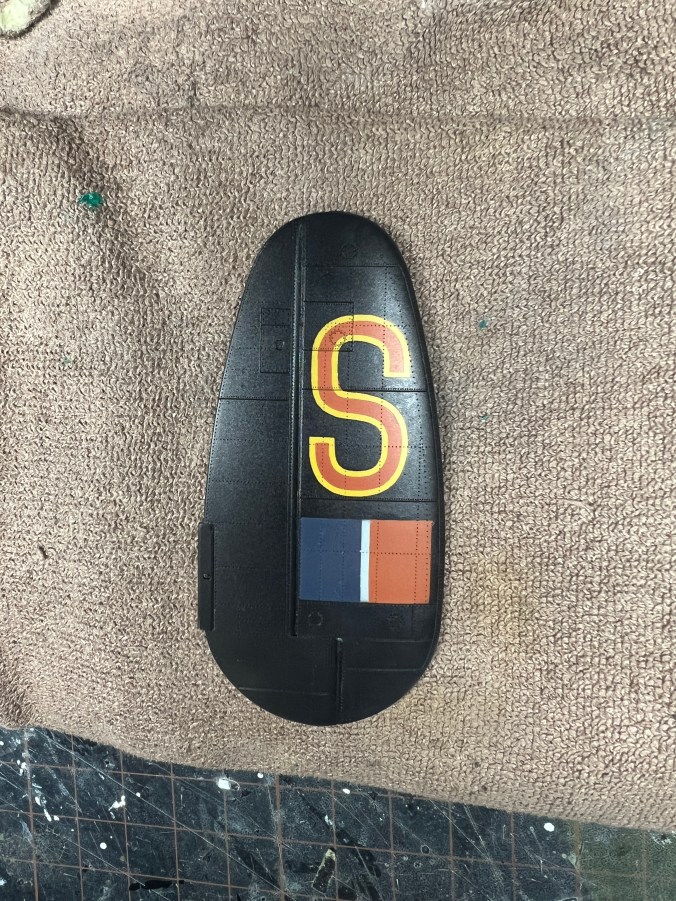
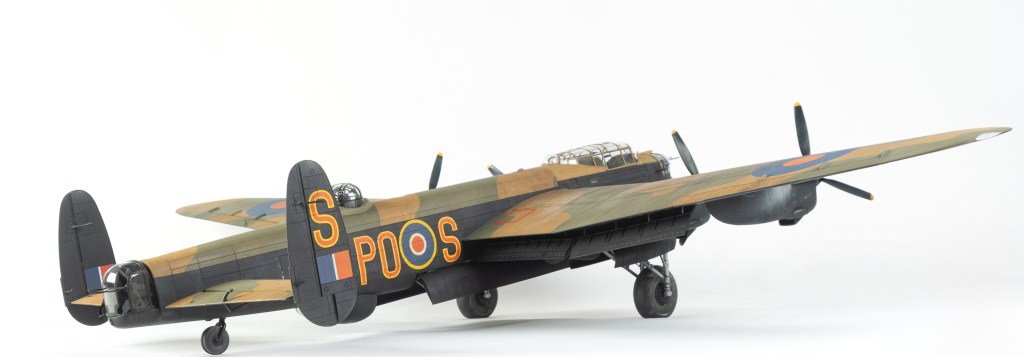
A shout for help to a good friend who has the entire collection of Scale Models resulted in me gaining a scan of the relevant article. It contained much useful information on YJ-Z, the subject of the decal sheet and also alerted me to a few faults that ADS had made with the decals for this particular aircraft. In particular, the codes on the top and bottom of the stabilisers were yellow only and did not have the red outline the fuselage codes did. The top of the letters were closest to the elevator hinge line, not as ADS have them reading from the trailing edge of the elevators.
There is no conclusive evidence as to why these particular bombers were painted in this scheme, the best theory being that the day camouflage scheme in the lighter colours made them stand out to the rest of the formation as the lightly armed Grand Slam/Tallboy bombers. The Lancaster was very much operating at its all up weight threshold carrying these weapons and all excess weight that could be removed from the aircraft was. C. Rupert Moore details in his article how they followed a fully laden Lancaster down the runway. Upon takeoff he described how the wings flexed “quite alarmingly” As well as removing the pilots armour and radios, the navigators chair was replaced by a wicker one! I didn’t try to portray this on my model though.
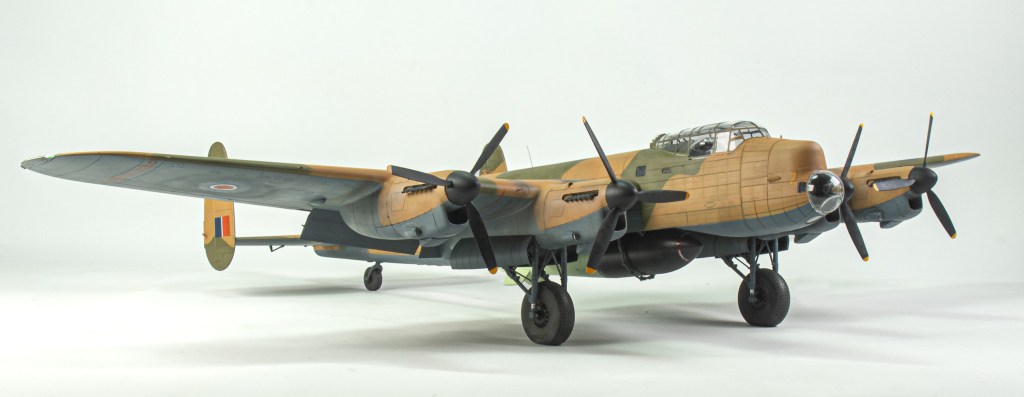
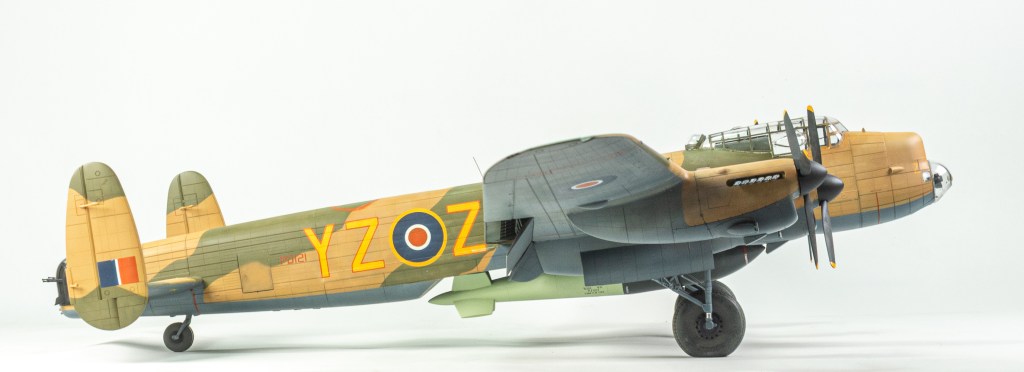
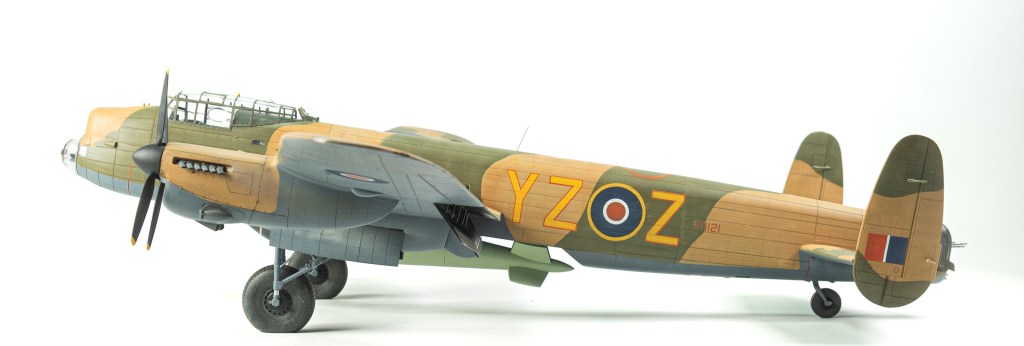
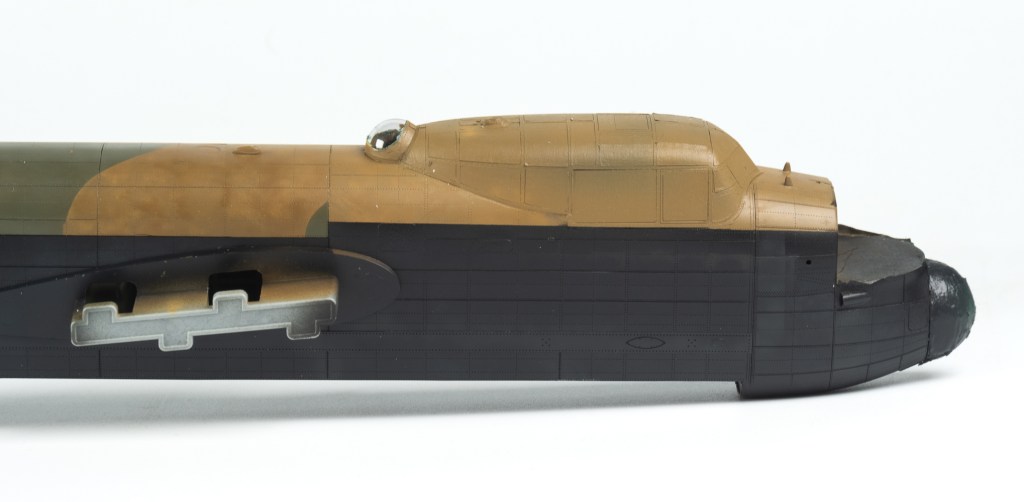
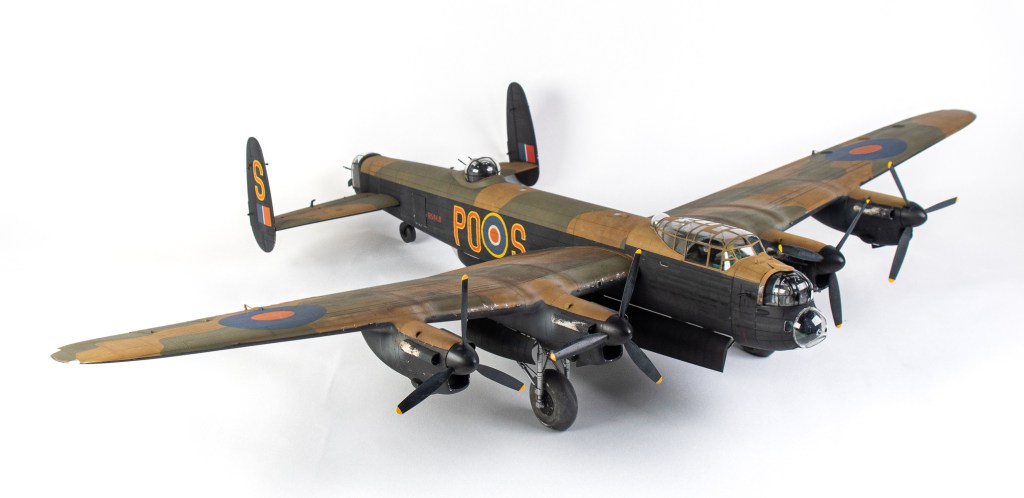
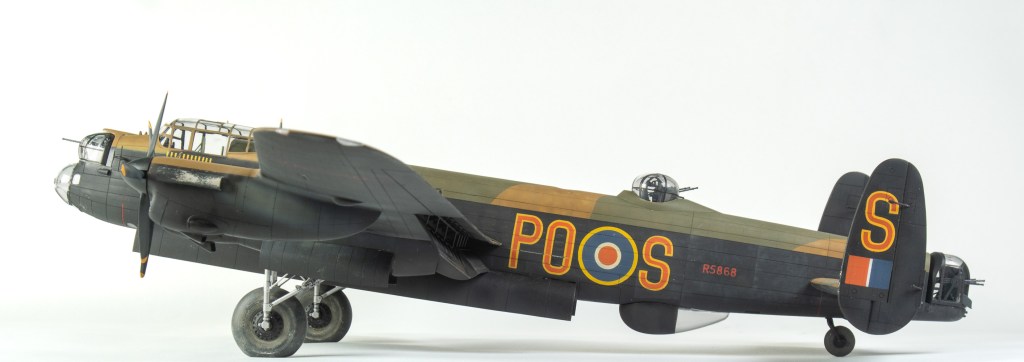
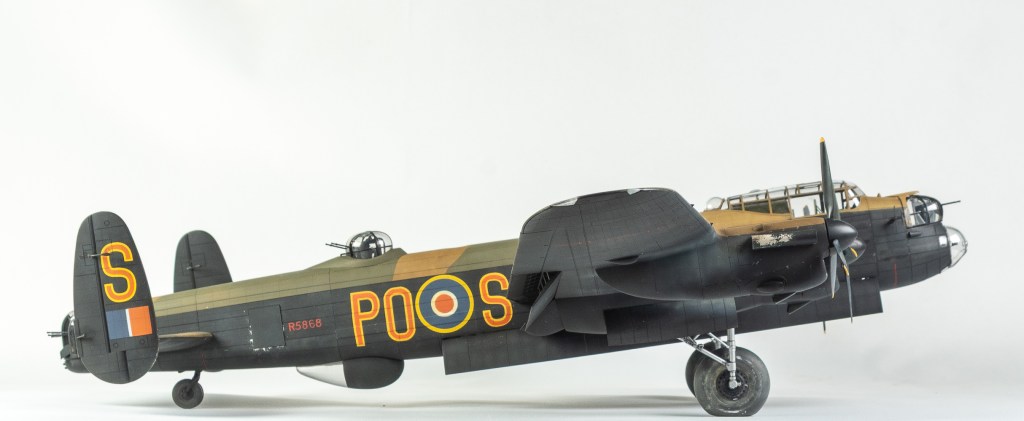
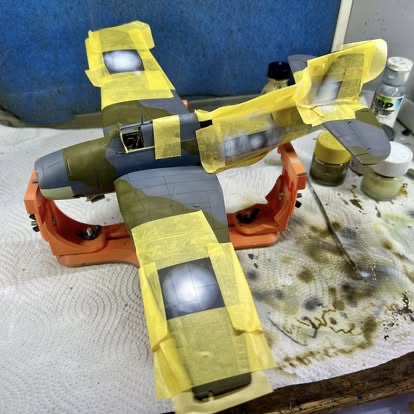
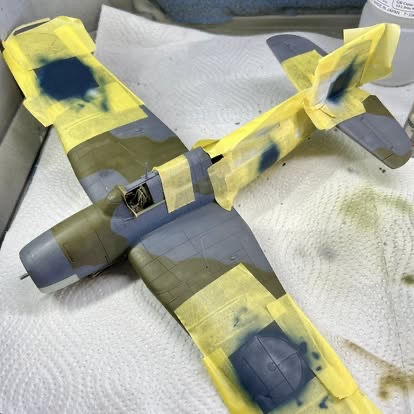
Recipes for mixing the Light Earth and Light Green using Tamiya colours were again sourced from Britmodeller. The LF Camouflage masks were reused for the upper surfaces with blutack being used to extend the colours down the fuselage sides. It really does look quite smart in the lighter colours with the grey undersides. To the point, the choice was made to keep the weathering down to a minimum.
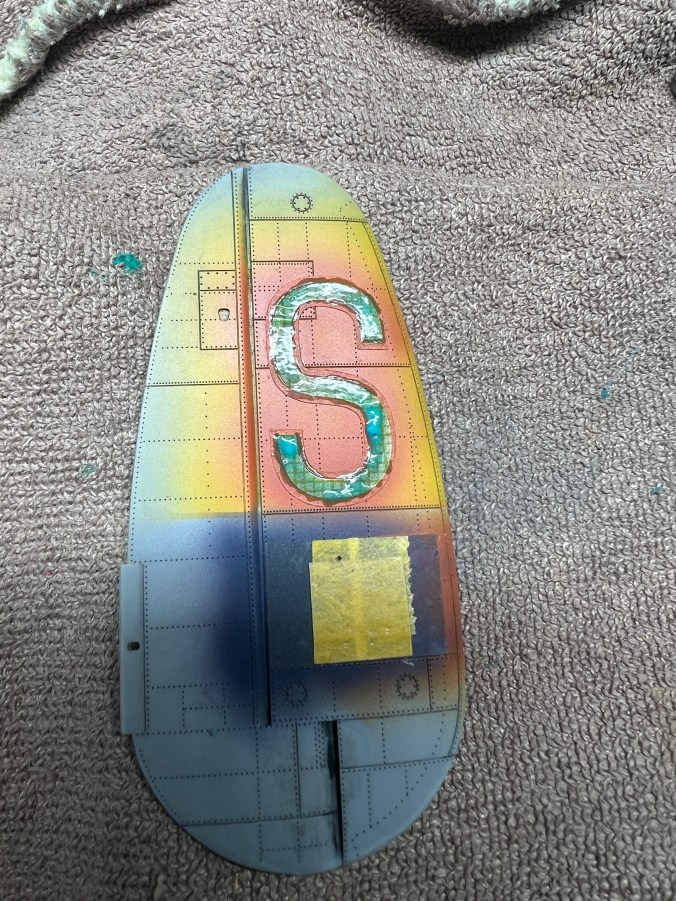
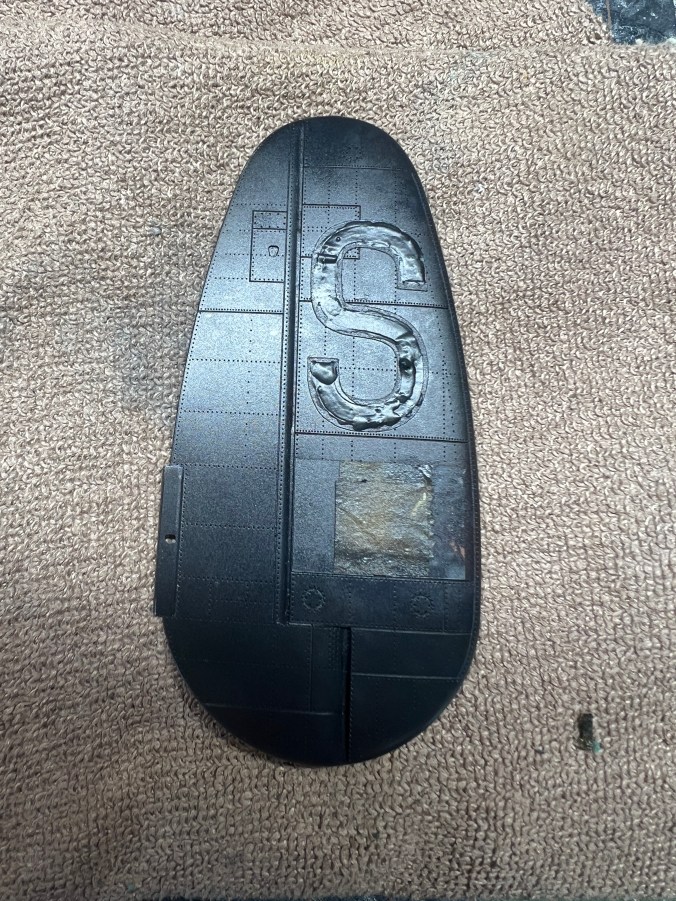
Masks were again cut for the national insignia and codes.. The yellow codes with the red outlines were trialled due to the red codes not standing out enough against the lighter camouflage. I have no idea of the results of the trial, but to me, reversing the colour of the codes would not have made that big a difference.
As with the Lancaster some panels were masked and post shaded with lighter shades of the colours to mimic oil canning. This time around, it worked quite well. Moore describes in his article how a lot of the aircraft had red doped patches around the top turret blanking plates. No doubt to fix leaks. In my model I initially used thin strips of Tamiya tape to portray this, but it just didn’t look right, so resorted to just a rough painted ring.
Exhasust stains were applied as per previous Lancaster article
And now for this model’s stuff up……..
Final assembly done and time to unmask all the transparencies……..which revealed I had inadvertently left a couple of the interior masks on
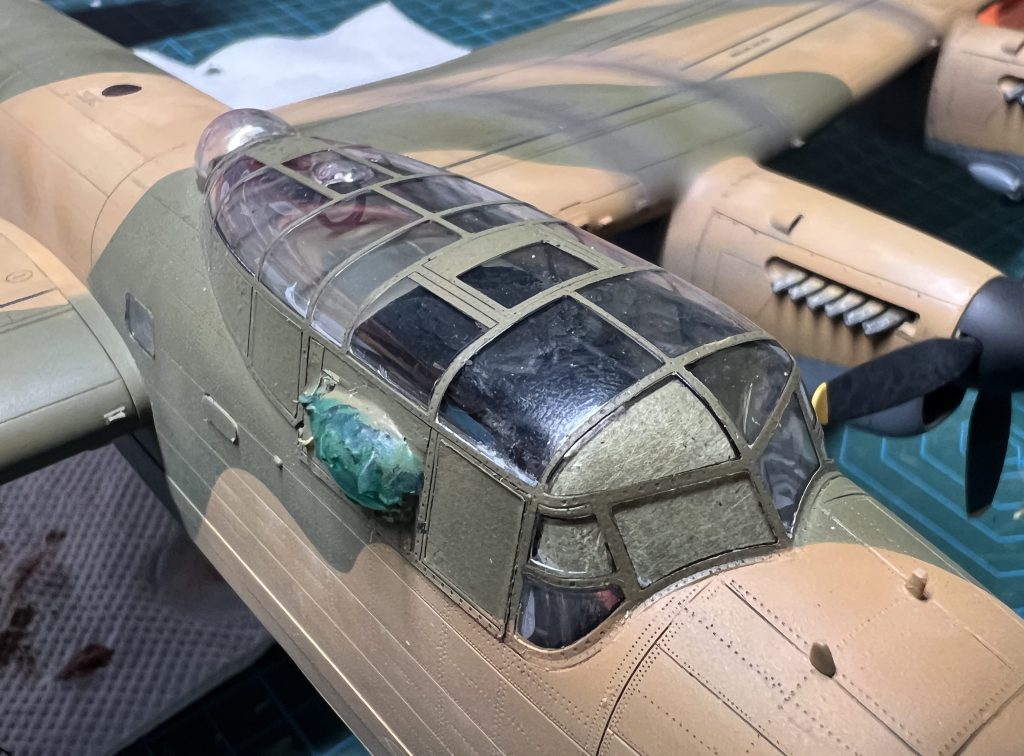
Of course the canopy had been glued down with extra thin rather than PVA which I keep meaning to use, but never actually do. Until something like this happens, making me vow all over again to “use PVA next time”. The bright idea of pushing in the side panel occurred to me. The stupid things kept coming loose anyway. Of course now that I wanted them to actually come out, the stupid panel refused to budge. Eventually the Flight Engineer’s side fell in landing on the cockpit floor. Tweezers could not get to it, and shaking the model left me with the horrifying vision of it disappearing down into the rear of the fuselage. Ever increasing violent shaking did not dislodge it. This left me with the only option of removing the whole canopy. Remember how I made sure it was securely glued down?
Well it came away very cleanly, leaving no glue marks at all to clean up.
In. My. Dreams!
Of course it didn’t come away cleanly, in fact snapping and leaving a remnant firmly still glued in place.
No option now but to order a new clear sprue from HKM . This duly arrived costing me about AUD35. It also left me fairly impressed with HKM’s after sales service. Communication from them was excellent. I’d imagine if they were replacing missing or faulty parts there would be no charge, but don’t quote me!
This time around handles for the sliding portions of the canopy were fashioned from thin copper wire, being glued into place with small drops of PVA. Removing the canopy masking this time revealed no interior masking unintentionally left on. Well it wouldn’t would it as I only used an exterior set this time. What it did reveal though was a smudge near the central windscreen frame. AAAAAAGGGGGGHHHH. I can remove the canopy as PVA glue was used this time, but honestly, to quote Doogs Models, I’d run out of fucks. At least the option is still there to safely remove it if I want to sometime down the track. The handles on the inside do look good though.
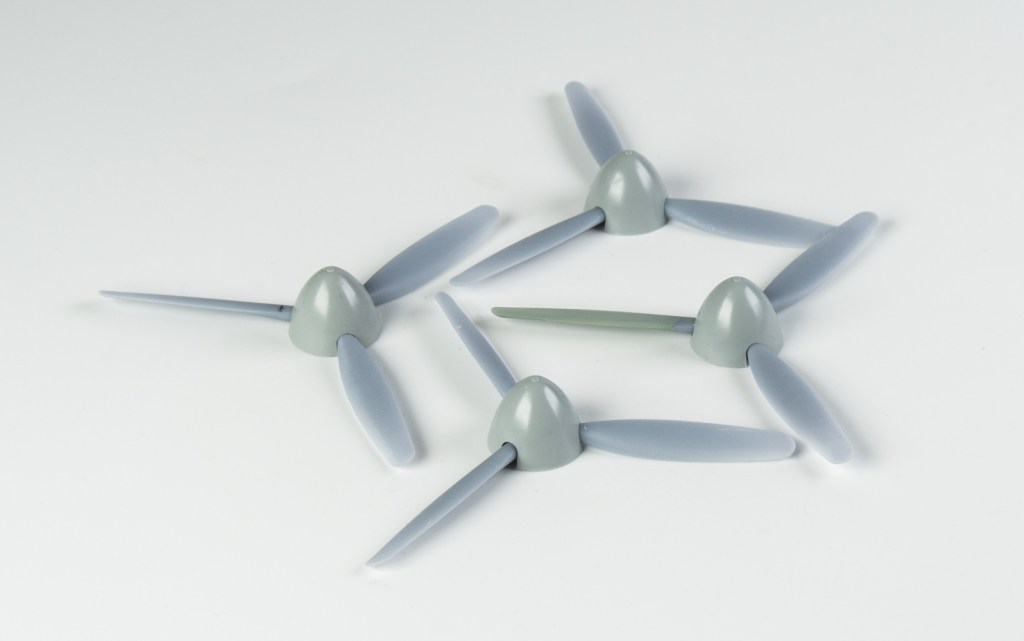
The Specials had treaded tyres, so a set from Armory were used as the kit only provides smooth tyres.The Armory wheels slipped straight onto the HKM axles without needing further drilling out. The rear turret was pushed in and a small whip antenna from thin wire added along the spine for the one radio that wasn’t removed.
And with that, she’s done. And Im done with 48 scale Lancasters!
Final Thoughts
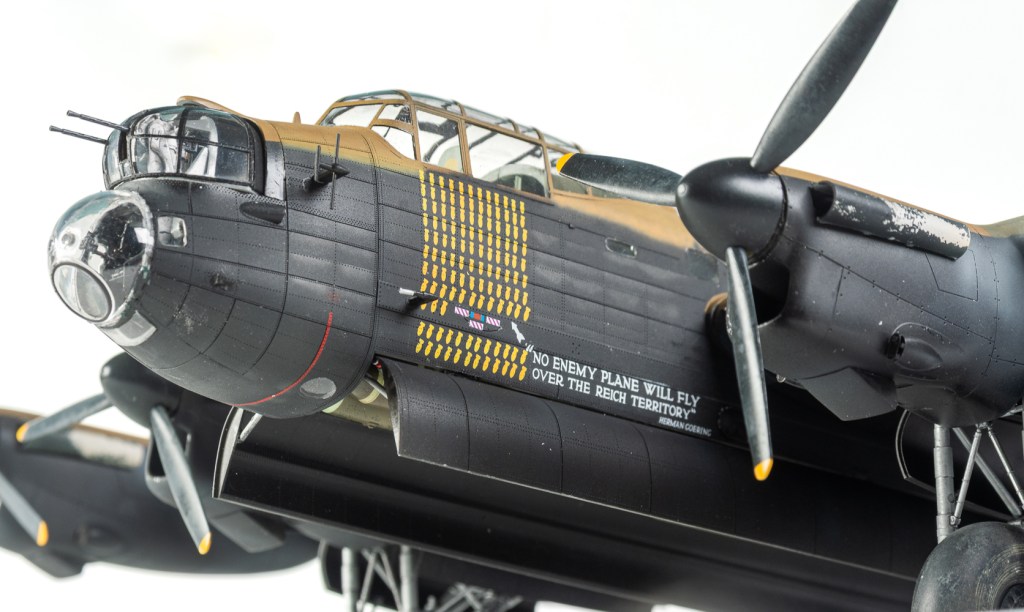
Not much to add that hasn’t already been said about this kit in my last Lancaster article. The modified day camouflage scheme certainly rings the changes on this version and stands it apart from the standard bomber version. HKM’s Dambuster boxing also graced my stash along with these two, but it’s since been moved on.
I think 2 Lancasters are enough……..Or, are they?
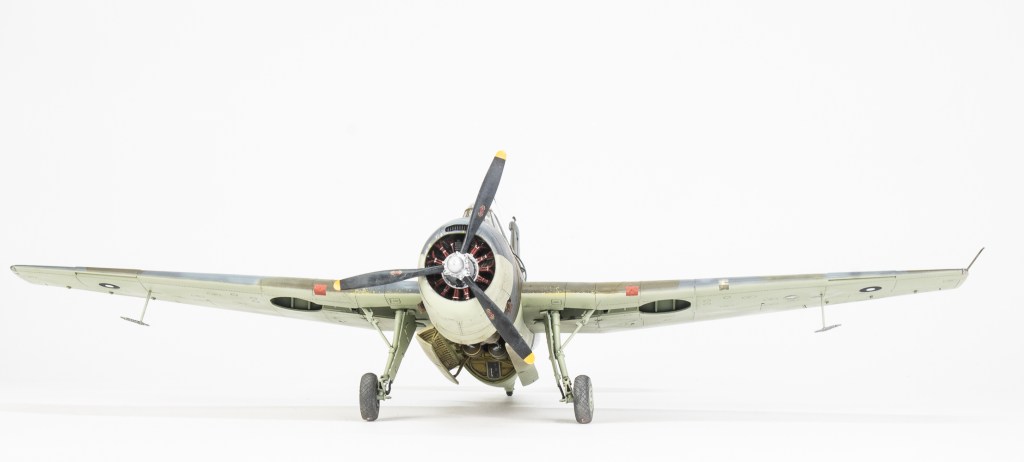
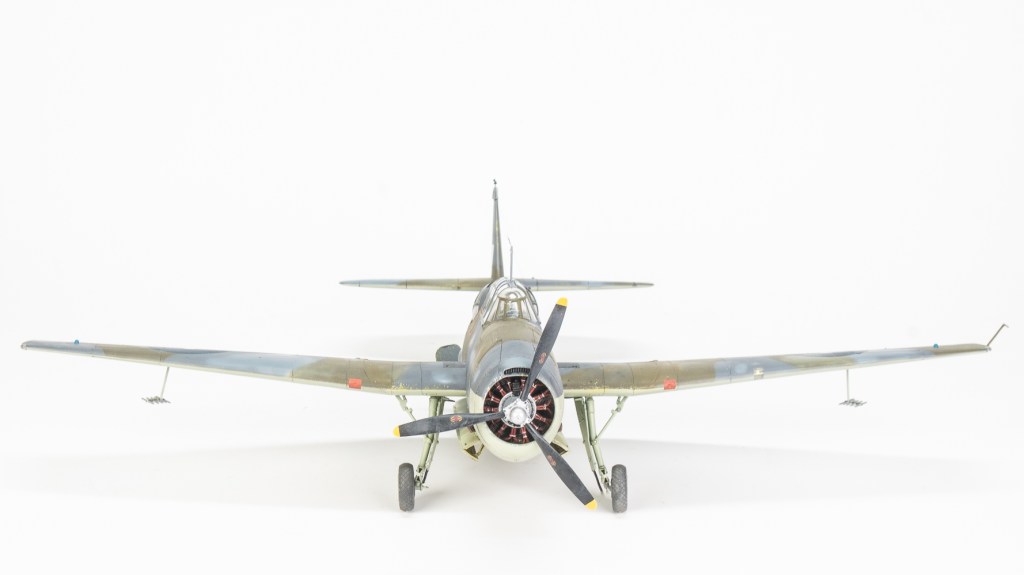
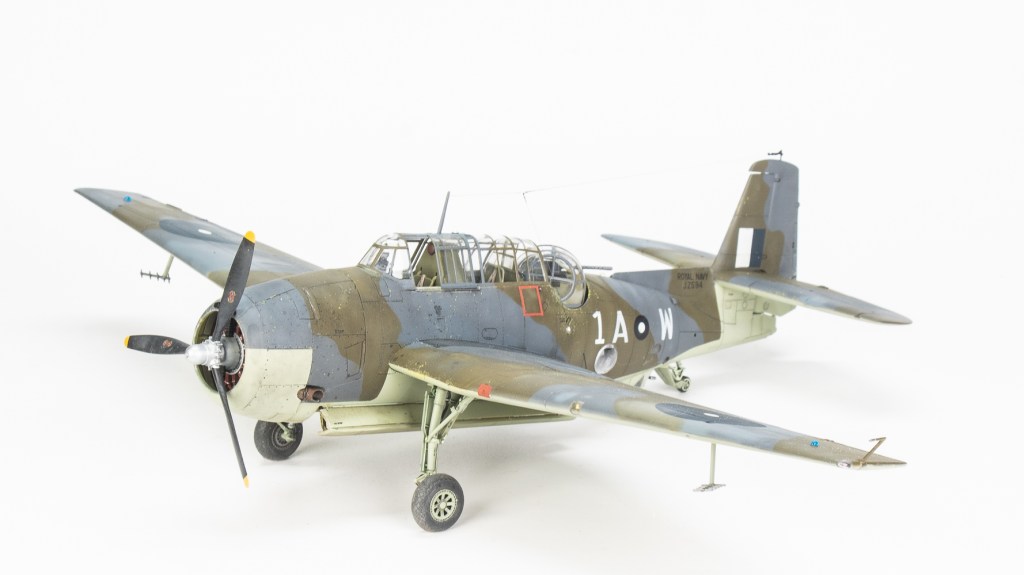
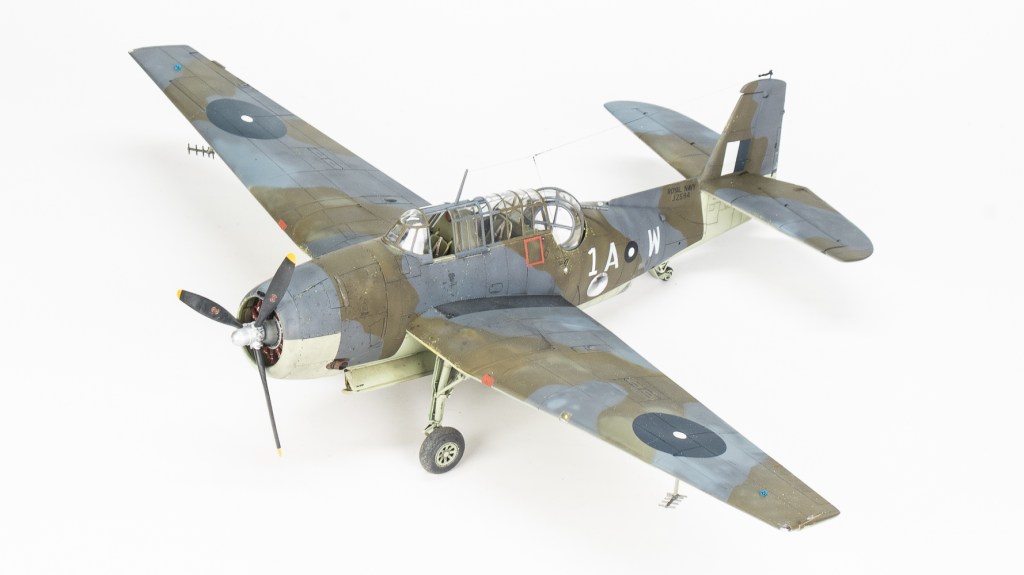
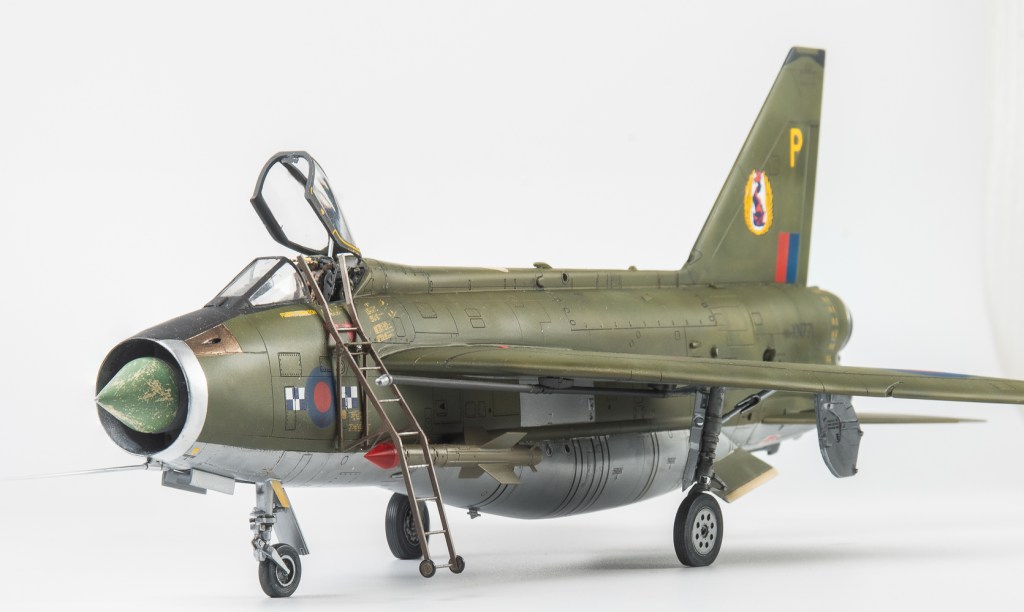
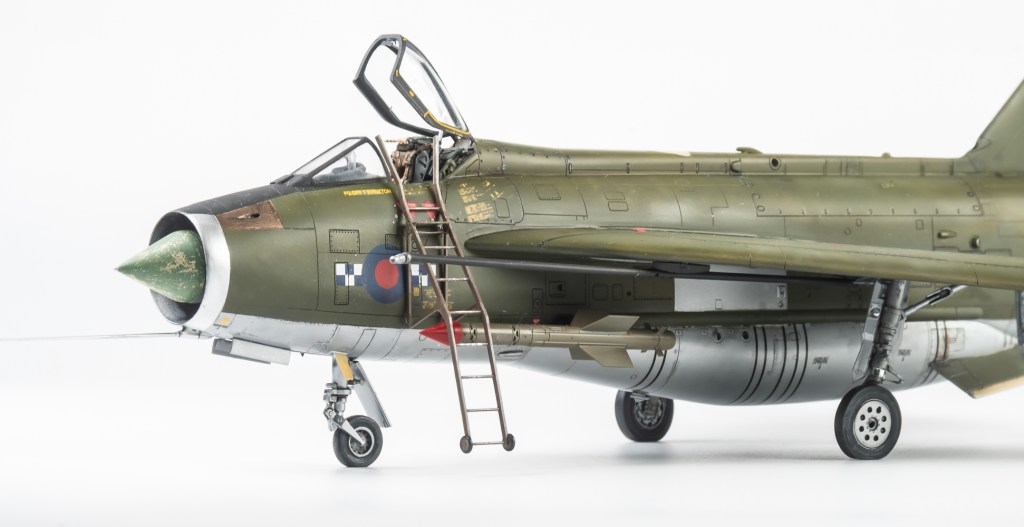
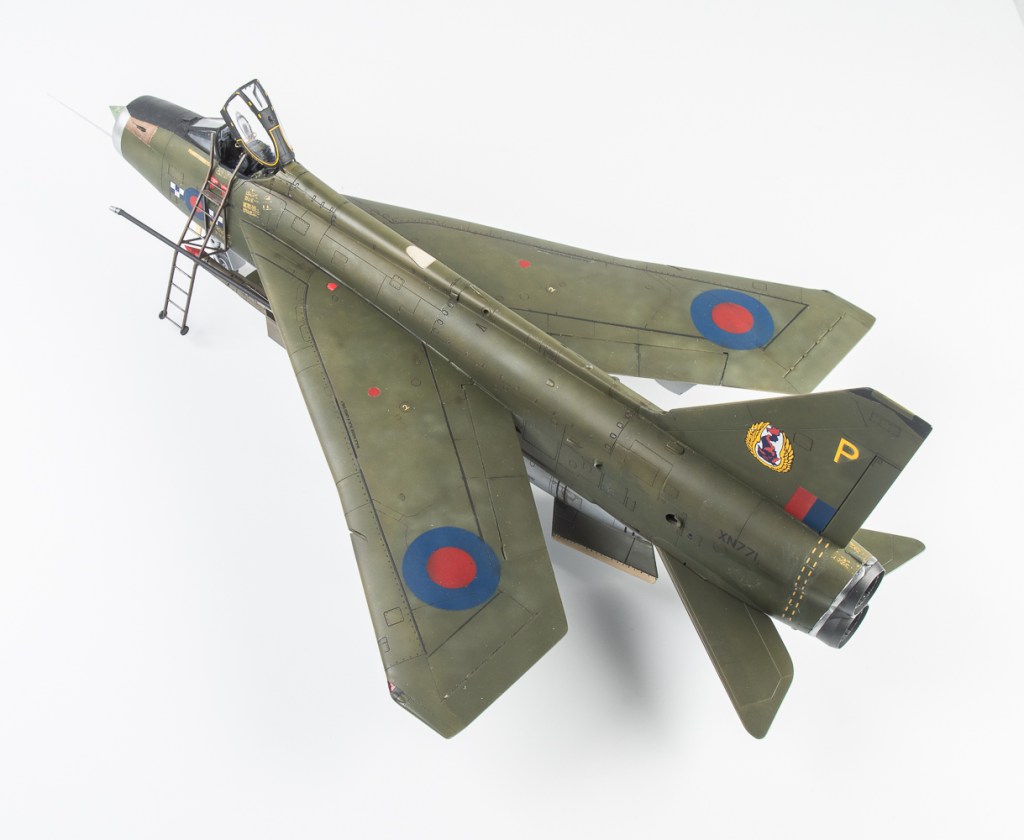
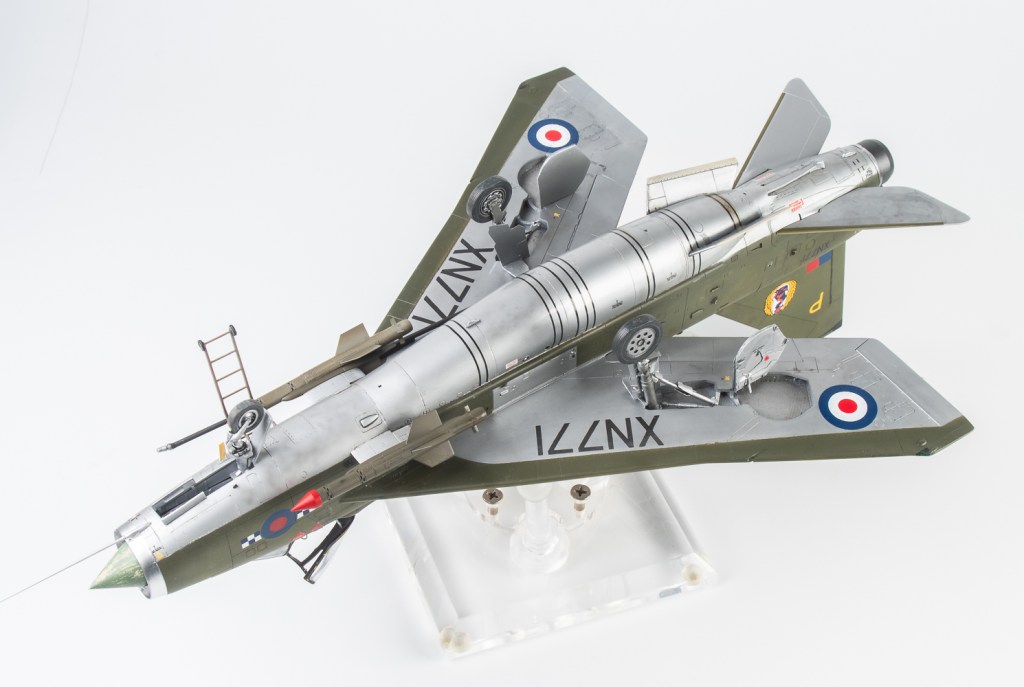
Avro Lancaster B1(special). 617 SQN RAF Woodhall Spa UK 1945





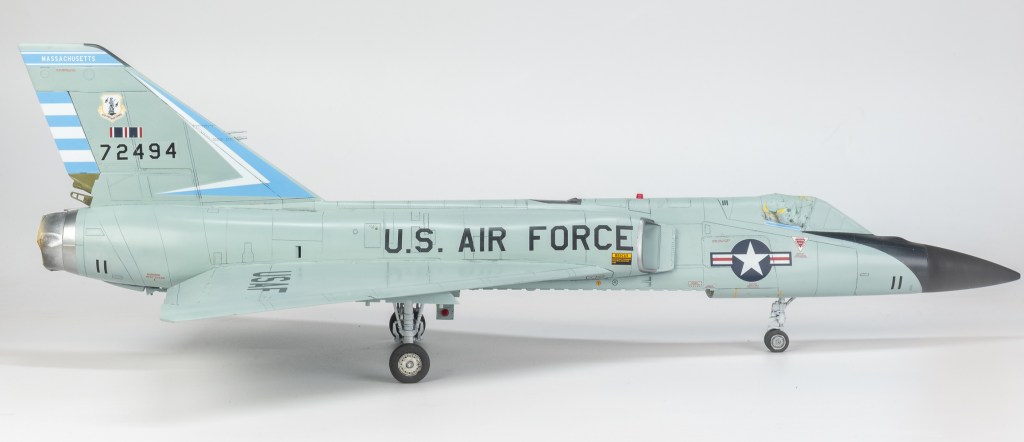
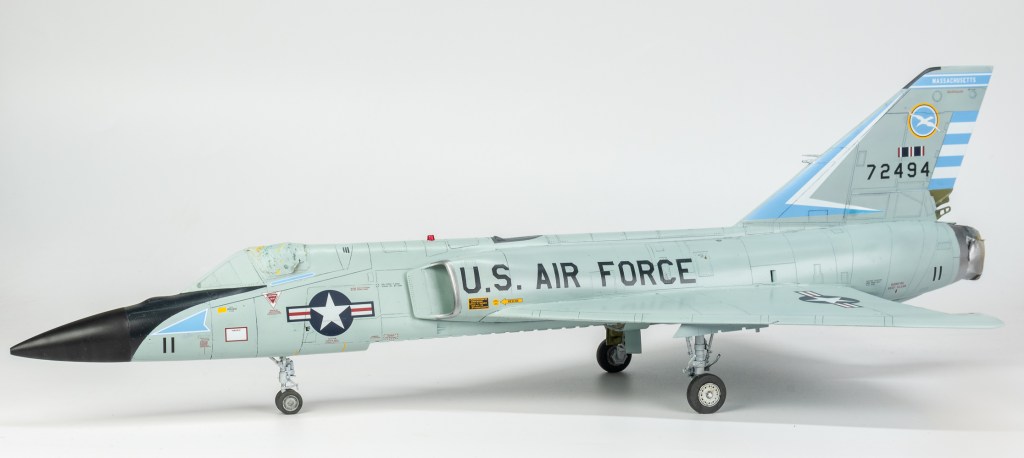
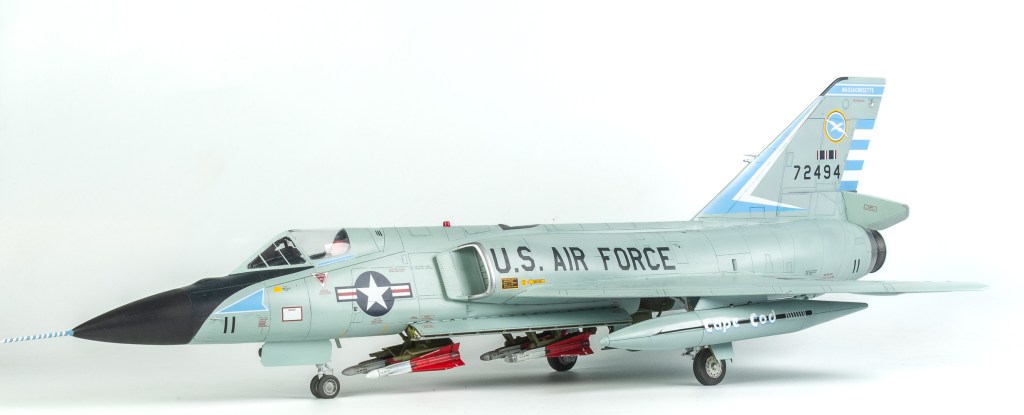
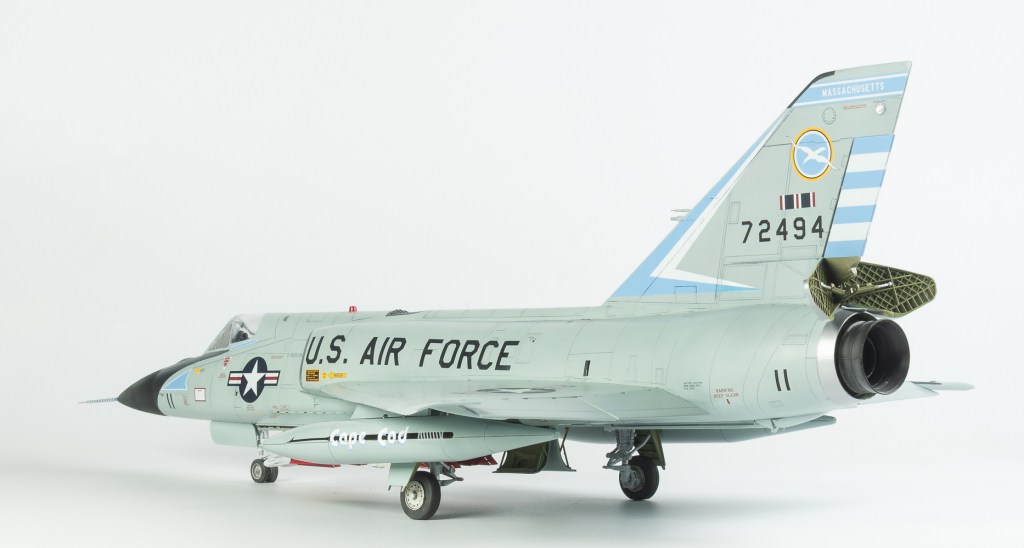




















Leave a Reply