
- Acquired: 1988
- Completed: 2023
- Enhancements
- Seats; Quickboost
- Cockpit; Aires
- Wheels; Reskit
- Matra Pods; Reskit
- Exhausts: Reskit
- FOD covers; Quickboost and Two Mikes
- Decals; Model Alliance RAF in Germany Part 1
- Wing Tanks; Hypersonic
- Triple Ejector Racks for Matras; Eduard Brassin
- Ladders; LP Models
Up until completing this build 2023 had been a horror year for me modelling wise, with several kits started, but none completed.
The bin was the final repository for more than one of those builds that had not satisfied me.
Whether it was my recent retirement, the house move, the time taken setting up a new model room or a combination of all those factors playing with me, I found myself getting easily frustrated with builds that actually weren’t that bad, but to me had been ruined by some silly minor error on my part.
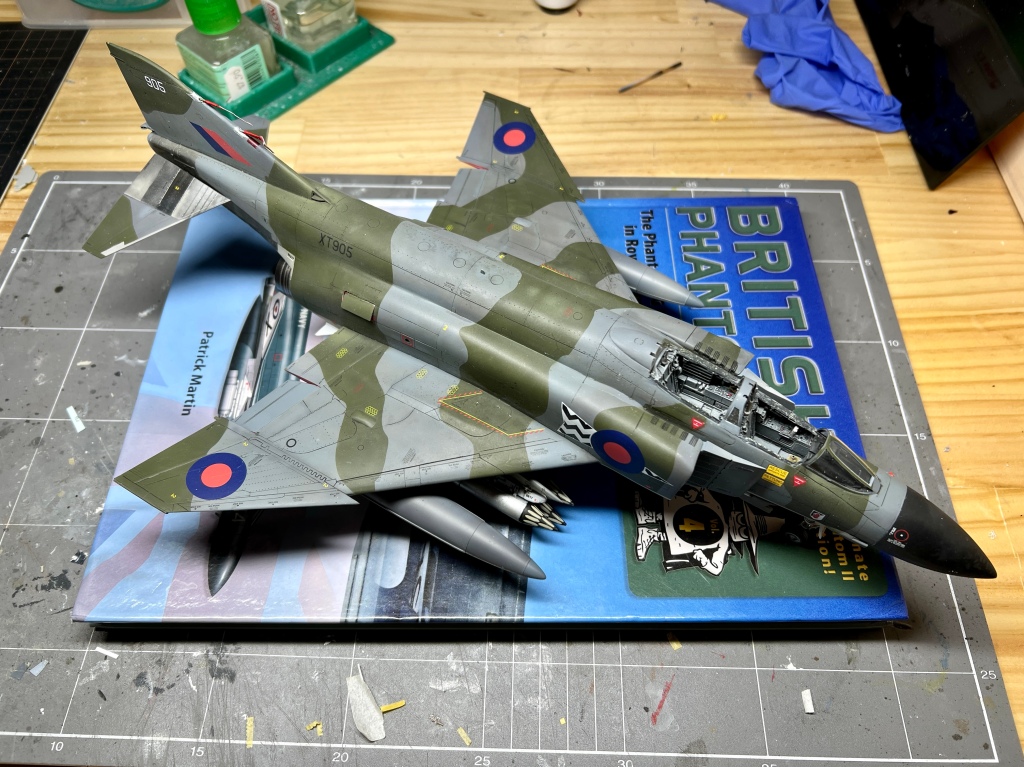
In an effort to reset, I decided to build the model that appeared first on m stash database, the venerable Hasegawa Phantom, even this was not without its setbacks, but this time I persevered through to completion. It may not be my finest work, but at least I have completed a model, which brings my total to 4 so far this year. Four! I built more when I was working full time.
This particular kit is the oldest kit in my stash, having been purchased in 1988 when it first appeared in Australian shops, its been packed, unpacked, placed on shelfs, shoved behind shelves, fallen down the back of shelves several times and the box bears the scars.
Opening the box revealed a fair bit of aftermarket had been purchased for it over the years. Even closer inspection showing I had at some stage made a start on the model, most likely soon after buying it, as that’s how I rolled then. Heady days indeed!
Wheel wells and undercarriage struts bore testament to my early airbrushing efforts where seemingly I blasted everything with thick underthinned paint at about 40 bar!
However what it did show me was my modelling has in fact improved greatly over the intervening years. If like me, you have long disposed of your early canon of work, it can be difficult to determine if you have indeed made great strides in modelling Looking at recent models in the cabinet sometimes only reveals incremental improvement. Looking at your amateurish attempts from 35 years ago certainly brings home the large improvements you have made in your modelling.
Construction Notes
The Aires cockpits are always incredibly detailed but have a reputation for being difficult to fit in just about all cases. That being the case with this one too, although I found it easier than some of their products. That was once I’d worked out what parts of the kit to remove. The instructions being virtually useless in this regard, save for the sage advice of “kit parts will need got be sanded”.
Eventually I worked out from studying the resin parts, the kit sills needed to go. The clue was the sill detail contained on the Aires part.
Still, the bottom of the resin cockpit floor and the top of the kit nose wheel well had to be sanded to within a mm of their life, before the cockpit would sit at the right height. Width wise though, not a lot of sanding needed to be done apart from removing the rudimentary side wall detail from the Hasegawa fuselage halves.
Stout plastic sheet locators were fabricated to hold it in place and the gaps between the sills and plastic fuselage sides filled with Milliput.
The rest of the kit went together remarkably well, minimal gaps at the intakes, a slightly wider gap at the front edge where the underside of the wing joins the nose was shimmed with plastic card which helped to minimise the filling. As the plan was to use FOD guards I could dispense with faffing around adding full intake trunking, although the abrupt end to the intakes trunking as hasegawa have moulded it is not a huge issue in my book, and can be minimised with some creative painting.
I say relatively well. There were complications but these were due to the kit missing a few parts due to the length of time it has been in my stash and the repeated packing and unpacking it has seen with various house moves. Here I have a friend, Ian Bevan who came to my rescue. If you are using the reskit exhausts, be forewarned you need to either shorten the rear of the flat area that forms the bottom of the fuselage halves or cut out openings to accept the extra length of the RESKIT exhaust tubes.
The spine just needed some panels and covers rescribed and she was pretty much ready for paint.
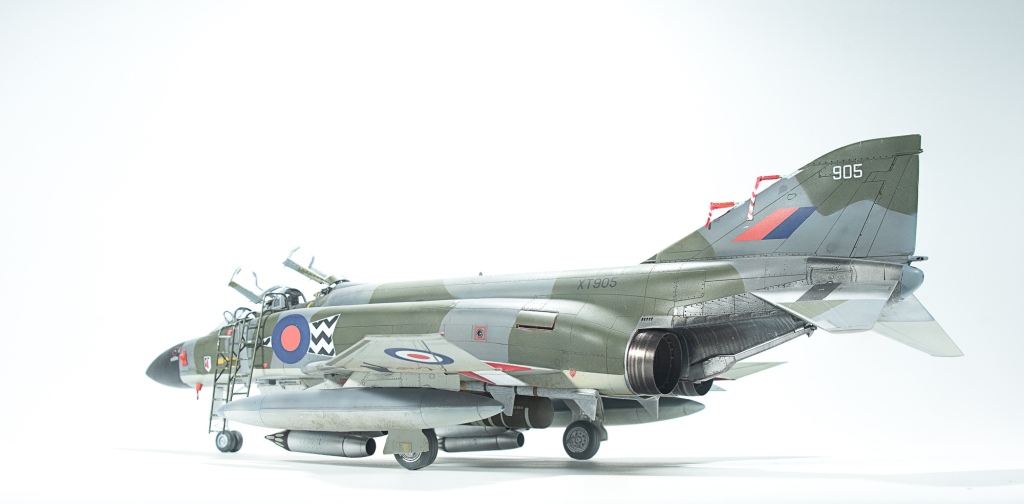
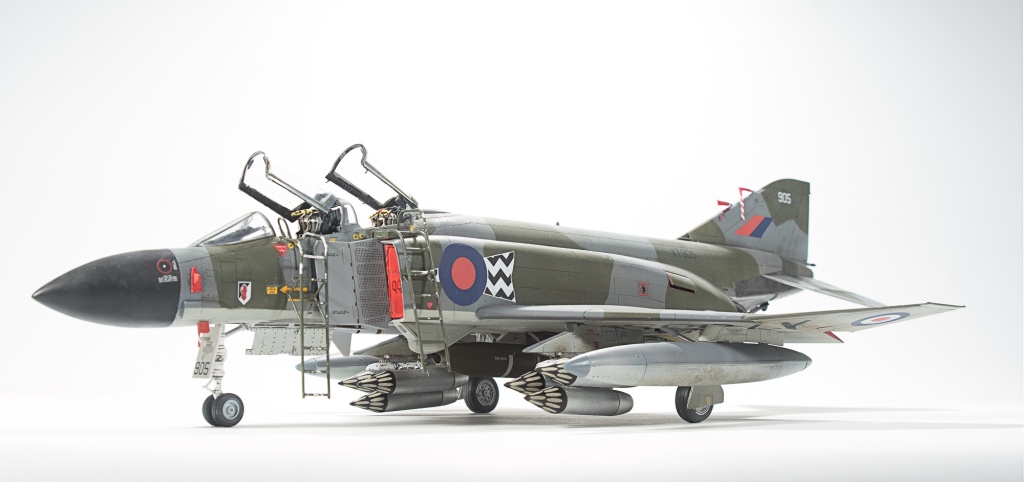
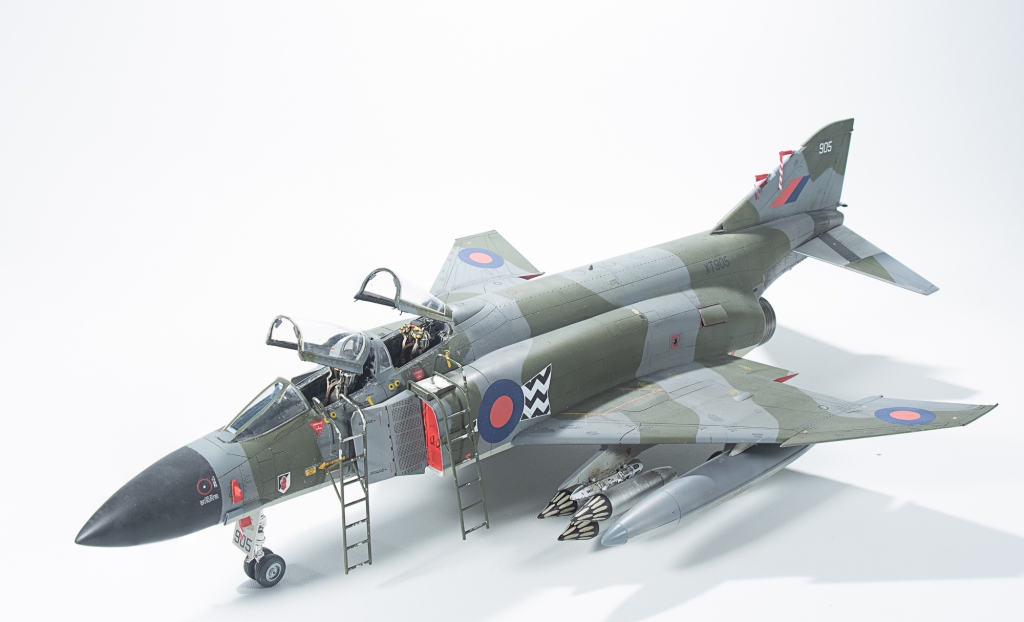
This model was always going to be in the classic cold war scheme – for me anyway- of grey/green/light grey camouflage they wore whilst employed in the strike role.
Gunze paints were used for the topside colours, AK Real Colours Light Aircraft Grey was employed on the underside due to it having a warmer tone, than Gunzes interpretation, which seemed to match my refs better
The Model Alliance decals were no problem. Stencils came from an Extradecals sheet for British Phantom stencils, and being printed by Microscale, also performed well, although Im not sure all the stencils on the sheet were applied to British Phantoms. The Xtradecal sheet was employed as the Hasegawa stencils had shown a propensity to break up when introduced to water.
Gunze gloss had been applied prior and post decal application followed by SMS Flat which gave the required sheen I was looking for. However the edges of all carrier film was still very visible, no silvering, but quite apparent edges. I have read where these lacquer clears can be too thin to hide decal carrier film edges. A coat of Testers Dullcote was applied, which hid all the carrier film, but also led to some frosting. Subsequent coats of SMS flat failed to bring back the sheen I wanted. Semi gloss should have been used in retrospect.
Later analysis showed this was the point where things started to go wrong!
My reference photos of this particular jet, (and here I need to mention Geoff Coughlin’s suburb e-book series) showed the jets from 17 SQN at this particular time to be fairly well looked after, with minimal weathering on top surfaces although the undersides were filthy. The jets at this stage being fairly new in squadron service.
To this end oils were used to impart heavy streaking and fluid loss. Speckling was also heavily employed to show the grime that would have been flicked up from wet runways.
For the loadout, I came across a photo in Double Ugly’s book on British Phantoms that showed a load of 3 MATRA Pods being carried on TERs. Hasegawa TERS from one of their weapon sets would be used, that is, until I screwed up drilling holes in them for brass pins, so Brassin TERS were used instead.
The whole drilling-tiny-holes-and-pinning-stores-to-pylons affair was incredibly frustrating. It didn’t help the hasegawa inboard pylons are an incredibly loose fit to the wing too.. The hypersonic tanks and pylons were trouble free and were a push fit.
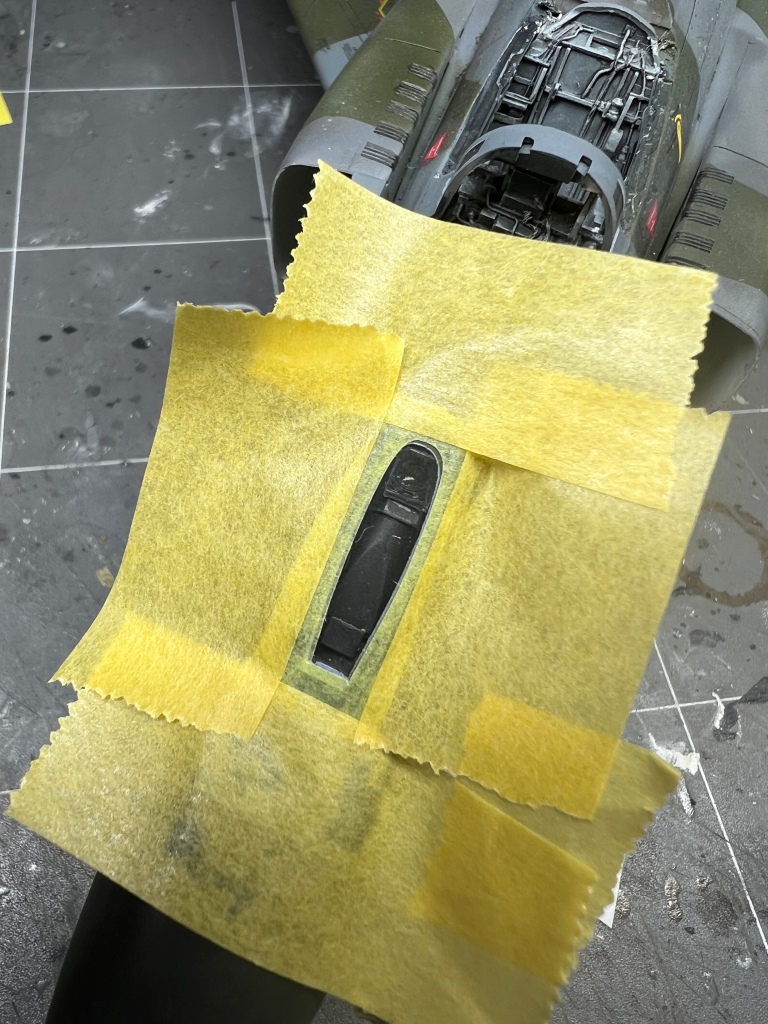
With the Matra pods I also have to throw out a thanks to The Hamfisted Modeller for sending me the cut files for the frangible covers on the nose cones. The method is outlined in his build of the Kinetic Harrier
I did ask him to send me some skill too, but sadly , he had run out!
With the canopies, I found the Eduard PE canopy bow fascias just would not fit the canopy profiles. I should have just yanked them off, FGR2s of this era were only fitted with 2 mirrors so the centre one was cut off, Bizarre thing with the rear canopy, it had no hinges moulded on like the pilot canopy, a check of the FG! in the stash revealed that canopy also with no hinges.
Fault by Hasegawa maybe? Its marked as the standard F-4 Sprue, and all other Phantom sprues I have seen have been correctly moulded.
By this stage, as always happens with kits that aren’t going the way I envisaged, I began to take shortcuts and rush things as I really just wanted it off the bench. The next model will be wayyyyy better, right?
Therefore I didn’t bother with the full complement of RBF flags, so with the addition of the LP Ladders, I called it done.
Its not as good as I was hoping for, but Im pleased to have finally built the oldest model in my stash. There is the FG1 to build as well, but first a cheap Hasegawa Phantom will need to be sourced to replenish the parts I took from it to build this kit.
Hopefully Airfix see fit to release this iconic jet in 48 scale. The Hasegawa Phantom series have not aged as well as some of their other kits, the B/N, E, C/D and J all being rendered pretty much obsolete by newer kits from Meng and Zoukie Mura.
However, the Hasegawa kits remain the only Spey engined Phantoms in 48 scale to this day, and are still well sought after. They are still available on the second hand market as are the Revell reboxings for reasonable prices, well, here in Australia anyway.
Finally, Im not one for nostalgia kits or rebuilding kits from my youth, but this kit does have special meaning for me. Decades ago, it was purchased from a stalwart of the Perth modelling scene.,Tim Vickerage who owned a shop in Fremantle of which I forget the name, Modelcraft?
Tim was responsible for introducing me to Iwata airbrushes, Xtracolour paints and the model club scene. Tim sadly is no longer with us, so this build is dedicated to his memory.
Phantom FGR2 17 SQN. Royal Air Force RAF Bruggen Germany 1975


Leave a comment