- Completed: May 2019
- Enhancements: Seatbelts ExtraTech
- Wheelwells, CMK
- Camera access Doors- CMK
- Control Surfaces CMK
After the Trumpeter Thunderbolt, I was looking for something of a quicker build, so when my random stash pick system yielded the tanmodels Thundeflash, I was initially happy as I had been thinking about building this for a while. That initial enthusiasm quickly dissipated during the early stages of construction. Ejector pins marred the interior surfaces, the plastic parts had a pebbly texture that would require lots of polishing if I wanted to do a NMF and the surface detail almost disappeared on the underside of one fuselage half, meaning a rescribe would be in order. Coupled with this, assembling the brackets that hold the cameras proved fiddly with small in scale parts that had minimal glueing area. It fell apart on me a couple of times. It would have gone back in the box if it were not for the reason I am trying to reduce the number of half built models on my stalled list, not add to them! So construction carried on. The cockpit reminds me of the old monogram kits with nice relief on the side consoles that responded very well to dry brushing, same with the instrument panel. The seat had some generic US Seat belts added, painted, and was seat aside after a wash of Mig Products Dark Wash.
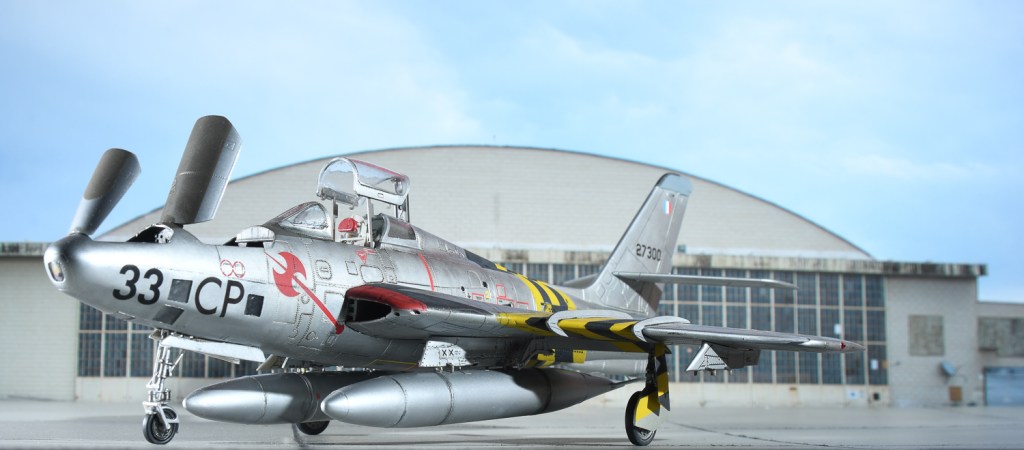
The kit has the option to cut out the camera access doors, and seeing as TanModels had gone to the trouble of including all the cameras, I thought I should show them off. The doors are demarcated by cut lines on the inside surfaces. These lines are a little wide, so care is needed in cutting them out. I used repeated scalpel passes, until they came away. Separate doors are in the kit, but I decided to use nicer detailed ones from CMK that show the insulation on their interior surfaces. The cameras, save the nose one were left out until final assembly. Suddenly I was up to closing the fuselage halves! They fit together without problem I’m pleased to say, and a scribing tool and riveting tool was used to reinstate and deepen the underside surface detail using dymo tape as a guide. This actually went a lot better than I thought, given rescribing isn’t one of my better skills. It wasn’t until this stage that I actually started enjoying the build! Dry fits had shown a very nice tight fit of the wing assemblies that slide into recessed areas on the fuselage without any need for filler, however with the intakes added, the fit was nowhere near as nice. I ended up dissembling the wing intake trunking and splitter plates (thanks Tamiya Super Thin Glue) and reassembled the splitter plates and trunking to the wings one piece at a time, constantly checking the fit of the wings to the fuselage. This worked and led to the initial nice tight fit that the first dry fits had shown. I have no idea what the problem was, but can only guess the splitter plates when added to the assembled fuselage trunking caused the interference. It has to be said the internal trunking does not really fit together seamlessly. Ensure when done, that you sand the openings flush so that there are no steps that will cause the splitter plates to sit proud. Prior to gluing the wing halves together the CMK wheelwells were glued in place. I found the plastic around the wheel bay opening needed to be thinned slightly. I used a dremel. If its one measuring tool I have of my increasing skill, it’s the dremel. In years gone by this would have resulted in carnage and unusable wings. These days I can manage quite surgical cuts and thinning. The CMK nose wheel was also used which is just a direct replacement for the kit part, but with greater detail. I also used CMK ailerons and flaps as I had them in the box for some reason, but there is no discernible difference in detail that I can see. I now had a complete airframe with filler only being used on the underside centre seam and a tiny bit around the windscreen panel. Overall I found the fit excellent and my initial bad thoughts about the kit had disappeared. Before any primer could be applied though, that pebbly texture had to go.
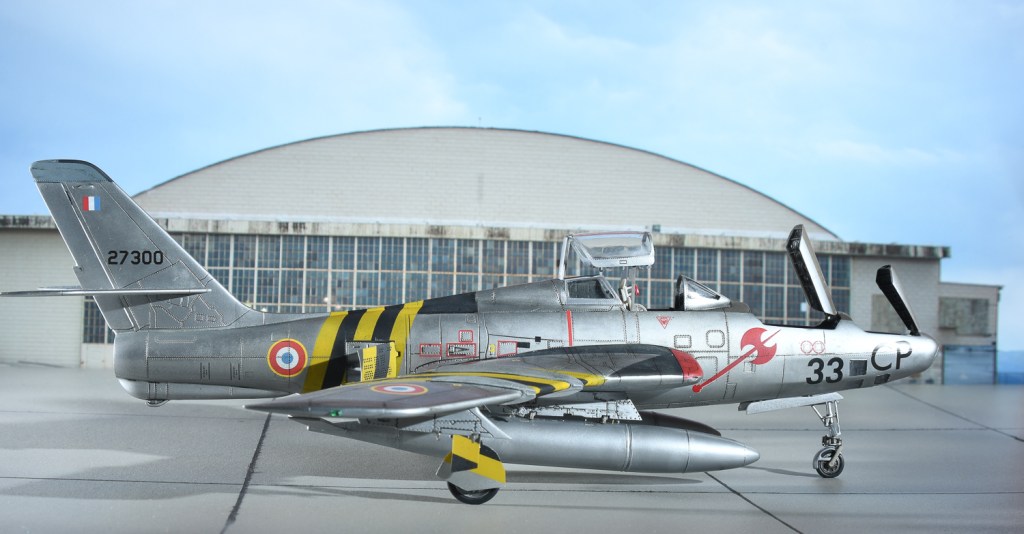
Republic RF-84F Thunderflash
27300 ER 4/33 Armee de l’Air RAF Akrotiri. Cyprus 1956