- Purchased ; 2023
- Completed; 2024
- Enhancements; None, built completely OOB
- Decals; Kit
Introduction
Another kit that was an impulse purchase, the reasons behind which are lost to the sands of time (despite being only last year!). A vague memory is it was possibly linked to a purchase of the AMP Sycamore around the same time, and the reason behind the Sycamore purchase? Another impulse after watching a YouTube show on it! Anyway, I digress.
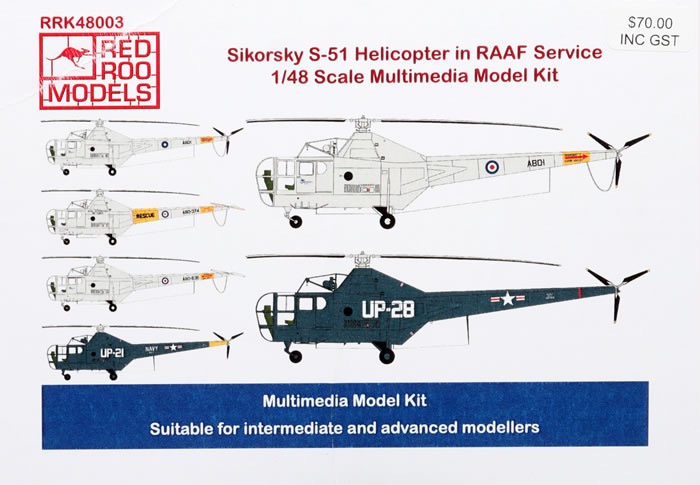
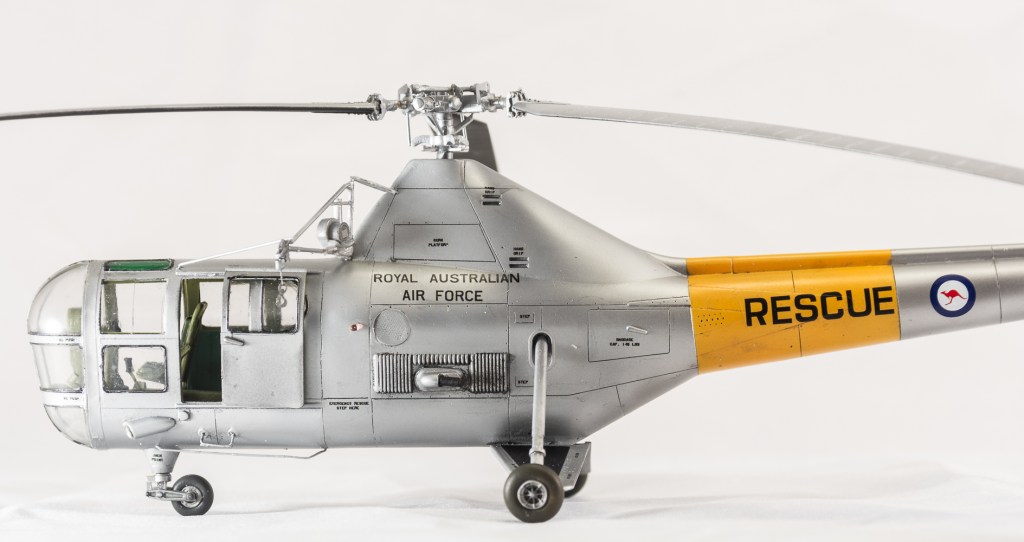
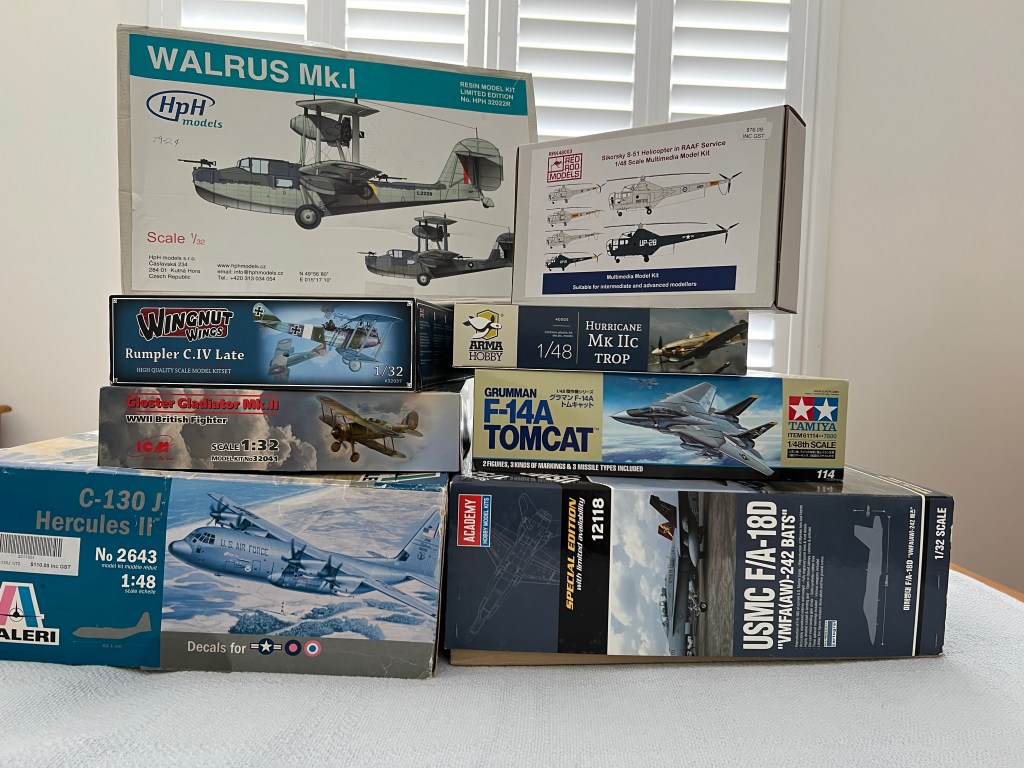
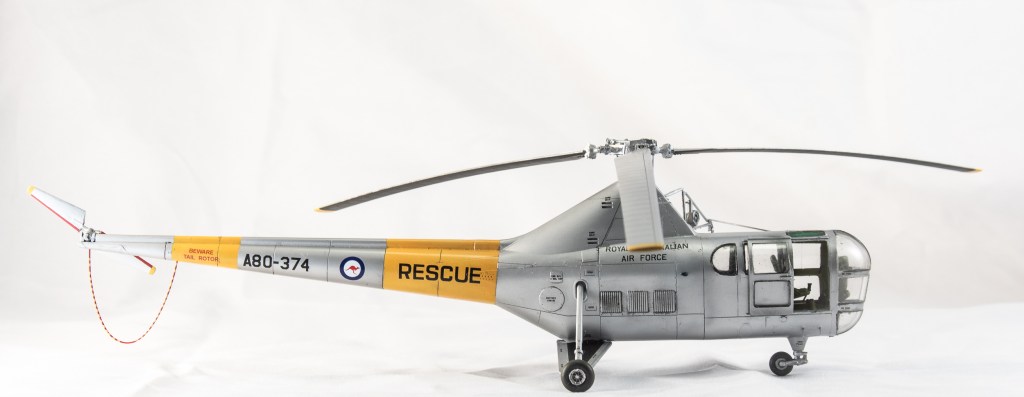
This particular boxing is the A.M.P product, reboxed by Red Roo Models with new resin parts so the builder can build an example of a machine in Australian service from a variety of SQNS that used them.
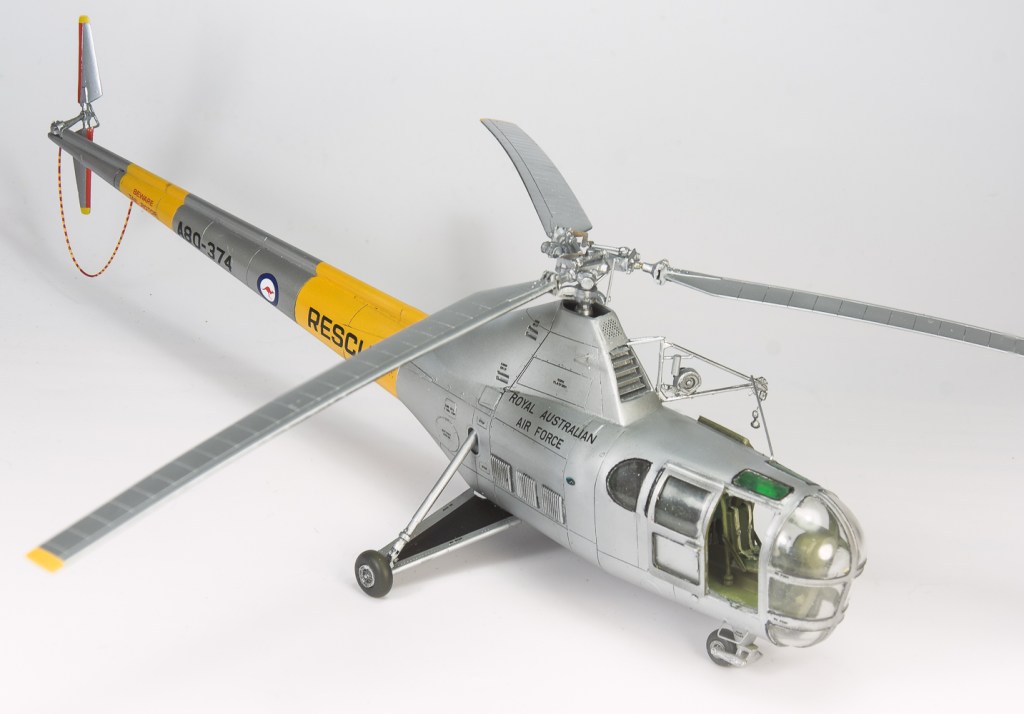
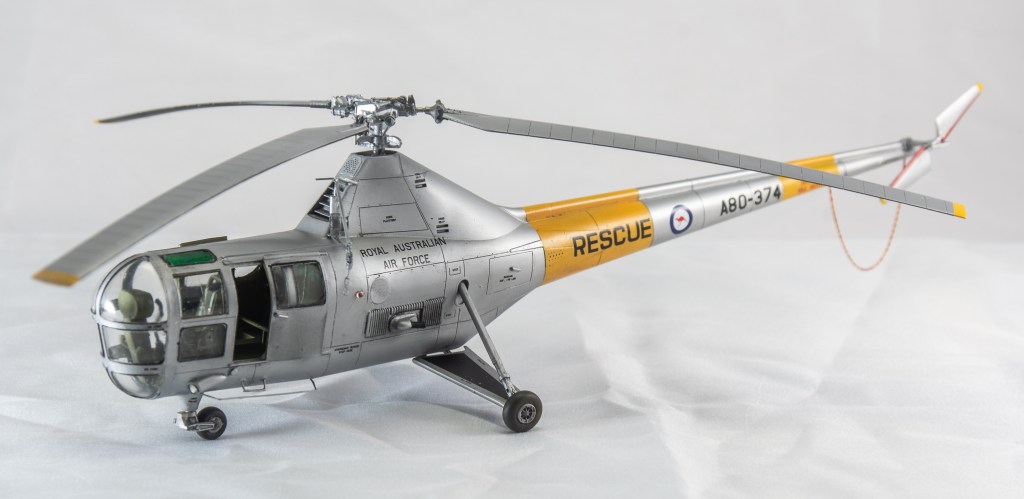
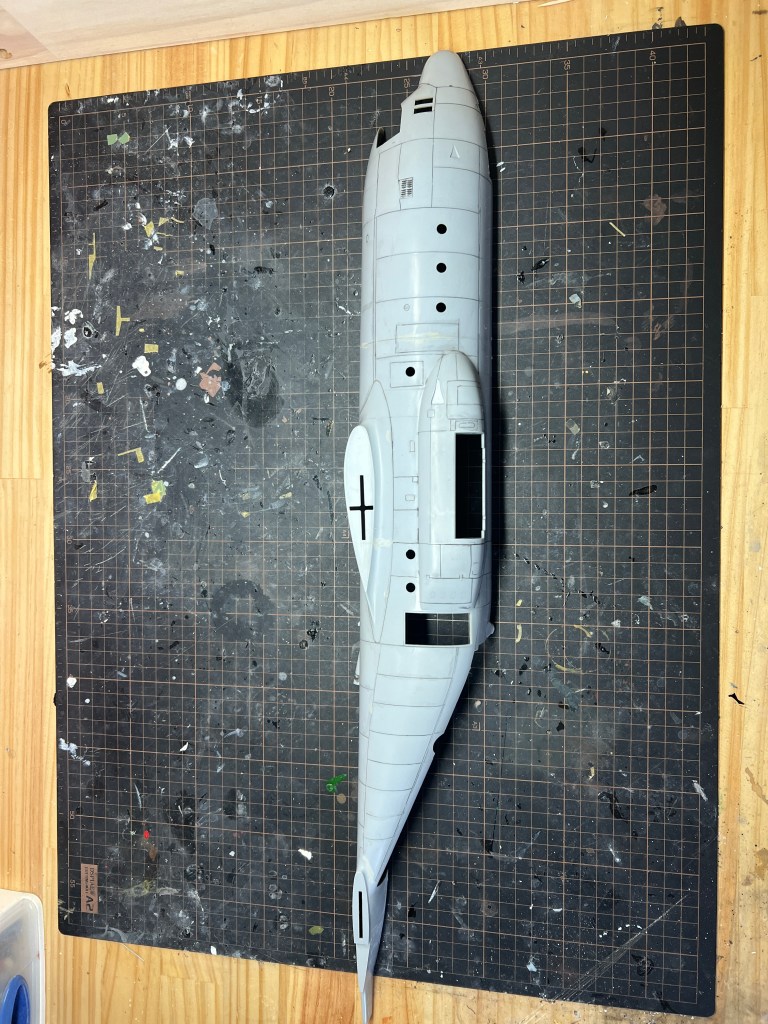
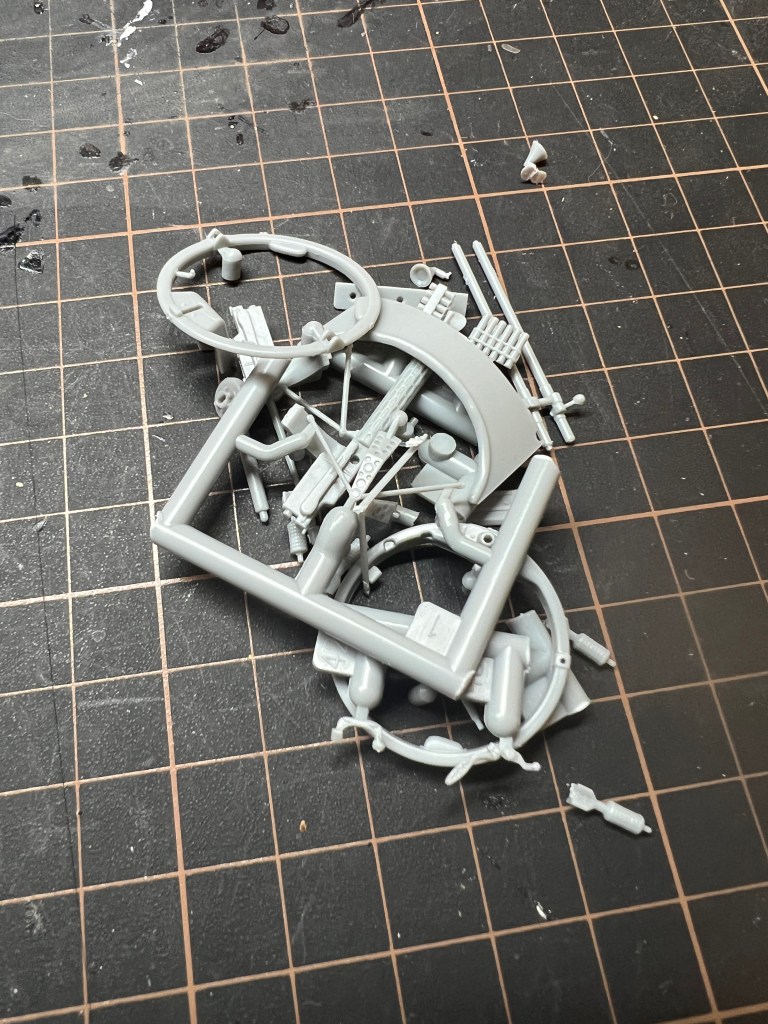
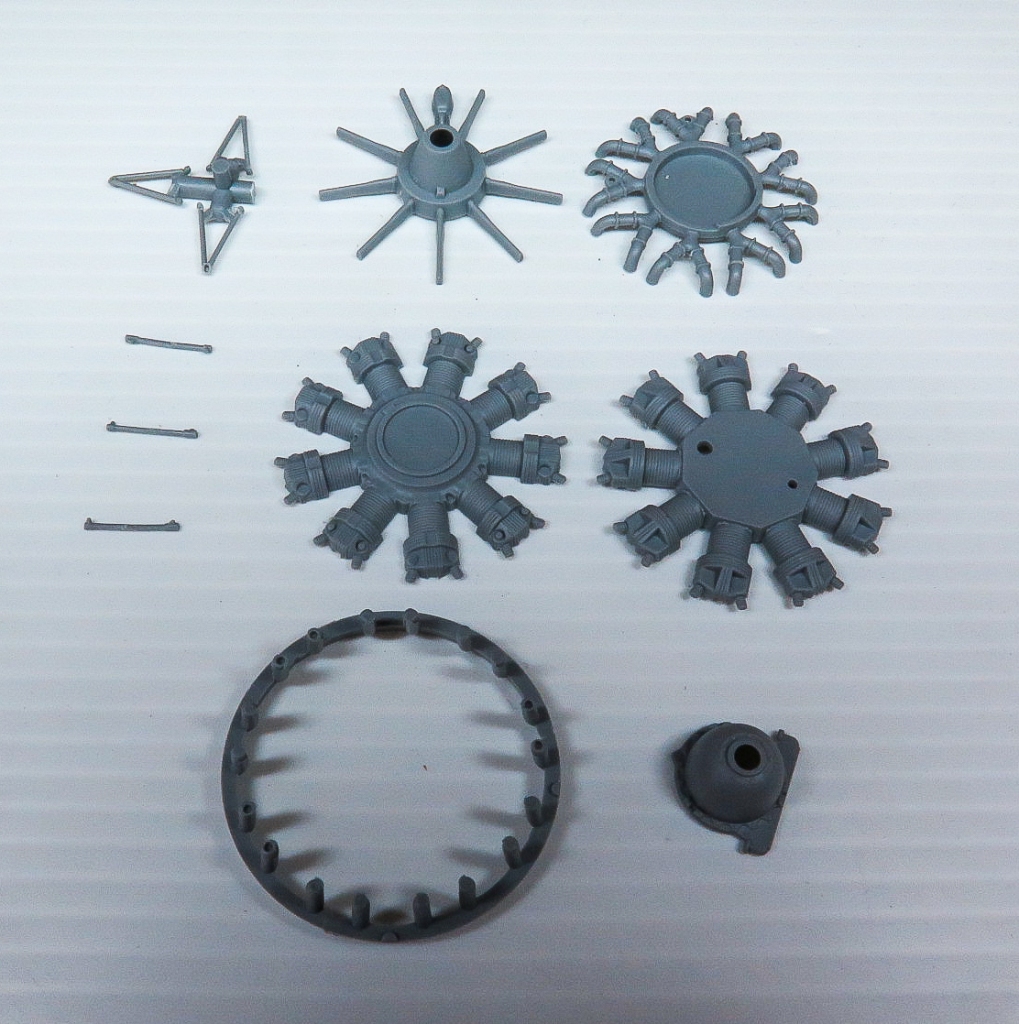
The resin parts consist of a new 2 bladed tail rotor which the later RAAF machines used and wooden rotor blades as used by the earlier ones and the two USN examples that were embarked on the Sydney during the Korean War. The plastic, is as usual from some of these limited run Ukrainian companies, light grey with soft detail on the smaller parts. Clear parts are acceptable , although certainly not the clearest I have seen. The nose halves are moulded in clear plastic .
All parts will require extensive clean up to remove heavy mould seams. Redroo also include lengths of brass wire of varying diameter to build extra details and a printed rear seat on acetate to represent the web type rear seat. A very comprehensive set of instructions is included detailing exactly what needs to be added to the kit, even so , they have not done the best job of redrawing the AMP instructions, missing out a few things. For instance , there should a small instrument cluster mounted on the rear wall behind the pilots seat. The parts are included on the fret if some, but not called out in the instructions. Some of the suggested techniques are quite quaint and reminescent of Airfix Magazine back in the 70s . Pin heads to represent landing light lenses !!
Construction Notes
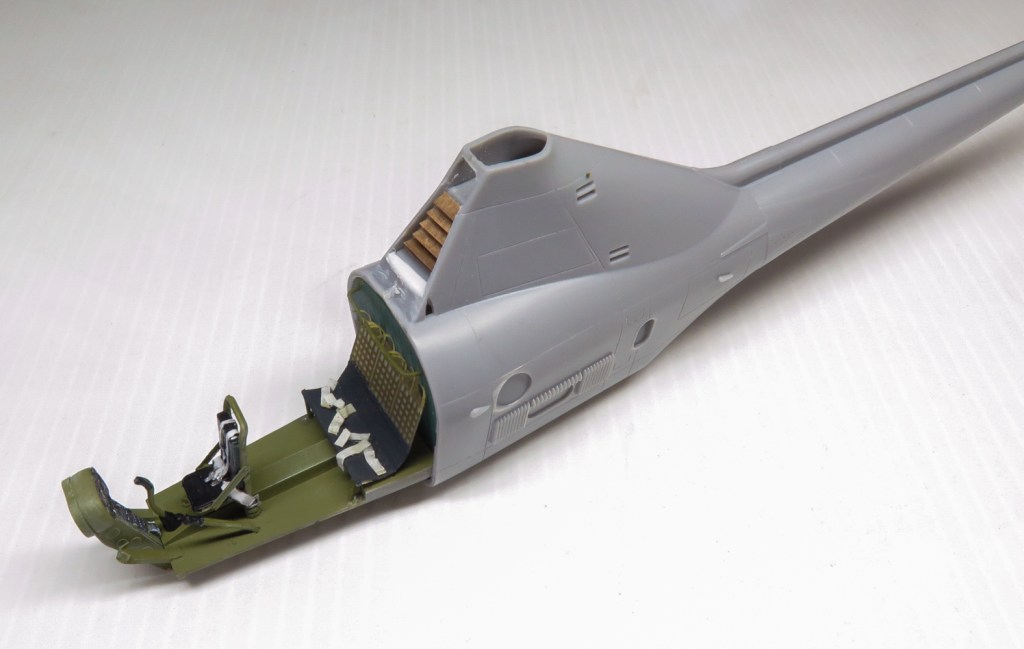
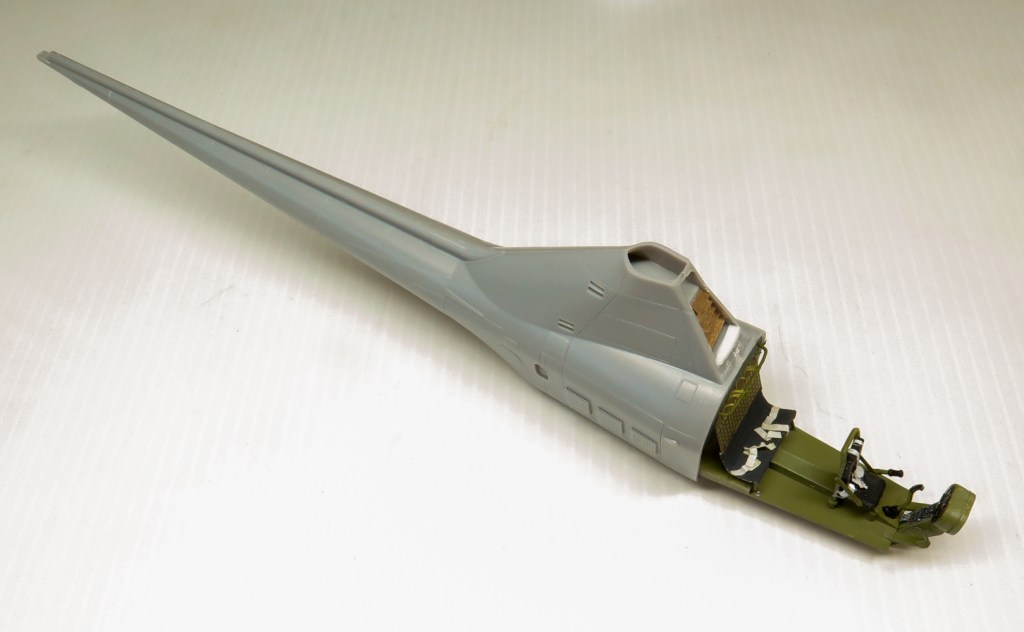
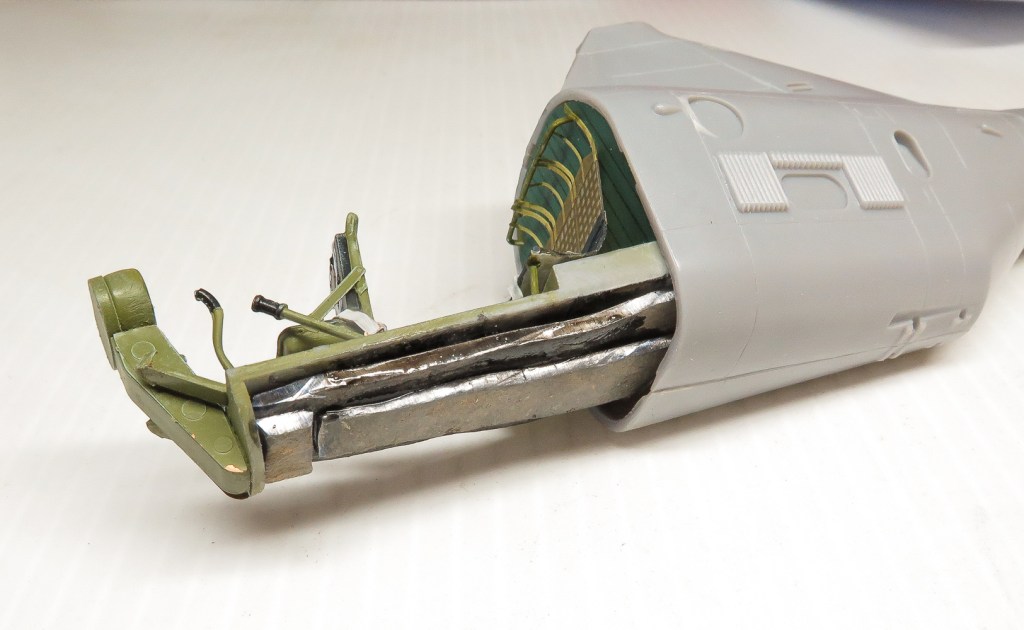
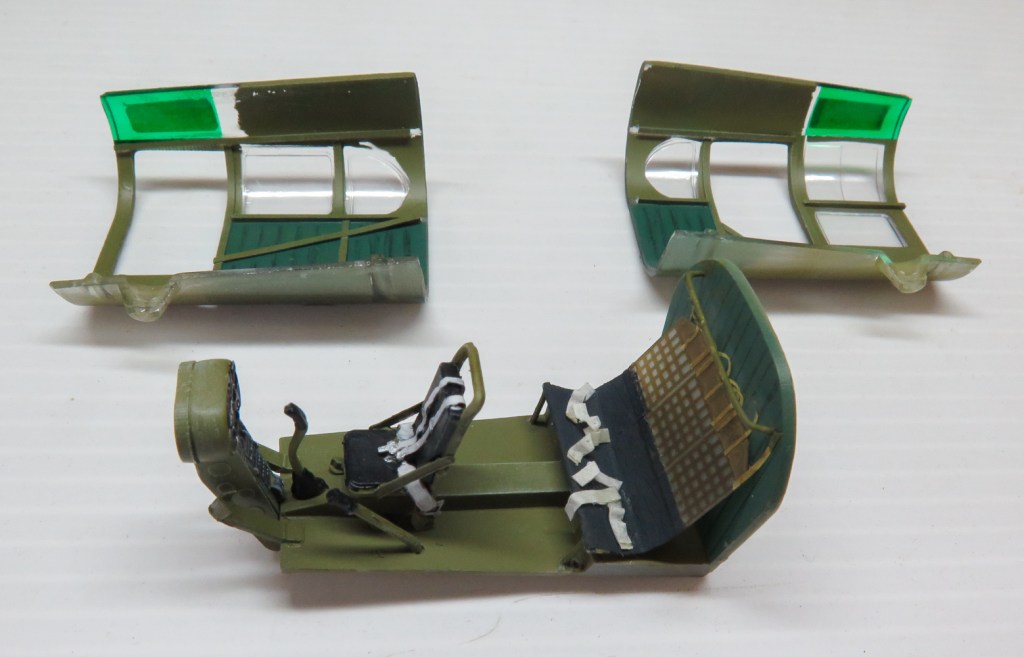
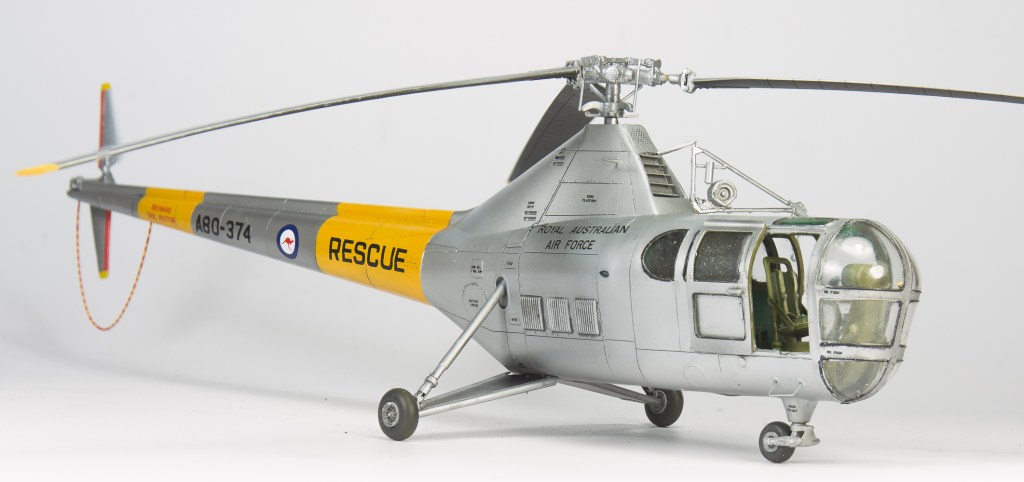
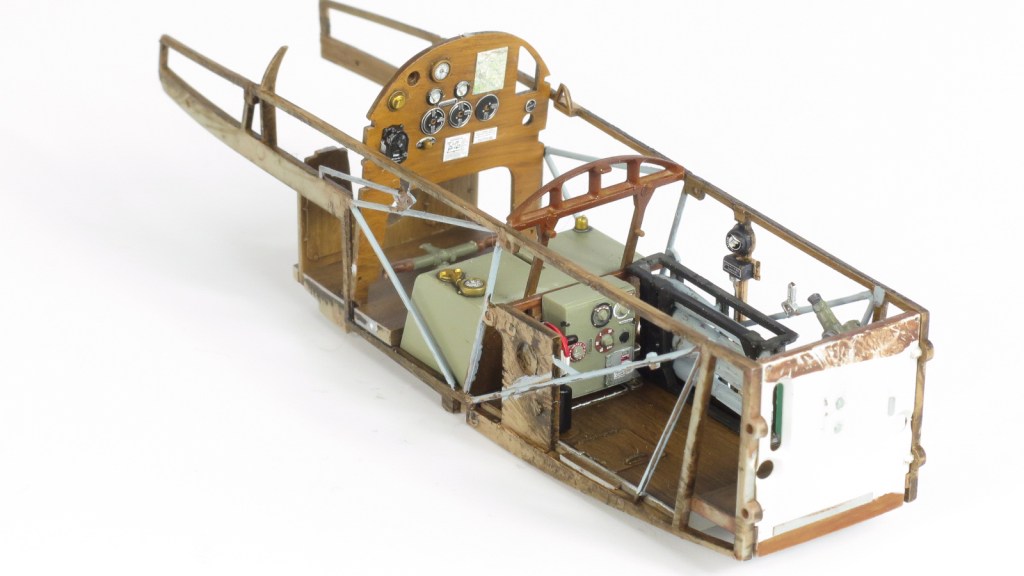
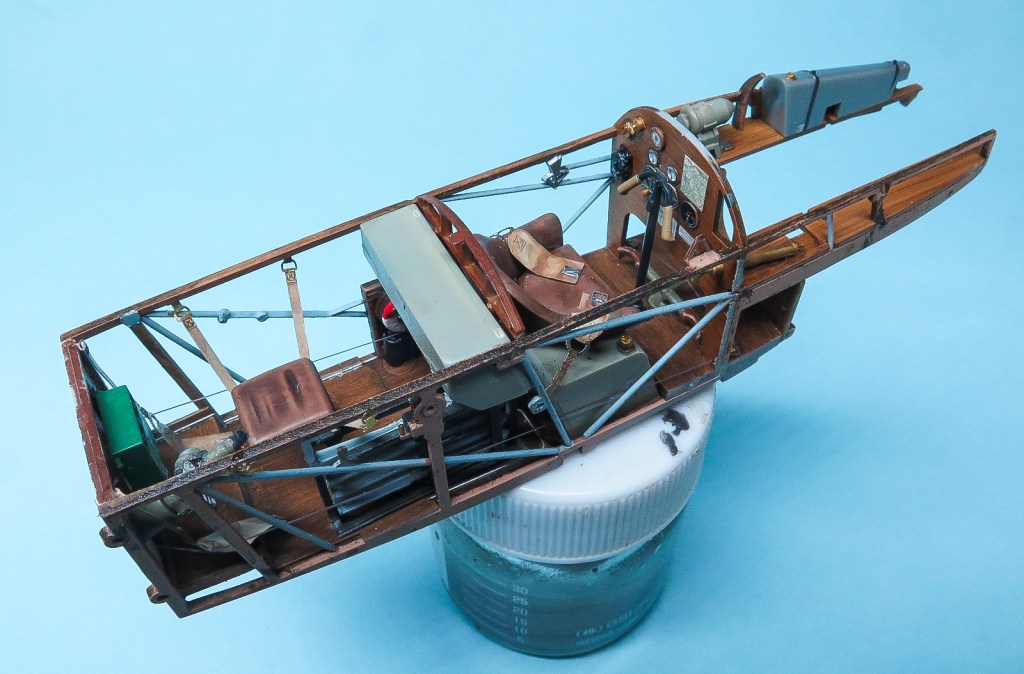
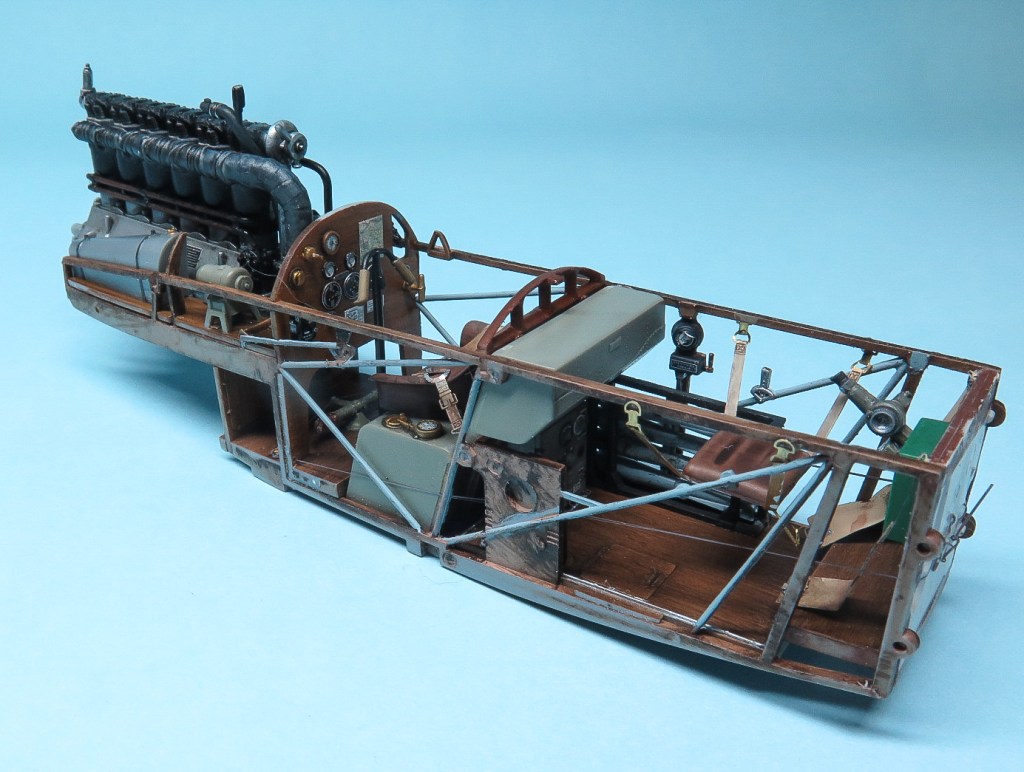
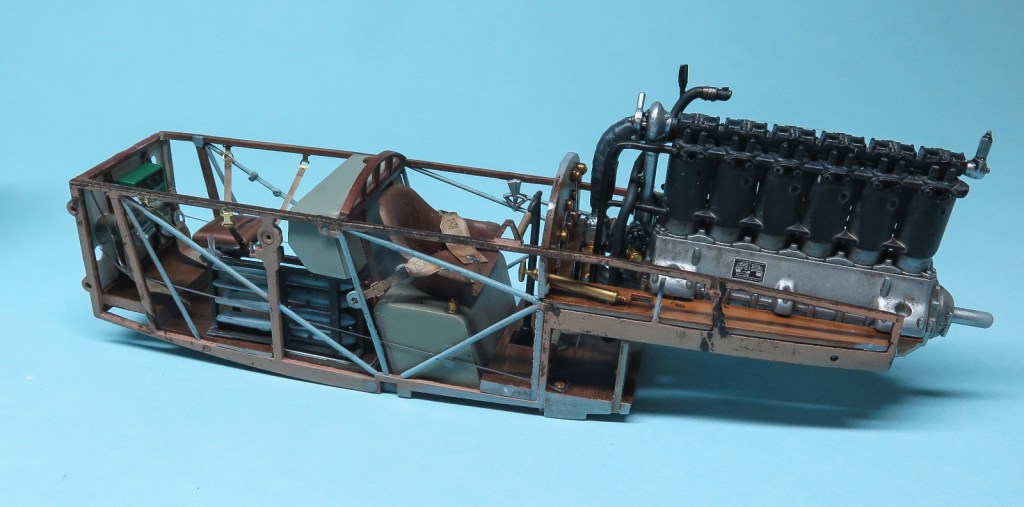
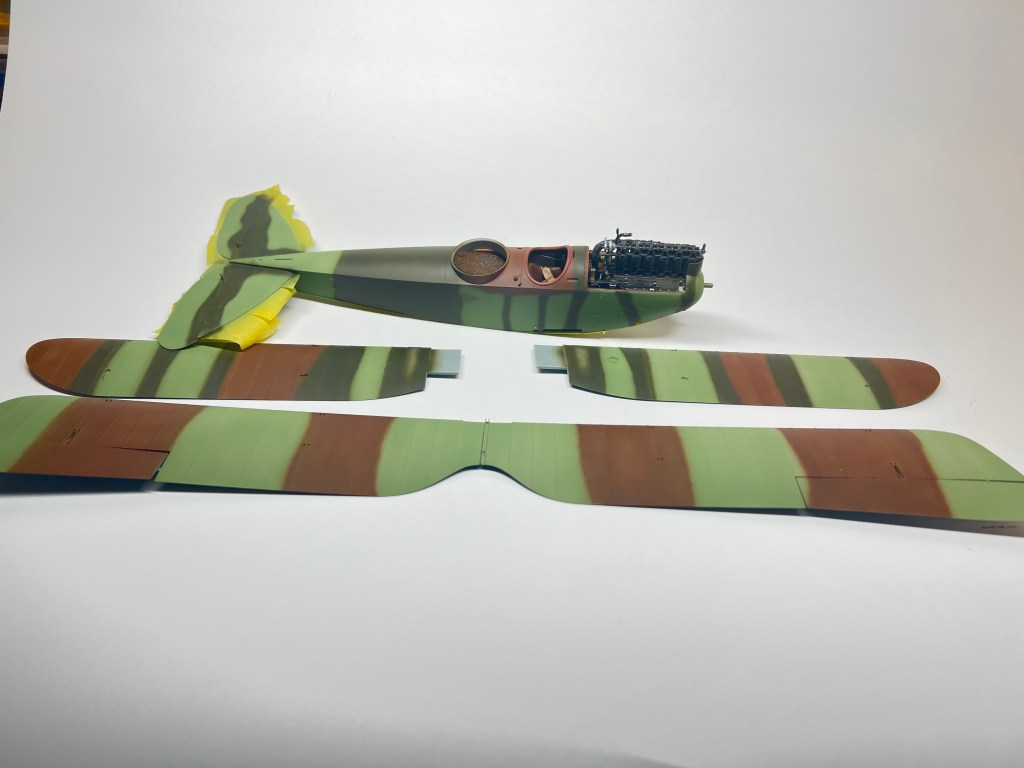
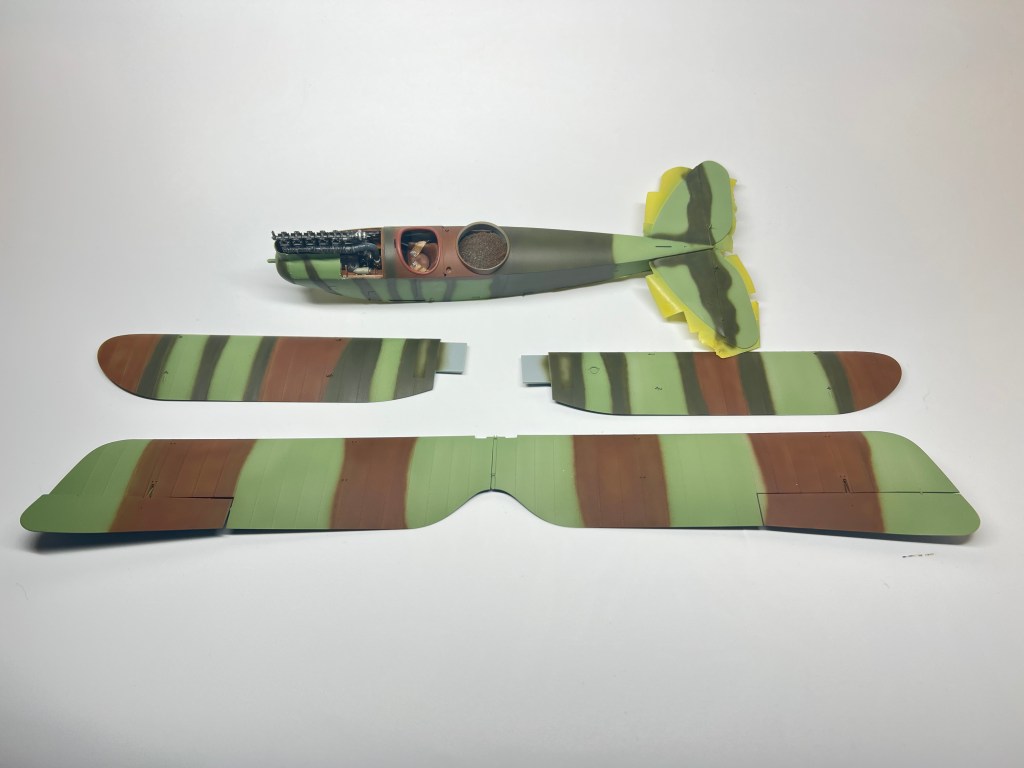
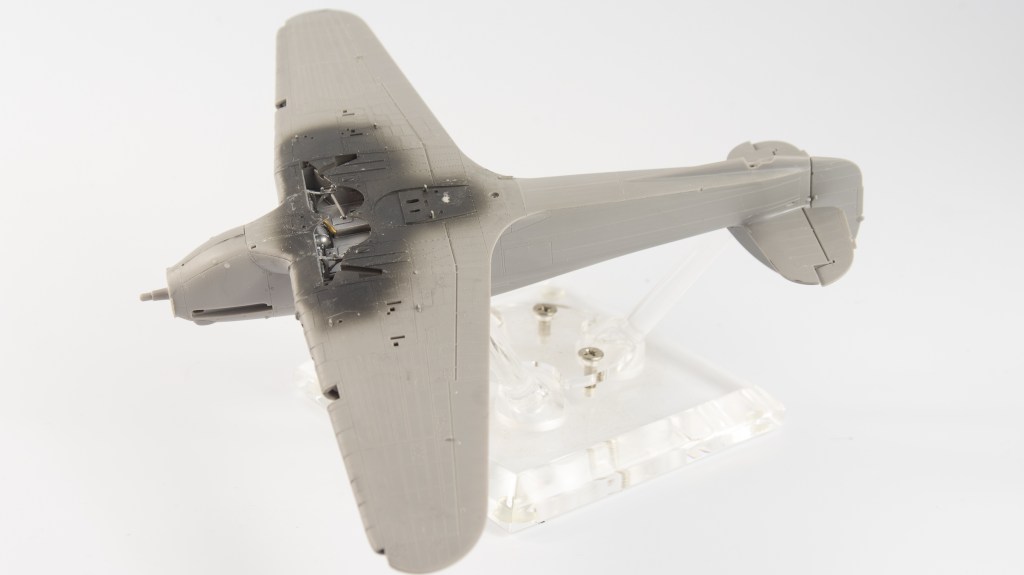
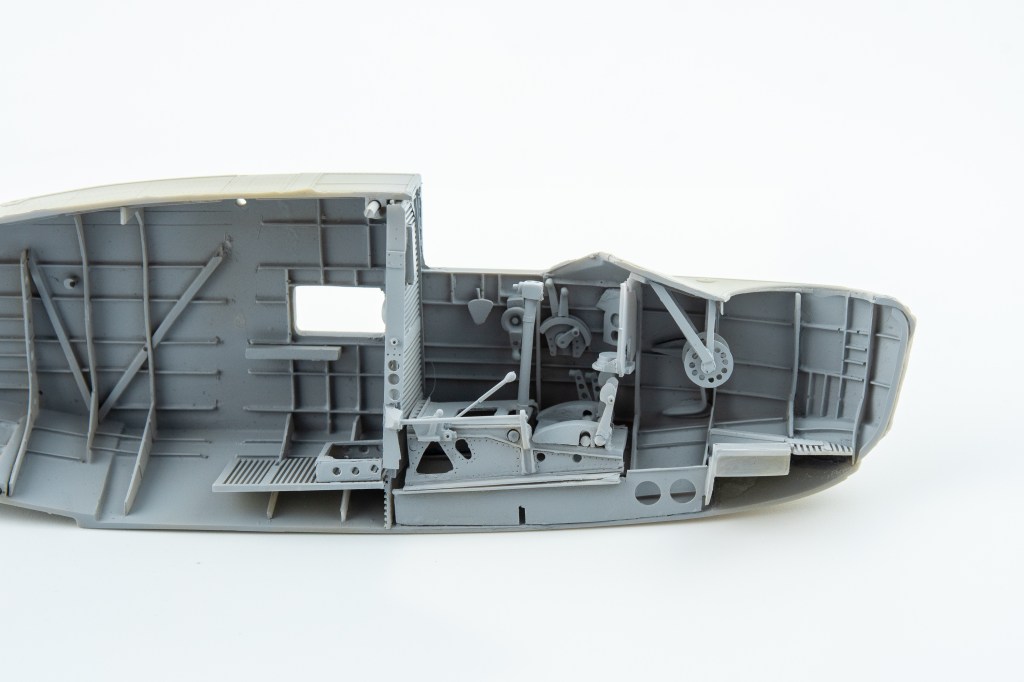
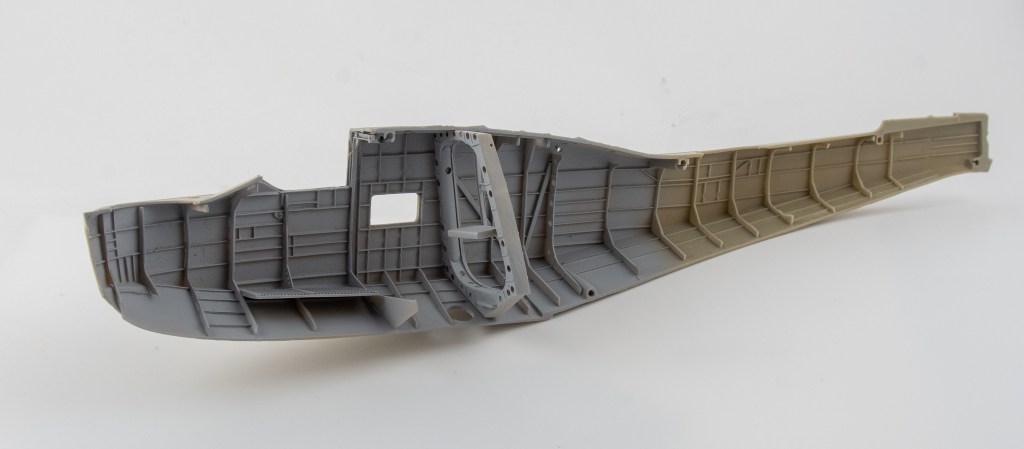
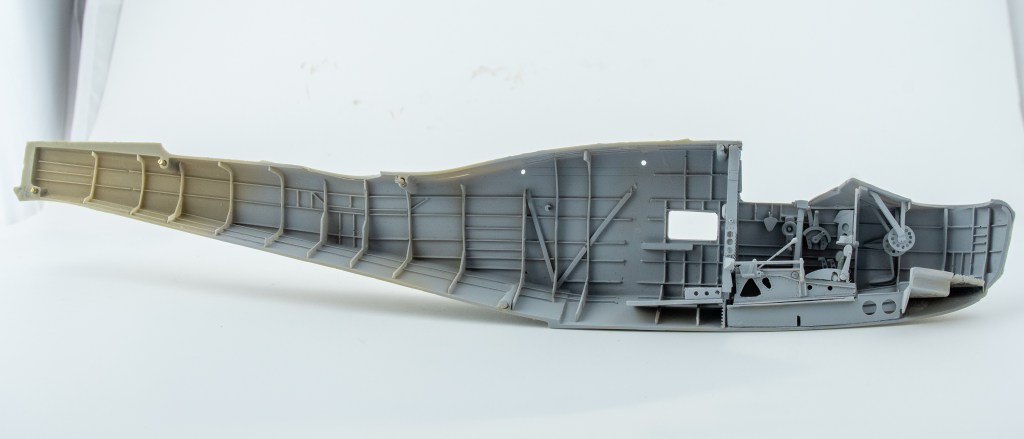
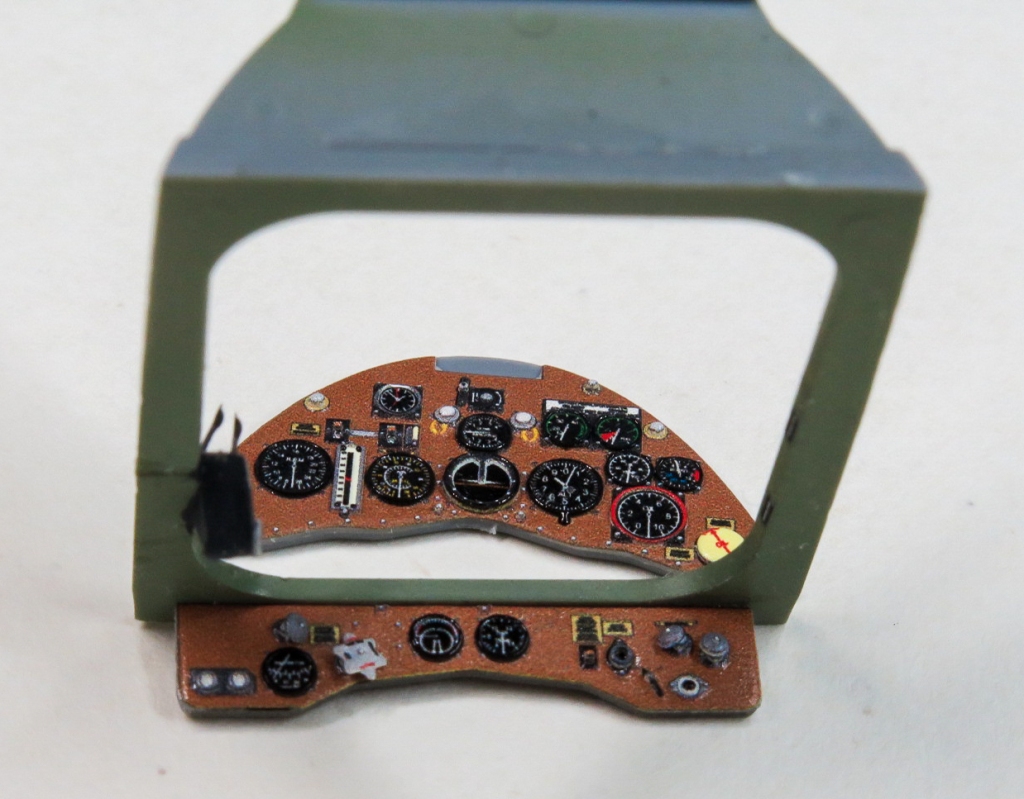
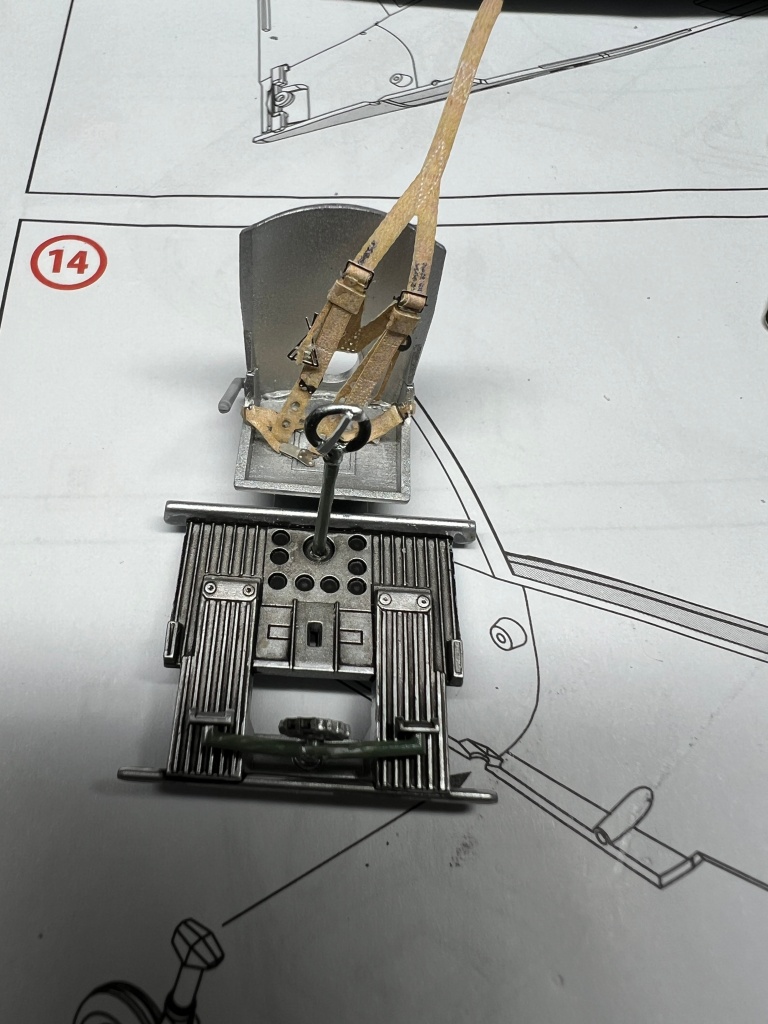
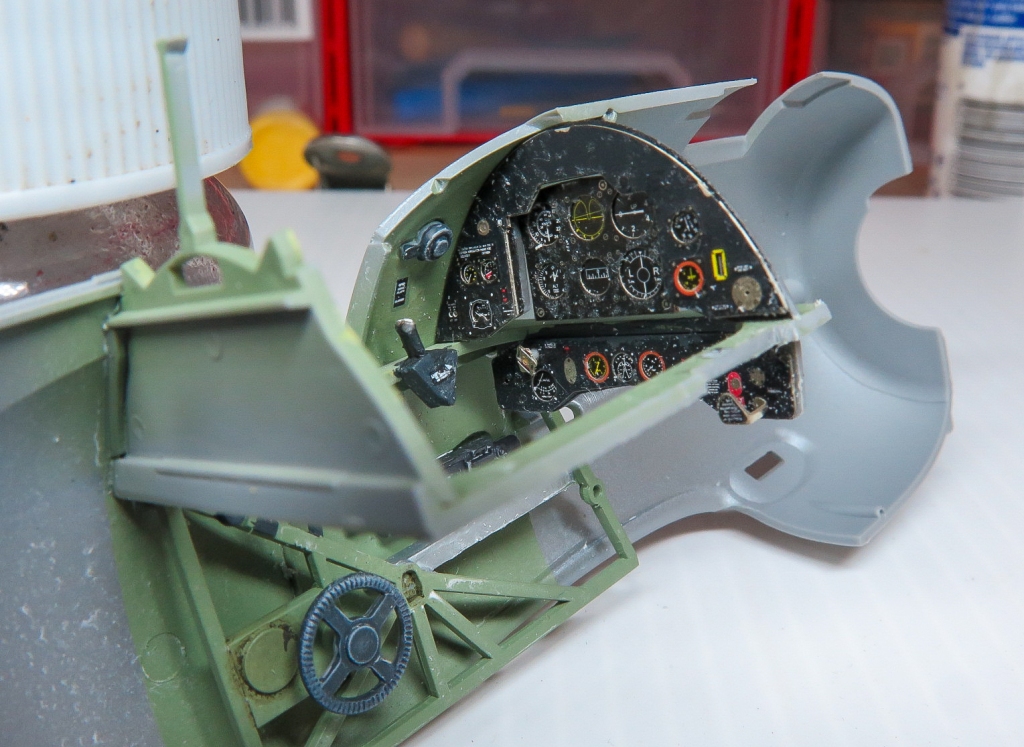
The interior builds up reasonably well, once the heavy mould seams are removed. PE seat belts are provided as are sides to the instrument console. The collective is overscale and will need replacing from small diameter wire or rod to give a better scale appearance. All locating holes will need to be enlarged to accept the opposite parts. Nothing too hard, just tedious. I used the rear seat on mine although I was worried about the glossy reflection off the acetate. You needn’t worry about this though as it really can’t be seen once the fuselage is closed up. To bend the acetate, lines were scored on the reverse side with a scalpel
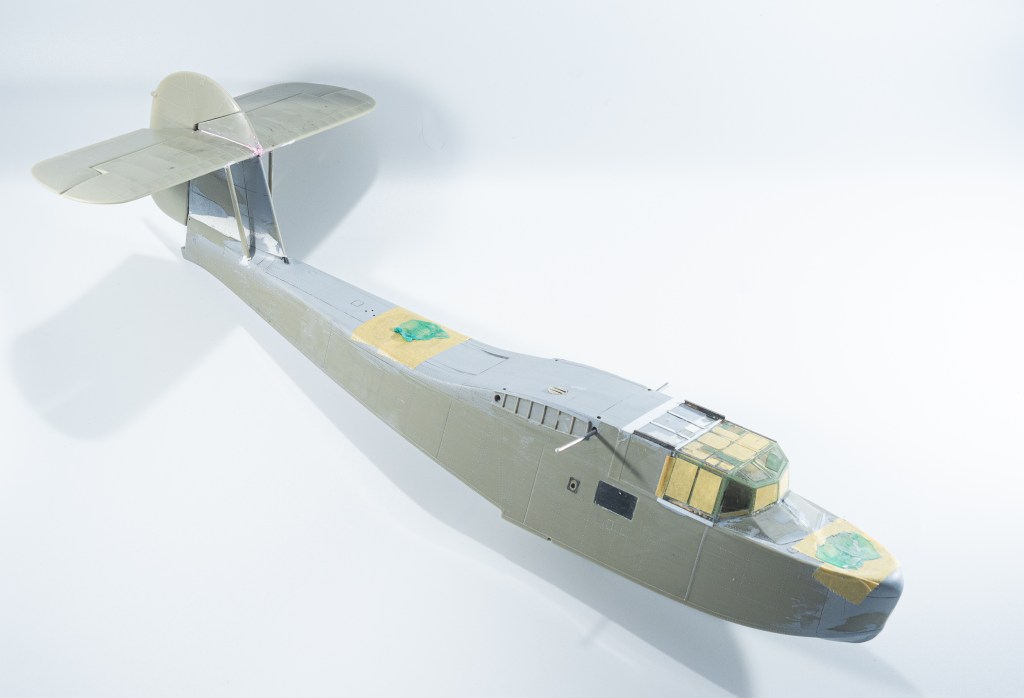
Don’t forget to add some weight underneath the floor so the completed model sits on its tricycle gear. As there were no masks in my kit, tape was placed over the windows, burnished into the corners with a toothpick and then cut with a new blade. The windows all have prominent seals around their circumference, so this is quite easy to do. The inside and outside were masked and the interior halves of the nose painted Interior Green. with the lower half of the rear cabin walls and also the rear bulkhead painted a dark green rot represent the quilting. Brown vertical lines were then drawn on with a pencil to represent the stitching. Seat cushions were painted the same dark green.
The overhead window outlines are very faint so, the PE frames were added to each fuselage half and then these were used as guides to cut the masks. The interior of these windows were painted Tamiya Clear Green.
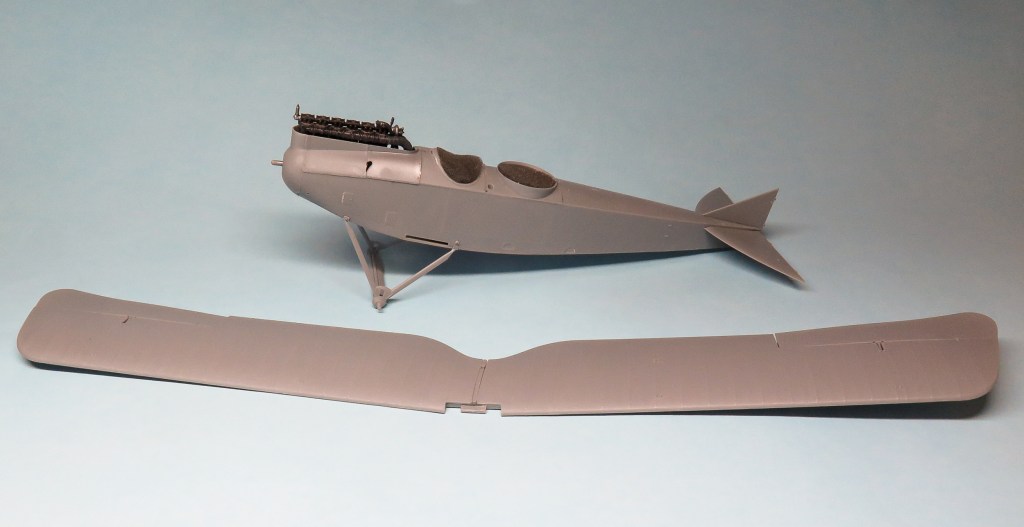
The only other complex assembly is the rotor head, again careful clean up and patience are your friends here. The PE parts adding to the delicacy of the completed assembly. I probably should have spent a bit more time cleaning up seams on my rotorhead though. I had no faith in the rotor blades remaining attached securely the way the instructions would have you build the kit, so each blade root and blade clutch was drilled and pinned with fine wire. The “knuckles” on each of these parts were also thinned with a microfile to enable the blades to fit onto the arms. Have I mentioned every part of this kit needed careful clean up or thinning or drilling out.
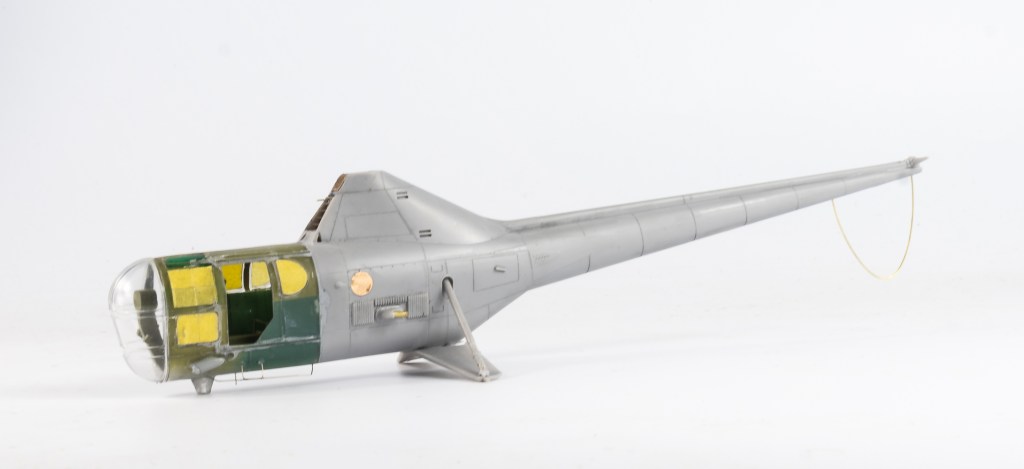
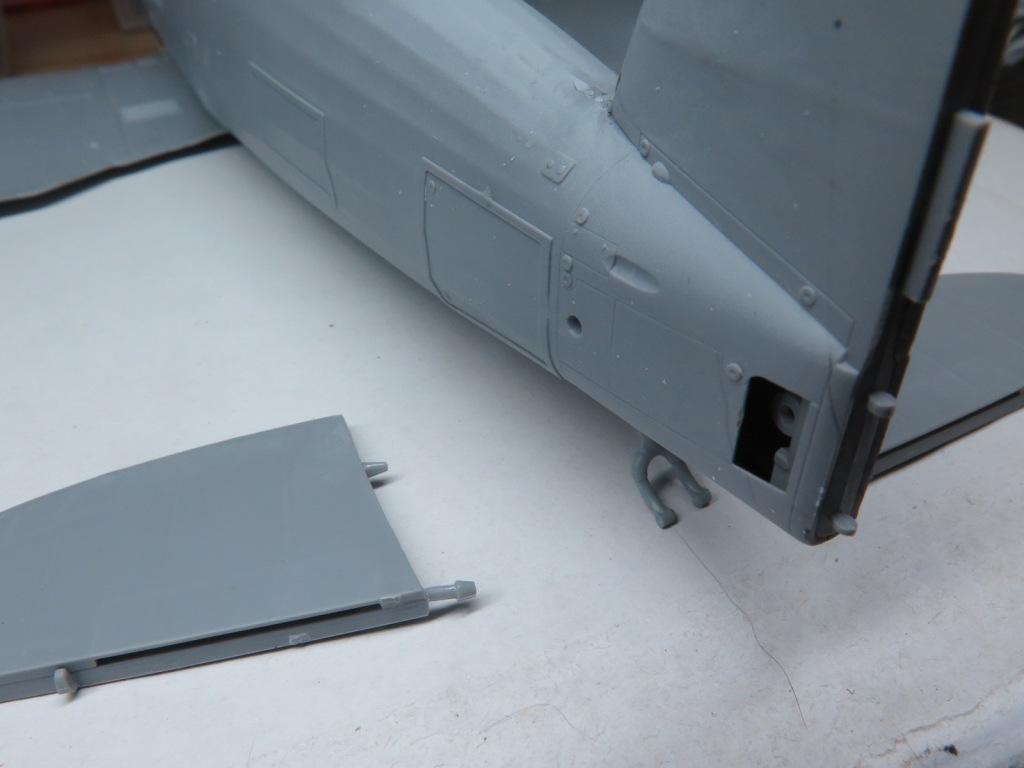
The join of the clear parts to the grey parts needed a bit of filling and I managed to sand a bit of a flat spot in, which I tried to smooth out with filler. The transparent nose is also not the best fit, and this gap was hidden by the simple expedient of a thin strip of tape covering it.
Finishing
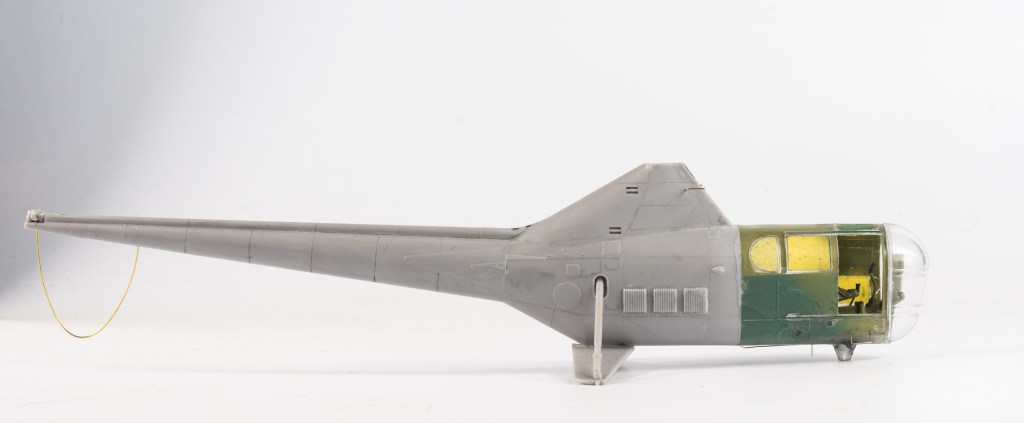
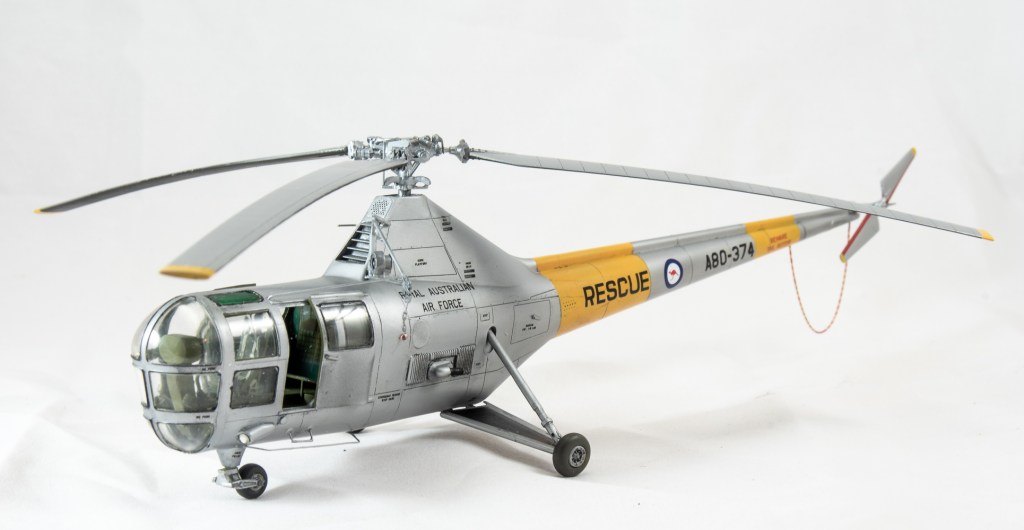
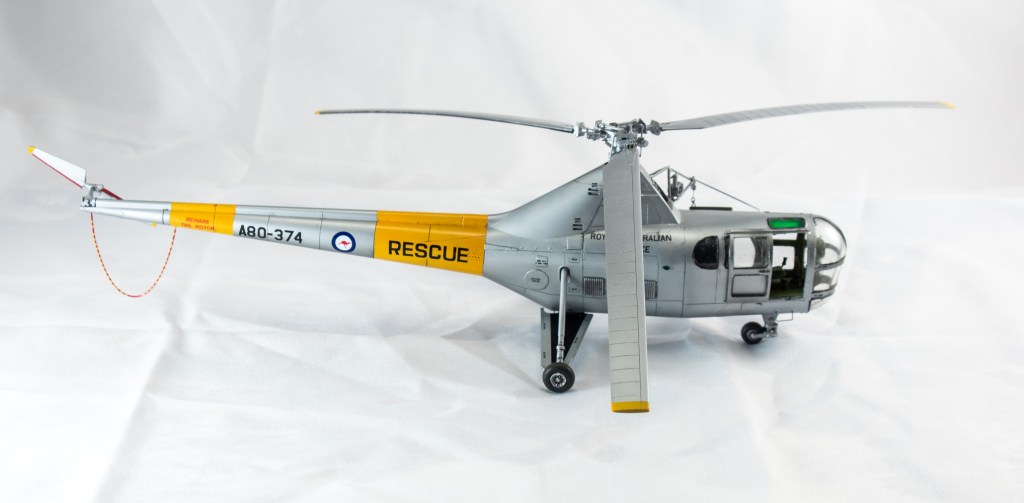
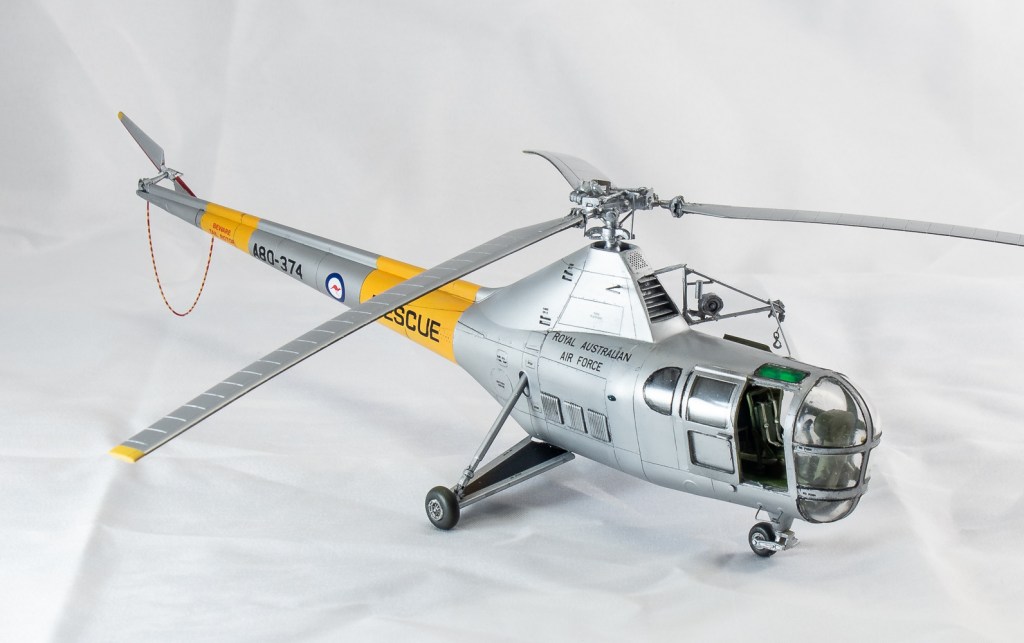
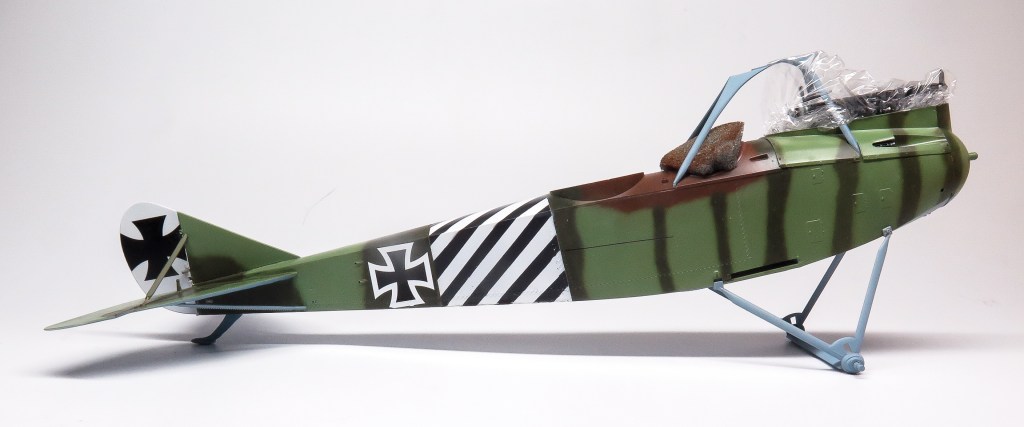
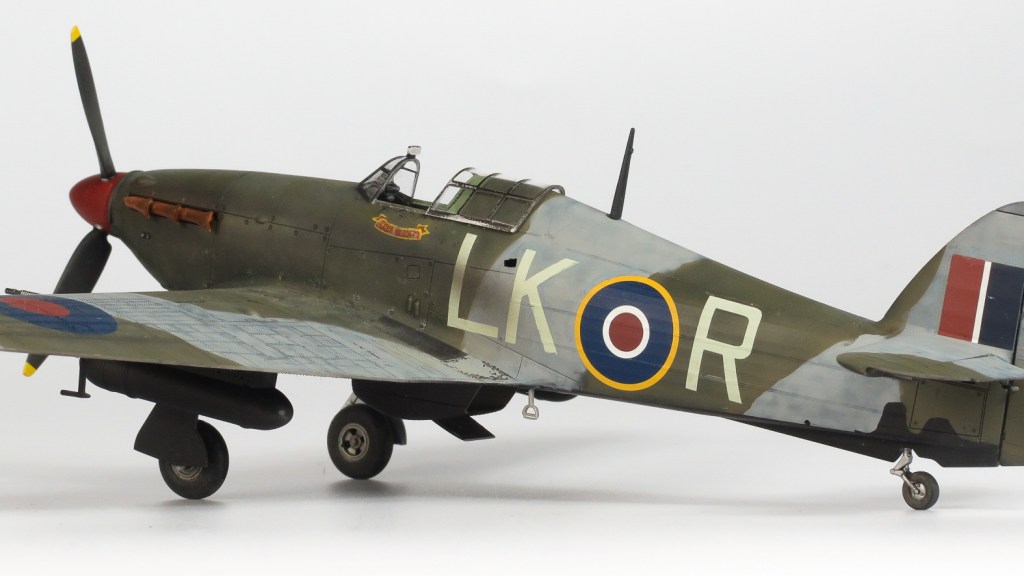
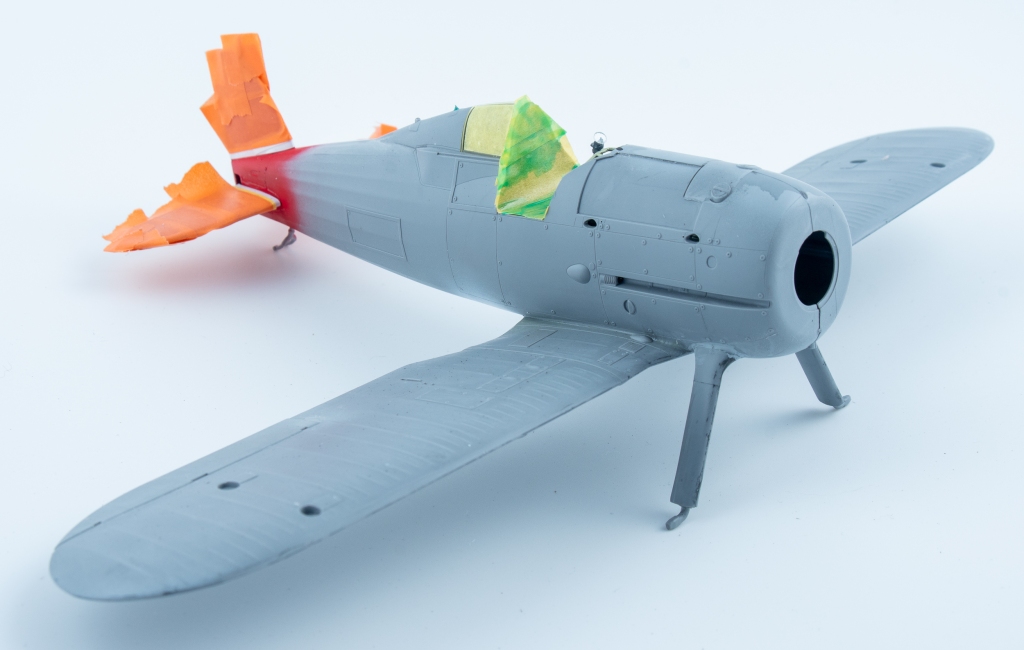
The plastic , having a bit of texture took a bit of effort to get polished smooth for the primer coat . I had made the mistake of constructing all the details called out by Red Roo, such as the winch guard and steps out of thin wire and adding them prior to painting. The result of this was areas around these parts were hard to access for polishing, resulting in gritty paint around these areas. Silver was Tamiya’s superlative LP11. Simply the best paint out there for simulating silver painted finished , in my opinion anyway!
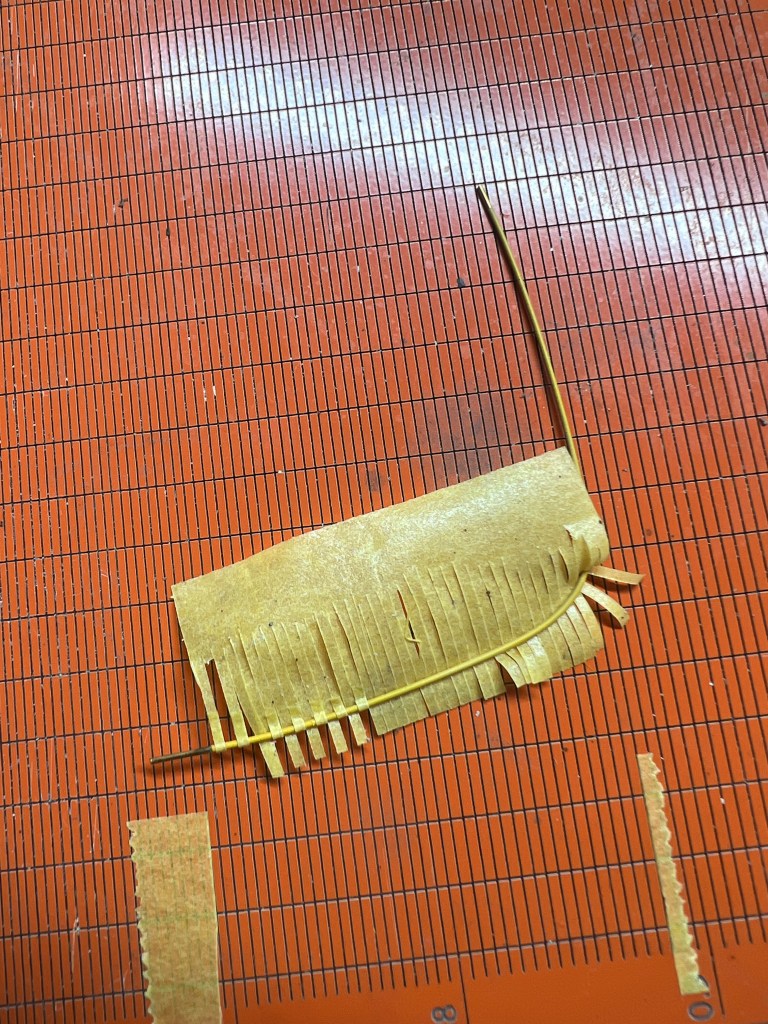
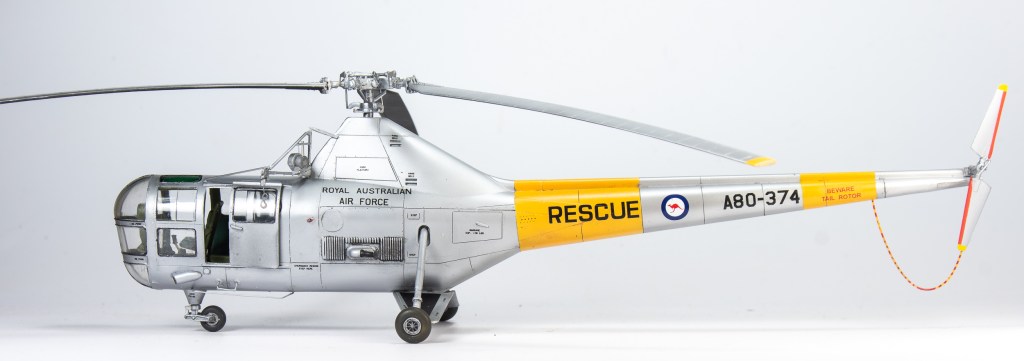
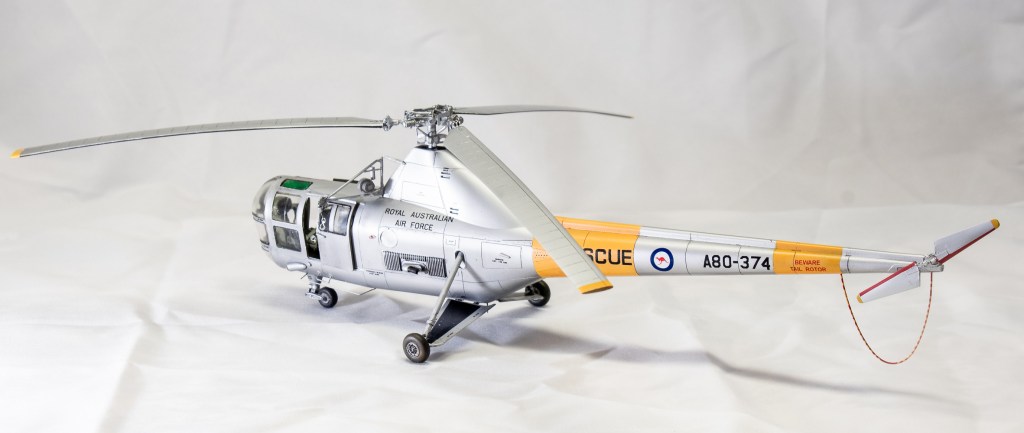
The red and yellow striped tail skid was first painted yellow then masked with strips of tape cut on my infini cutting mat. If you haven’t got one of these…..you need one!. Ensuring you leave a piece of uncut tape at one end allows you to use this as a handle to position the tape. It is just then a matter of removing every alternate strip of tape before painting the red.
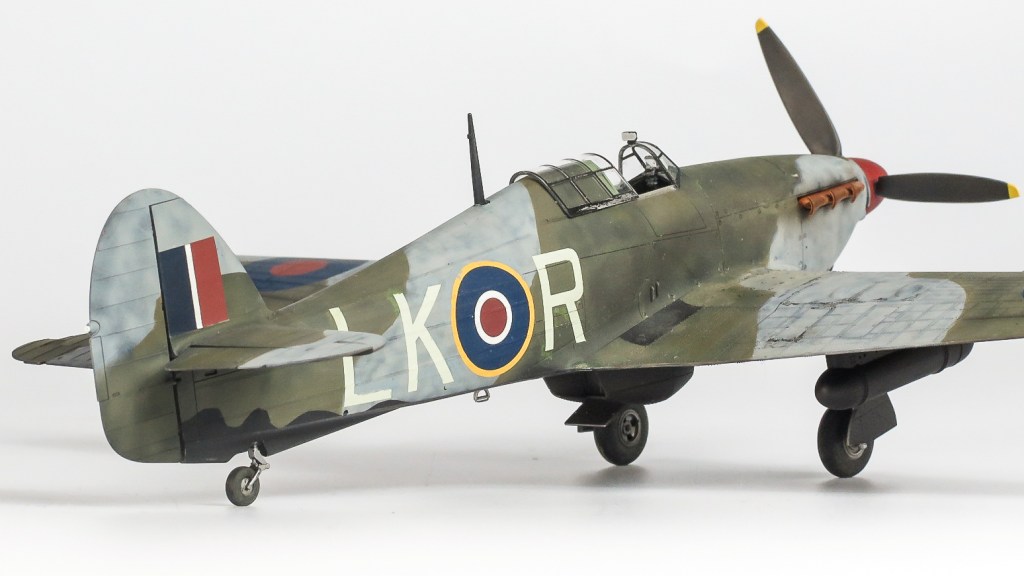
Decals, although needing to be neatly cut out as the carrier film is continuous across the whole sheet performed brilliantly. The roundel was sourced from an Xtradecals sheet .
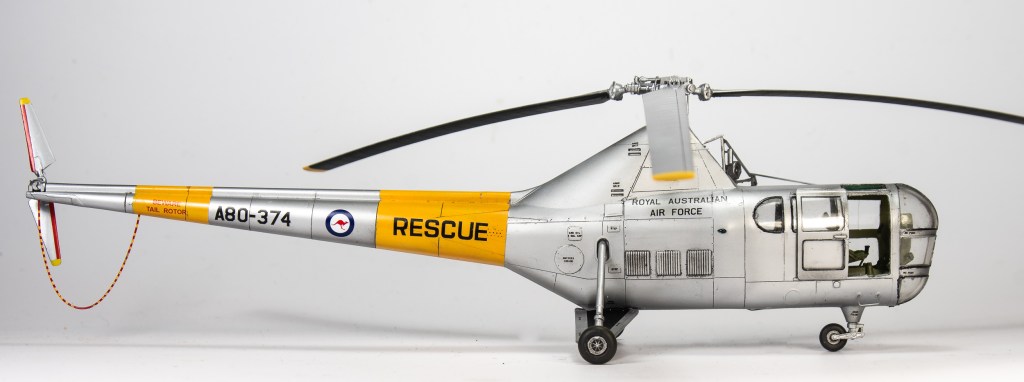
A coat of gloss to seal them in and then a wash using Tamiya Panel Line Accent. Dark grey completed the finishing process. A black marker was used to outline all the windows to represent the rubber seals.
Final assembly
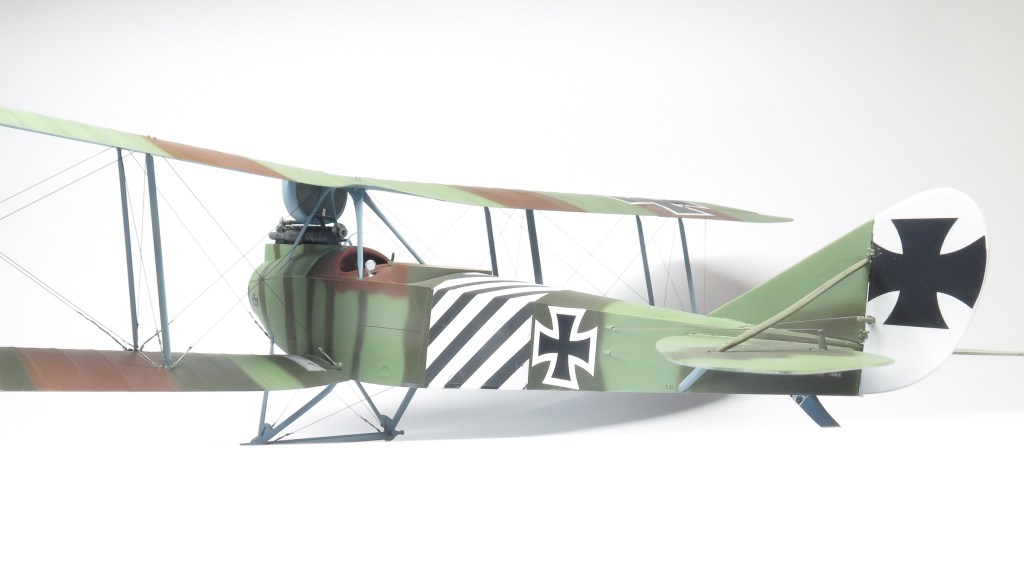
The winch was assembled after cleaning it up. The whole winch should really be re built using plastic or brass rod as this would produce a much nicer item, mine has only the top rail replaced as this broke during the clean up. Now is also a good time to add the aerials, on mine, these were added earlier, thereby inflicting several puncture wounds to my thumb when handling the model.. Finally the rotors can be glued on. A.M.P have moulded a square peg on the bottom that fits into a square hole, meaning the rotorhead pretty much needs to be glued in. Id suggest replacing this with either thick plastic rod or brass wire so that the rotor can be removed at will for transport etc.
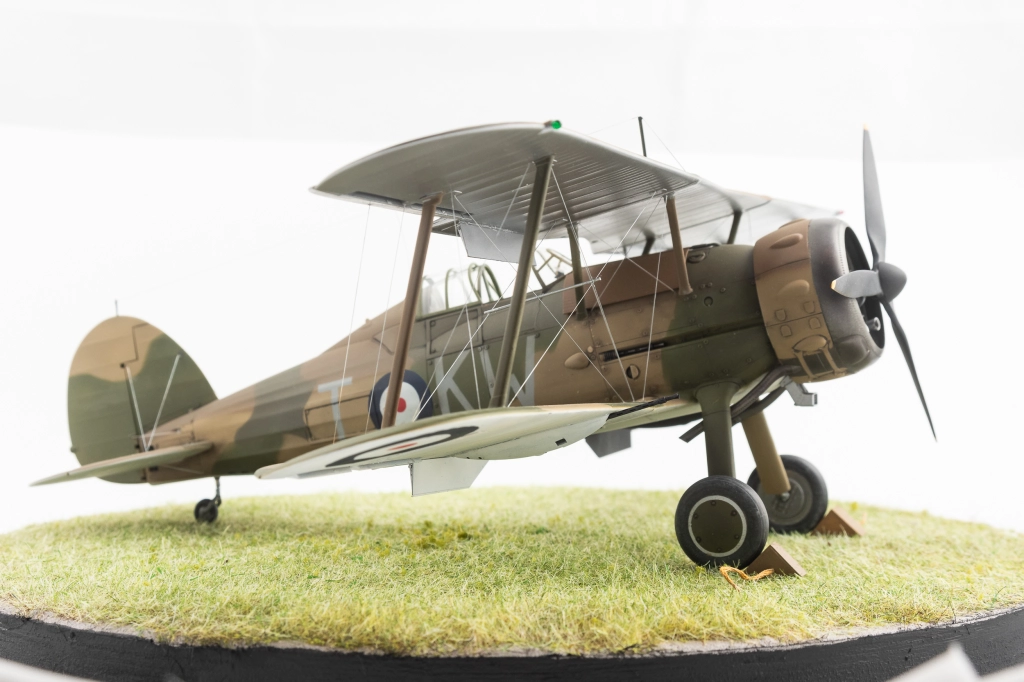
Conclusion
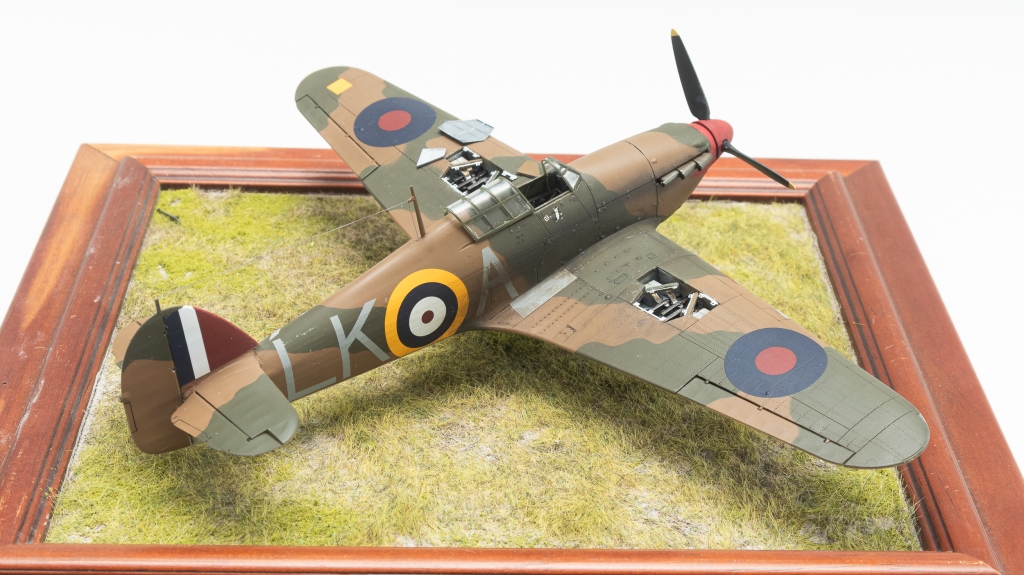
So that’s it. Naturally there’s things I could and should have done better, but it’s a lovely little model you don’t see built too often, . It looks great in the display case amongst all the other drab military aircraft. I wouldn’t mind having a go at a USN example one day either. An interesting postscript to my chosen subject is its last flight was aiding in flood rescue duties during The Hunter Valley floods in 1962 close to where I now live.
These are a limited run boxing from RedRoo, and Id say, once they are gone they are gone. So get one now from the Redroo website if you need a RAAF S-51 -The RAAF never referred to them as Dragonfly – in your collection
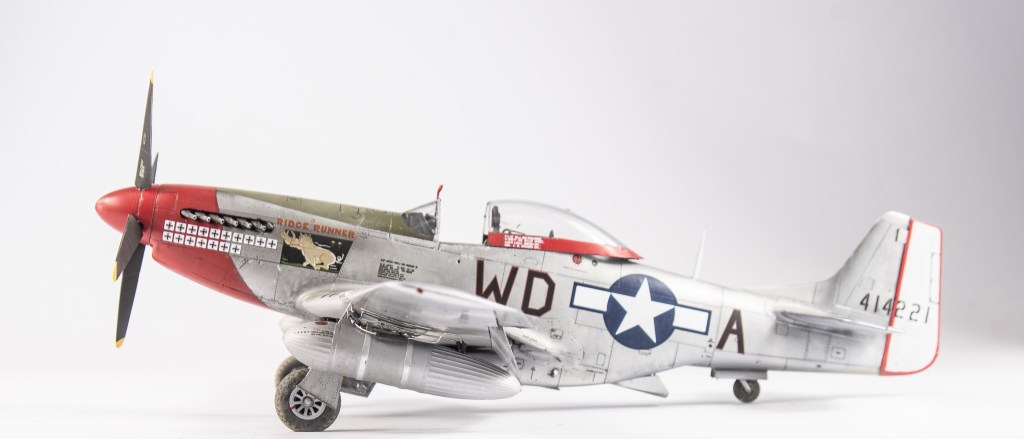
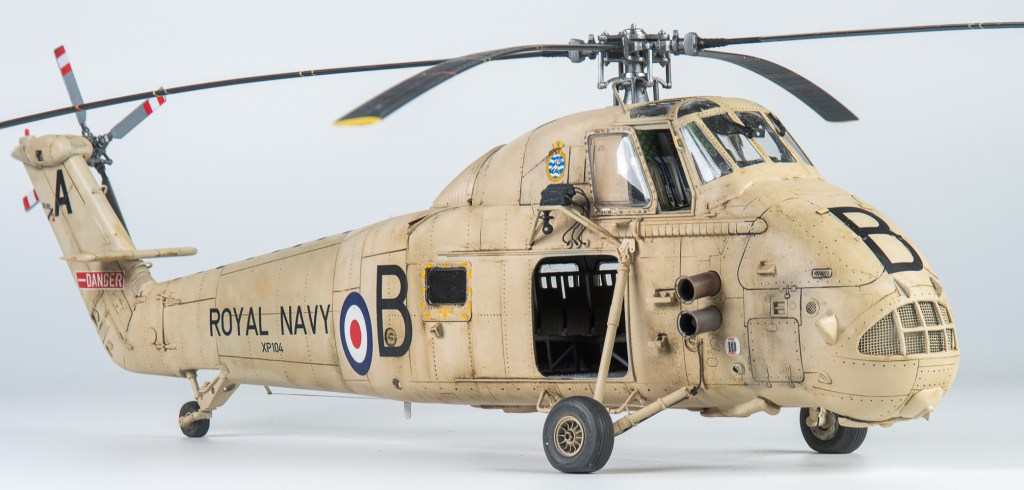
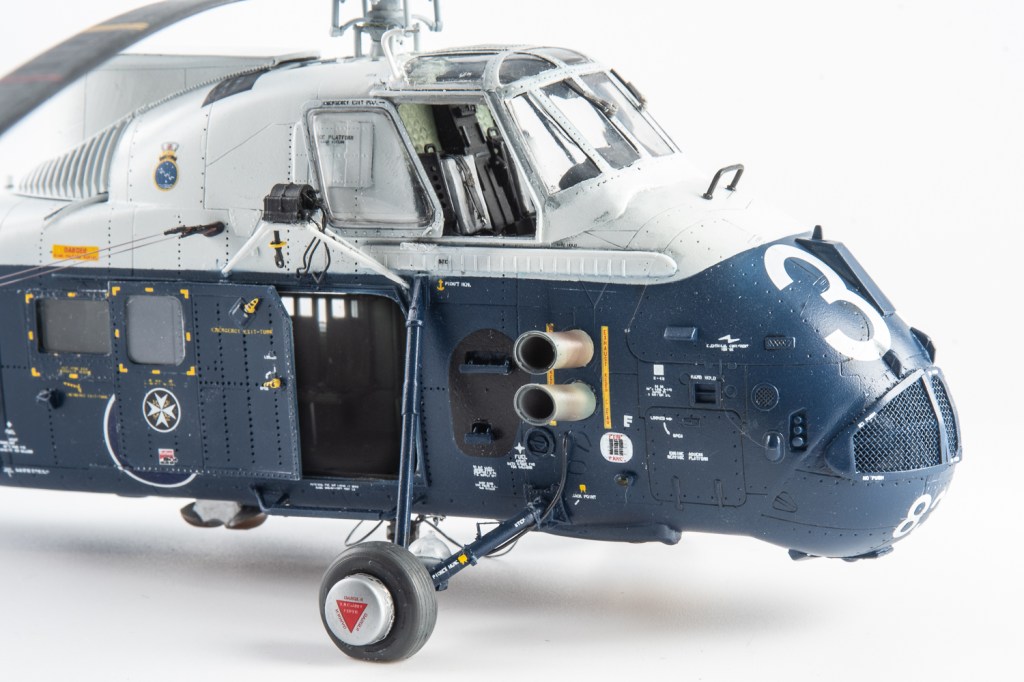
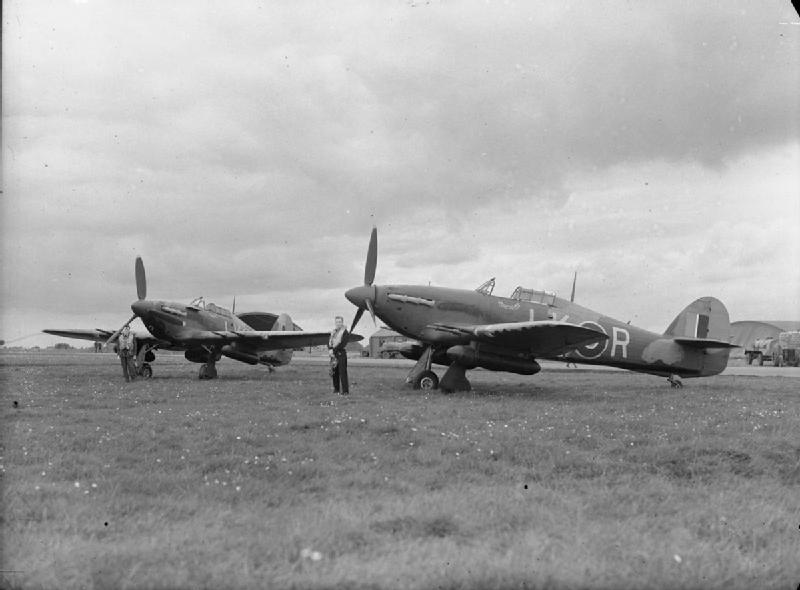
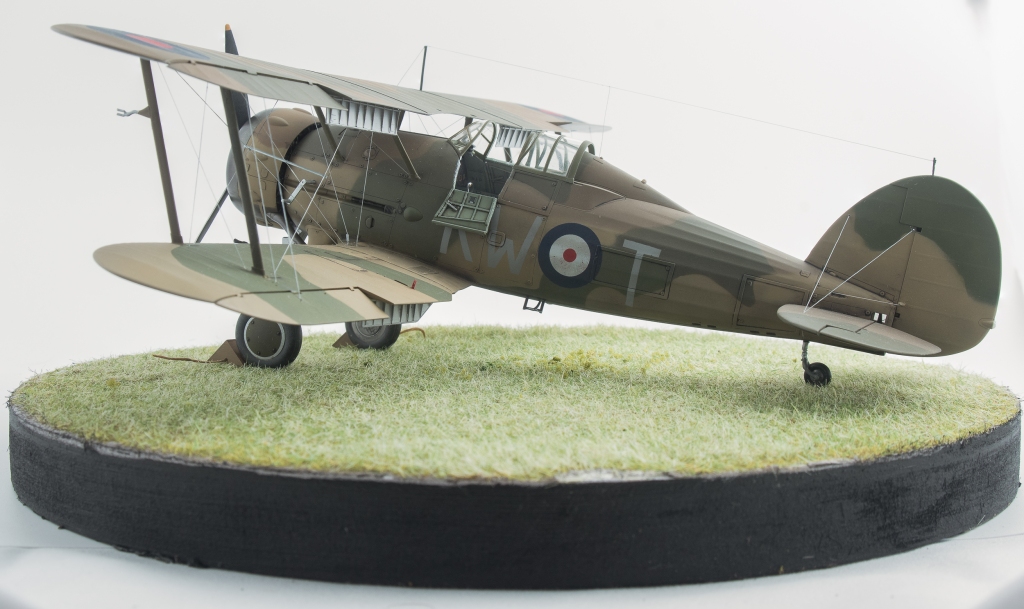
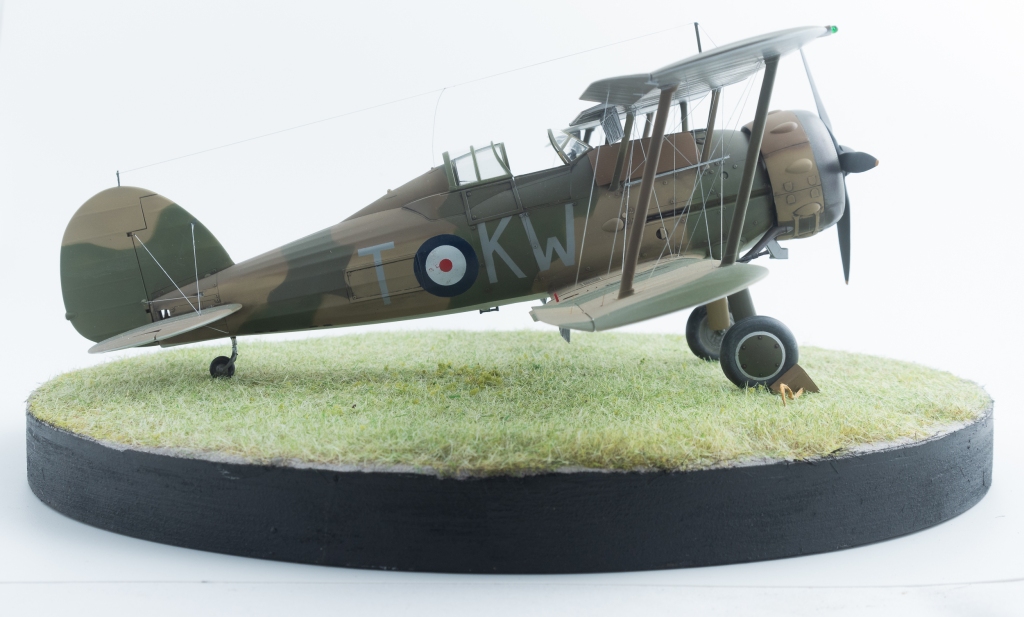
Sikorsky S-51 No. 81 Wing. RAAF Williamtown Australia 1958


Leave a comment