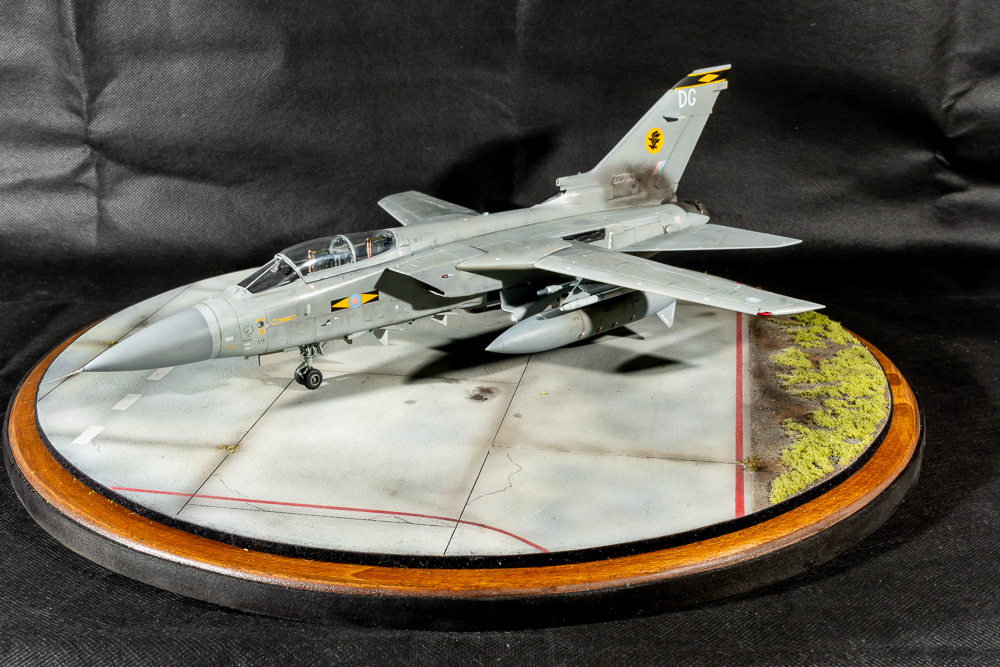
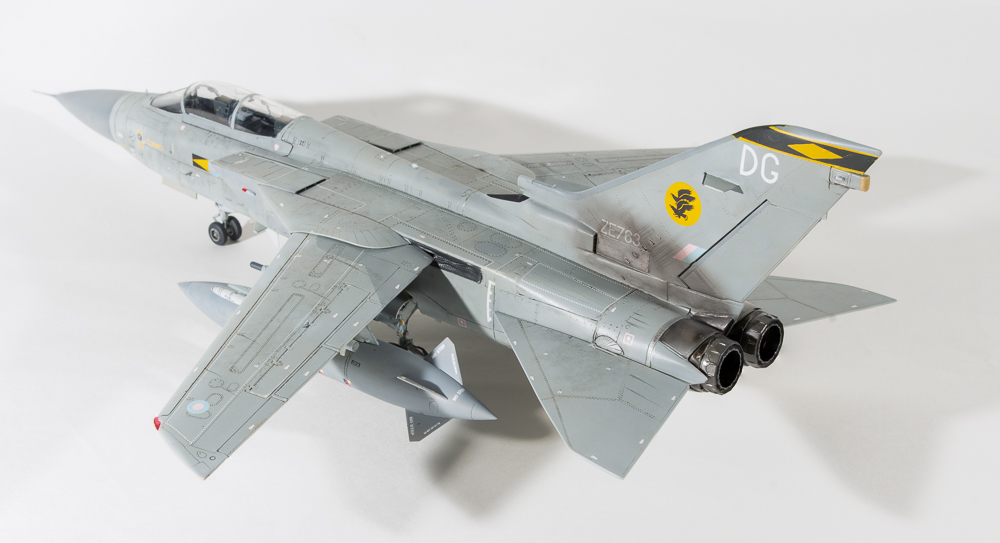
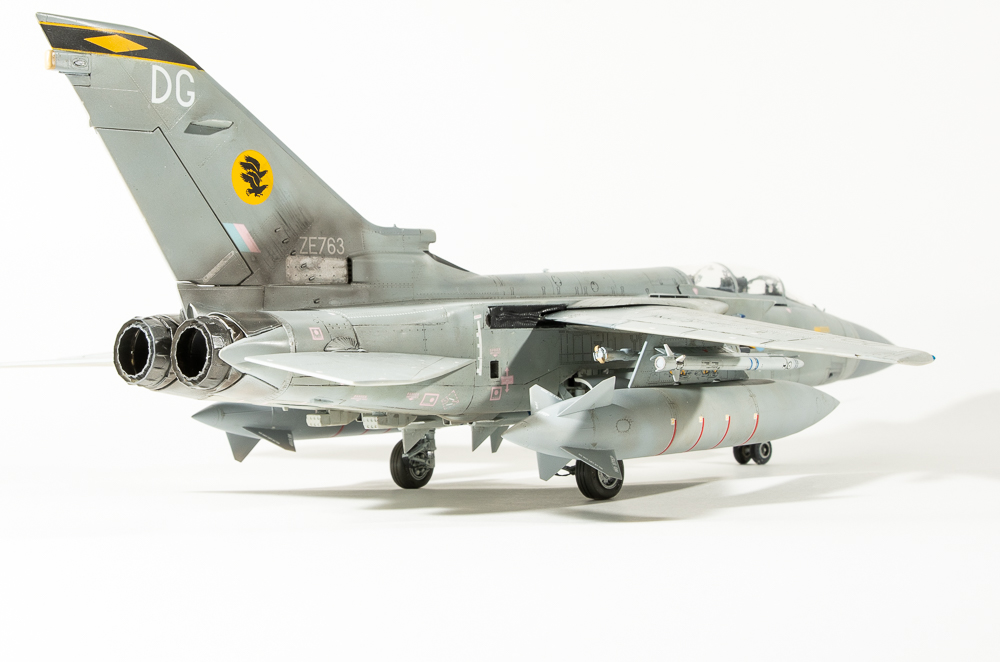
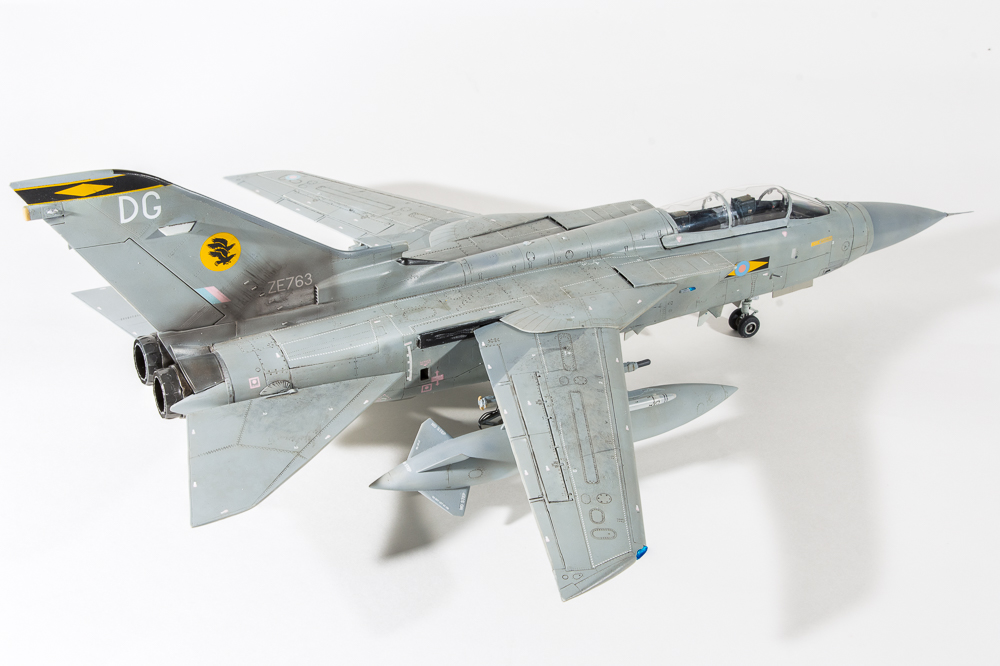
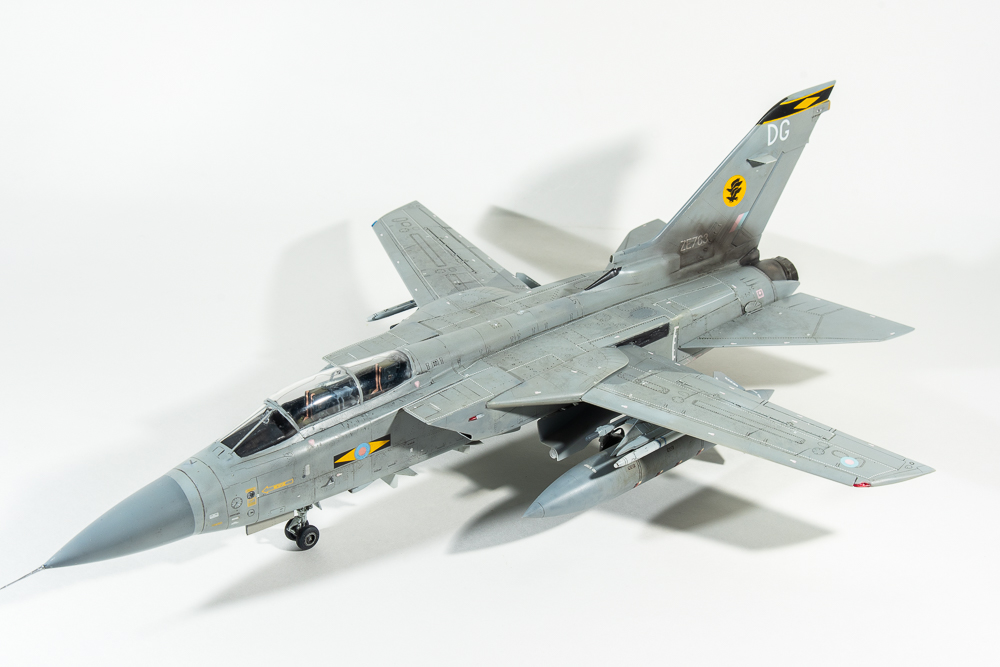
Revell 1/48 ADV Tornado F3

  • Built 2020
  • Enhancements Used 
  • Seatbelts,  Eduard
  • Wheels   Brassin
  • Wheelbays  Eduard
  • Pitot Tubes and AoA sensors  Master Barrel
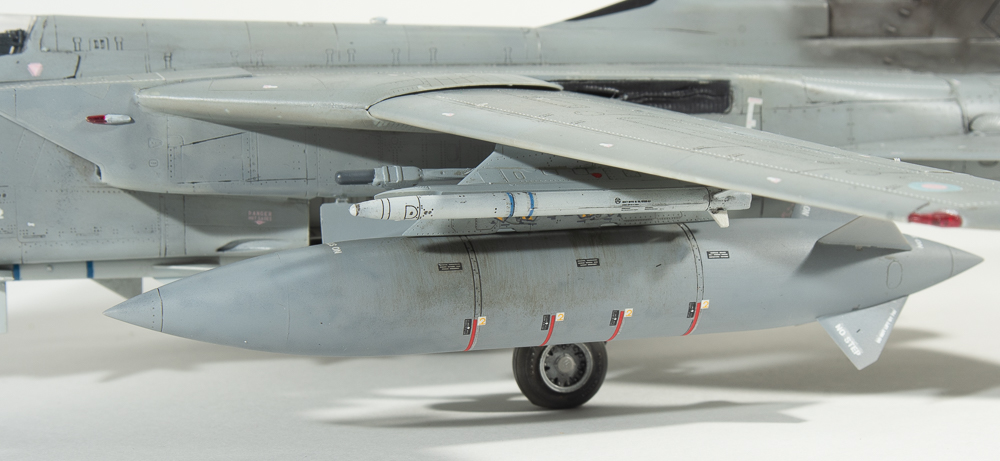
  • Weapons  Brassin ASRAAM   Hasegawa Sparrows (skyflash)  BOL rails  F4Dable Models
  • Decals  Xtradecal Tornado F3 Part 1
 Like a lot of modellers, I had heard some horror stories about the fit of the Revell Tornadoes.  The consensus seemed to be whilst they were definitely a step up on what was currently available, the fit left something to be desired.  The kit seems to be one of those that polarise modellers world wide.  The truth is, like the Hasegawa Harrier, the ease of build is directly linked to how you build the tornado.
What inspired this particular build was a mate directing me to a series of youtube videos done by a fellow named Nathan Robinson.
Nathan is a member of the IPMS Tornado SIG and admits to having built six of these!  So if anyone will have the build down pat it should be him.
Deciding to take a leaf out of Jon Bryons book, all three revell tonkas – 2 ADVs and a GR4 – were pulled from  the stash to be built as a batch.
Following Nathans build sequence, I found the build progressed fairly quickly. I still needed filler around the intakes and along the fuselage sides,where it meets the bottom plate, but these were all easy joins to clean up and rescribe.
For the cockpit, the kit decals were used which sat down surprisingly well over the moulded detail and certainly looked busy enough through the closed canopy.  Note Revell call out the wrong rear instrument panel, you need part S214

I deviated from Nathans build my cutting off the cogged part of the wing so I could add them later. To be honest, Im not sure this is the best way as you lose a bit of structural integrity. Ive already so modified all three of my kits, but wish Id left one to compare the two different methods.  Maybe on my eduard Desert Babe kit!

I replaced the rather bland wing seals with some moulded by a fellow called Shaun from Britmodeller.com.  I’m not sure if they are still available as he was doing them when the kits first became available.
The decision was also made on this model to have the flaps up, to better show off the lines of the ADV.  The best way to achieve a flush fit with the wings is to cut the bar on parts B111 &113 so you are left with separate flaps.  These can then be glued  individually to the top wing ensuring they sit  flush with the upper wing.

The undercarriage assembles fairly easily, despite being moulded in two halves. Revell have form here, which means you have a seam to clean up. Part C159 and 168 placement is a little vague. Step 69 shows it the best. On gluing the PE facia to the back wall of the wheelwell, I had an alarm bell go off in my head going, “I wonder if this slot the PE covers is important” Well, Yes, it is as this is where the door retraction strut sits.  Didn’t realise this until I added them, so then had to cut the struts, in fact I replaced them with thin rod. I find this annoying on Eduard’s part. They could have easily made the back facia in two parts to be fitted either side of the slot. Its not the first time Eduard have failed to take into account the fitting of kit parts around their etch, and one of the reasons I find myself using less AM these days unless it is drop fit. Some etch placards and brake lines dress up the legs nicely, but on my other F3 I will use wire and decals instead..

Photos of my chosen jet show it fitted with BOL rails on the inner side of the wing pylon. If like me, you didn’t know what BOL rails are, I can know tell you they are a launch rail with an inbuilt countermeasures pod. They are surprisingly hard to track down as an aftermarket item, considering quite a few jets use them.  A friend offered me his Steel Beach ones, but they looked quite a crude casting. The F4DModels were much better although warped.  Hot water straightened this out.

For the Barley Grey, I used a home grown paint SMS which performed quite well, Its marketed as ready to spray, but I still thinned mine a little. Colour looked good, but I find it strange they do not offer a Light Aircraft Grey in their range to go with the barley grey, so it was back to my go-to paint. Mr Color.
Again on this model, I had problems with the paint and primer peeling off when removing the tape. I have no idea whats causing this. The model was wiped down with tamiya thinner prior to paint, and was primed with Alclad Grey.  The consensus amongst my modelling mates was it could be the primer, which Ive had for a while, so in the bin it went.
The model was gloss coated for decals and in preparation for the wash. These days I apply the wash before the decals, despite this method, the wash failed to pick up a lot of the very fine detail, despite repeated applications, which was annoying in the extreme.
The decalling should have been easy, but again my poor build planning brought things unstuck. Literally!
The decals had all been applied when I realised I had not painted the fintop di electric panel, so as the tape would lay over the decalled fin band I religiously detacked the tamiya tape before laying it over the decal.  Of course, on pulling off the tape, the decal came with it, necessitating me having to  paint the fin band back on.  This in itself needed a lot of touching up as each time I pulled tape off, paint came away too. I really need to get to the bottom of why this is happening.
Surprisingly, my enthusiasm hadn’t waned for the model, so I pressed on, applying a satin sheen, which I then went over with dullcoate. Even with the satin, the model still looked far too glossy.  Annoyingly, all the stencils stood out as too thick as well. I had applied them in little pools of future to stop any silvering. I wont do this on my next one.

This just left final assembly of wheels, aerials, canopy mirrors and nav lights. none of which I managed to lose as is the usual case despite several of them pinging off the tweeezers.
And that was that! One down, two to go
So what do I think of the Revell Tornado? Well I think the main problem is, its Revell!  I have no problems with the breakdown of the kit, but the kit quality is poor indeed, flash, sink marks and ejector pin marks mar the parts, making assembly harder than it should be. These kits, like Airfix, are designed for the mass market, the so called “pocket money brigade” and the tooling shows it. You get what you pay for.
Despite this, if you ever release a new tool Jaguar, Revell, I’d buy it in a heartbeat.
Anything would be better than the horrid kittyhawk kit thats still sitting on my shelf of doom.

Panavia Tornado F3 ADV ZE763 11 SQN Leuchars Royal Air Force 2006
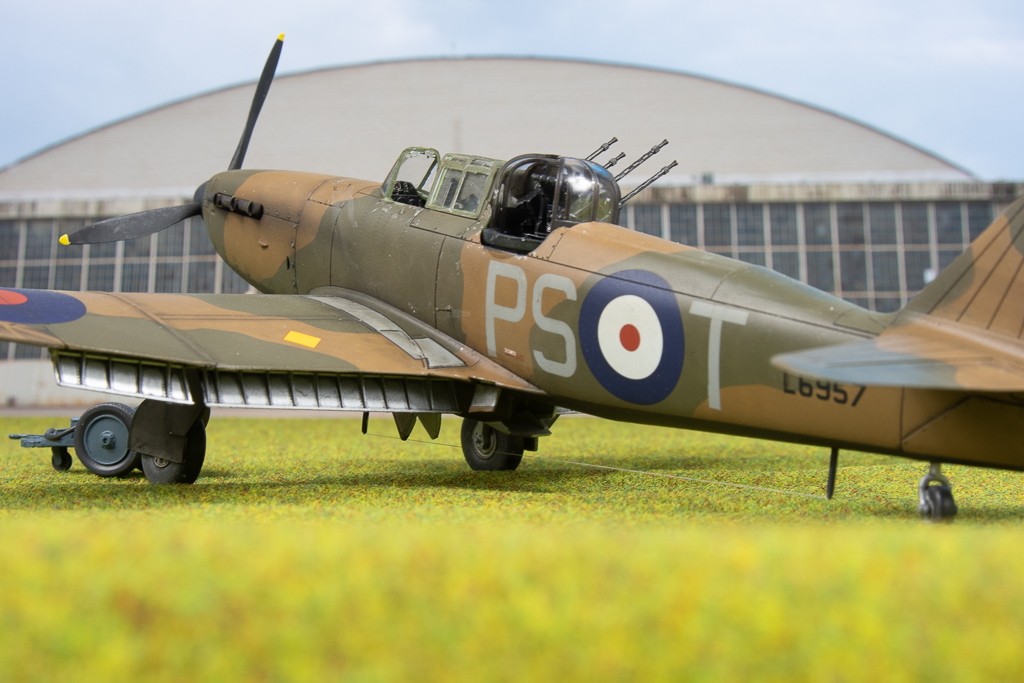
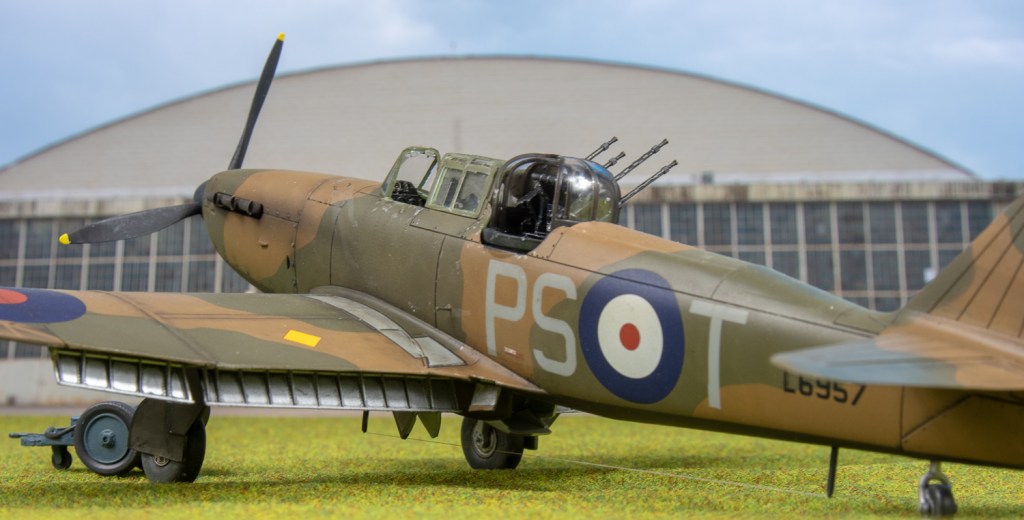
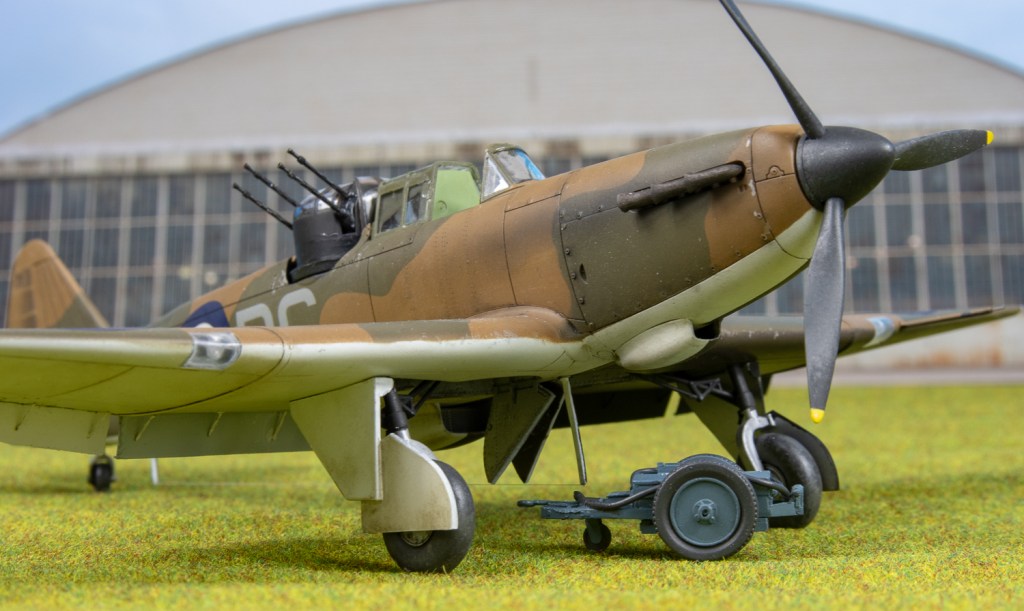
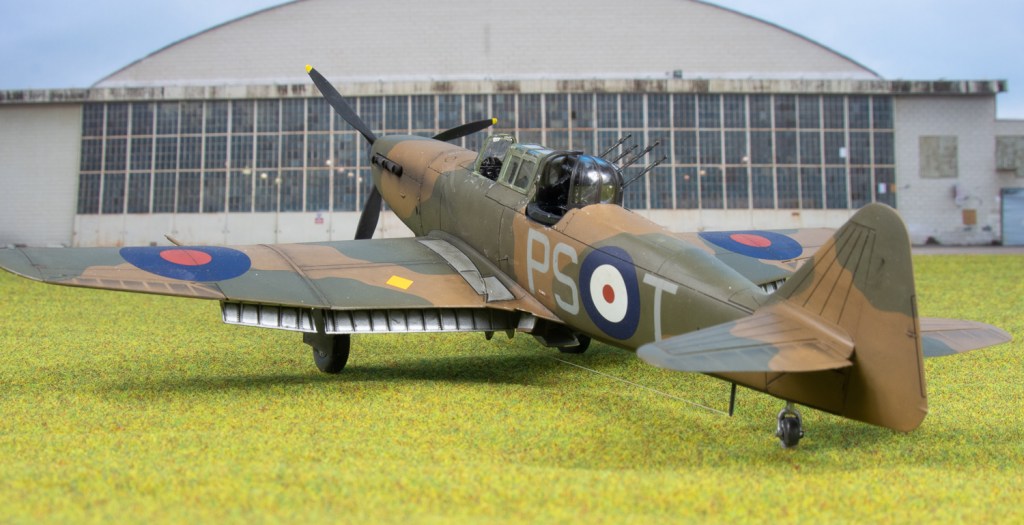
Airfix 1/48 Boulton Paul Defiant Mk1

  • Built: 2019
         Enhancements :  Eduard Interior and exterior details
  •                                    Landing Flaps: Eduard. 
  •                                    Gun barrels; Master Model
  •                                    Wheels; Barracuda Studios 
  •                                    Exhausts: Quickboost    
  •                                    Paint:  Gunze
    ​                                   Decals: Ropasmodels 
Airfix’s 1/48 Defiant, released in 2016, and purchased by myself soon after is what we have now come to expect from Airfix’s new line of kits.   Evocative box art, soft grey plastic, sharply printed decals and well illustrated  clear instructions outlining the different  ways you can complete your defiant, in flight, or wheels down, separate control surfaces, choice of open or closed canopy, this also extends to the turret, which can be modelled with the doors open, and raised or lowered turtledeck  (why are they called turtle decks?)
Neither the now obsolete Classic Airframes or Trumpeter kit offered that.

I decided that wasn’t enough for me though, so added Eduard’s flap set.  My search of defiant photos revealed a few on the ground with flaps cracked open, certainly not fully open as I have depicted, but that’s how I pictured I wanted the completed model to look.
Construction was fairly painless, fit being almost excellent.  I needed to trim the cockpit floor on one side as the wing assembly did not not quite close up snugly underneath the fuselage on one side.  The cowling also needed a bit of clamping, as again on one side I had a bit of a gap underneath the oil tank cover.  I can only surmise I had the floor slightly out of alignment.  The eduard set added the colour printed instrument panel and some side console detail plus the seat straps for pilot and gunner.  I have read some on line reviews bemoaning the simplified cockpit, to me, what you get in the box is fine, especially when dressed with the eduard PE.  The wheel wells also get a helping of PE around their walls which brings them to life.  The model built up quickly, the smallest amount of filler being needed around the tailplanes and the rear underside join of the power wings to the fuselage.  The PE flaps were folded up without difficulty (surprisingly for me) and offered up to the previously cut out kit flaps.  Some shimming was needed to spread the open areas of the rear wing to ensure the rear wall of the brass flap bay sat at the same level as the underside of the wing.  I should have taken my time a bit more here ensuring a better fit, and cutting out the slots for the flap actuators which I completely missed.
The machine gun barrels were cut off and the breeches drilled to take the sublime master Models barrels. I fit these wherever possible as they really add to the look of the model.  It would be icing on the cake if they came pre blackened!  The kit pitot tube was also replaced with Albion Alloys tubing.  Although there is nothing wrong with the kit wheels, being moulded as they are, weighted and with separate hubs, I had a set of Barracuda wheels in the box, so these were duly added.  Waste not, want not. The landing lights were not the best fit, so were fitted at this time, so they could be faired in prior to painting.

The turret popped into place without all the fuss, some other online and magazine builds report, but I was surprised to have trouble pushing the clear dome down onto the base, thinned white glue being required to fill the resultant small gap.

Painting was made easy using a set of camouflage masks from Mal Mayfield.  From the decal sheet, I had decided on an early war scheme with the black and white undersides and A type fuselage roundel to push home the early war use of this aircraft.  The decal manufacturer was new to me, I ended up using the kit roundels and codes and Ropos’  roundels looked a little bright, whilst the codes looked too pale.  The “T” was sourced from an Extradecal Medium Sea Grey RAF Codes sheet, as  With the multitude of decal sheets on the market, these generic sheets are not as probably as handy as they once were, but to me, they are still a must have in my decal bank for this very reason.  The only decals I used from were the serials and these performed fine, being quite thin.  No stencilling was applied to the underside as they would have all been overpainted when the undersides were done. AK panel line wash for brown/green aircraft was used as  a wash on the top surfaces.  Chipping was added using vallejo silver, whilst highly thinned tamely black was used for the exhaust stains.  Emboldened by watching Plasmo use his dremel to  surgically cut parts out, I set forth with my dremel to open up the kit exhausts.  30 seconds later, I was ordering quickboost  exhausts from BNA Modelworld. Rather than displaying the same skill as Plasmo, my exhausts looked like Dexter, the serial killer had gone to work on them.  You will need to cut off one of the locating tabs  in order to fit them into the airfoil slots.  Whilst you are ordering your exhausts, also order a set of landing gear covers, as the kit ones are overly thick and simplified, and do not portray the real ones very well.

Final assembly involved adding the undercarriage which fitted snugly into their respective sockets.  I was expecting a fight with the flaps and their tiny actuators, but was pleasantly surprised how easy they were to place.  In reality the actuators should fir in their respective slots, but I failed to cut out the ones on the bottom wing and clogged the flap ones with a thick coat of future I had applied to also act as a glue.  Therefore my actuators are a butt fit to wing and flap which is not correct for the real machine.
An  aerial line from EZ line  and a bit of sprue and punched plastic disc to represent the extended gunners footstep bought my first build for 2019 to a close. 

Boulton Paul Defiant Mk.1 264 SQN Royal Air Force. Biggin Hill. February 1940

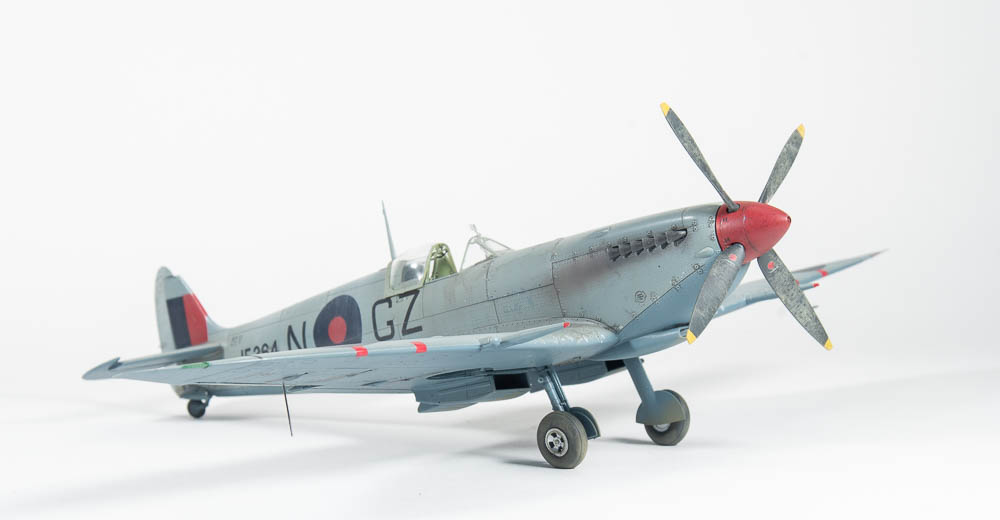
Eduard 1/48 Supermarine Spitfire HFVIII

  • Date Completed:2018
  •   Aftermarket Used:  None, model built completely from box
  •   Paint Used: Xtracolour Medium Sea Grey and PRU Blue

Supermarine Spitfire HF Mk.VIII 32 SQN Foggia. Italy 1944

This model was completed as a review build for The Modelling News, so I will not put a detailed guide here as the article covers the build and finishing in depth.
http://www.themodellingnews.com/2018/08/build-guide-spitfire-mk-hf-viii-in-48th.html
http://www.themodellingnews.com/2018/08/painting-finishing-bruce-tops-off-his.html#more
  Which only leaves me to say, this really was an enjoyable build.  If you have not built one of the Eduard Spitfires, Get On it!!!

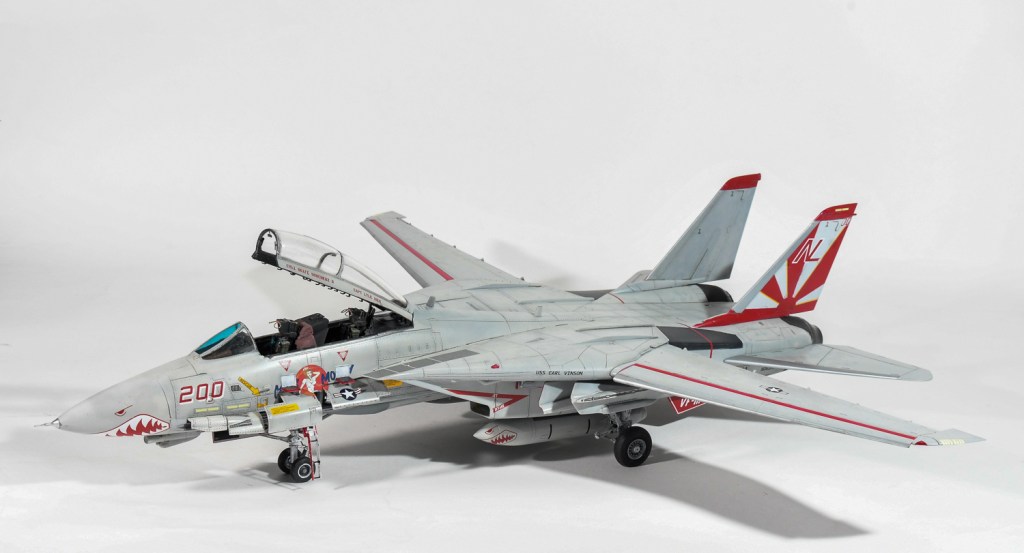
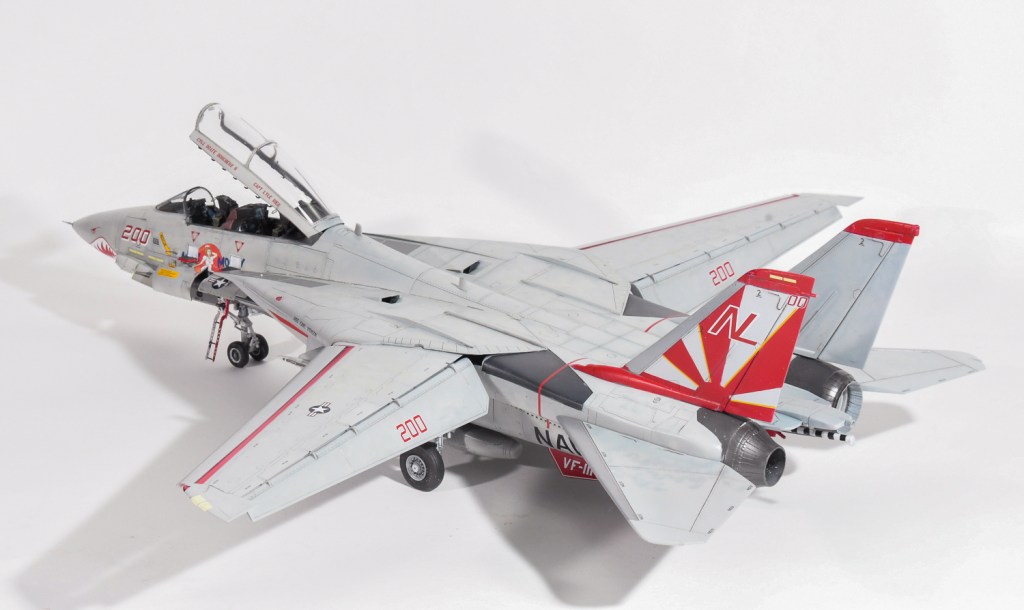
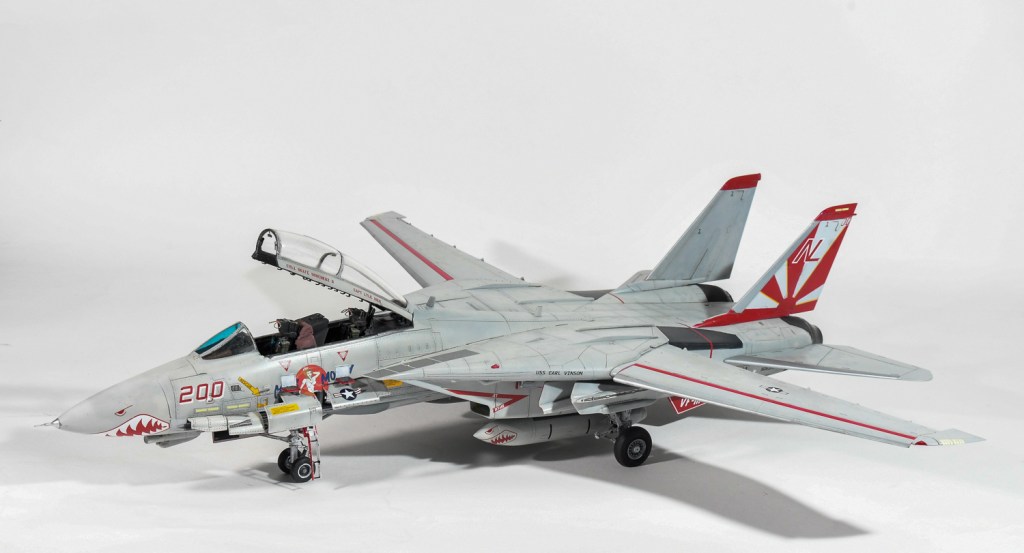
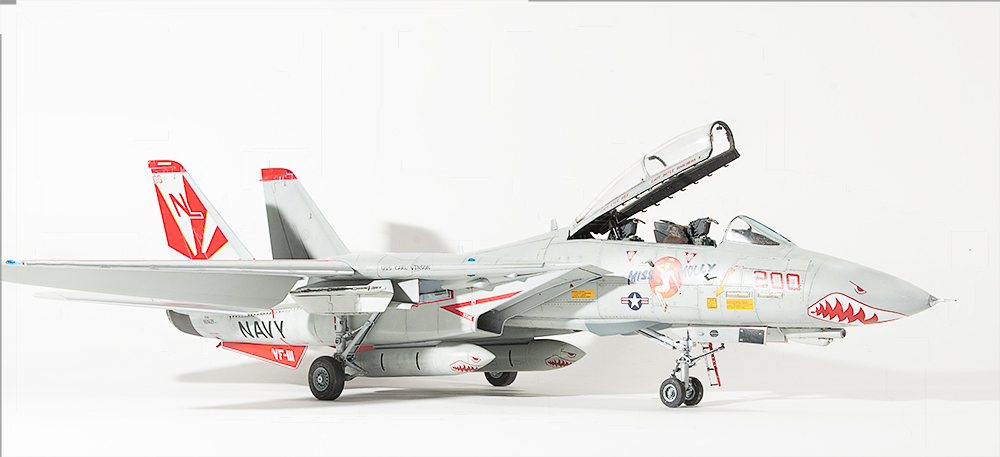
Eduard 1/48 F-14A Tomcat

Date added to stash: 2016
  Date Completed: 2018
  Aftermarket used:
some parts from Eduard Detail set 
  Paint: Mr Color Light Gull Grey
  Decals:  Furball Sundowner Anthology

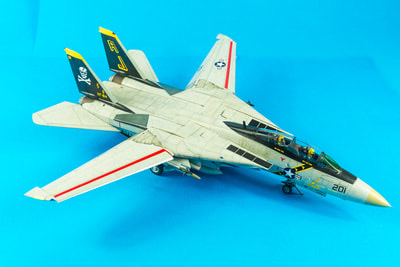
I started this at the same time as lthe other Tomcat I was building for a friend.  At the time, it seemed like a good way to build a kit from my stash as well.  In hindsight, if I had not started this one, I would have sold it, because its position has been ably taken by the Tamiya kit, and building the two HobbyBoss kits was a real grind.  Not that there was anything wrong with the kit, but it was just one HB Tomcat too many. (Although this boxing was done by Eduard, it is the HobbyBoss kit, so I will refer to the kit as HobbyBoss)
The previous article covers the build in detail, although I would add my take home lesson from building Tomcats is mask the intake camouflage demarcation before you add them to the jet I didnt on either build and it was a hell of a job to add them later!
I had high hopes for this build wanting to build it with all panels open.  In the end the build just started annoying me as there ws other stuff I wanted to build and I chose to rush  a lot of things.  Im not really happy with it, but HB Tomcats are a long complicated, involved build as are many modern jets, so to do two in a year is not bad.  I have  three tamiya Tomcats in the stash and look forward to tackling those at a later date.  Just not for a while, as Im all Tomcatted out. 
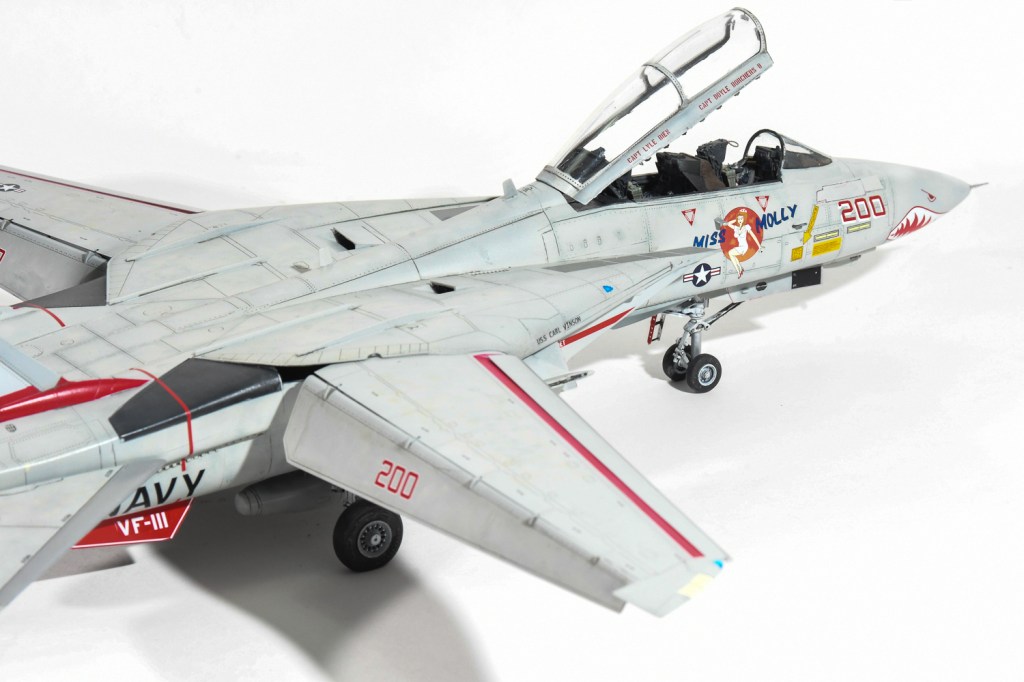
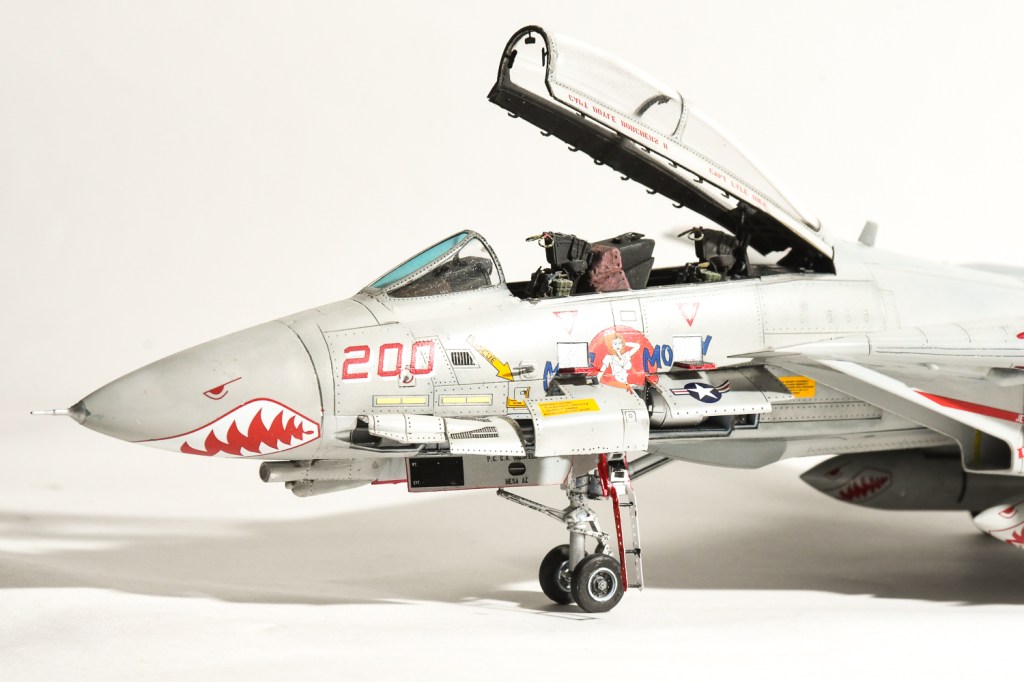
I also think Miss Molly was the wrong jet to pick, as all those open panels do not allow you to see that nose art in its entirety.  Live and Learn, hey.
And wheres that sensor gone from under Miss Molly’s hand on the starboard side?  I definetly  added it LOL
For those who don’t know, Miss Molly was named for Molly Snead, a nurse to Senator Carl  Vinson, yep, the Senator the carrier is named after.
 I visited  the USS Carl Vinson at Fremantle Western Australia in 1994, so like to model aircraft from her.

Grumman F-14A Tomcat VF-111 “Sundowners”  U.S Navy U.S.S Carl Vinson  1989

← Back

Thank you for your response. ✨

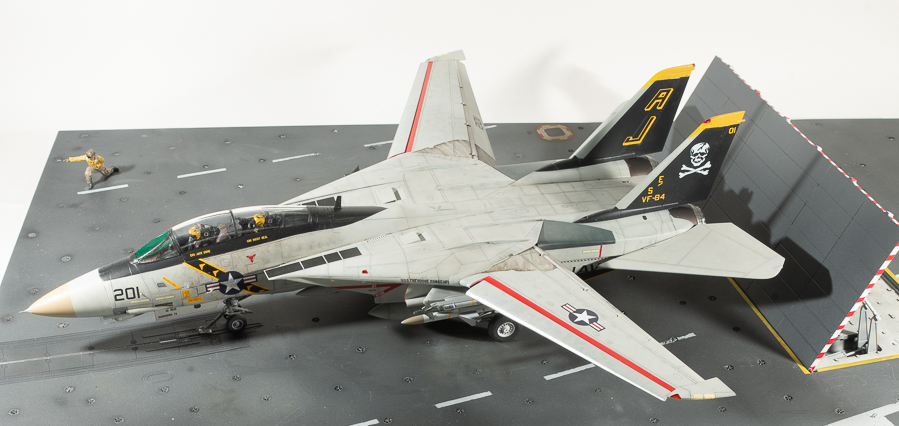
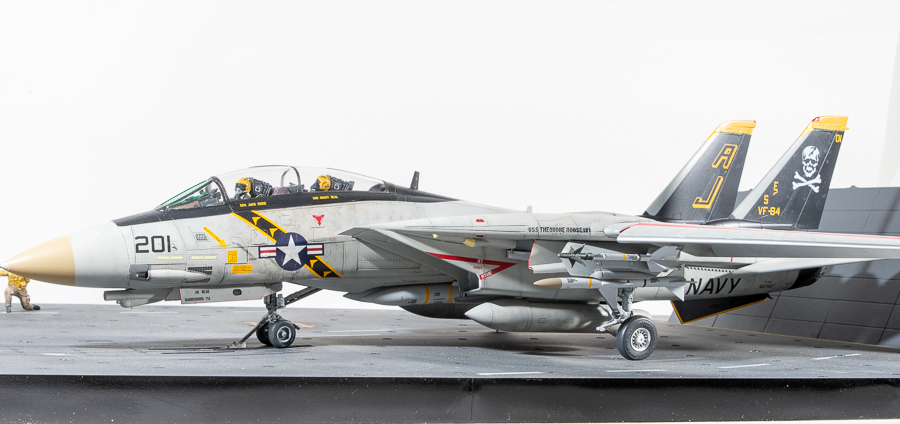
Hobby Boss 1/48 F-14A Tomcat

  • Date Completed: July2018
  • Aftermarket Used: Quickboost Pilots
  • Paint: Gunze Mr Color 
  • Decals: Kit supplied  for airframe, missile stripes from Fightertown Tomcat Data sheet           
This build was borne out of a work colleague’s request for me to build the kit for him.  As I also had the kit in my stash, I thought I would build the two of them alongside each other.  As often happens with my double builds, this one sped ahead and was completed whilst mine sat on the bench falling further and further behind.
The Eduard boxing contains the Hobby Boss plastic, brassin resin burner cans,chin pod, wheels and a PE sheet specific to this kit with a large decal sheet done by Furball Aero Designs
The HB Tomcat is a nice kit, there a few accuracy issues, most noticeably, the bottom edges of the intake openings are not parallel to the top edges as they should be, but this is only noticeable from head on.  Rivets punctuate the flying surfaces which should be smooth, but apart from that, its  a detail packed kit,  allowing you options to open the gun bay, avionics panel, display the radar and extend the wing control surfaces. 

It assembles well and does not really deserve all the wailing and teeth gnashing it gets on the internet.  I put it above the Hasegawa offering, but it has been pushed into the shade a bit with  the release of the tamiya kit.

Jeff had requested his model be finished in Jolly Roger markings as if just about to launch, so I used the compressed nose leg,  extended the wings and dropped the flaps and leading edge slats.  Naturally, all the access hatches were glued in the closed position.

  Of course this meant I also had to crew the jet, so used the aerobonus crew .  Although Aerobonus should be applauded for the idea of releasing seated pilots, I really wish that they would include alternative helmeted heads with visors down and masks in place.  As it is,  their entire range of seated pilots have visors up and masks dangling which means they can not be used for in flight models, which I imagine is what most people want them for.

I sourced correctly helmeted heads, as well as a gloved hand that grips the throttle from an Academy Phantom.  As the canopy would be closed on this particular jet, I didn’t bother using the PE consoles and panels, rather relying on the entirely adequate kit parts.  The canvas coverings over the instrument panel glare shields were beefed up with milliput draped over the kit parts, and then painted a dark leather colour, which according to the DACO book, is the shade the original black covers fade to.
The HB kit includes the short lived glove vanes, (they were wired shut in A models, puttied over in B models and left out altogether in Ds, I believe) requiring you to open up  flashed over slots in the wing gloves. Stupidly, I didn’t, thinking I could just scribe the vanes in later, This would have worked if I was halfway good at scribing, as it was, it just created more problems for me.  My tip. Open up the slots and use the kit vanes as even shut, the openings  are quite prominent on the real jet.

For some reason I had a gap when fitting the bottom plate, not sure why as dry fits had shown a good fit.  Fitting the phoenix pallets hid most of it and a plastic card shim covered the rest.  The forward fuselage fitted to the rear with no gaps or steps as did the tailfins.  I had read about fit problems when glueing the gun bay  and avionics panels in the closed position, but being patient and gluing a side at a time will reward you with reasonable fit, still, I needed a small smear of Mr Surfacer around the ladder door.

Apart from this, the kit assembled quickly.  I left the brass burner rings out after successfully bending one up, only to then  drop the pliers on it.
The WIP shots on the front page outline my painting steps in achieving a bit of tonal variation to the Light Gull Grey

Moving onto the decals, I didn’t apply any of the stencils. as photos of the actual jet showed very few.  The decal instructions call out the red turbine warning stripes to be placed along the jet nacelles whereas they should go around them.  That said, I forgot to add the stripes above the NAVY titles. I was disappointed the yellow border of the VF84 sash showed through the US star, I didn’t want to lay another start and bar over the top so left it as was.  For the other side I cut away the yellow border where from where the star and bar would overlay it.

 The Fightertown data sheet, whilst being quite comprehensive, does not include enough stripes for a full suite of phoenix, so I could only add the stripes which would remain the most visible, and with the stores fitted, the canopy was the only part left to fit.  The fit to the windscreen is not to my liking as there is a step and small gap as you can see, but at the rest of causing cracks to the canopy from forcing it, I decided to leave this too as it was.
The Jolly Rogers scheme is most attractive and I can understand why a lot of modellers choose it to adorn their Tomcats

F-14A Tomcat VF-84 “Jolly Rogers”  U.S.S Theodore Roosevelt  U.S Navy  1989


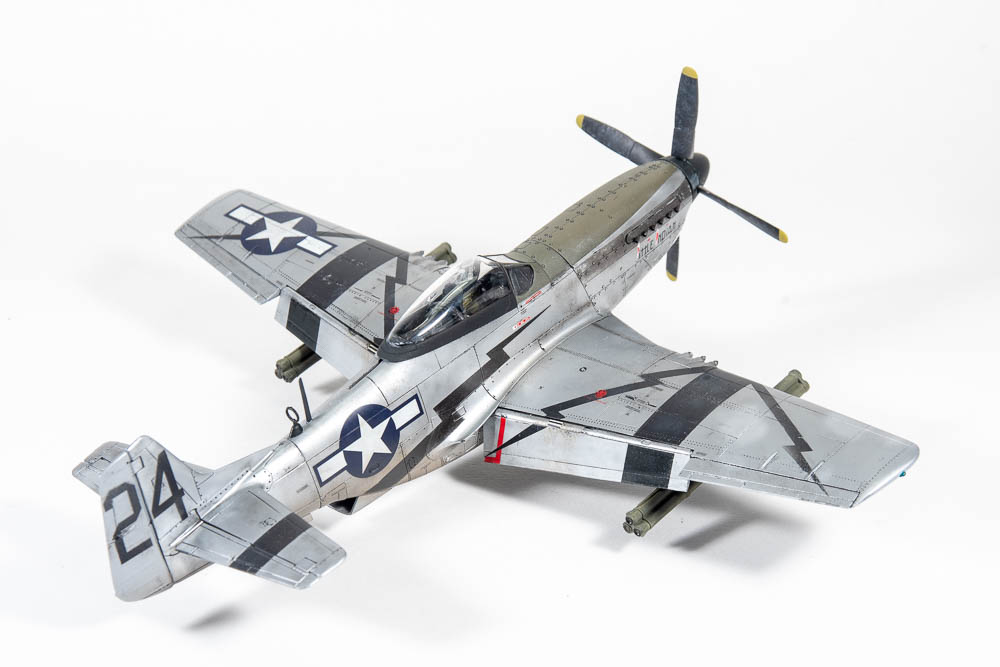
Airfix 1/48 North American P-51D Mustang

Year Purchased: 2018
Date Completed:  April 2018
Aftermarket Used: Eduard Brassin shrouded exhausts
Paint: Floquil Bright silver, Xtracolour Olive Drab, various vallejo and tamiya colours used for detail painting

Construction Notes: Im loving the new Airfix kits.  This is the second Ive built after the walrus.  From the excellent box art to the many options included in each kit, you can tell they are designed with the modeller in mind.
Airfix’s mustang was a very enjoyable build, with excellent engineering, detail and fit.  That there will be other boxings is evident from the options in the kit for different windscreens, canopies and tail units.  A Commonwealth boxing has already been announced.  As good as the kit is, it is let down by a few parts, mainly the cross hatched wheels, where the tread just does not extend to the centre of the tyres.  You will either have to source replacements, or scribe the tread in ( badly) as I did.  Brassin make resin replacements, but inexplicably would have you drill out the hubs rather than use the same mounting as the kit uses.  I would also recommend the Brassin M-10s as the kit ones are a little clunky.

 The propeller has some sink marks on the blade tips, and the gun inserts aren’t the best fit.  Other than these minor quibbles, the kit is a joy. 
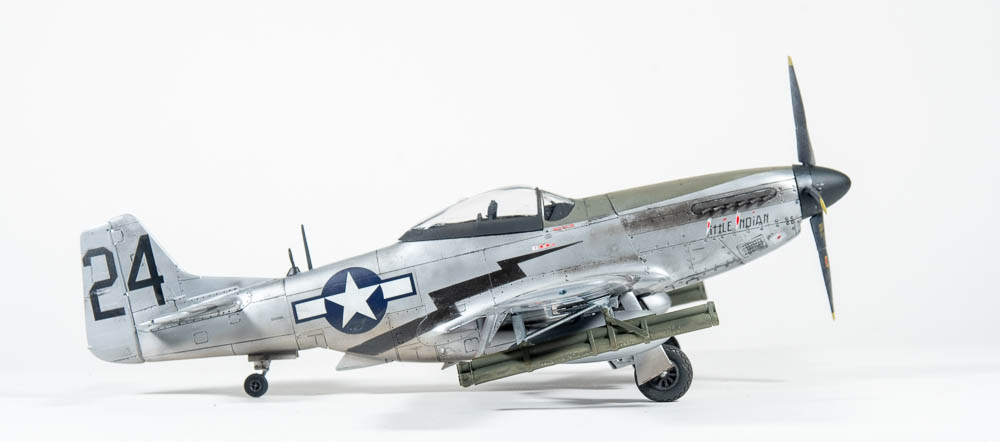
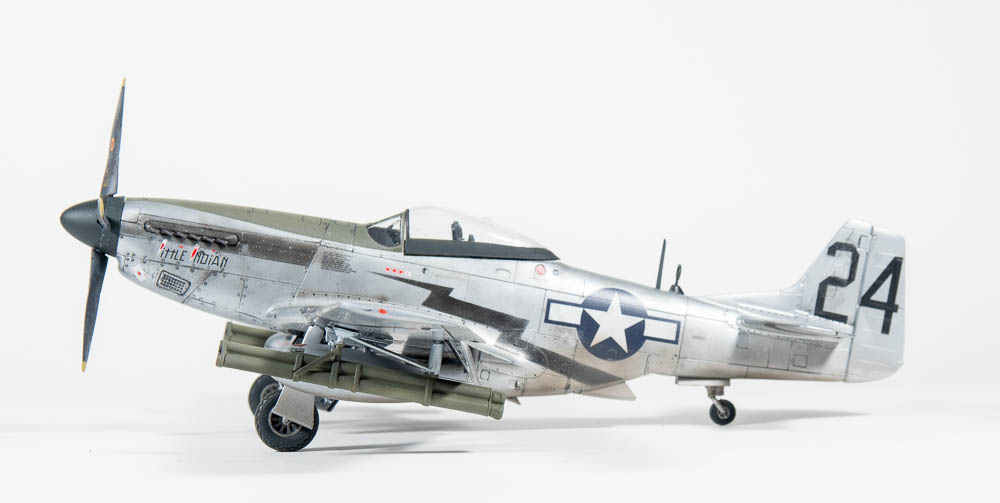
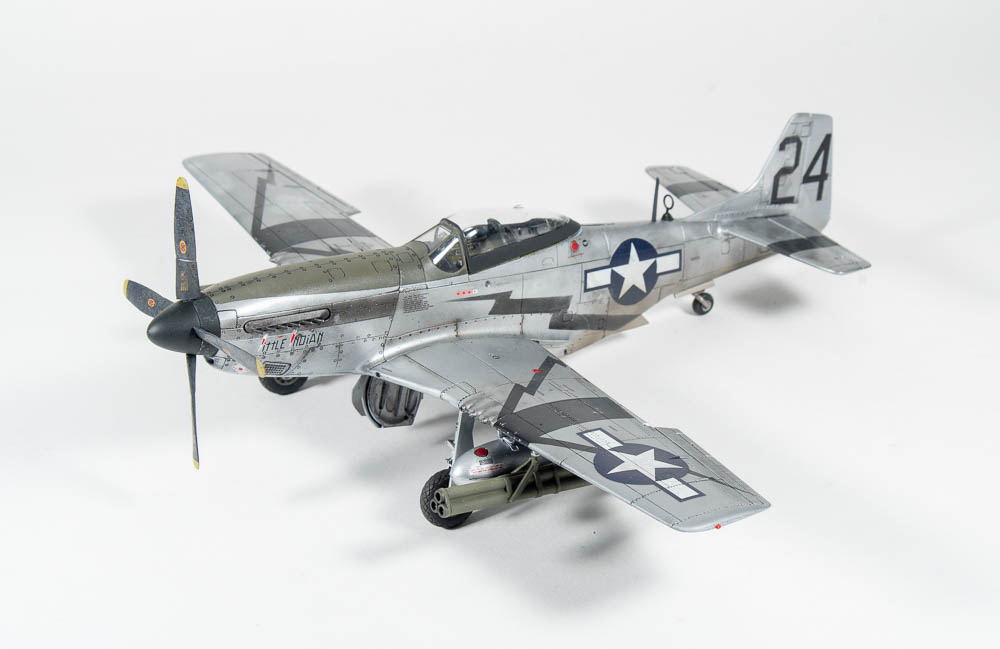
There is some rivet detail on the wings which you will need to fill should you so desire, but the wheel wells are moulded correctly with the straight rear spar. The kit cockpit looks busy enough assembled OOB and even comes with decals for placards.  When choosing a scheme, I could not go past the striking 2ACG machine with its Black Lightning bolts on wings and fuselage, and it meant I could use those M-10 airborne bazooka tubes.
Rather than use the kit decals for the arrows I had a friend cut some masks for me.  Other than the black arrows, the kit decals were used and performed flawlessly.

I used Floquil Bright silver for the finish, with grey and black preshading underneath to try and get a bit of tonal variety. This will bear further experimentation as in certain light, you can see a bit of variation in the silver finish.
 I decided on impulse to build the kit for an upcoming themed competition, so feel I rushed it a little bit. Everything was going fine until I applied one of the Mig Panel line washes over what I thought would be an  impervious base of Future but to my horror, as well as removing the excess wash with an old T shirt, I also removed paint in some areas.  This then began the downward spiral of touchups which never match.  Anyway, its done, but Im annoyed that this is another finish that was going nicely until this stuff up sent it down a different path.  I can only surmise my coat of future was not thick enough.  Another enjoyable build, although these days I would build the Eduard kit.

U.S.A.A.C P-51D Mustang 2nd Air Commando Group India 1945

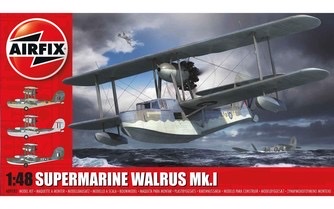
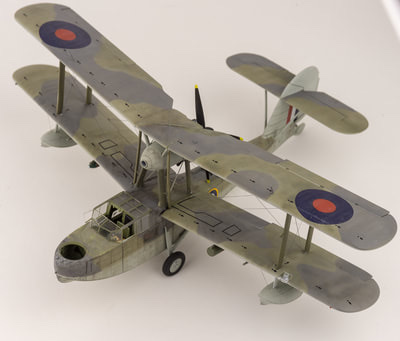
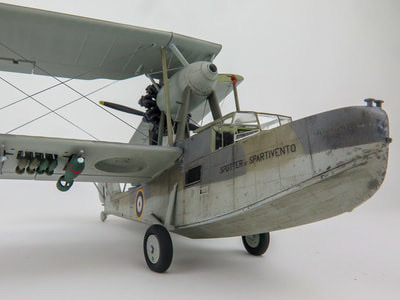
Airfix 1/48 Supermarine Walrus Mk1

  • Year Purchased: 2017
  • Date completed     March 2018
  • Aftermarket used:  Eduard mask set
  • ​Paint: Xtracolour Dark sea grey, Dark slate grey,  FAA sky grey

I had held off on getting Airfix’s new Walrus due to me having HPHs big resin 32 scale kit to build, however upon seeing a mate’s I just had to buy it. Not only that, I had to build it straight away!
Airfix are really kicking goals with their new 48 scale kits, and this is no exception, with a fully riveted hull,  stressed skin effect on the roof, a nice interior, and  several options that allow you to model the wings folded or spread, canopies open or closed and wheels up or down 
The model assembled well with good fit. I found it a thoroughly enjoyable build, well, until I got to the rigging!

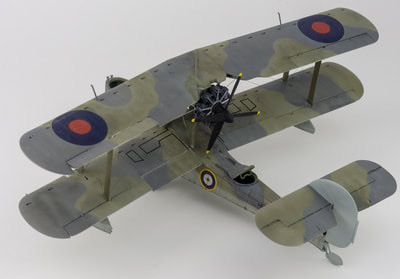
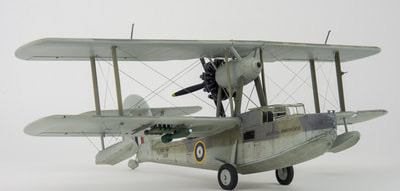
Painting was done with xtracolours and all was good until I got to the rigging.  A combination of super glue that had gone off and would not instantly set and not really knowing what I was doing sort of bought the build undone.  Still, I got their in the end, better equipped to handle that wingnut wings kit I want to tackle this year.
Construction Notes
Although there are plenty of injection moulding pins present on the interior surfaces, you cant see any, apart from two in the extreme nose once the fuselage is together.
I elected to glue the roof to one side to better handle the joint as I could then attack it from both sides. Airfix have moulded some lovely surface detail into this kit so you want to reduce any need for sanding as much as possible
The centre “fan looking thing” needs all traces of the moulding seam sanded off before glueing between the two engine nacelle halves
I found the open cockpit a little too wide for the fuselage, although that could have been a fault on my part.
Back to my kit.  I found when on its wheels the folded wing float dragged on the ground due to me not securely glueing the wing spar.  At the last minute I decided to cut the spar off and have both wings extended, This is the wing with the aileron deflected up.  I could not debond the glue join unfortunately, so I will just have to live with it.
An enjoyable kit, although the rigging turned it into a bit of a grind in the end.

Supermarine Walrus Mk1 700 N.A.S Royal Navy. H.M.S Sheffield

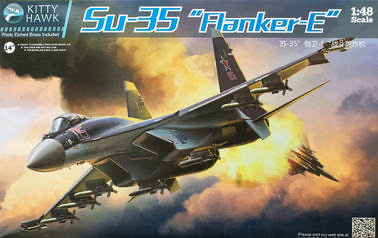
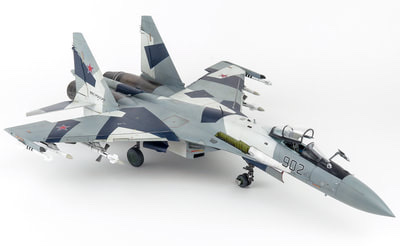
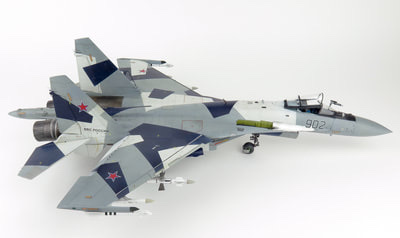
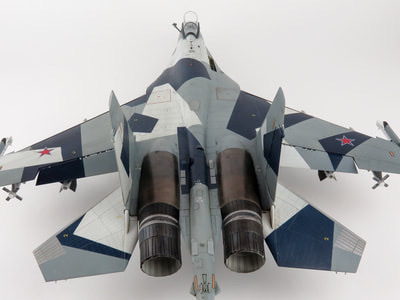
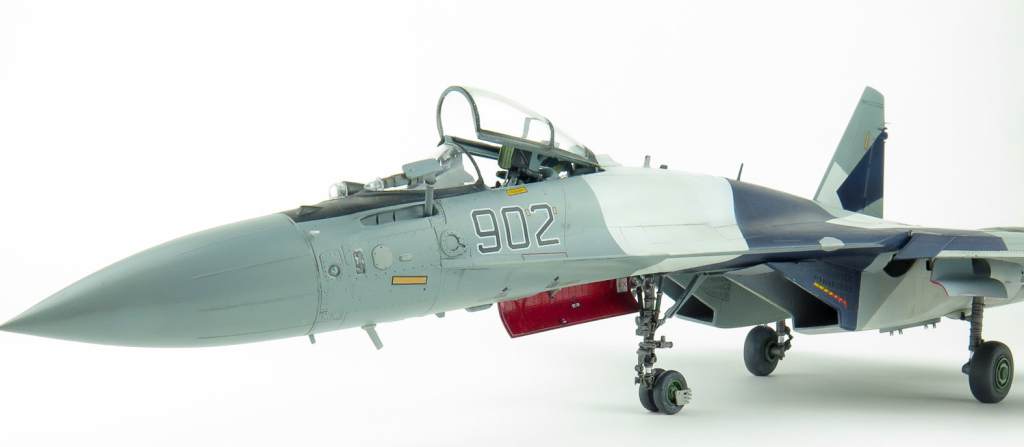
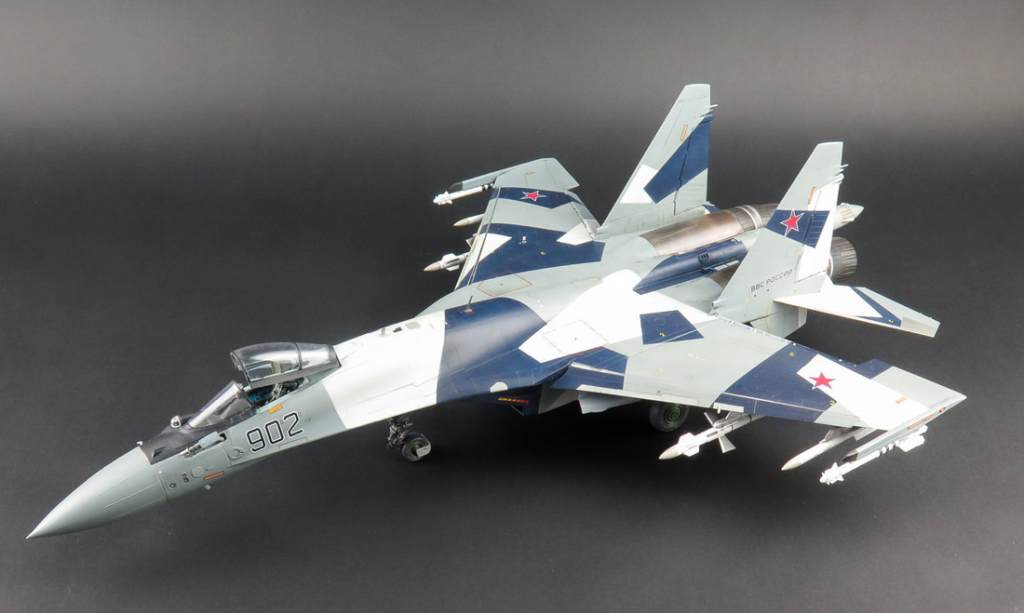
Kittyhawk 1/48 Su-35

  • Built: 2017
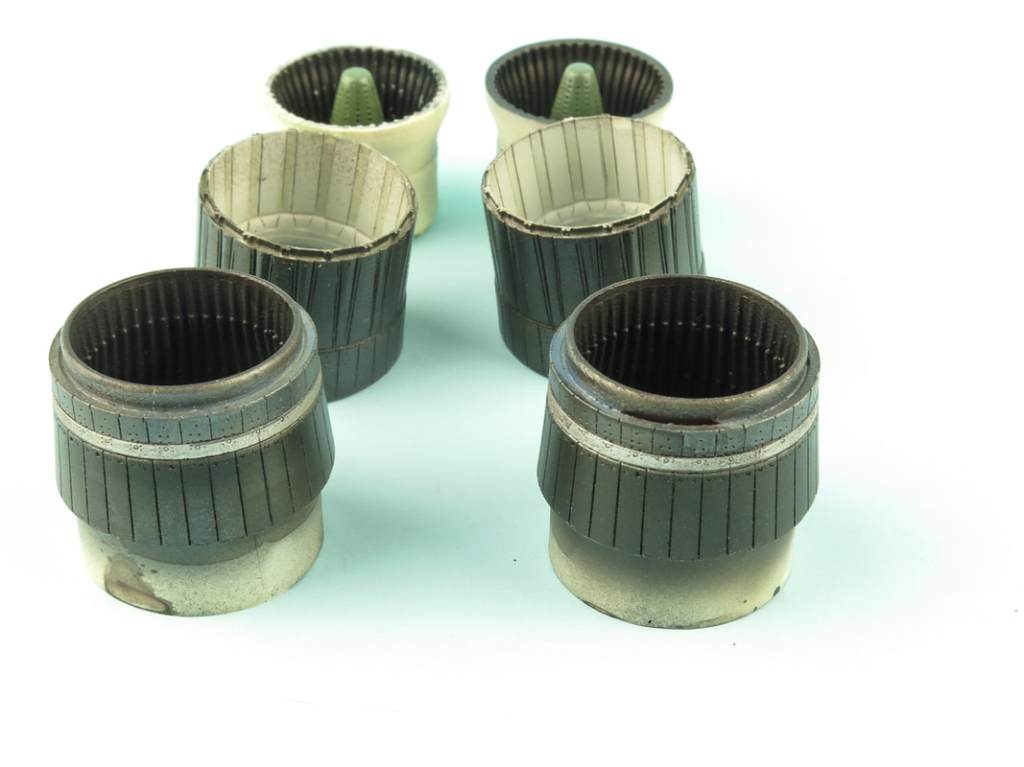
  • Aftermarket Used: A.M.U.R Reaver afterburners
  • Decals: Kit

This was another review I completed for The Modelling News
You can read the articles here, which covers construction and finishing of the model

Overall, I enjoyed building the model, and think it ranks as one of kittyhawks better models to date, only let down by the lack of drooped nozzles and being able to make a late version Flanker OOB. Well, that and the normal KH issues like poor instructions and could-be-better moulding . 

Really though, I thought KH might have started to overcome a few of these things by now.  That KH instructions continue to mis number parts or show them incorrectly is incredibly frustrating, and seems to just illustrate (excuse the pun) a lack of listening to customer feedback
  I cant comment on the accuracy, but nothing really glaring stood out to me.
Since I have completed this kit, Great Wall Hobbies have released theirs, and were I ever to do another, this is the kit I would choose, being superior in all facets, but I wont do another as one Su-35 in the cabinet is enough for me.
  This was also the first time I completely painted a model using Mr Color laquers, and I will certainly be using them again I have to say, the finished model looks quite striking in the cabinet due to its size and that colour scheme. 

Kinetic 1/48 Dassault Mirage IIIO

  • Built: 2017
  • Aftermarket Used: Wheels-Resin art. Pitot Tube-Master detail
  • Decals: Caracal Mirages over Australia

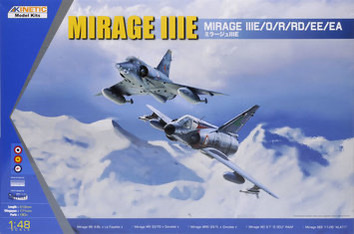
The Mirage holds a favourite place in the hearts of many Australian Aircraft modellers, so there was much rejoicing when Kinetic announced they were releasing this kit.  Although in my opinion,  it renders the Heller and Italeri kits obsolete, moulding is a little soft and the fit is not the best. 
There is still room for the definitive kit out there. 
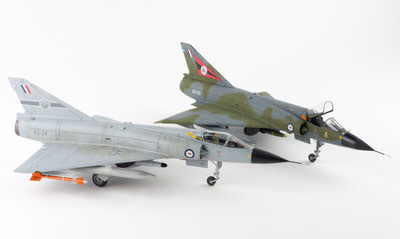
Two of my friends and I decided to build this kit as a challenge build to get judged at a show.  the winner gets to pick the next subject.  At least I finished this one, the last build – the Kittyhawk Jaguar- is still languishing in its box with broken u/c.  In a fit of insanity, I decided to build all three kinetic mirages in my stash.  two single seaters and a trainer, the trainer still needing to be finished as I’m a little “miraged out” at the moment.  The kit goes together quickly enough, but there are several traps  awaiting the unwary, and the moulding is quite poor for a kit released in 2015, mine having many sink marks and a lot of flash. OOB, the nose gear also has a little bit of an exaggerated backward rake.
With the two Caracal sheets, you can pretty much make any mirage in the RAAF fleet, wearing any of the many schemes it wore during its service life
 I found though, the caracal tail bands needed trimming for a better fit, and the blue in the roundels and fin flash is too vivid. 
Ronin Graphics also do a couple of very comprehensive sheets, that also allow you to build a few of the commemorative schemes.
In fact there  is a fair bit of AM around for this kit
And the winner of the challenge build?  Well, all three of us never managed to get to the show!

Dassault Mirage IIIO 77 SQN R.A.A.F Williamtown. Australia 1986

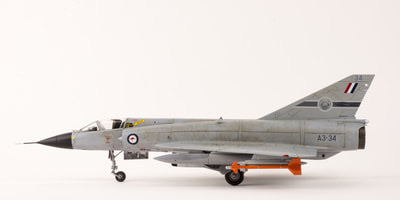
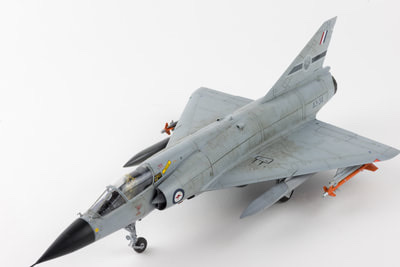
Kinetic 1/48 C.A.C Mirage IIIO

  • Date Completed;  December 2017
  • Aftermarket Used: Eduard interior set, Seat-Pavla MB4, Pitot tube- master barrel. Stores-PJ productions PM3 bomb rack, Hasegawa bombs, Wheels-Resin art
  • Decals: Caracal Mirages over Australia

The Mirage holds a favourite place in the hearts of many Australian Aircraft modellers, so there was much rejoicing when Kinetic announced they were releasing this kit.  Although in my opinion,  it renders the Heller and Italeri kits obsolete, moulding is a little soft and the fit is not the best. 
There is still room for the definitive kit out there. 
Two of my friends and I decided to build this kit as a challenge build to get judged at a show.  the winner gets to pick the next subject.  At least I finished this one, the last build – the Kittyhawk Jaguar- is still languishing in its box with broken u/c.  In a fit of insanity, I decided to build all three kinetic mirages in my stash.  two single seaters and a trainer, the trainer still needing to be finished as I’m a little “miraged out” at the moment.  The kit goes together quickly enough, but there are several traps  awaiting the unwary, and the moulding is quite poor for a kit released in 2015, mine having many sink marks and a lot of flash. OOB, the nose gear also has a little bit of an exaggerated backward rake.
With the two Caracal sheets, you can pretty much make any mirage in the RAAF fleet, wearing any of the many schemes it wore during its service life
 I found though, the caracal tail bands needed trimming for a better fit, and the blue in the roundels and fin flash is too vivid. 
Ronin Graphics also do a couple of very comprehensive sheets, that also allow you to build a few of the commemorative schemes.
In fact there  is a fair bit of AM around for this kit
And the winner of the challenge build?  Well, all three of us never managed to get to the show!

C.A.C Mirage IIIO(A) 3 SQN. Butterworth. Malaya. R.A.A F