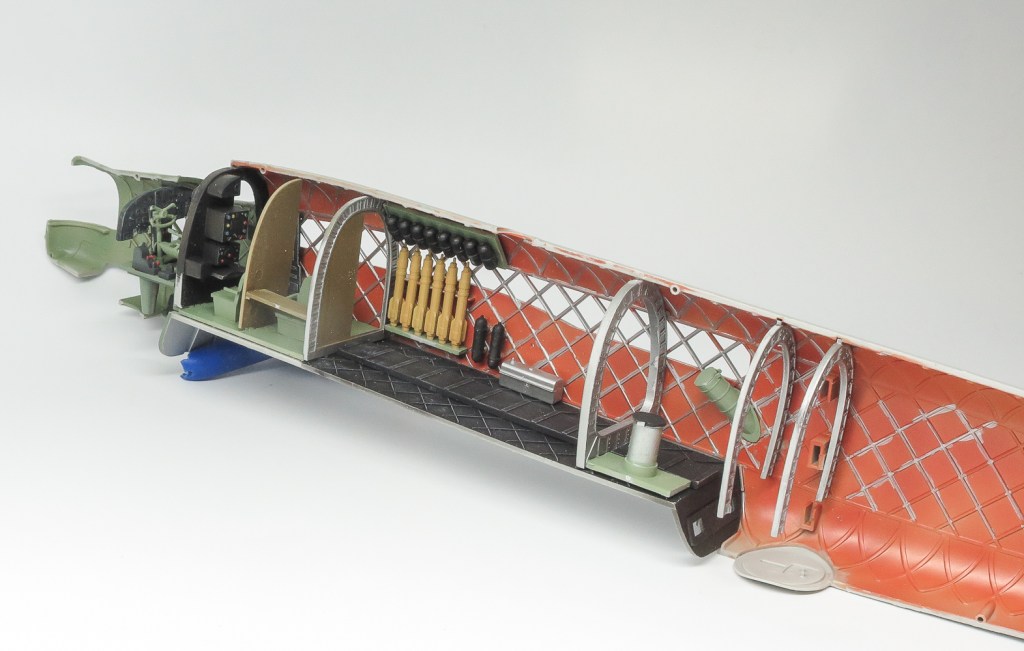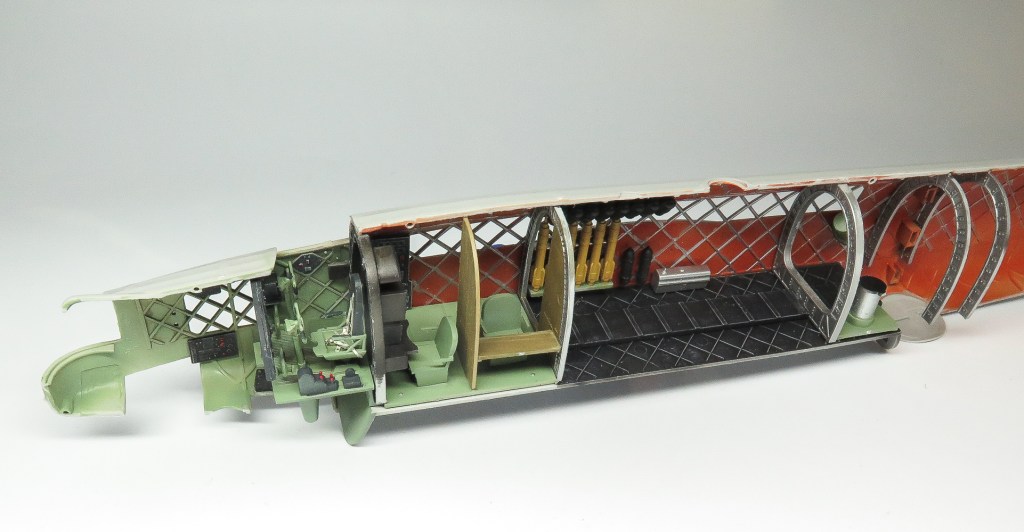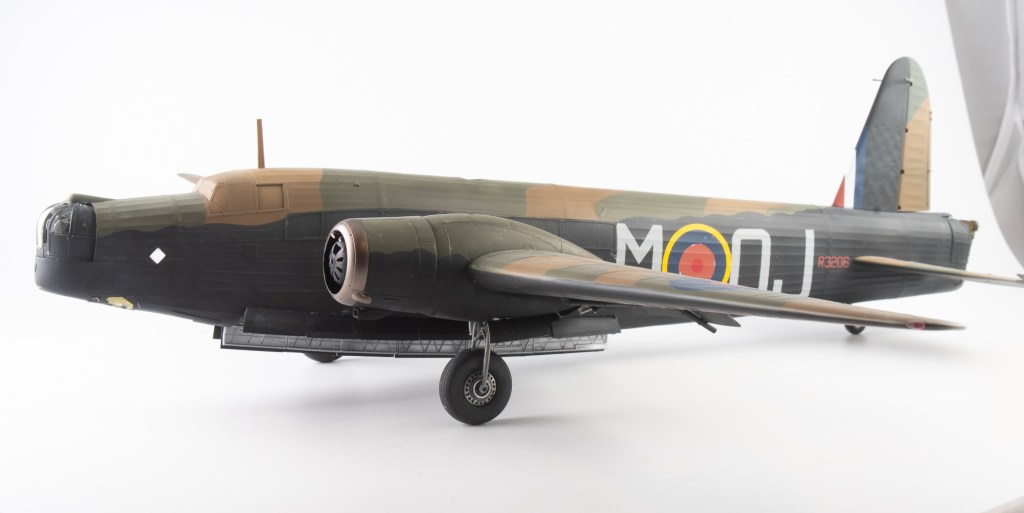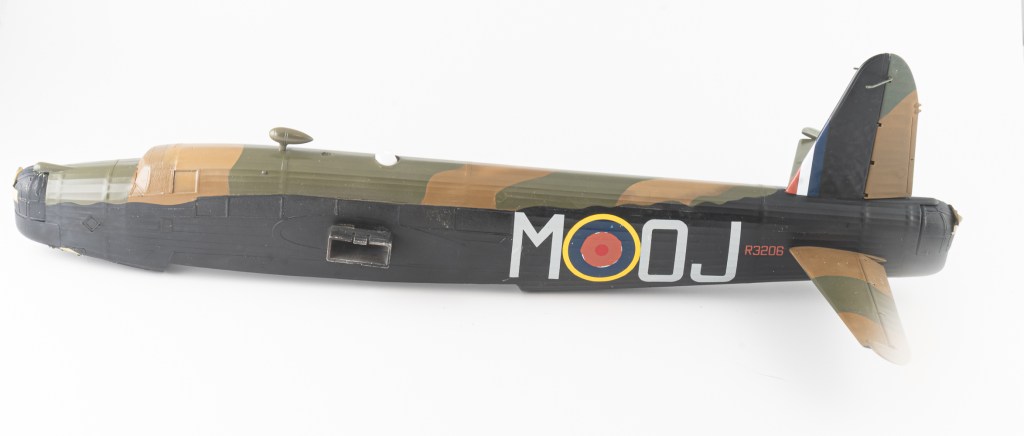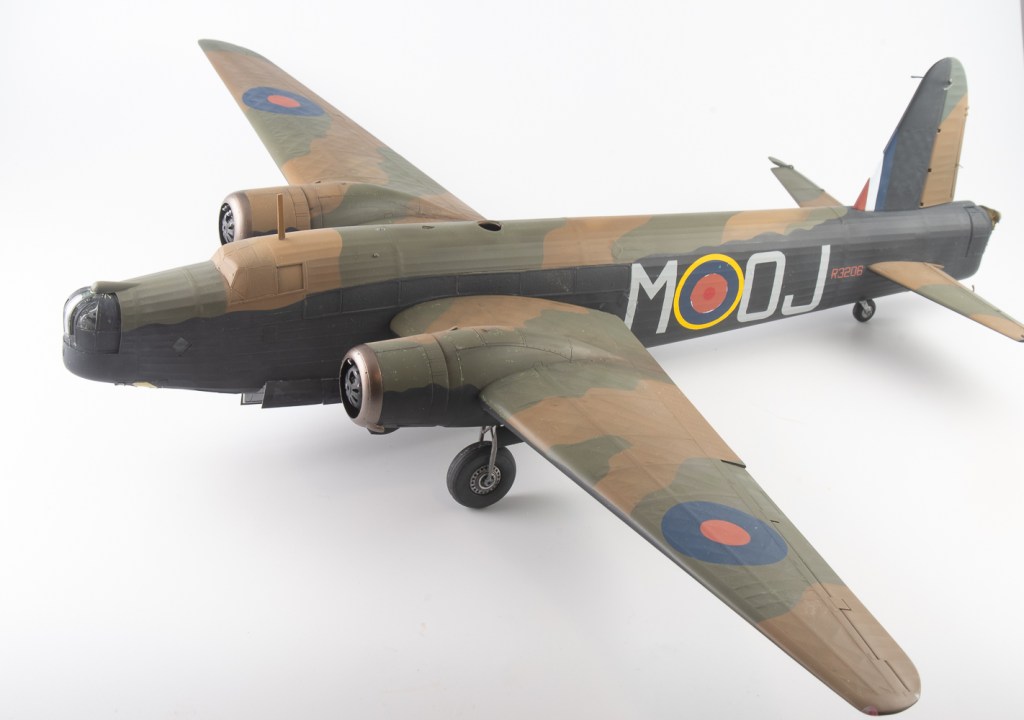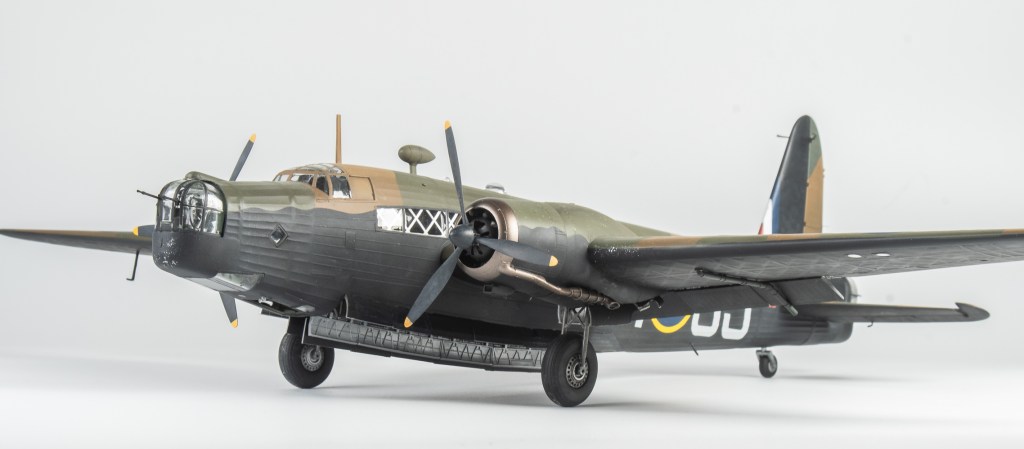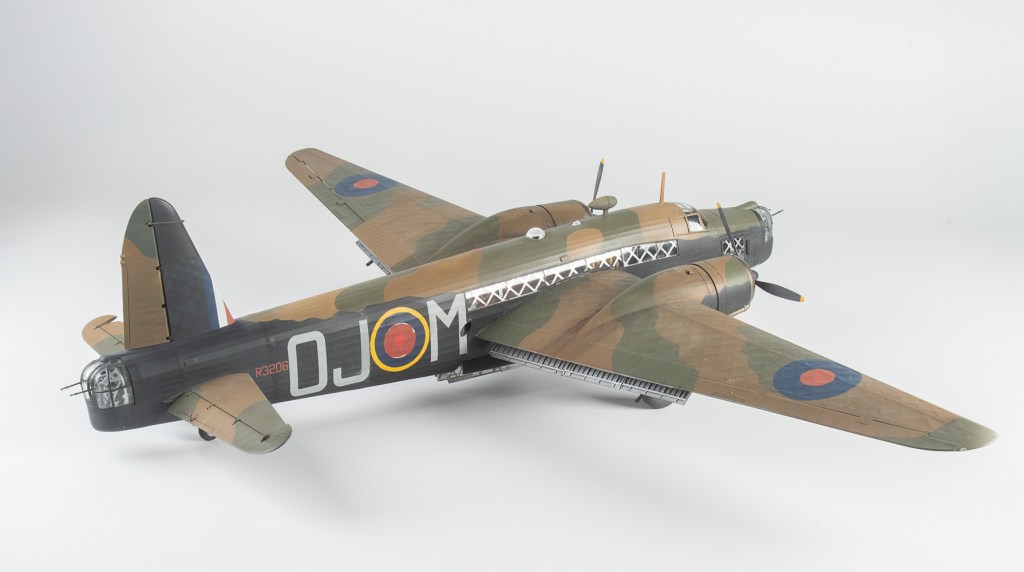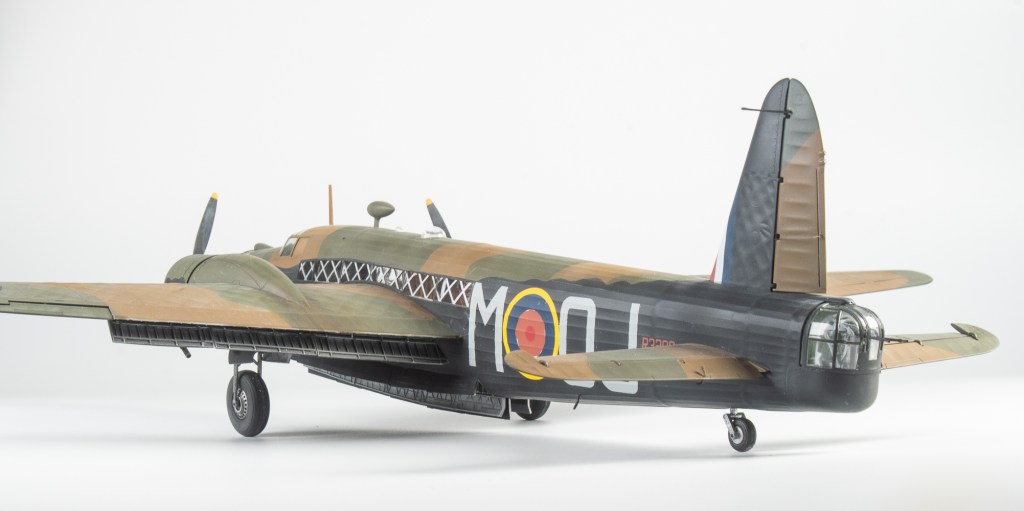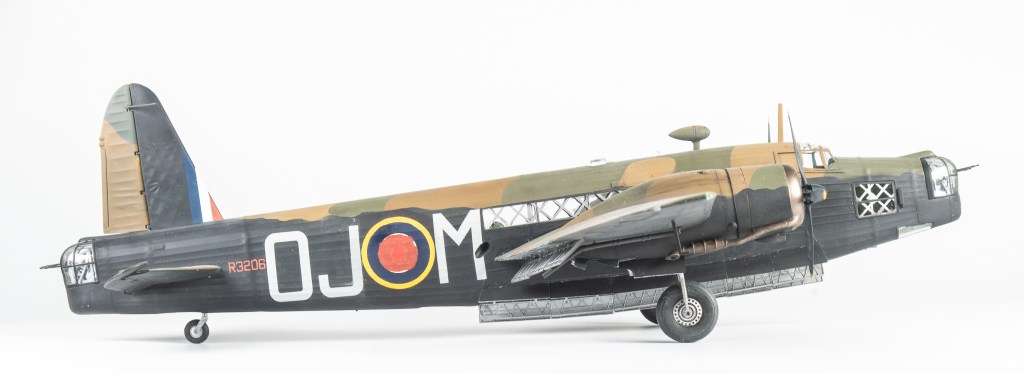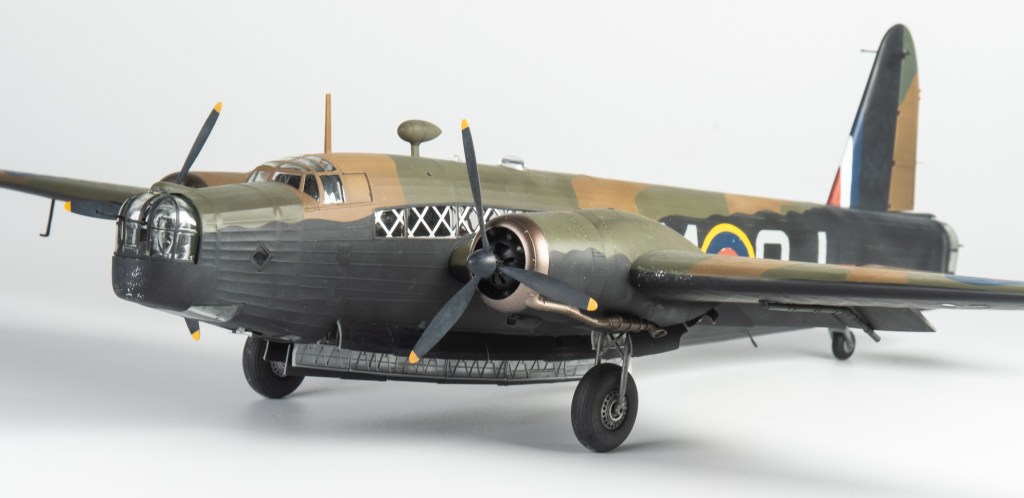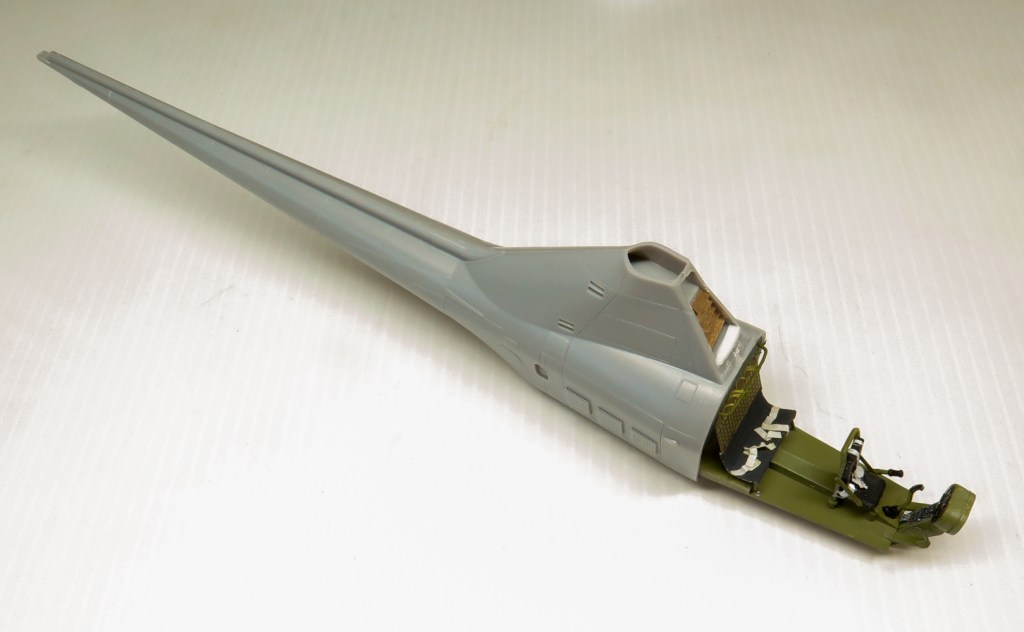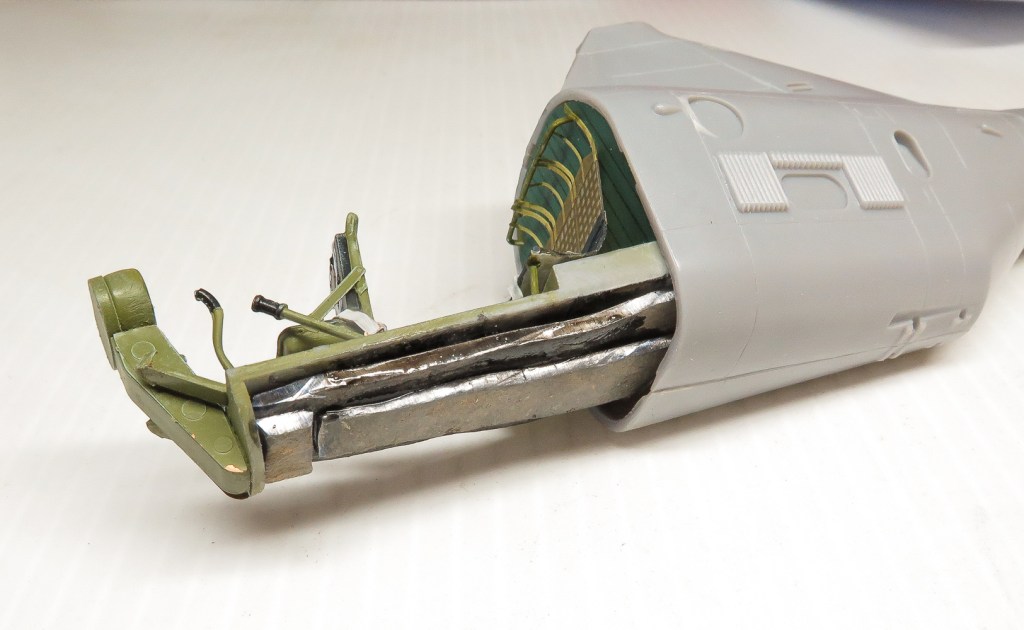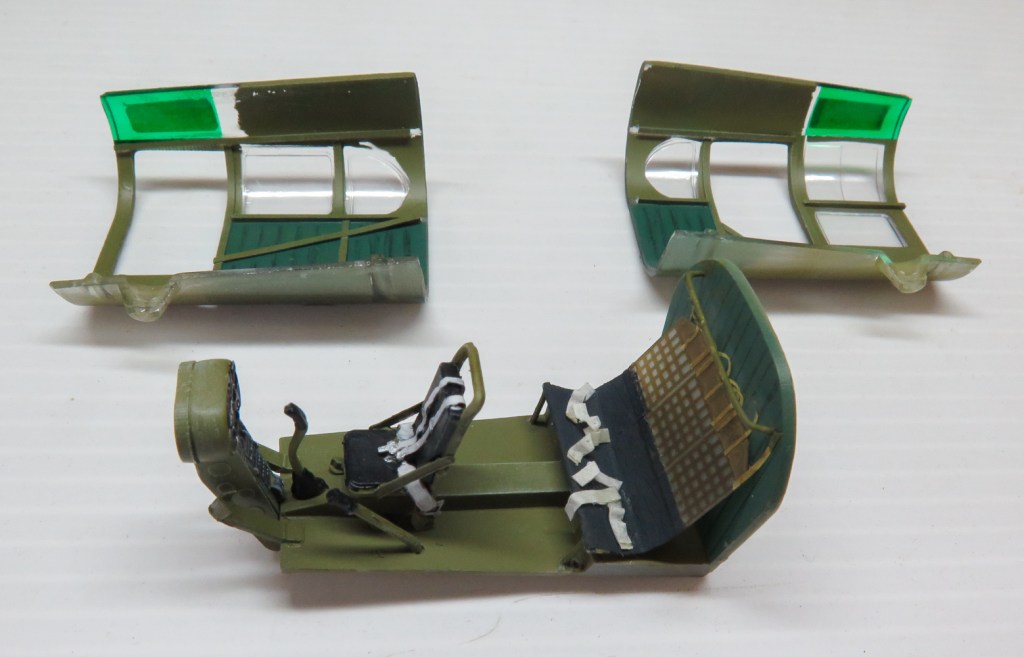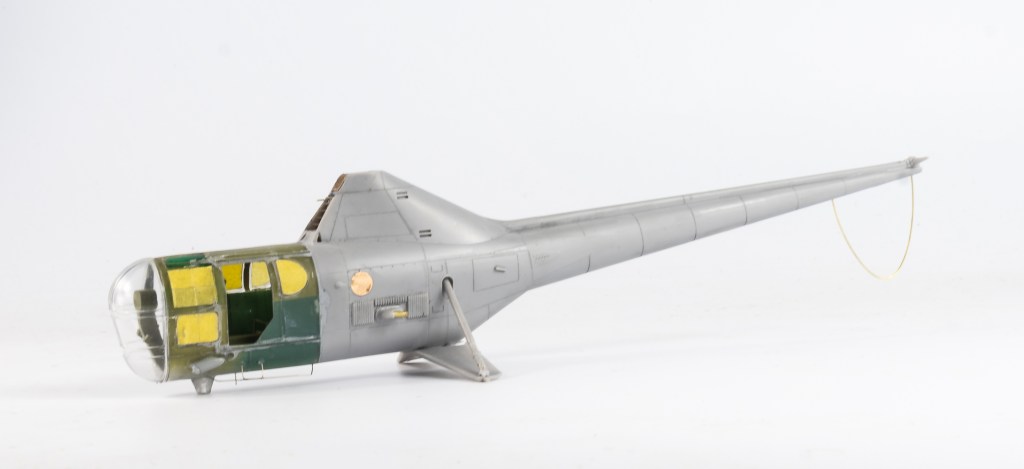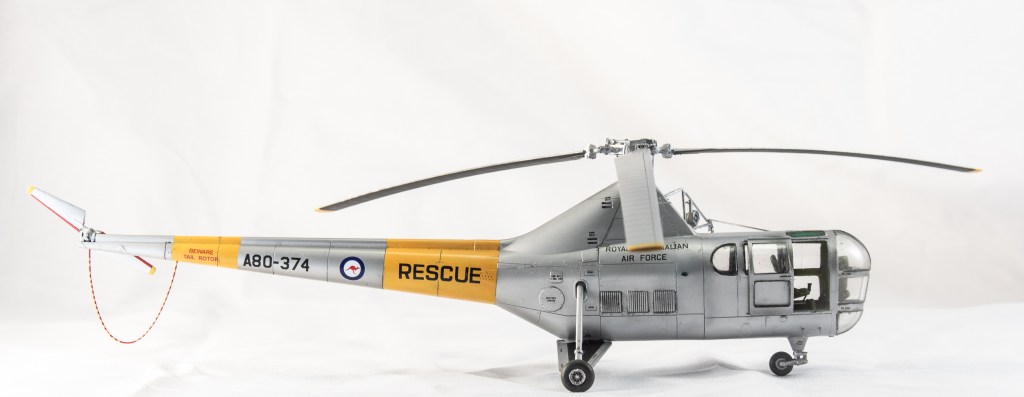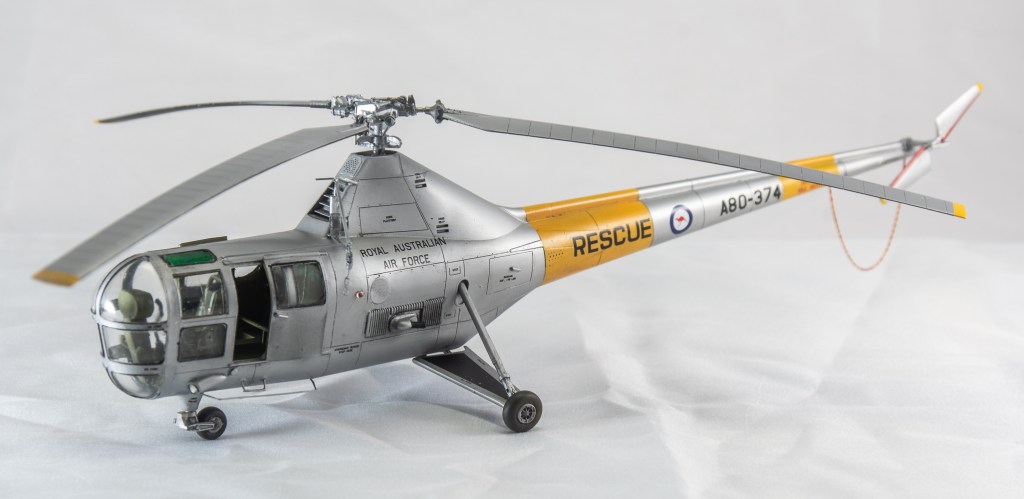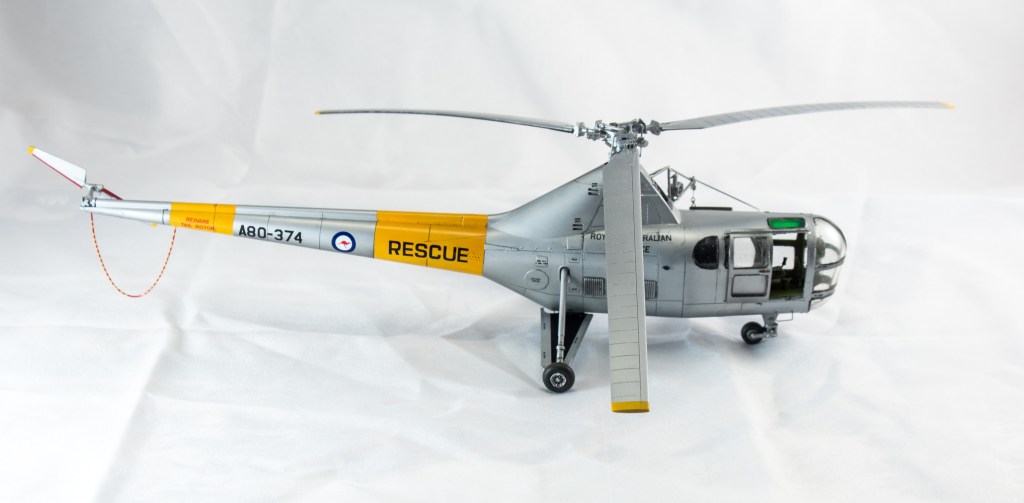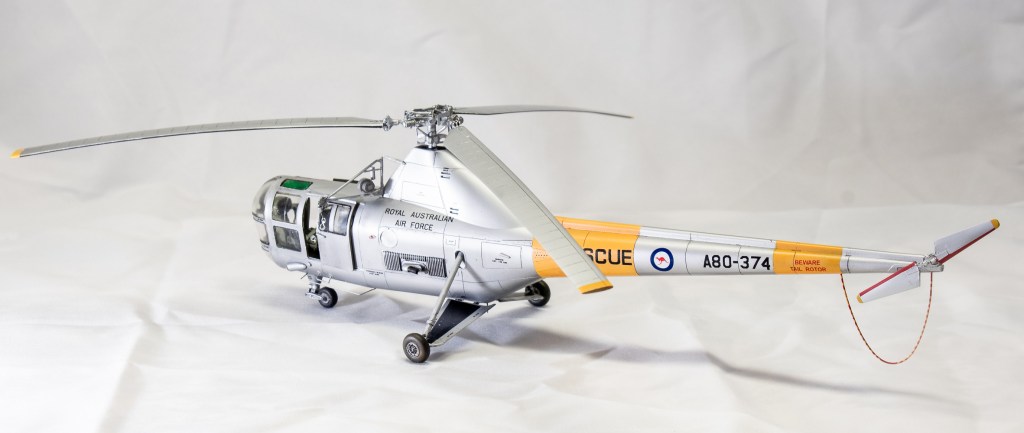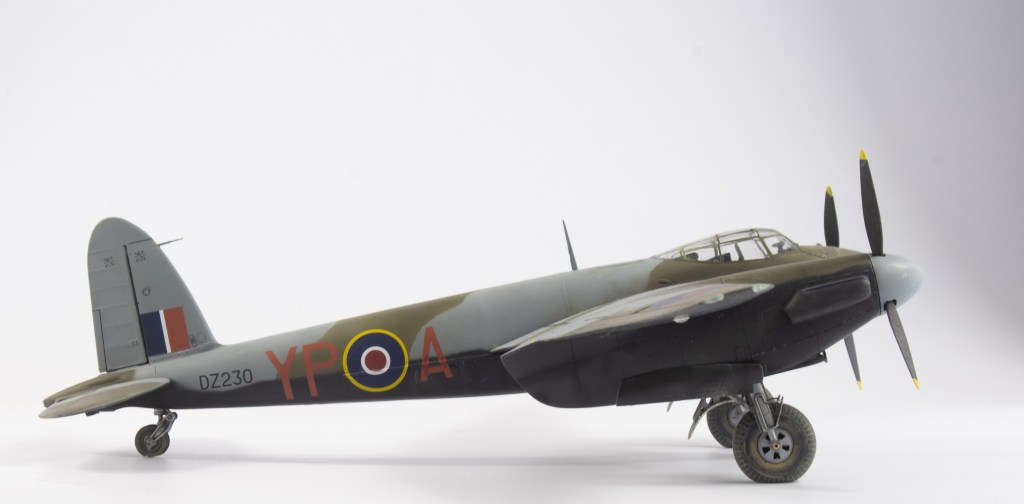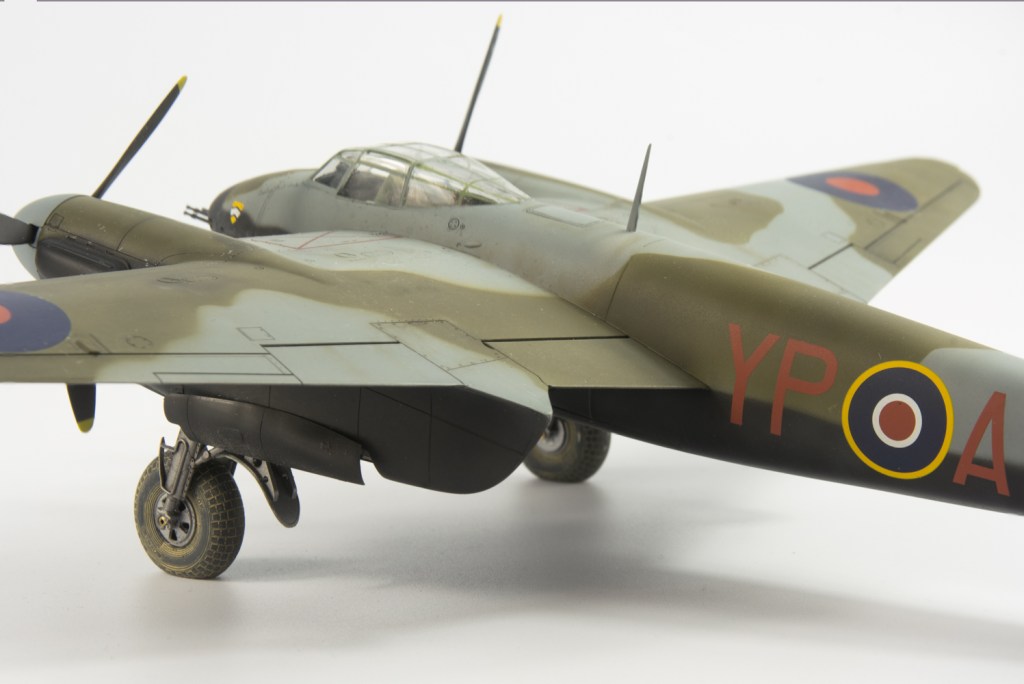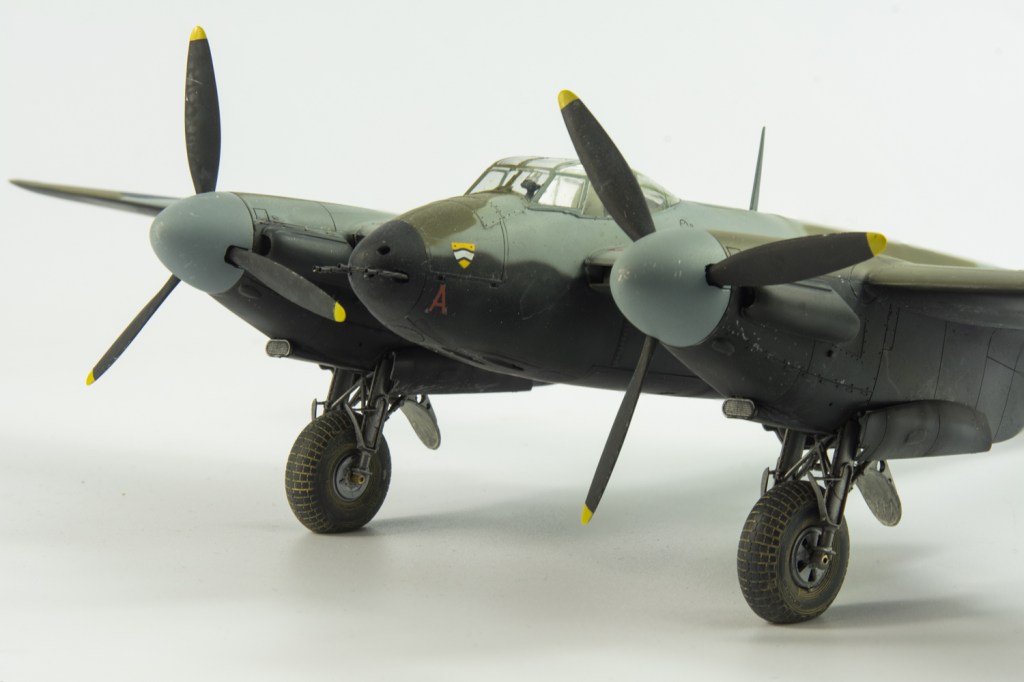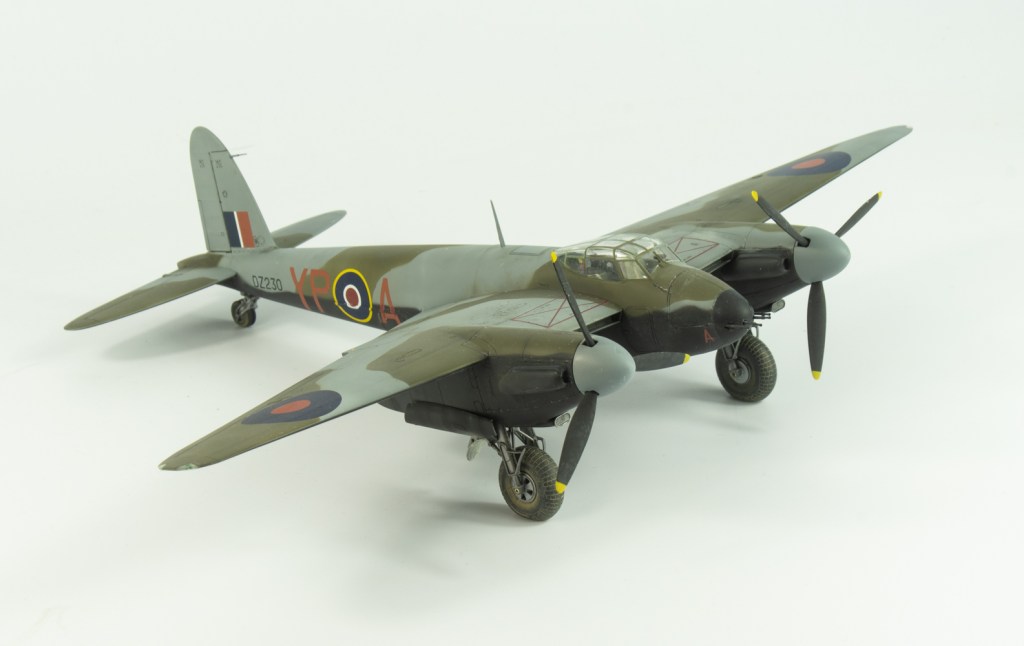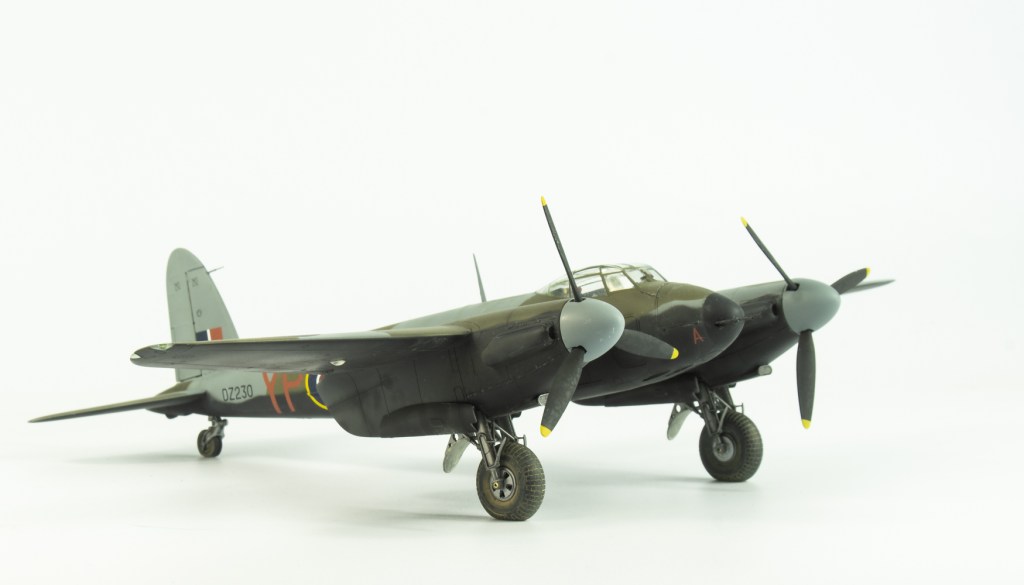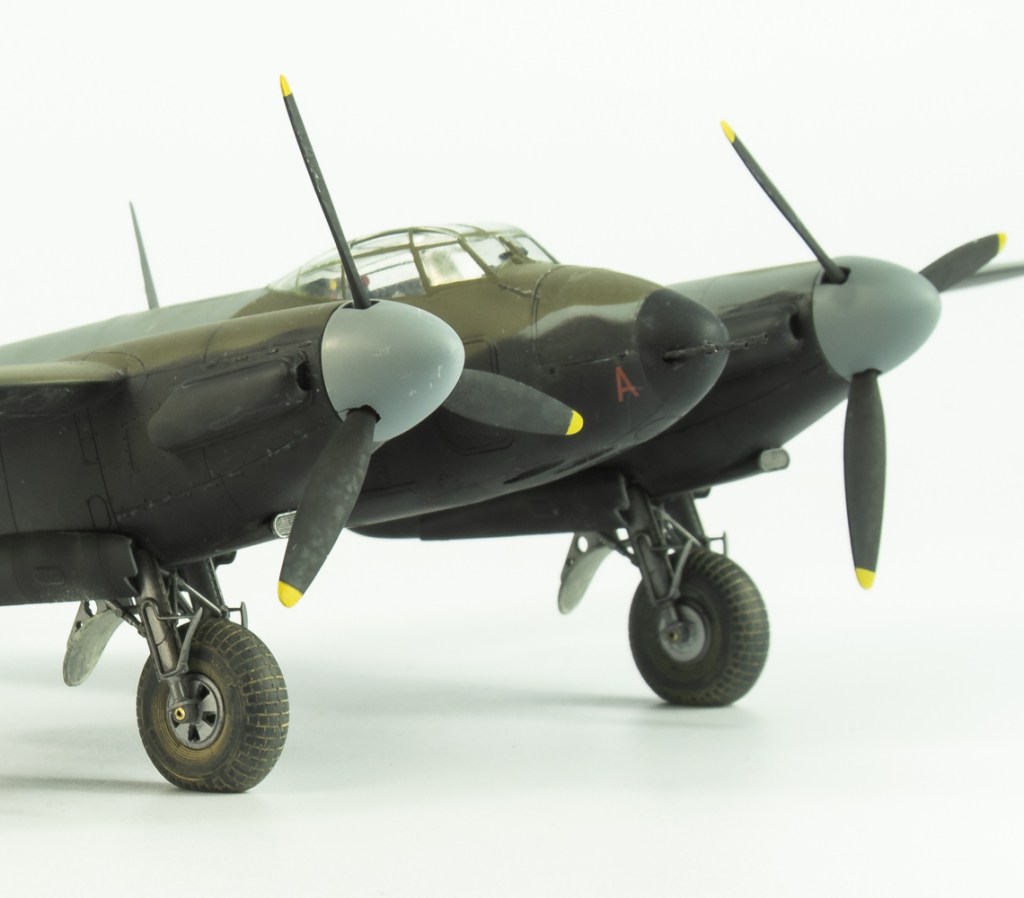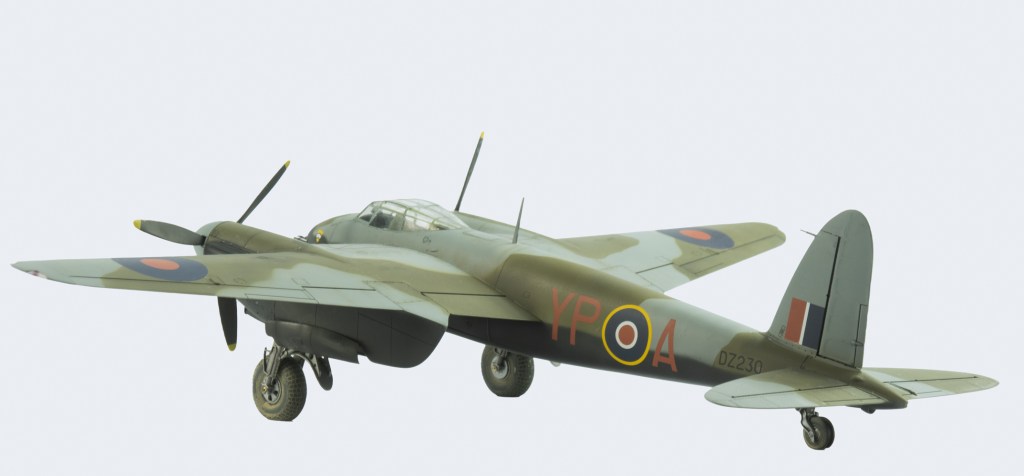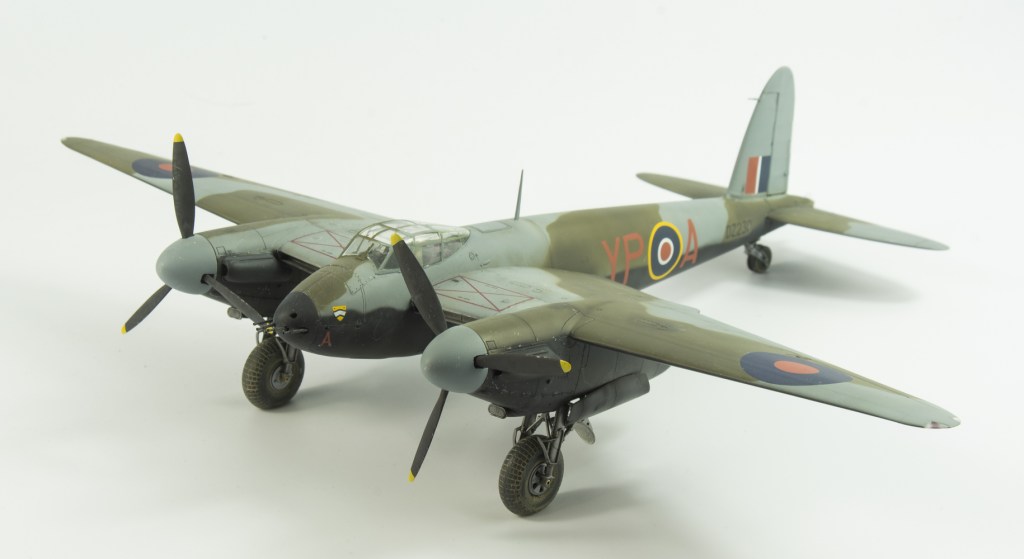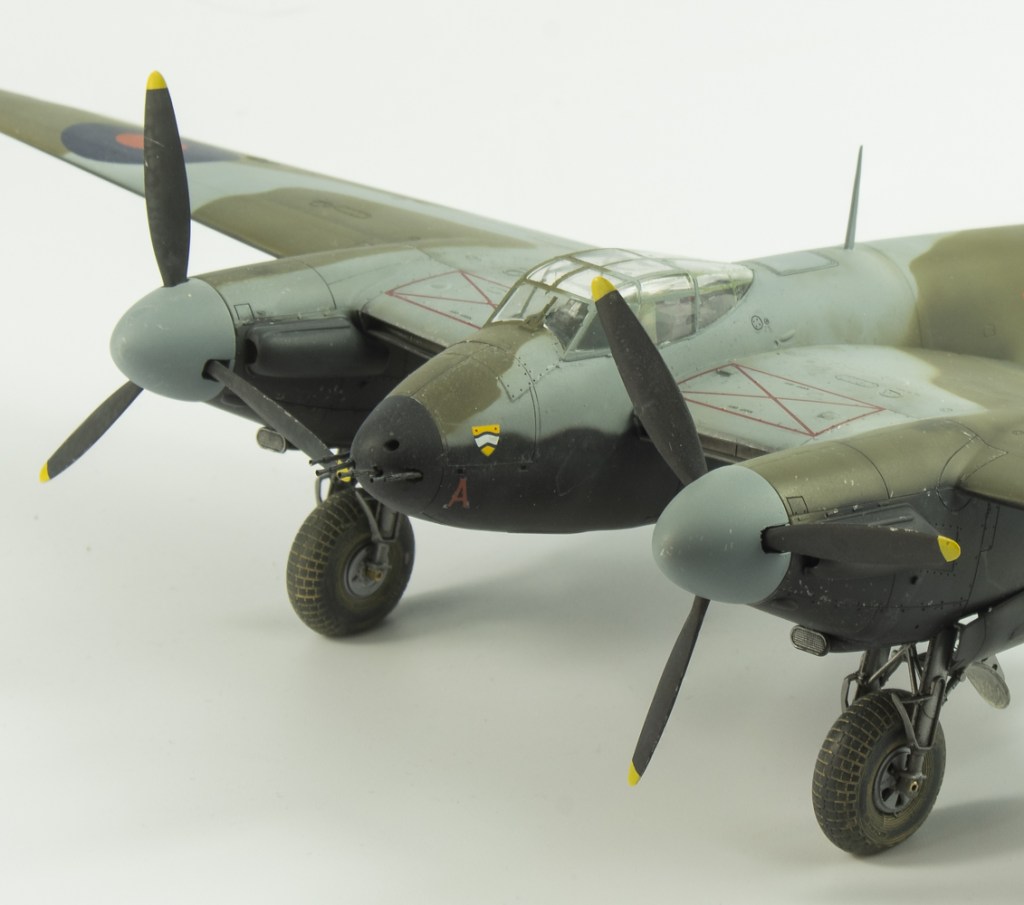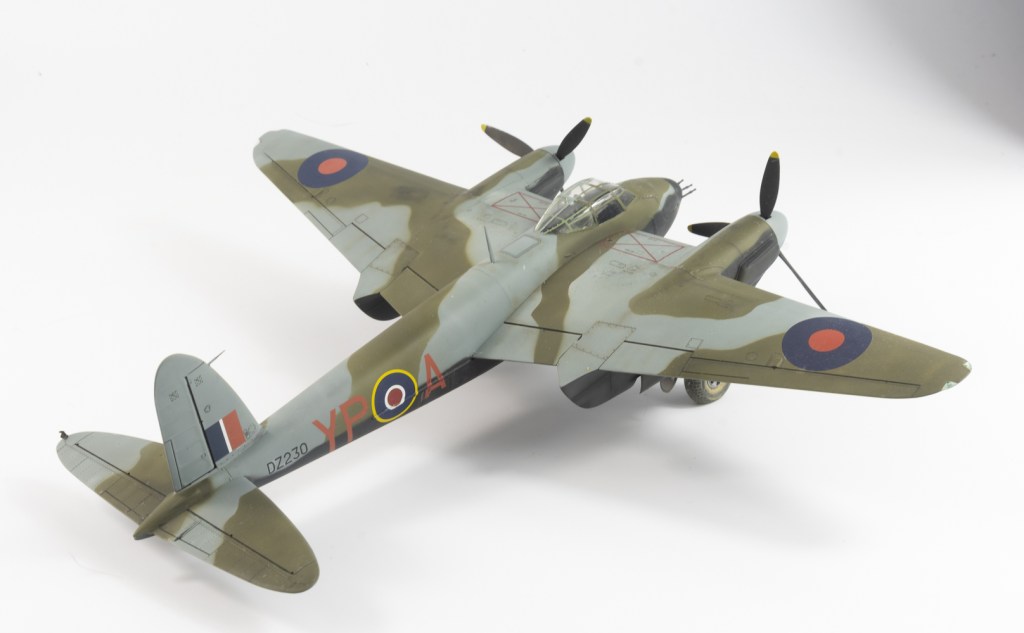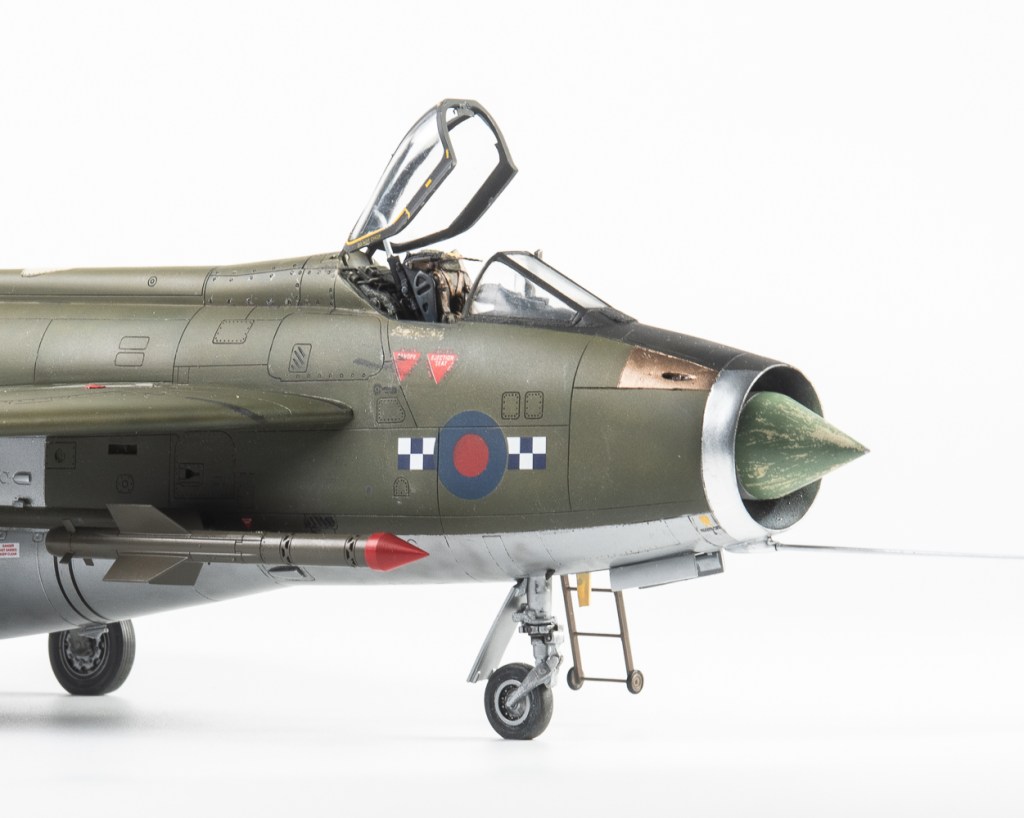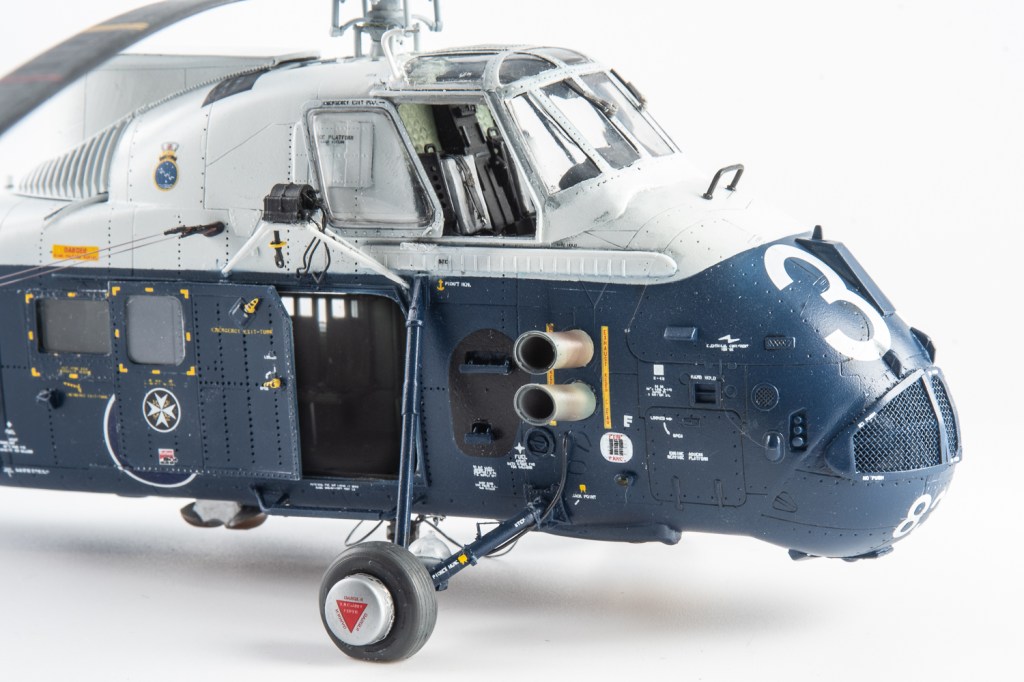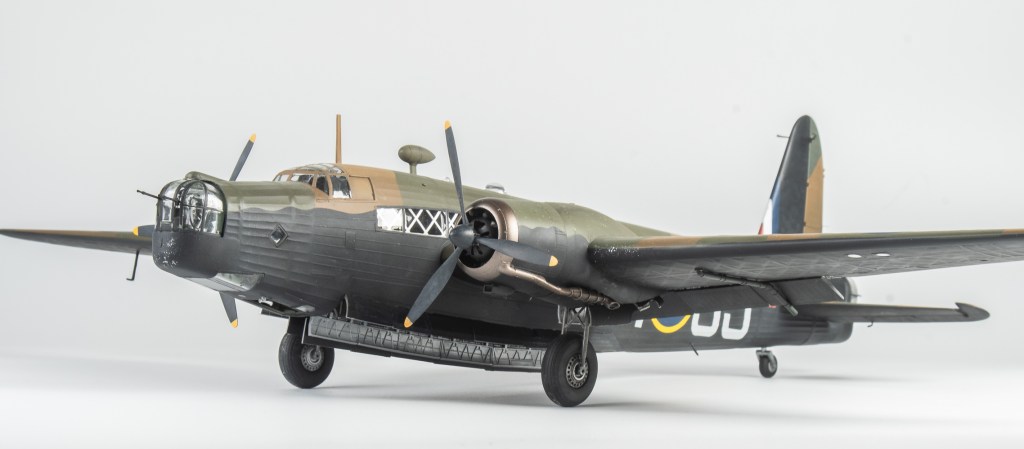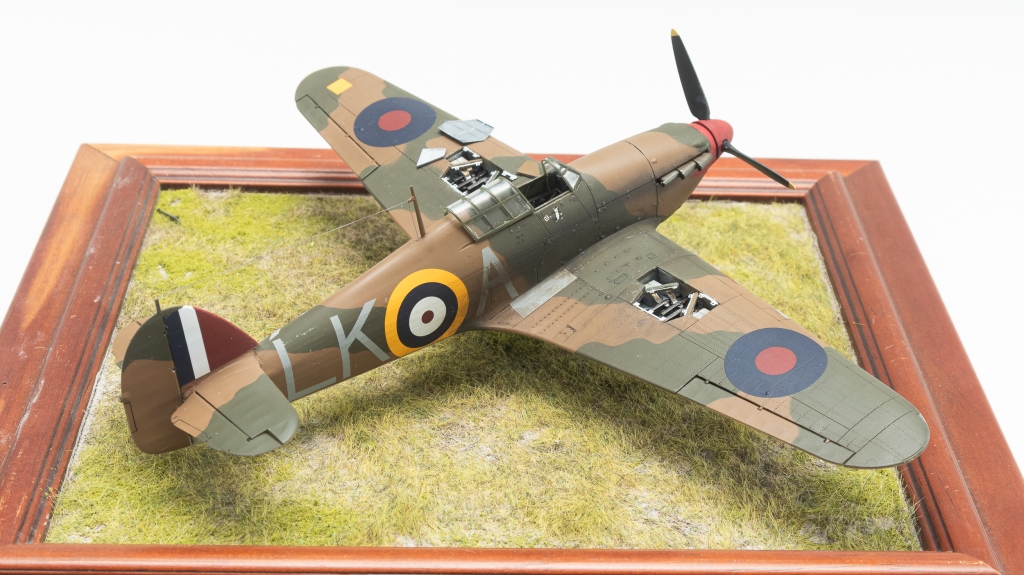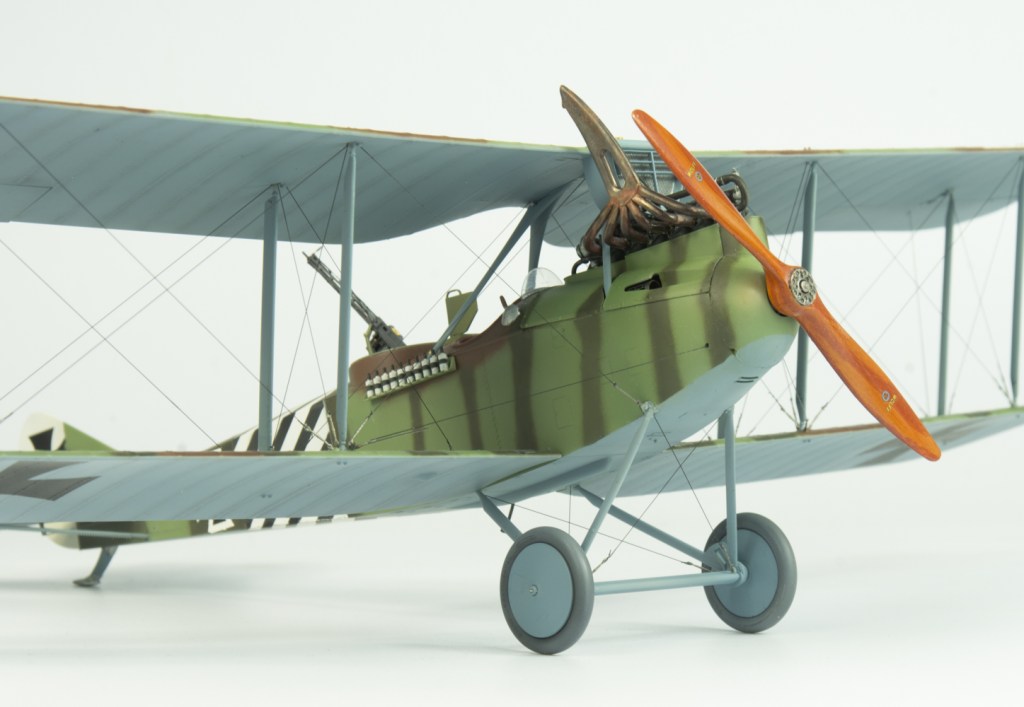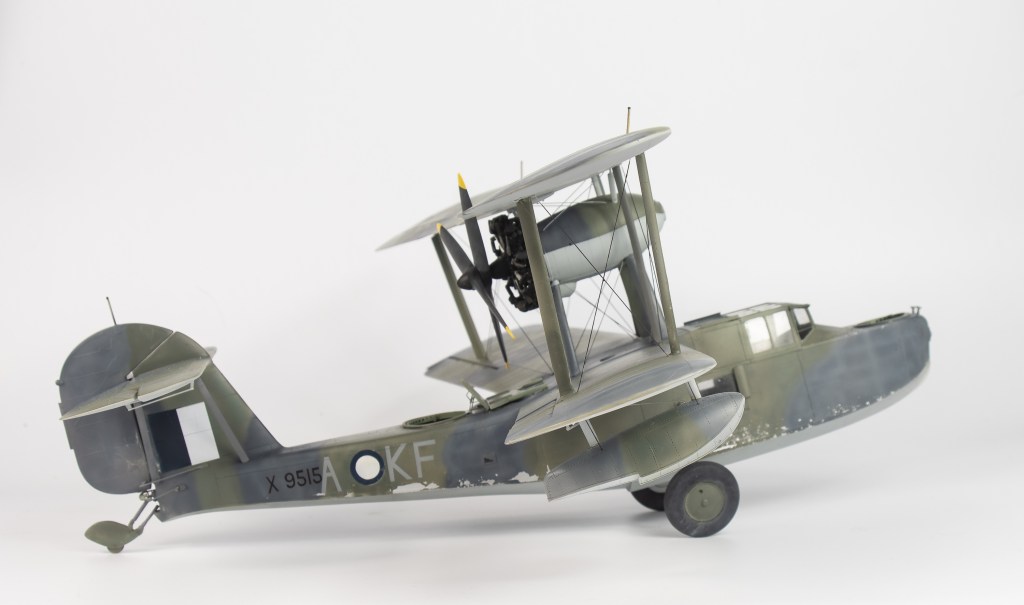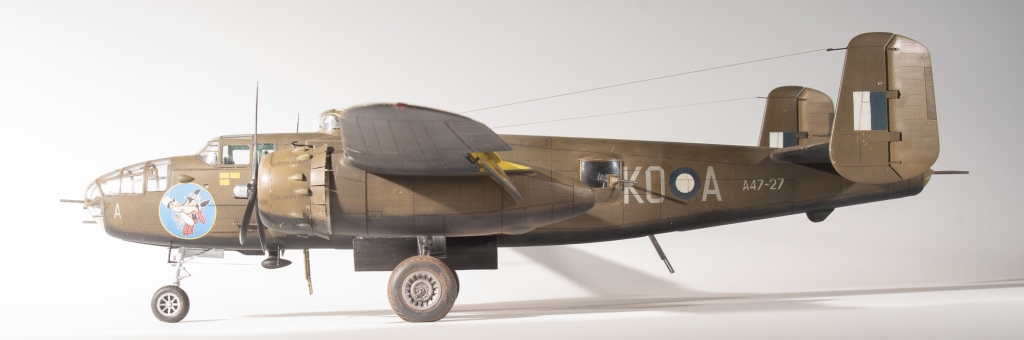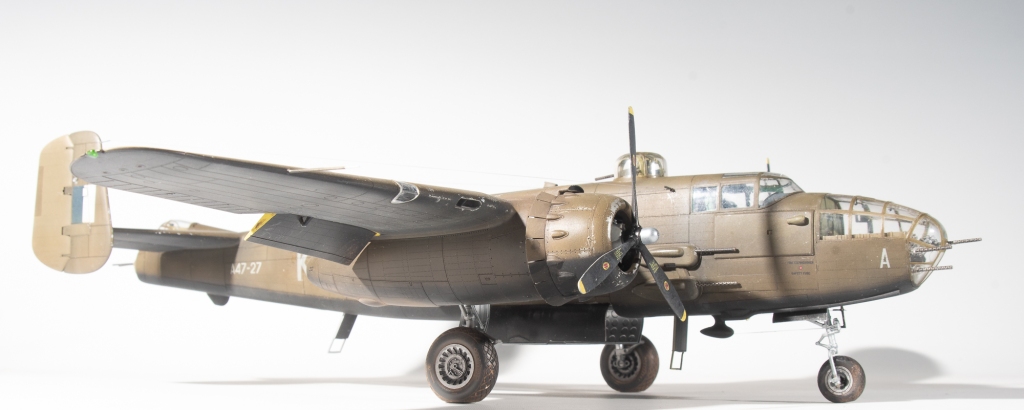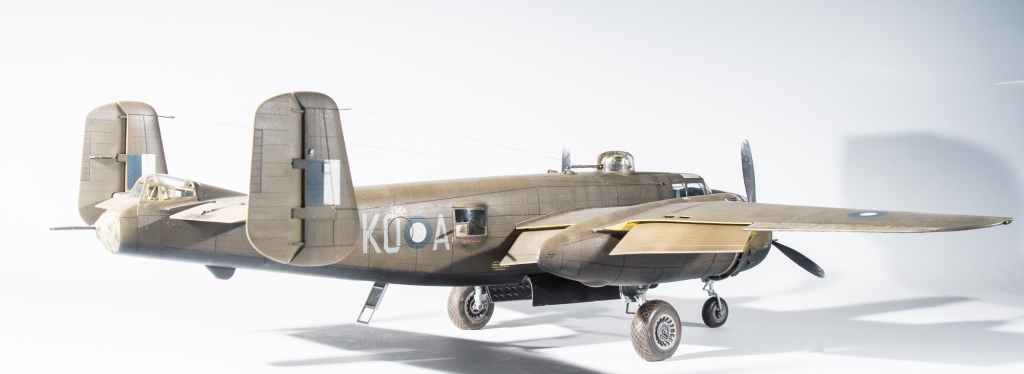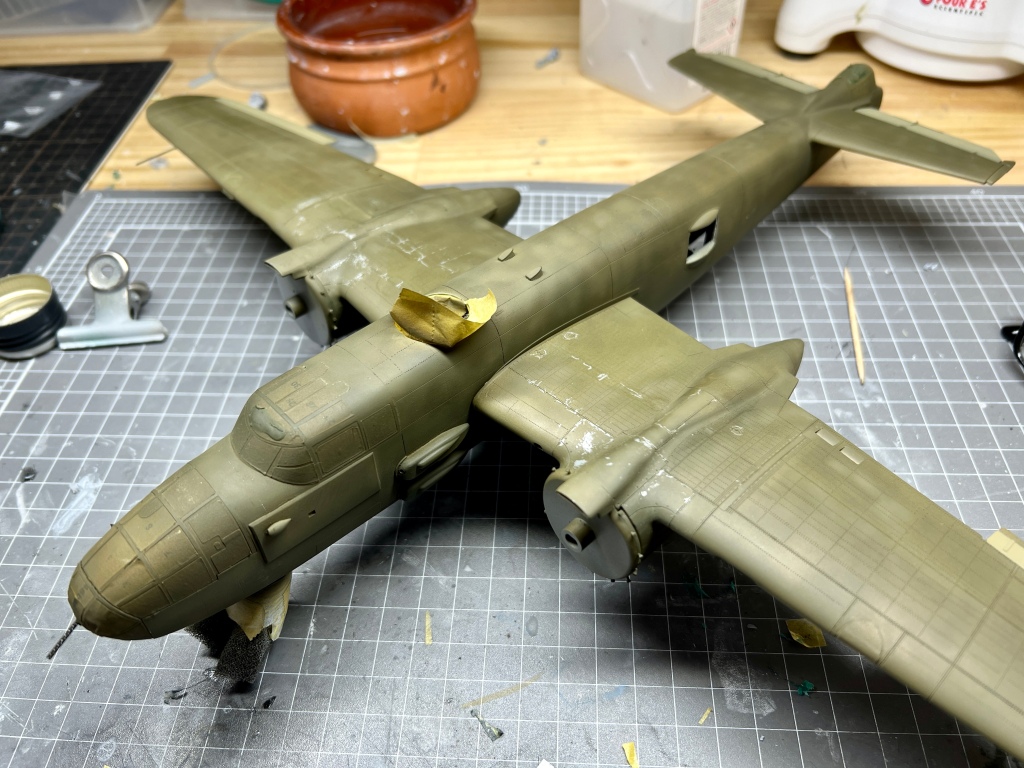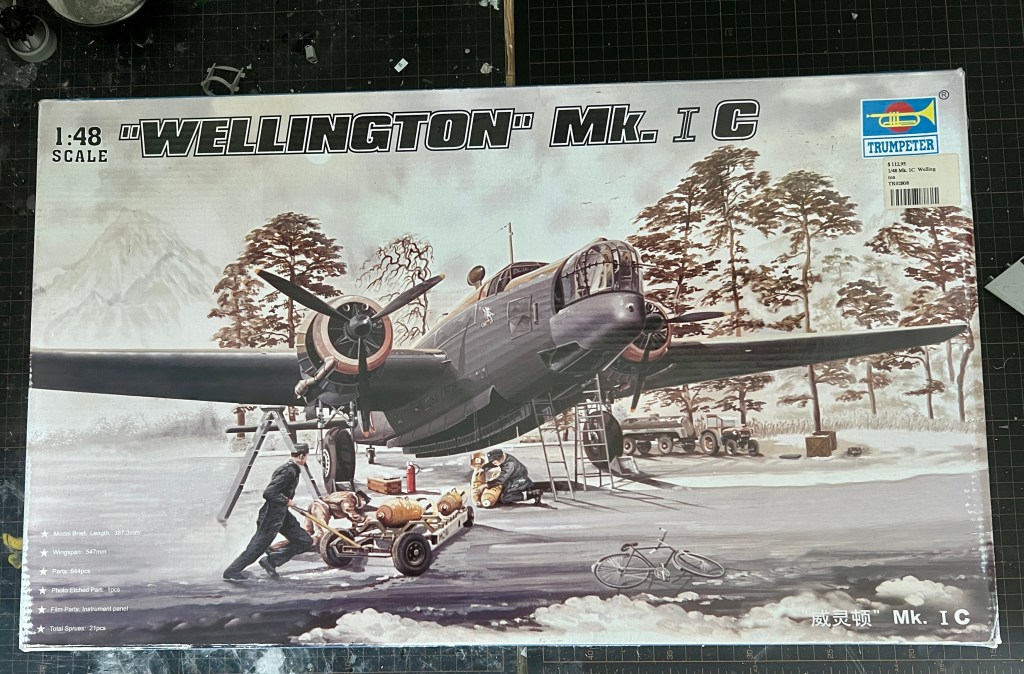
Trumpeter 1/48 Vickers Wellington Ic

  • Purchased; 2016
  • Completed; 2025
  • Enhancements;
  • Gun barrels. Master Details
  • Flaps- Brengun
  • Fuel Dump Pipes – Quickboost
  • Decals: Xtradecals

I remember being quite excited at the news that Trumpeter was releasing this, as it filled a major gap in 1/48 RAF WW2 subjects. Its not a kit that has graced many competition tables or on line sites though, so that to me tends to indicate not many are getting built, perhaps as its a sizeable model once done.

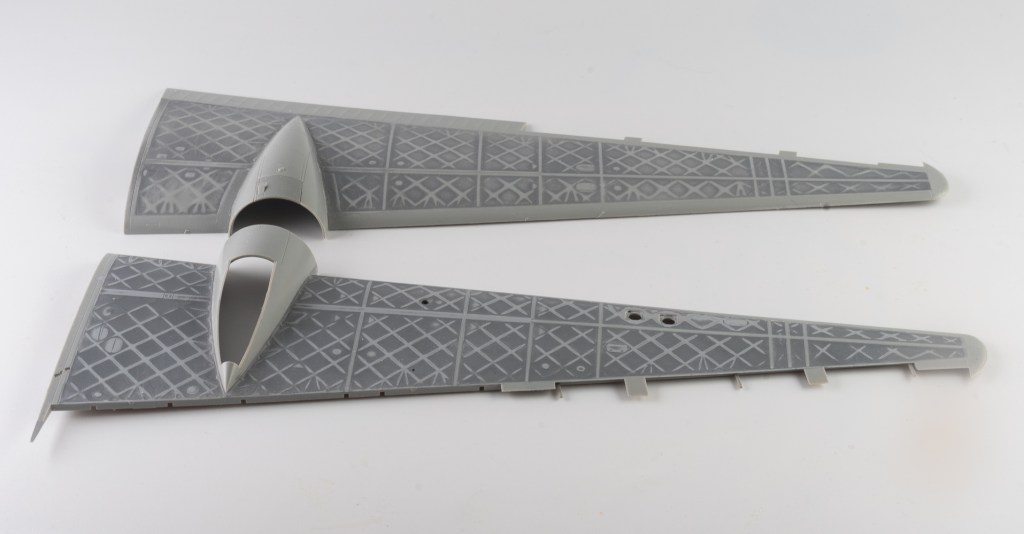
Accuracy wise, it suffers from a too narrow undercarriage and very overstated surface textures.The undercarriage I could live with, the surface detail though had to be reduced. There is a reasonably complete interior, albeit somewhat simplified, that pretty much gets hidden away once the fuselage is closed up. Fit for the most part is good, but the kit shows its age as one of Trumpeter’s earlier releases with the parts not as sharply moulded as some of their later releases, and also exhibiting fine mould seams along mating edges. Perhaps the biggest plus of the kit are the THREE sprues of early RAF type bombs Trumpeter includes to load the bomb bay with various types of bombs. Transparencies are lovely and clear, but the decal sheet, as per usual with Trumpeter RAF subjects has markings with colours that are far too bright.

Construction

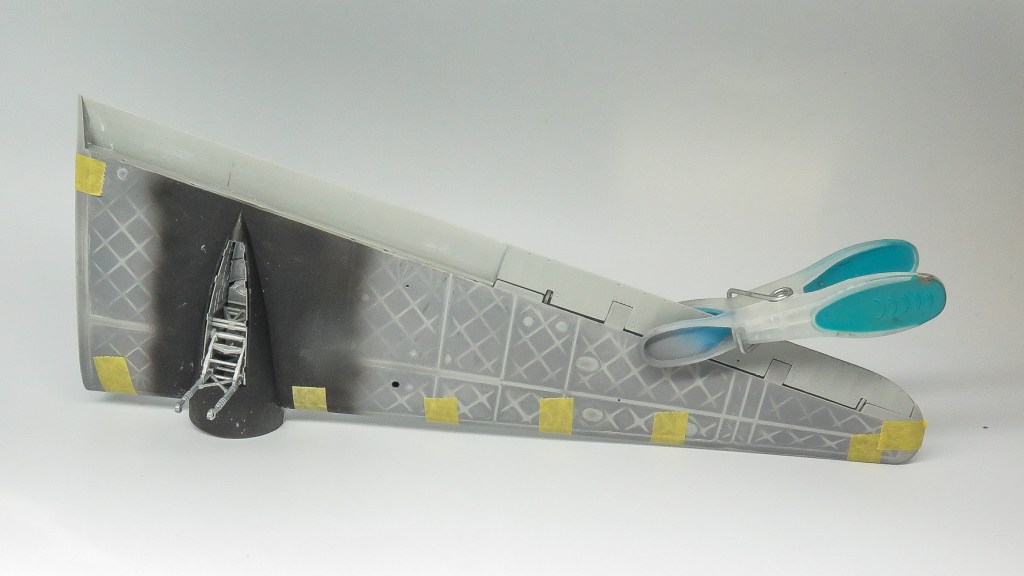
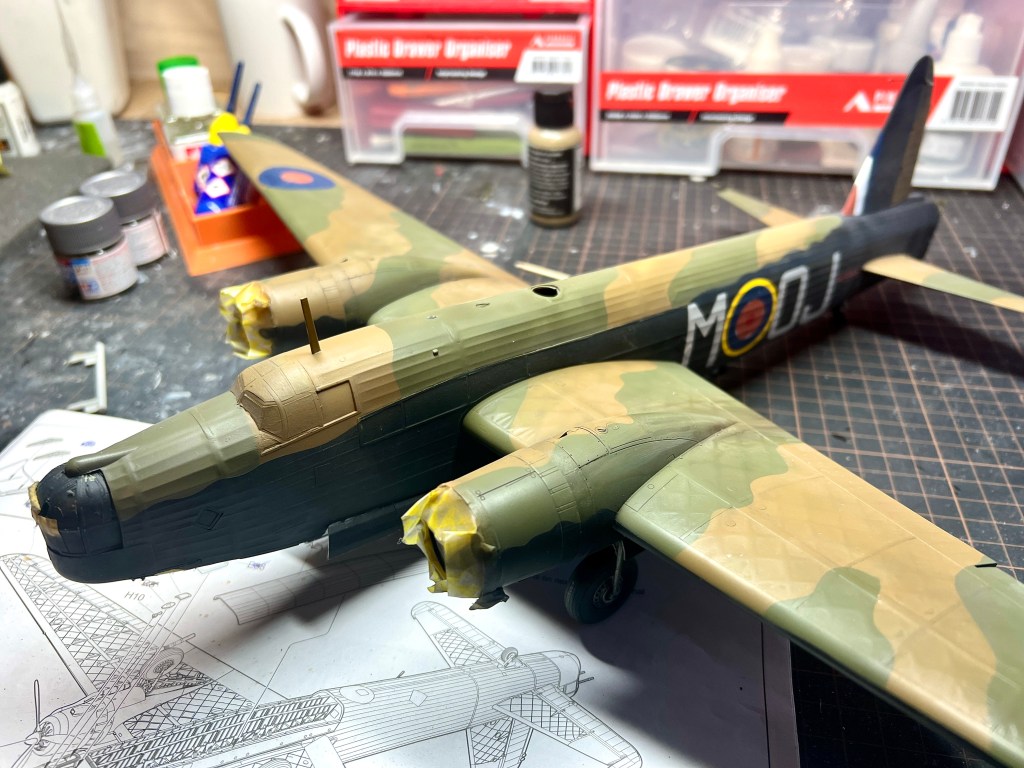
Even before construction started, several thick coats of SMS surfacer grey to the wing and horizontal stabiliser parts. Once dry, it was rubbed back until the kit surface detail showed as bare plastic . After being repeated a few times, the Trumpeter geodetic pattern had become somewhat subdued. This probably could have been taken further as it shows as quite subtle in photos, but I chose to leave it as was.

The colour call outs in the instructions were disregarded as mine would be an early war bomber and research on Britmodeller had uncovered more correct colours.

So on my kit, cockpit is RAF grey green as is the bomb aimers position. Mid fuselage is a brick red colour with silver framing. Floors are black. Bomb bay interior and insides of doors are silver.

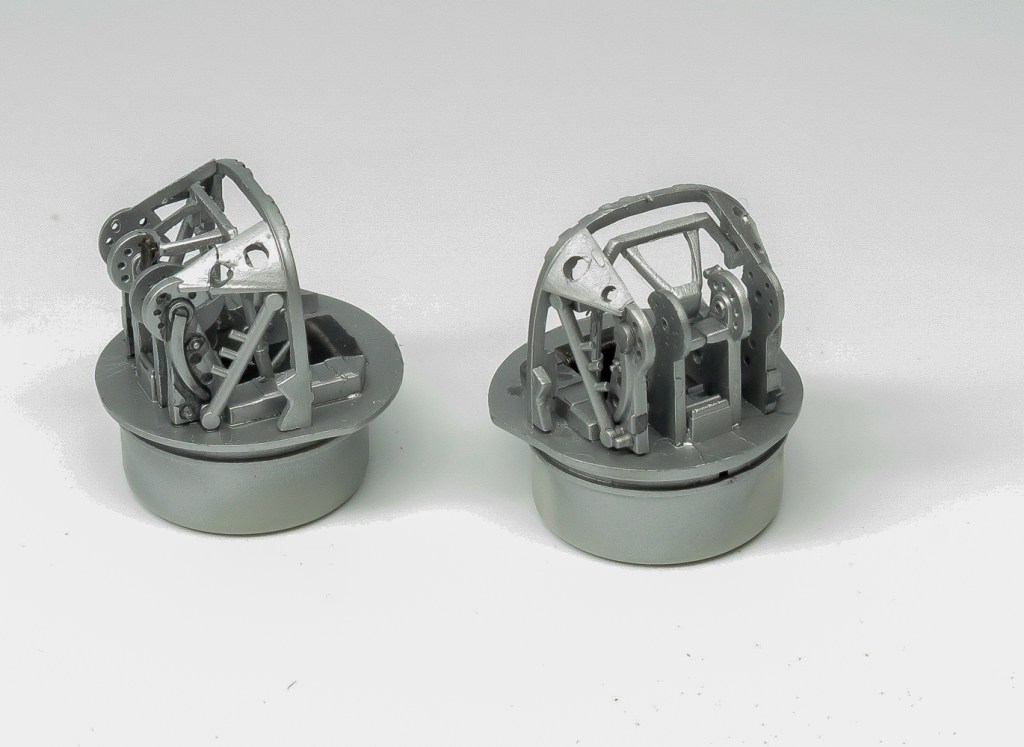
Turret interiors are also silver. Black turret interiors seem to have come later after the RAF doctrine had changed to night bombing.

I would recommend that the turrets complete with guns are built as a whole rather than doing what I did, and leaving the guns out to be added later. This resulted in me having difficulty aligning them. The kit barrels were replaced with brass items at final assembly.

Aside from the ventral turret and rear ammunition runs, the complete interior was assembled , although not a lot of effort was expended in painting it as very little can be seen. Don’t forget to paint the underside of the front turret as this can be seen through the bomb aimers window. Trumpeter have not included a bomb sight, so one will have to be scratch built should you desire.

The engines assembled fine, just ensure you double check the instructions to ensure the parts are correctly orientated. Don’t bother with after market engines as you can see very little of the completed engines.

Why Trumpeter made the wheel well interiors from PE, is a bit of a mystery to me, but they must have been made by Bluescope Steel! Have fun removing them from the frets! I also took the precaution of drilling all the holes out so that the landing gear assembled easily. Apparently the wheels and therefore struts are too narrow., not something that bothered until me until found out, then it did!

Back in the day when this kit was first released CMK did resin wheel wells for it, but these have long since disappeared from shops (as has most AM for the kit). The kit rubber tyres needed to be dunked in boiling water to soften them enough to conform to the rims. Although I did have Brengun resin wheels, they were even narrower than the kit wheels so were not used.

The only major construction issue faced by me was, when locating the bomb aimers window, it was found to be wider than the fuselage cutout. This must have been me as the rest of the transparencies fitted like a glove. In the end a piece of clear CD cover and a shim were used to bring out the fuselage to match the bomb aimers window.

If you are reluctant to test fit the wings fearing, like the Tamiya Mosquito, they will never be able to be removed again, don’t be. The wings are a very sloppy fit, and hardly a friction fit to the support boxes, so can be slid on and off with carefree abandon. To attach these, you are best off using epoxy glue , ensuring the wings are level to get a nice solid fit. There were no gaps on my kit . The PE ?cable cutters were left off my kit as I could not find any photos of machines with them fitted. My references were the 4+ book and images from IWM website.

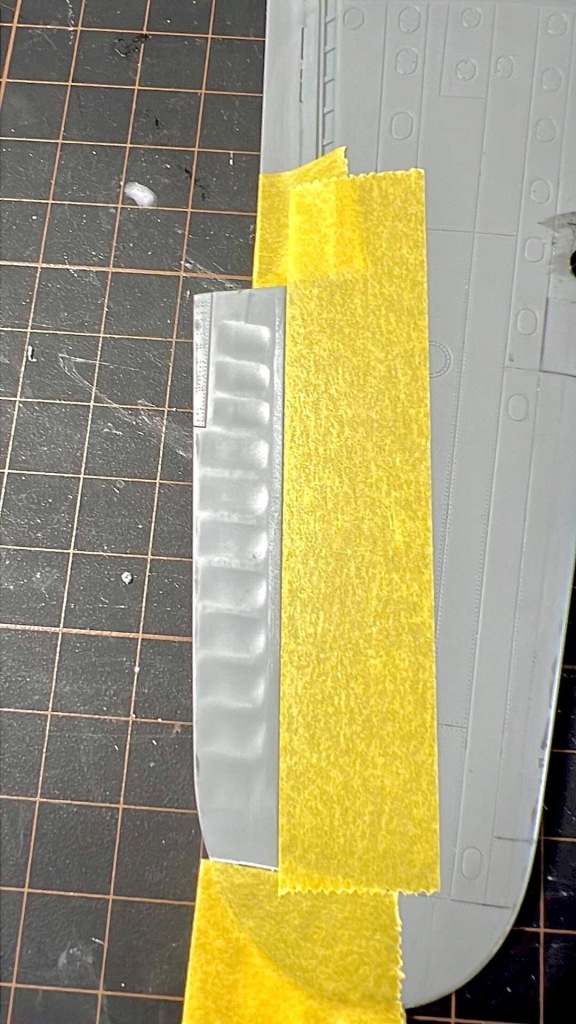
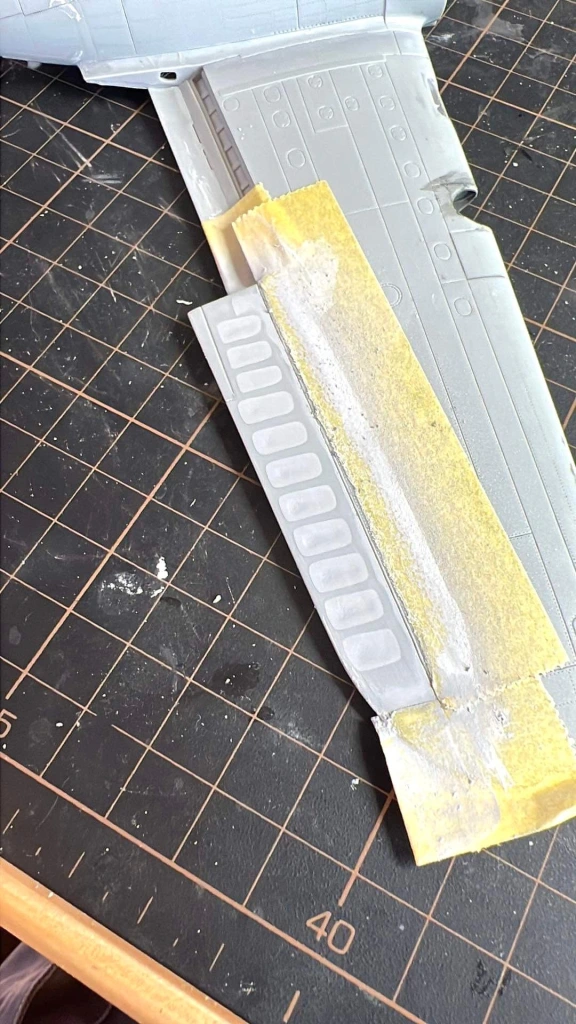
The Brengun flap interiors fitted nicely into the kit flap wells, once the required material had been removed. I do wish these companies though would engineer the flaps to fit far more solidly. Small glue contacts areas such as PE hinges just don’t cut it.
Painting and Decaling

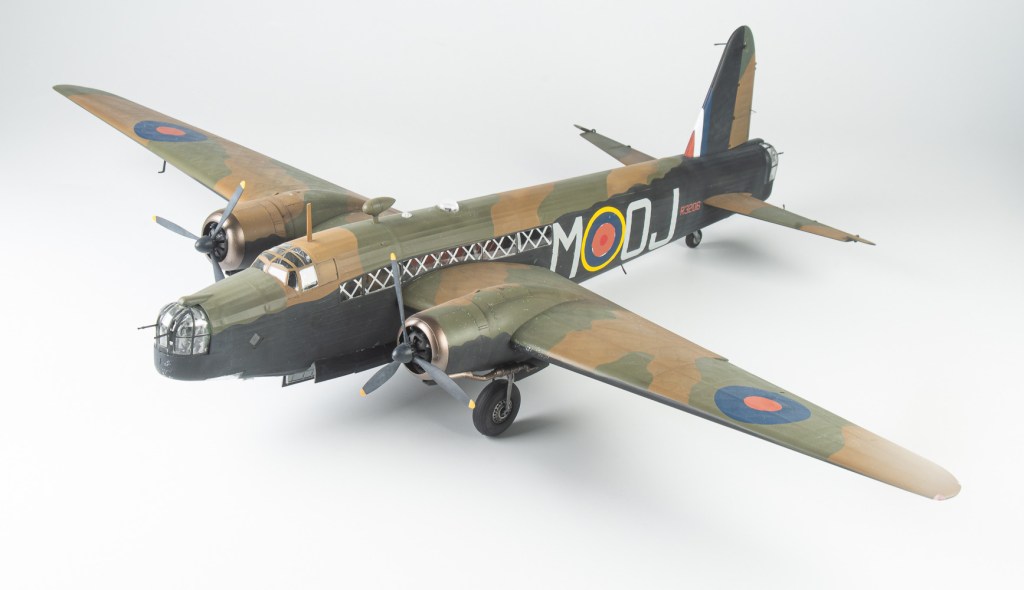
From the start, my Wellington was going to portray an early war bomber to pay homage to these early Bomber Command crews that starting taking the war to Germany just a few days after the Declaration of War. An early war scheme of overall DE/DG almost won out, but the toned down roundels on the Xtradecal sheet really appealed to me, bringing home these early attempts at toned -down markings, plus it had an early fin flash, replacement rudder and those lovely large codes. What’s not to like there?

SMS Camo black is my favourite black these days, having a warmish brown tone to it. Over this was sprayed various shades of greys and other blacks such as NATO and Rubber Black. This was done through two different splatter type masks. Not forgetting to also do the flaps and bomb bay doors at the same time

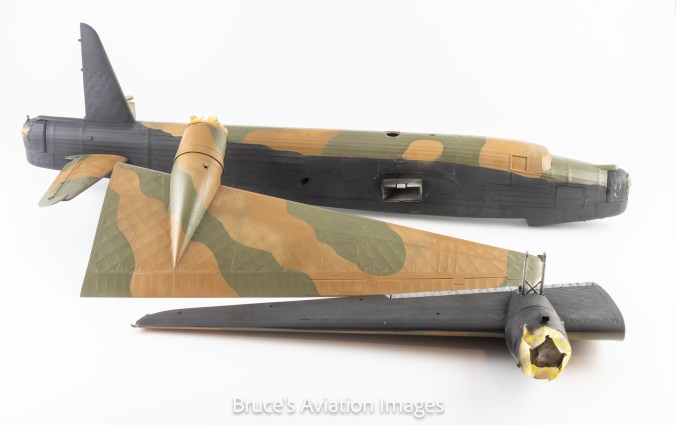
For the top sides, LF camouflage masks were used with the Dark Earth being SMS, and the Dark Green GSI Gunze.. Darker and lighter shades of these colours were used to break them up. Oil paints were used to depict oil leaks and staining trailing back from the nacelles across the wings. AK Starbay sludge was used for this. A shade which in retrospect is far too browny -grey . I should have used black or Sepia

The Xtradecal decals performed well. As they are printed by Microscale, they really only needed the mild micro products to settle into any detail. As I had nil micro sol, I used Mr Setter, which was far too hot and damaged one of the roundels. It was repainted with a mask created on my silhouette machine.

Final assembly consisted of bringing the various components together and adding all the fiddly little details such as gun barrels, flaps, propellers and aerial mast. Oh! And the 30 separate bomb bay doors.
Conclusion

It’s a large model!

In the main, it was a fun build, let down by the very exaggerated surface detailing and some strange engineering choices such as the requirement to fit the turrets before closing up the fuselage

That aside, it was an enjoyable build, and most likely the only 1/48 Wellington we are likely to see, although back in 1975 we all thought the Tamiya Lancaster would be the only 1/48 Lancaster we would ever see!

The Wellington has a lovely quaint ungainly look, belying it being one of the mainstay bombers of the RAF throughout the war. Im looking forward to the ICM Hampden joining it in the cabinet to represent Bomber Command in the first year of the war.

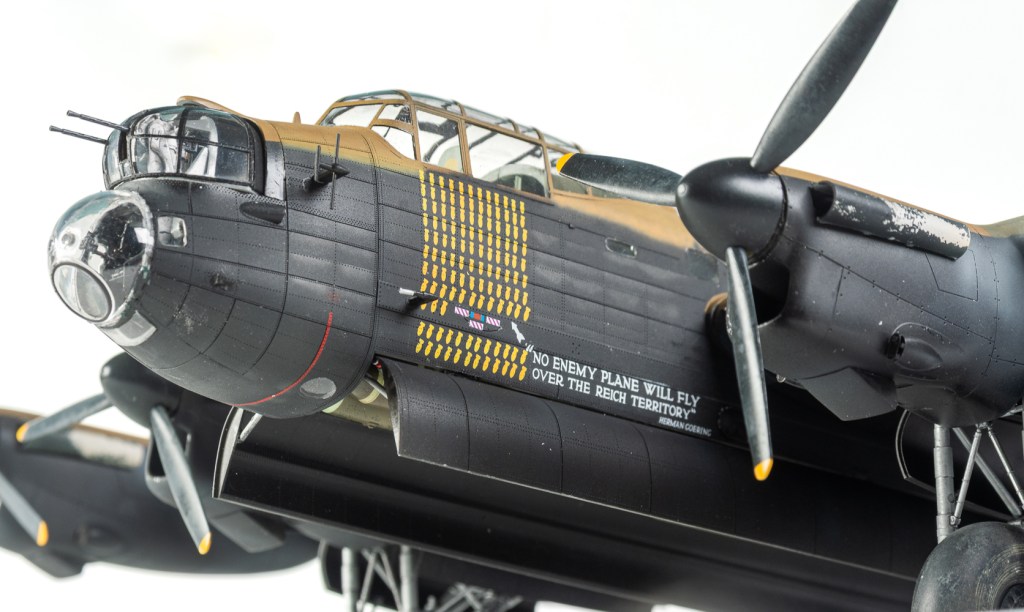
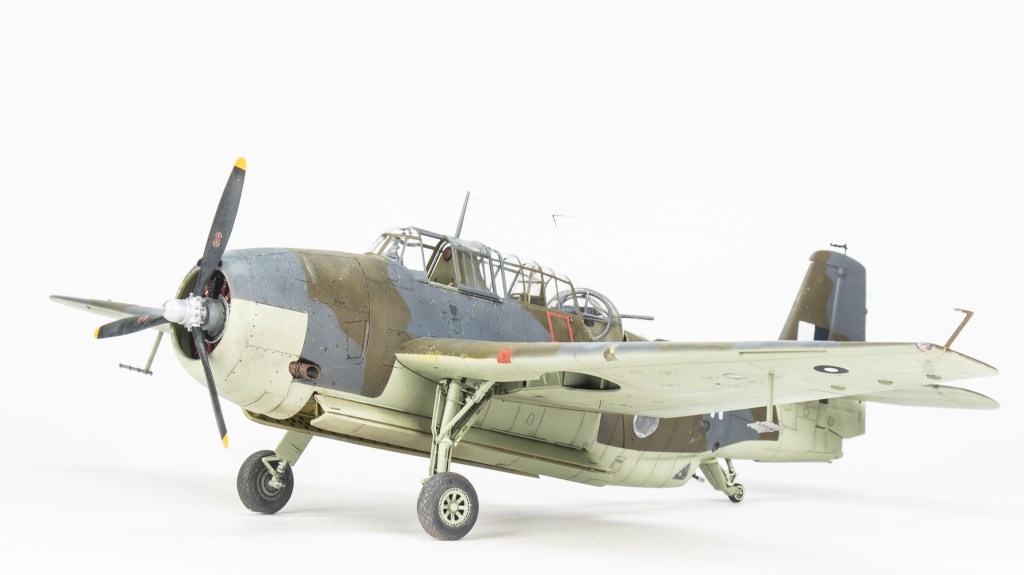
Vickers Armstrong Wellington Ic 149 SQN R.A.F Mildenhall UK 1940
Leave a Reply

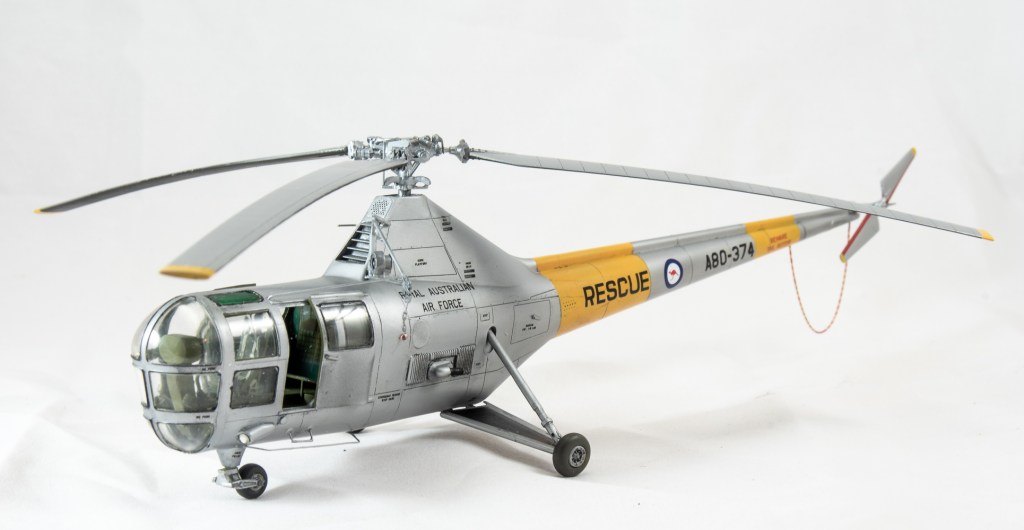
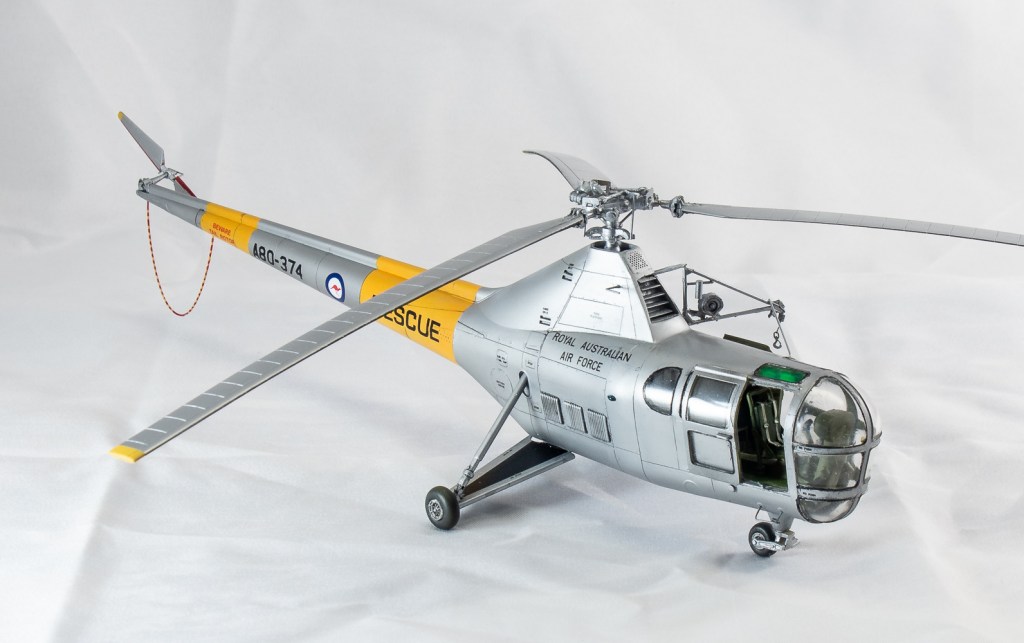
RedRoo Models 1/48 Sikorsky S-51

  • Purchased ; 2023
  • Completed; 2024
  • Enhancements; None, built completely OOB
  • Decals; Kit

Introduction

Another kit that was an impulse purchase, the reasons behind which are lost to the sands of time (despite being only last year!). A vague memory is it was possibly linked to a purchase of the AMP Sycamore around the same time, and the reason behind the Sycamore purchase? Another impulse after watching a YouTube show on it! Anyway, I digress.

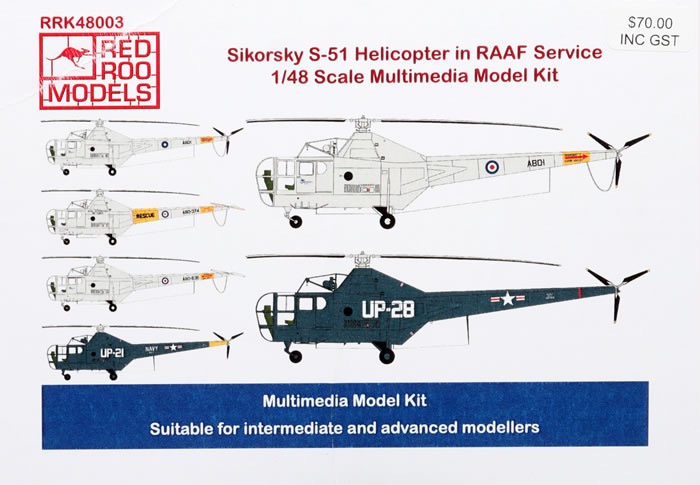
This particular boxing is the A.M.P product, reboxed by Red Roo Models with new resin parts so the builder can build an example of a machine in Australian service from a variety of SQNS that used them.

The resin parts consist of a new 2 bladed tail rotor which the later RAAF machines used and wooden rotor blades as used by the earlier ones and the two USN examples that were embarked on the Sydney during the Korean War. The plastic, is as usual from some of these limited run Ukrainian companies, light grey with soft detail on the smaller parts. Clear parts are acceptable , although certainly not the clearest I have seen. The nose halves are moulded in clear plastic .

All parts will require extensive clean up to remove heavy mould seams. Redroo also include lengths of brass wire of varying diameter to build extra details and a printed rear seat on acetate to represent the web type rear seat. A very comprehensive set of instructions is included detailing exactly what needs to be added to the kit, even so , they have not done the best job of redrawing the AMP instructions, missing out a few things. For instance , there should a small instrument cluster mounted on the rear wall behind the pilots seat. The parts are included on the fret if some, but not called out in the instructions. Some of the suggested techniques are quite quaint and reminescent of Airfix Magazine back in the 70s . Pin heads to represent landing light lenses !!

Construction Notes

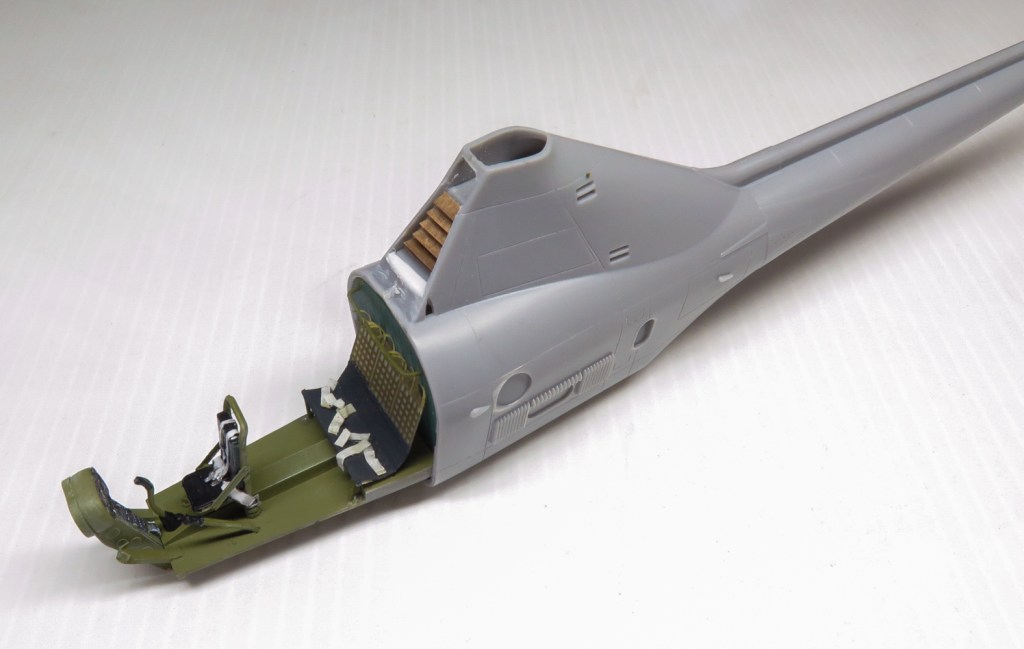
The interior builds up reasonably well, once the heavy mould seams are removed. PE seat belts are provided as are sides to the instrument console. The collective is overscale and will need replacing from small diameter wire or rod to give a better scale appearance. All locating holes will need to be enlarged to accept the opposite parts. Nothing too hard, just tedious. I used the rear seat on mine although I was worried about the glossy reflection off the acetate. You needn’t worry about this though as it really can’t be seen once the fuselage is closed up. To bend the acetate, lines were scored on the reverse side with a scalpel

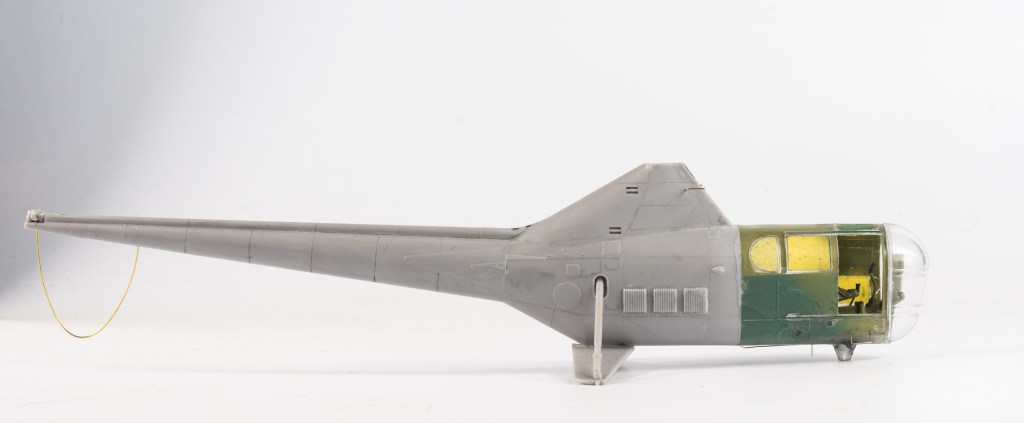
Don’t forget to add some weight underneath the floor so the completed model sits on its tricycle gear. As there were no masks in my kit, tape was placed over the windows, burnished into the corners with a toothpick and then cut with a new blade. The windows all have prominent seals around their circumference, so this is quite easy to do. The inside and outside were masked and the interior halves of the nose painted Interior Green. with the lower half of the rear cabin walls and also the rear bulkhead painted a dark green rot represent the quilting. Brown vertical lines were then drawn on with a pencil to represent the stitching. Seat cushions were painted the same dark green.

The overhead window outlines are very faint so, the PE frames were added to each fuselage half and then these were used as guides to cut the masks. The interior of these windows were painted Tamiya Clear Green.

The only other complex assembly is the rotor head, again careful clean up and patience are your friends here. The PE parts adding to the delicacy of the completed assembly. I probably should have spent a bit more time cleaning up seams on my rotorhead though. I had no faith in the rotor blades remaining attached securely the way the instructions would have you build the kit, so each blade root and blade clutch was drilled and pinned with fine wire. The “knuckles” on each of these parts were also thinned with a microfile to enable the blades to fit onto the arms. Have I mentioned every part of this kit needed careful clean up or thinning or drilling out.

The join of the clear parts to the grey parts needed a bit of filling and I managed to sand a bit of a flat spot in, which I tried to smooth out with filler. The transparent nose is also not the best fit, and this gap was hidden by the simple expedient of a thin strip of tape covering it.

Finishing

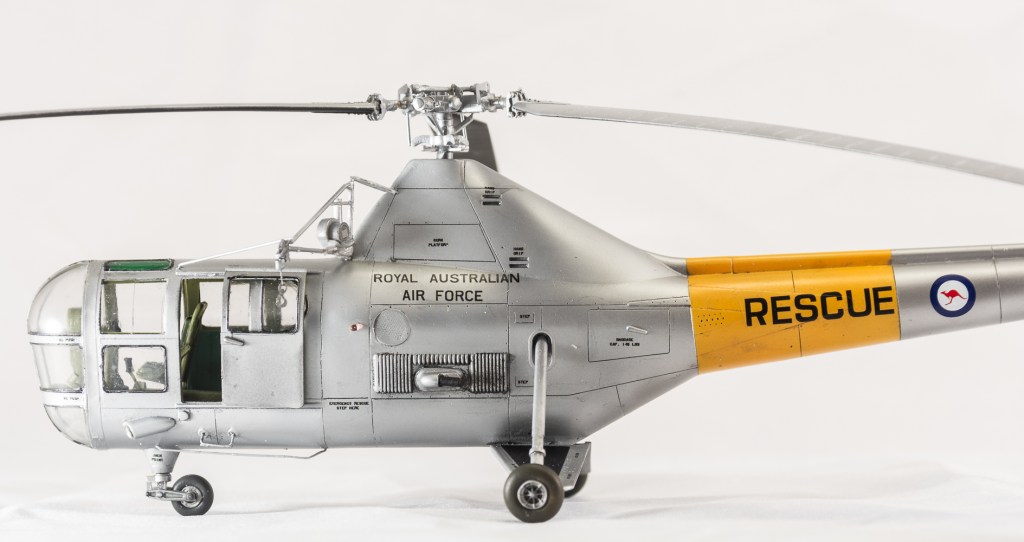
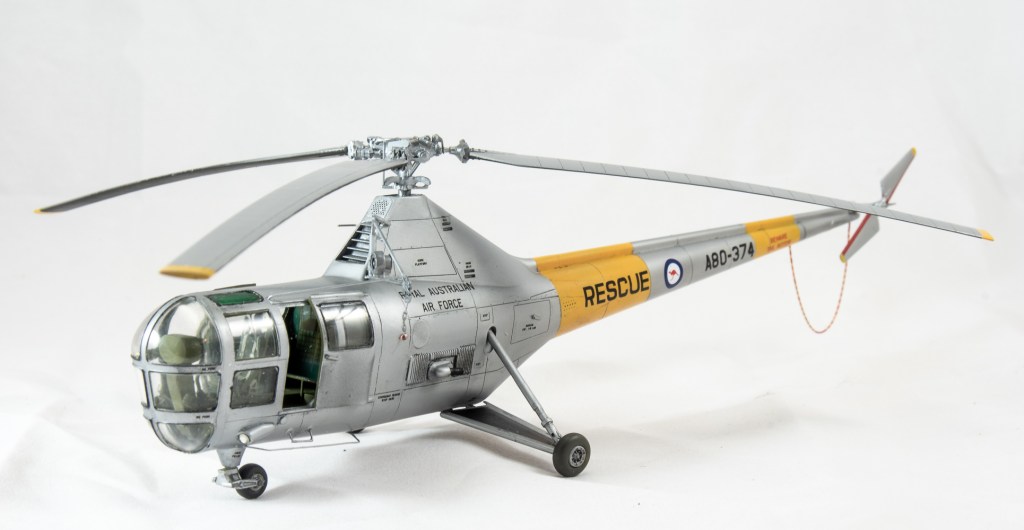
The plastic , having a bit of texture took a bit of effort to get polished smooth for the primer coat . I had made the mistake of constructing all the details called out by Red Roo, such as the winch guard and steps out of thin wire and adding them prior to painting. The result of this was areas around these parts were hard to access for polishing, resulting in gritty paint around these areas. Silver was Tamiya’s superlative LP11. Simply the best paint out there for simulating silver painted finished , in my opinion anyway!

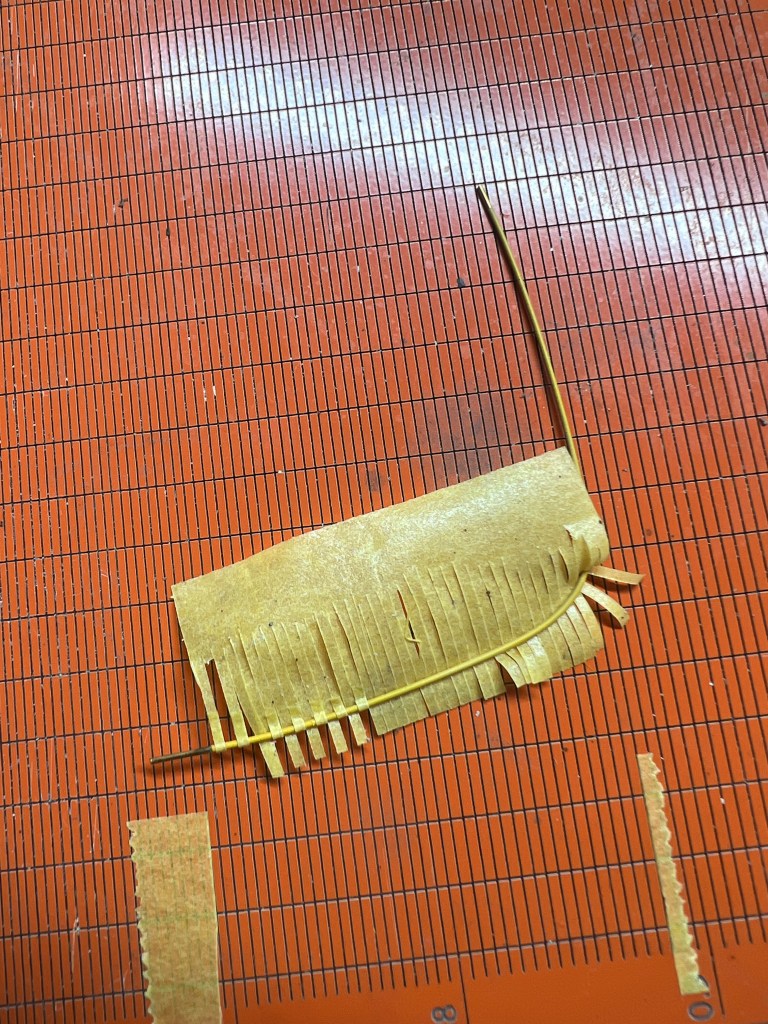
The red and yellow striped tail skid was first painted yellow then masked with strips of tape cut on my infini cutting mat. If you haven’t got one of these…..you need one!. Ensuring you leave a piece of uncut tape at one end allows you to use this as a handle to position the tape. It is just then a matter of removing every alternate strip of tape before painting the red.

Decals, although needing to be neatly cut out as the carrier film is continuous across the whole sheet performed brilliantly. The roundel was sourced from an Xtradecals sheet .

A coat of gloss to seal them in and then a wash using Tamiya Panel Line Accent. Dark grey completed the finishing process. A black marker was used to outline all the windows to represent the rubber seals.

Final assembly

The winch was assembled after cleaning it up. The whole winch should really be re built using plastic or brass rod as this would produce a much nicer item, mine has only the top rail replaced as this broke during the clean up. Now is also a good time to add the aerials, on mine, these were added earlier, thereby inflicting several puncture wounds to my thumb when handling the model.. Finally the rotors can be glued on. A.M.P have moulded a square peg on the bottom that fits into a square hole, meaning the rotorhead pretty much needs to be glued in. Id suggest replacing this with either thick plastic rod or brass wire so that the rotor can be removed at will for transport etc.

Conclusion

So that’s it. Naturally there’s things I could and should have done better, but it’s a lovely little model you don’t see built too often, . It looks great in the display case amongst all the other drab military aircraft. I wouldn’t mind having a go at a USN example one day either. An interesting postscript to my chosen subject is its last flight was aiding in flood rescue duties during The Hunter Valley floods in 1962 close to where I now live.

These are a limited run boxing from RedRoo, and Id say, once they are gone they are gone. So get one now from the Redroo website if you need a RAAF S-51 -The RAAF never referred to them as Dragonfly – in your collection

Sikorsky S-51 No. 81 Wing. RAAF Williamtown Australia 1958

Leave a Reply

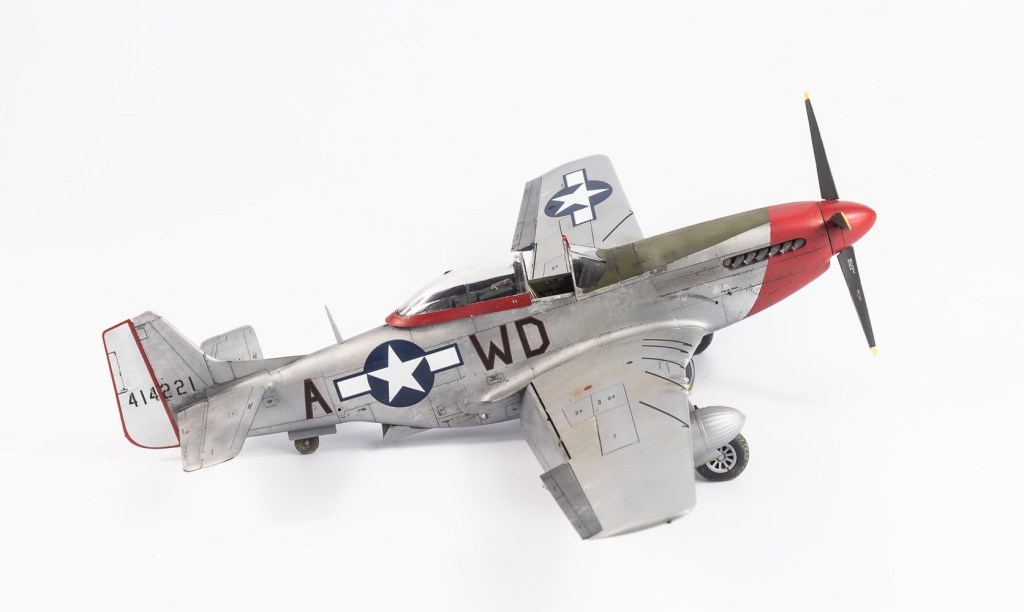
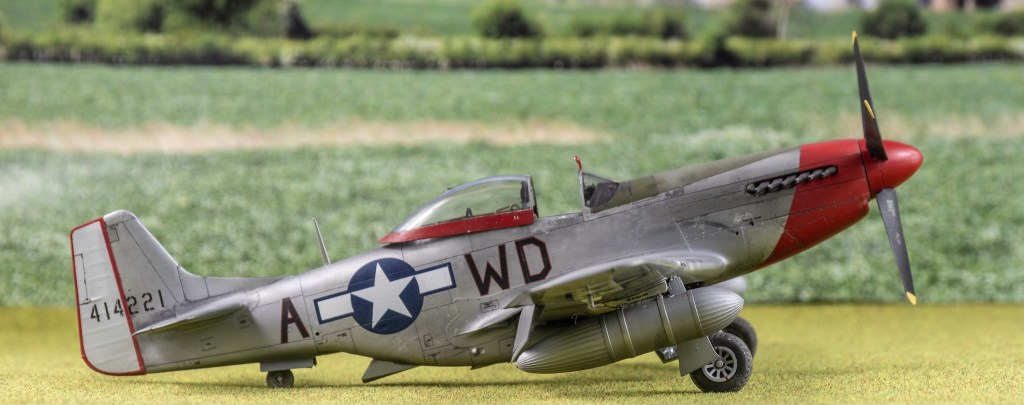
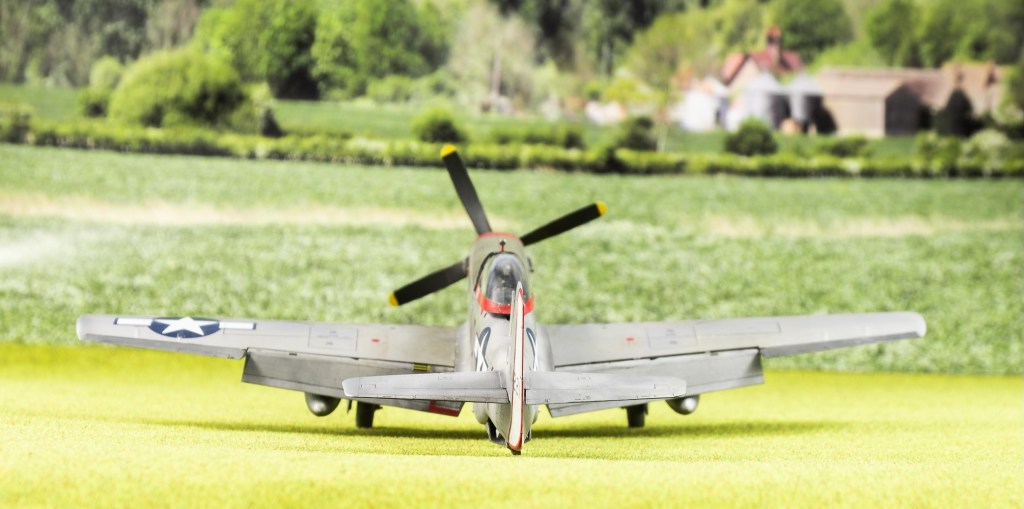
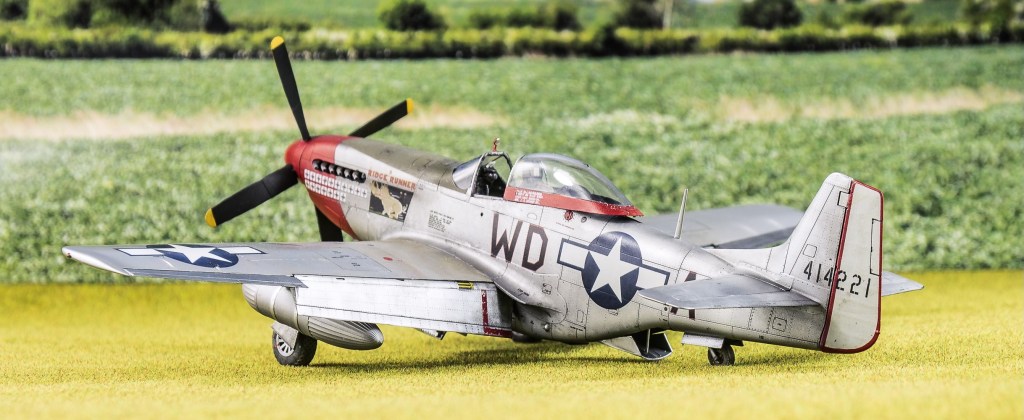
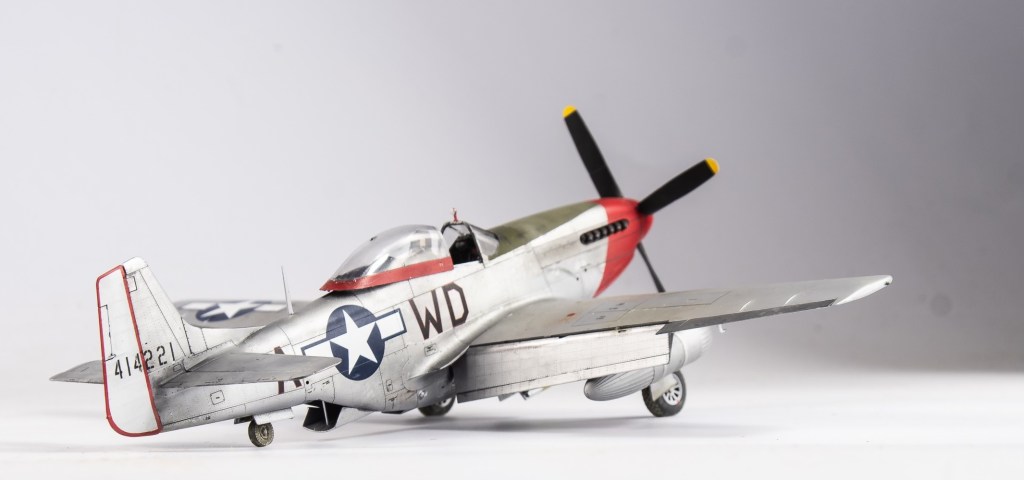
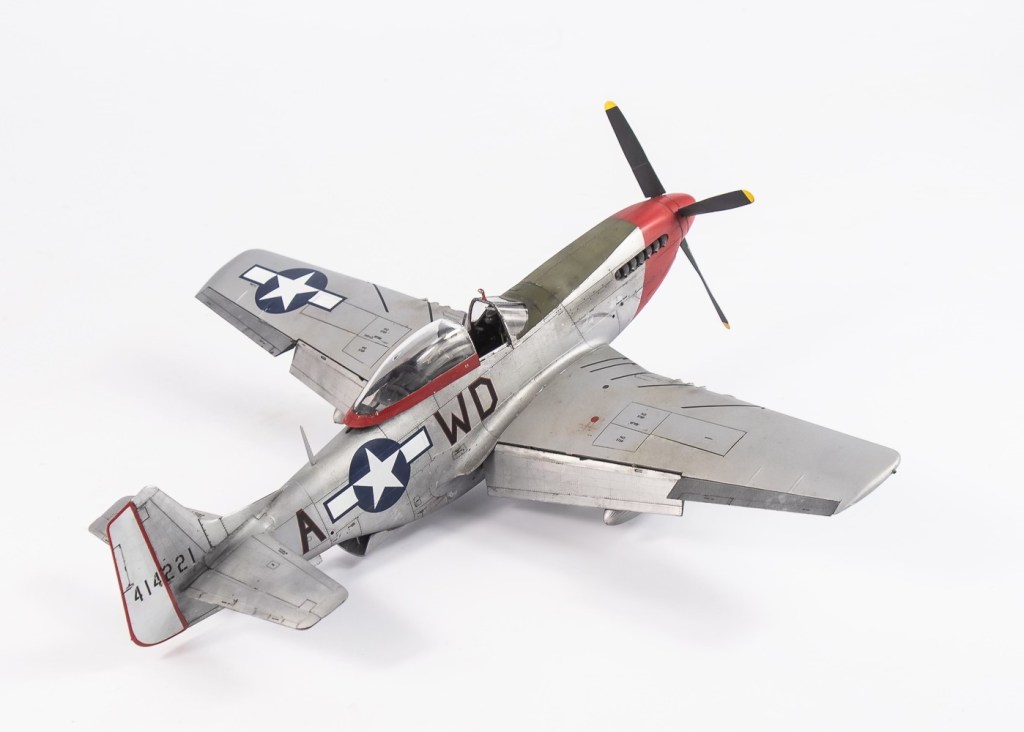
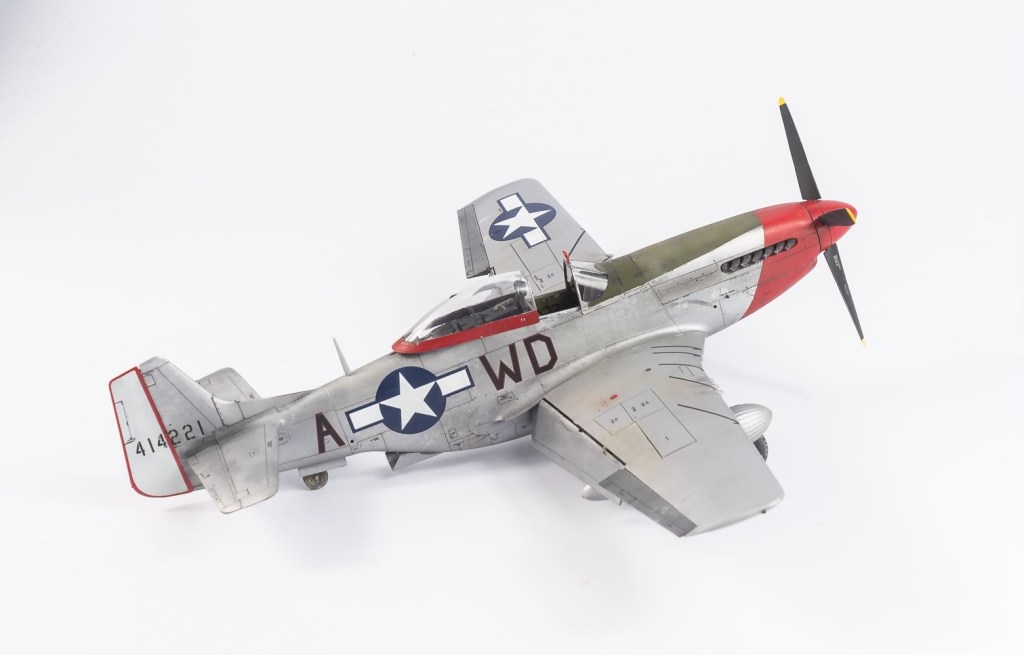
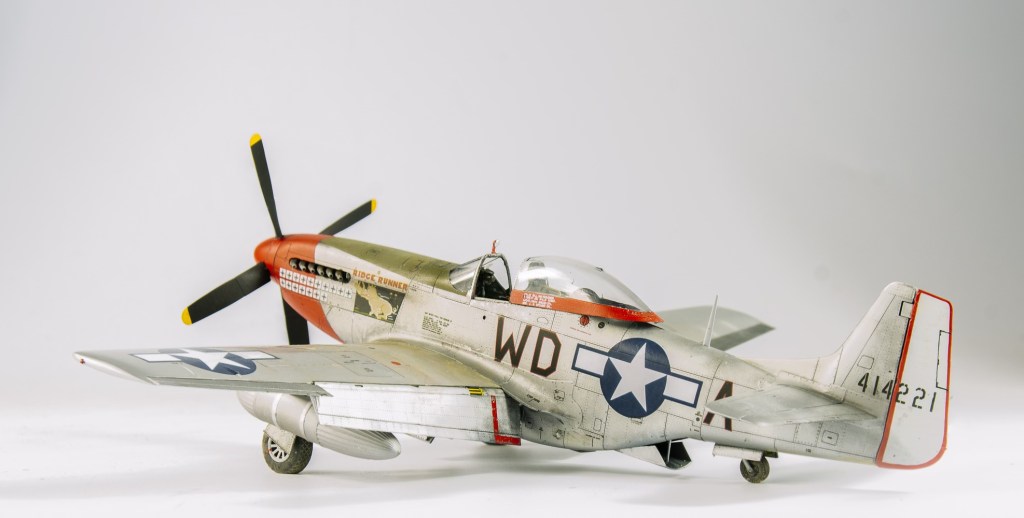
Eduard 1/48 P-51D Mustang

  • Purchased; 2023
  • Built; 2024
  • Enhancements:
  • drop tanks Eduard Brassin
  • Wheels. Eduard Brassin
  • Decals; OOB

Whoever said “Box art doesn’t sell” obviously has never laid eyes on this particular box. Because it absolutely made me pull the kit off the shelf at Frontline Hobbies in Newcastle NSW and march straight to the checkout.

Prior to this, a few friends experience with building the Eduard Mustang had left me with the impression it was one of Eduard’s more fiddly kits to assemble. That and the fact there were a few 1/32 examples of the Mustang resting in the stash made me slightly ambivalent about building the Eduard 1/48 example.

Construction

There is certainly some merit in the suggestion, the better the kit, the better the result will be. Of course a decent result can be achieved from any kit, but when, say, talking about the Walrus I did earlier in the year, far more effort is required to deliver a good result as opposed to a newer tooled kit like this Eduard kit. From opening the box to applying the final navigation light took me about a fortnight, it would have been less if I had not diverted some effort into filling the wing panel lines to represent the puttied wing joins of the Mustang’s laminar flow wing. Initially this seemed like a simple task, super glue being flowed into all the lines with a toothpick. In fact I was congratulating myself on my fast work and how easy this simple task had been.

Until the first coat of primer revealed a few infuriatingly still visible panel lines. These stubbornly remained so despite 2 other filling and sanding sessions. They finally disappeared when medium super glue was used instead of the thin CA that had previously been used.

The rest of the model assembled flawlessly, with very few fit issues, although part PE42 left me perplexed. It appearing far too small and having no real locator of any substance, It wouldn’t surprise me if there is a larger plastic piece in Weekend Edition boxings

Ensure also that you sand flat any burrs or glue globs off the top of the assembled wheel well top and bottom before sandwiching it between the wing halves. talking about the wheel wells, John Colasante from Matters of Scale FB page and PPP Podcast fame has generously shared a mask set he created for painting the spars Yellow Zinc Chromate , if you want to finish your well this way.

Download is here https://l.facebook.com/l.php?u=https%3A%2F%2Fdrive.google.com%2Ffile%2Fd%2F1_YhMnMfNkFKw5rmcnJnBeAj5_50ol1pn%2Fview%3Fusp%3Dsharing%26fbclid%3DIwZXh0bgNhZW0CMTAAAR0qu-N6dP3icPgdzLQSvrnG57iiswOR74Mj3EGm1xqwj8IIM2nq5VdSCd8_aem_o4kzKpw0kSuFAi7NWiVYYw&h=AT3evXFZRQLjhfcgPEo_QMAZkIQJOXXKapXGveyzuhWuLvYF6DEZHIQXvvDB_Nkv4ONbbYu9WaeYNhREejFgU7DeC4hxFmBzu40k4FlY6nnaBi9lbdbJ3a_ufUCqUFR2E3j_ag4&__tn__=-UK-R&c[0]=AT12ShwH-ekLdtqAN0q6n7vwcTOyXALRjvAl7585CMtWeF4k3TCOKjMNAnQuUGE_WDYITGq-GvFQNXhbf8YRCEIhBGR2VbWJv_5fhdZpXxVkQYMfHIZQH_HMrCHm66ocDise3DSDbhmQtQF9c3UUyukbKenF5HkUemHw85N4hDgDZWCbYbeX2QZC238qaYk. And I highly recommend having a look around John’s page at his fabulous work whilst you are there.

The tailplane was also a little bit of a loose fit on mine. Another fit issue I had was the spinner halves. A dry fit without the blades gave a nice tight fit, with the blades………. Not So Much, with a gap between the front and back of the spinner.

Leading me to assume the prop hub was the issue. To resolve this, the blades were cut from the hub and inserted once the spinner halves had joined. I have seen no other mention of this issue in any other build blogs, so maybe it was something I had done. On my next Eduard Mustang, I will shave the little boss moulded onto the spinner backplate that you glue the hub to, and see if this also resolves the problem.

These niggles aside, the model flew together. The Mustang, does suffer from the Achilles Heel of all Eduard kits, in that the location tabs for all control surfaces and undercarriage legs are weak and poorly engineered..

Eduard also deserves a smack on the arse for the very poor attachment points on the ordnance and pylons and having the modeller assemble PE sway braces for the stores. This is just silly.

Painting and Decalling

One of the prime aims with this was to simulate a worn natural metal finish. To this end all parts of the aircraft that were left unpainted are primed with Mr Surfacer black, the wings having previously being primed with Mr Surfacer Grey, then sprayed with Tamiya LP11 before being masked. The Black primer was then rubbed down to remove any irregularities. The next stage was to apply a light grey random mottle through a splatter mask. Alclad’s Polished Aluminium was then sprayed followed by Alclad Hi Speed silver , this time through a very fine splatter mask. I have seen people use a torn piece of of teased out scotchbrite pad to achieve the same effect. Alclad white Aluminium was then sprayed, again through a fine spatter mask to leave me with a variegated silver finish, which is exactly what I was after.

The red nose was sprayed by way of upscaling the Eduard paint instructions to the actual kit size, then cutting a template from the painting guide. To do this measure the kit fuselage and then the drawing fuselage size. It’s then a simple matter of dividing the kit part measurement by the drawing measurement. In this case it was 1.16, so the drawing was enlarged by 116%. Instead of using the kit red rudder border decals, I cut a mask on my silhouette machine and sprayed it. The anti glare panel was SMS OD lightened with middle stone. The panel immediately in front of the windscreen was left in neat OD to suggest a replacement panel.

The model was then clear coated with Alclad AquaGloss to prepare for the wash, in this instance Tamiya Dark Grey panel Line accent. However wiping this off with odourless thinners also removed some of the red and Alclad Polished metal. Not sure what the underlying cause of this was. Polished Aluminium is notorious for its fragility, but I thought the clear coat would protect it. Either way, the damage was repaired and the Polished Metal binned. I’ve amassed quite a selection of different branded paints over the years, but these days the ones that don’t consistently perform get binned rather than getting pushed to the back of the drawer.

Eduard’s decals performed magnificently, being bedded down between Micro Set and Micro Sol. The carrier film was removed with nil damage to the underlying decals. The decals then being sealed with another coat of Aquagloss.

As one would hope, the resin 108 gallon drop tanks are far superior to the kit provided ones, being one piece with better defined detail. Although Eduard provides the PE fuel lines, I decided to complicate things by making my own from thin copper wire.

The kit exhausts were drilled out and added, the fit being very tight. Eduard’s resin wheels must have been reprinted. A couple of mates who have built the kit previously, reported their resin wheels were slightly too big in diameter. This necessitated them trimming the bottom of the strut where it joins the yoke, so the wheel fit without rubbing.

Conclusion

Eduard’s Mustang for me was a throughly enjoyable build. There are two more in the stash, and they will get built. Is it the best 48 scale Mustang out there? That will depend on what matters to the builder. I loved the finesse, surface detail and overall buildability of it, with the caveat that some modellers my find it a bit too complex and “over engineered” for their liking, but the modeller can virtually build any sub variant of the Mustang from any boxing. That has to be a plus. For me, it’s the best Mustang currently available, well, until Tamiya decide to retool their ageing 1/48 P-51D.

Well, that’s the “Would I build it again” answered. My other question is always “Where could I have improved?” Well on this one, whilst happy with my general construction, my finishing skills again let me down. The mottled NMF technique still needs a little refinement, as does my weathering, especially the blending of the oils, and – again- I can see Ive not cleaned up the wash too well in some places. You always find this out once the matt varnish has dried!

There’s only one way to fix this.; Build. More. Models!

P-51D-10. 355th FS. 4thFG. 8th AF U.S Army Air Forces Debden UK 1945

Leave a Reply

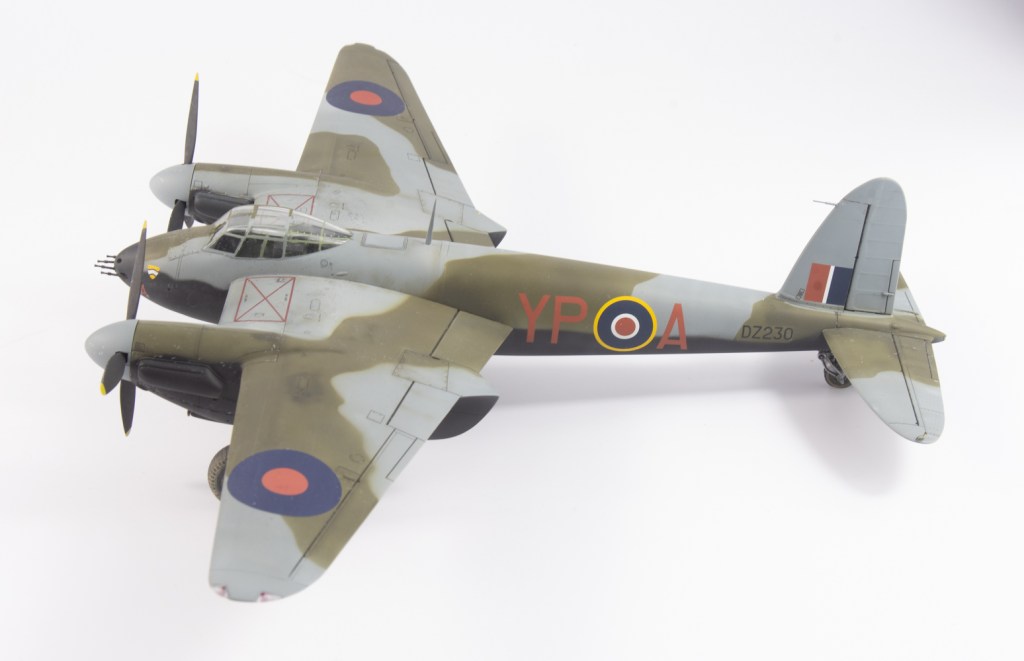
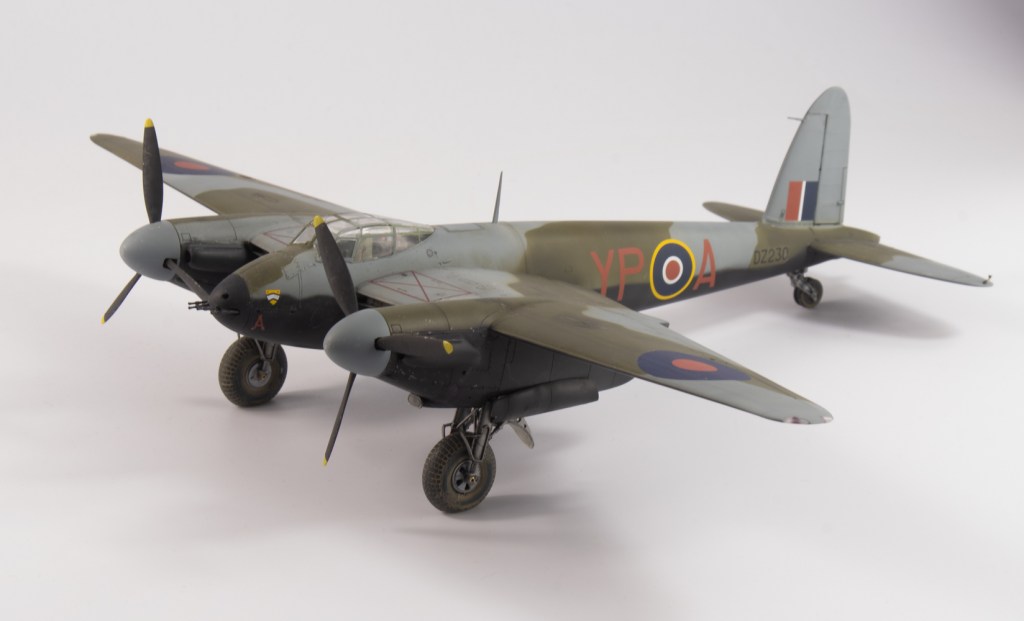
Tamiya 1/48 Mosquito NFII

  • Purchased; 2024
  • Completed; 2024
  • Enhancements
  • Wheels. Brassin
  • Gun barrels and pitot tube Master Detail
  • Landing Lights. AK lenses
  • Decals; Xtradecals 23 SQN RAF 1940-1990

This model filled the need for a bit of a short sharp build interlude from my rather large ongoing 1/48 Hercules project.

This particular came into my collection earlier this year after being sourced for me by a friend, who had in turn sourced it from another modeller. It came half started but given I paid only 10 AUD for it, I was happy to take it on. the work done though wasn’t great. The wings had been glued together without first placing the landing light lenses in their holes, the nacelles had also been glued to the wings leaving a few steps, and one set of undercarriage struts had been assembled including the wheel with an untreated join. The original builder had also glued on the flame dampeners without first adding the exhausts.

Whilst these were all annoying, they were not unfixable, save the exhaust dampeners, they would just have to be left empty and see through .

Construction

Although one of their earlier kits from the 90s, Tamiya’s Mosquito still exhibits their legendary fit and ease of assembly. The cockpit is very simplified, even by Tamiya standards, so didn’t take long to build and paint at all. As this was going to be a quick build, I was not too worried about accuracy, so did not delve into the correct radio fit, in itself a rabbit hole, for the particular machine I was doing.

With the cockpit completed, and the wings already done, assembly of the kit was achieved in no time! I deviated from the instructions in joining each nose half to its respective fuselage half before gluing the now whole fuselage halves together. Should you build the kit as per instructions though, rest assured the completed nose mates very neatly with the completed aft fuselage.

The centreline nacelles seams proved particularly stubborn to eradicate , needing several applications of CA glue and sanding. The seam on the wheel well rear bulkhead was hidden by skinning with a thin piece of plastic card. The steps the previous builder had introduced when glueing the nacelles to the wings were somewhat lessened by rehydrating the glue join with tamiya extra thin glue and then reglueing the rear of the nacelles. They still required some filling to make a gap and step free join at the rear of the wing .

The top of the fin was reduced by 2mm by the simple expedient of tracing the outline of the one fin half onto the inside of the other fin half 2mm lower measuring from the top of the fin. The fin above this line then being cut and sanded down to this line. When the fuselage halves are joined, the other fin half is sanded down to match. The rudder hinge line will then have to be rescribed 2mm lower than the existing one. To be honest, Im really not sure it makes a very visible difference to the look of the model, this modification was called out by a thread on Britmodeller. If I build any more tamiya Mossies, it won’t be a correction that will be repeated by me. The clear under fuselage hatch will also need to be filled and its outline eradicated as it was not present on the fighter bomber version. Tamiya including it as the fuselage parts are also used in the bomber version which does have the hatch. The assembled undercarriage leg had the wheel cut away, and both legs had their axles replaced with brass tube. The holes in the lovely Brassin wheels being drilled to match. The mudguards also had the lightening holes added.

Painting and Decorating

My chosen scheme was a 23 SQN Night intruder based in Malta. This decision was arrived at purely by spotting the scheme whilst going through one of my decal folders looking for something else. How many of us have done this! there is a good photo of the actual aircraft on there Imperial war Museum site that confirms Xtradecal have got the scheme correct, although the machine did not have the radar aerials as depicted on the sheet. So starting off on the top surfaces, Gunze Medium Sea Grey was airbrushed on. The helpful camouflage plan tamiya include was photocopied before the grey bits were cut out and taped to the model so the green could then be airbrushed on, in this instance Tamiya RAF Green type 2. Blu tac sausages were used to mark out the upper camouflage delineation line and the black undersurfaces sprayed with SMS German Grey and SMS CARC Black highlights. The black demarcation on this aircraft was unusually high and also formed a wavy line on the nose and nacelle sides , all of which were reproduced on the model, although I could have possibly gone higher on the nose.

The model was then gloss coated before a wash was applied to all engraved detail using tamiya panel line colours, in this case dark grey and dark brown over the MSG and DG respectively and black used along the control surface and openable hatch lines.

The upper wing roundels gave me a few problems with them refusing to settle down wrinkle free, three different roundels having to be used before I was happy. The roundel that lies over the stiffening rib also refused to mould itself to the rib, instead tearing regardless whether I left the decal alone or tried to mould it over the rib with the aid of a cotton bud. Eventually we got there after another 3 roundels. No wonder people paint on markings! The wing do not walk squares had their inside carrier film cut away to reduce the chances of silvering. I didn’t do this nearly neatly enough. You can see the ragged edges on the model, although there was no silvering.

Photos did not show the overall paint finish looking too worn, although there was a fair bit of grime around the nose and spinners. I probably didn’t add enough, jut relying on some airbrushed brown /black stains around fuel fillers and along wing roots. Piant chips were applied with a silver pencil.

This just left the final assembly and again, a bit of earlier sloppy modelling came back to haunt me when adding the machine gun barrels. I had earlier during assembly, cut the barrels away from the breeches, knowing I would be replacing them with the master brass barrels. What I didn’t do though was be precise in drilling the holes to accept the replacement barrels, consequently, I had great difficulty in. adding and aligning the barrels. The thing to do would have been to leave the nose cap off until final assembly as it was a good fit, and this would have ensured straight barrels that would have also been far easier to add to the breeches. Little lapses in planning like this and not thinking through all steps constantly let my builds down.

I really need to address it – despite saying “I will on the next model” – to lift my models.

The underwing landing lights were represented by using AK 4mm light lenses glued with white glue to a supporting plinth of blu tac.

The wheels were weathered with a wash of Mr Weathering Colors “sandy wash” with the excess being wiped off with a cloth. Finally the masking could be peeled off the canopy, and I was happy to see on this occasion nothing had leaked or marked it, despite Eduards ill fitting mask set.

Conclusion

This was a quick build done on an impulse to build a machine that I liked the look of. The opportunity was also taken to get this half built model out of the stash and provide a bit of a respite from a bigger build. Consequently, a lot of short cuts were taken with the finish. This aside, I am still quite happy with the completed model. There are two more tamiya 48 scale in the stash, a bomber and another fighter. I enjoyed the build enough to still want to build them at some stage in the future.

De Havilland Mosquito NFII. Royal Air Force. Luqa Malta 1942

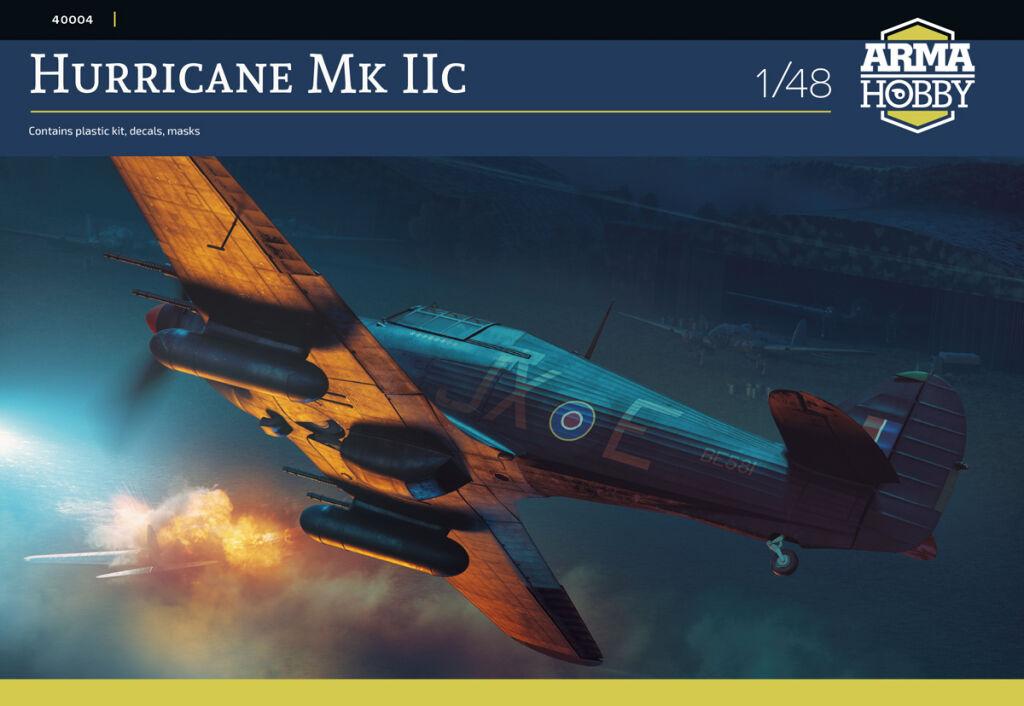
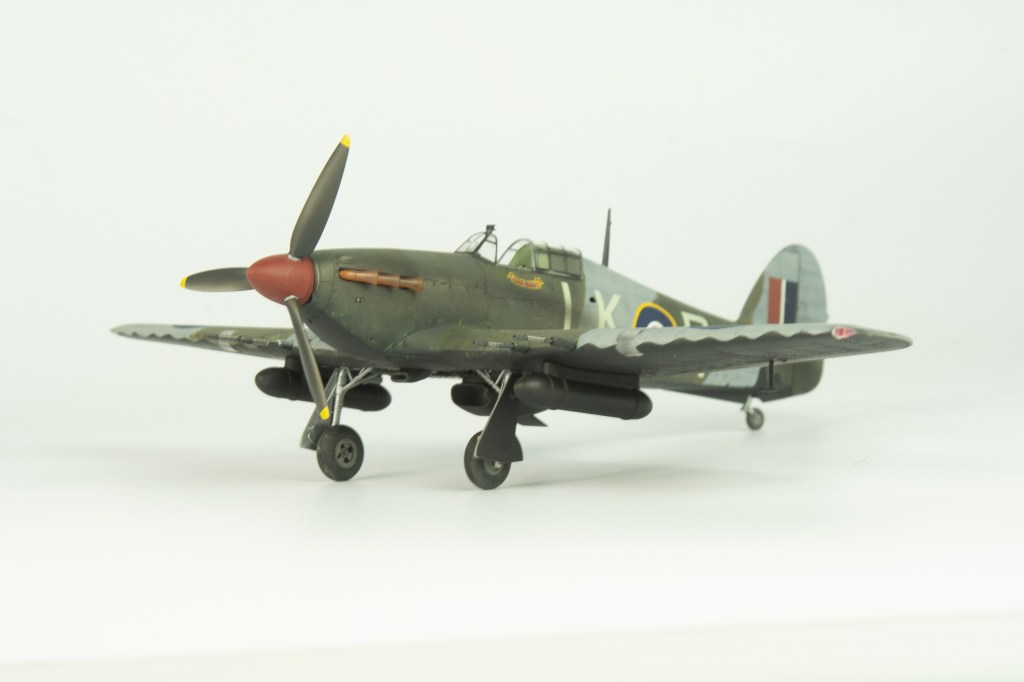
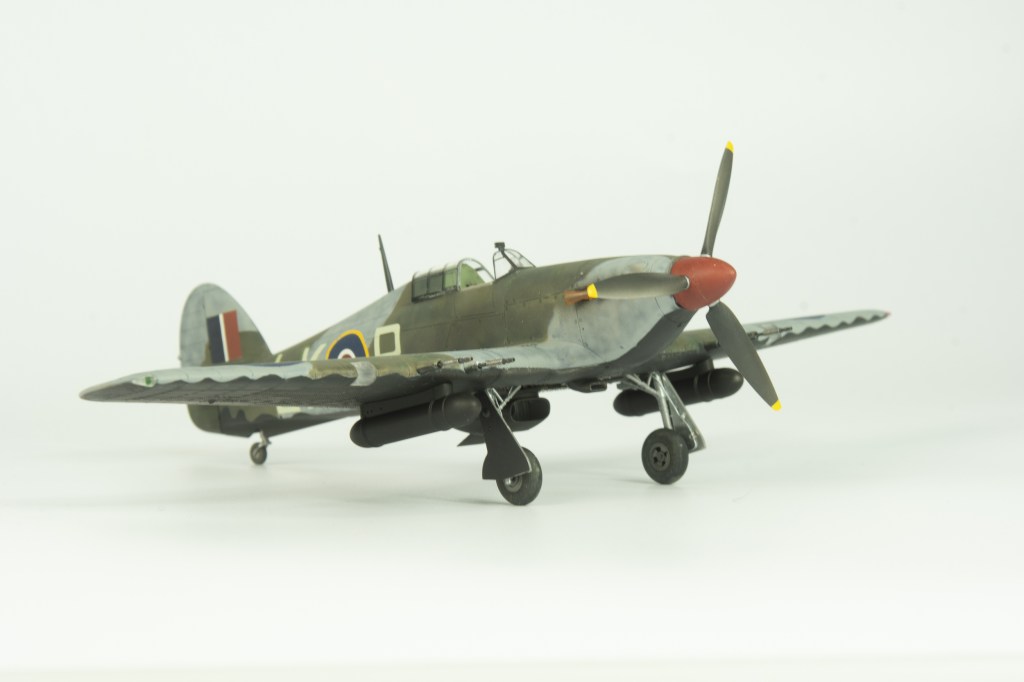
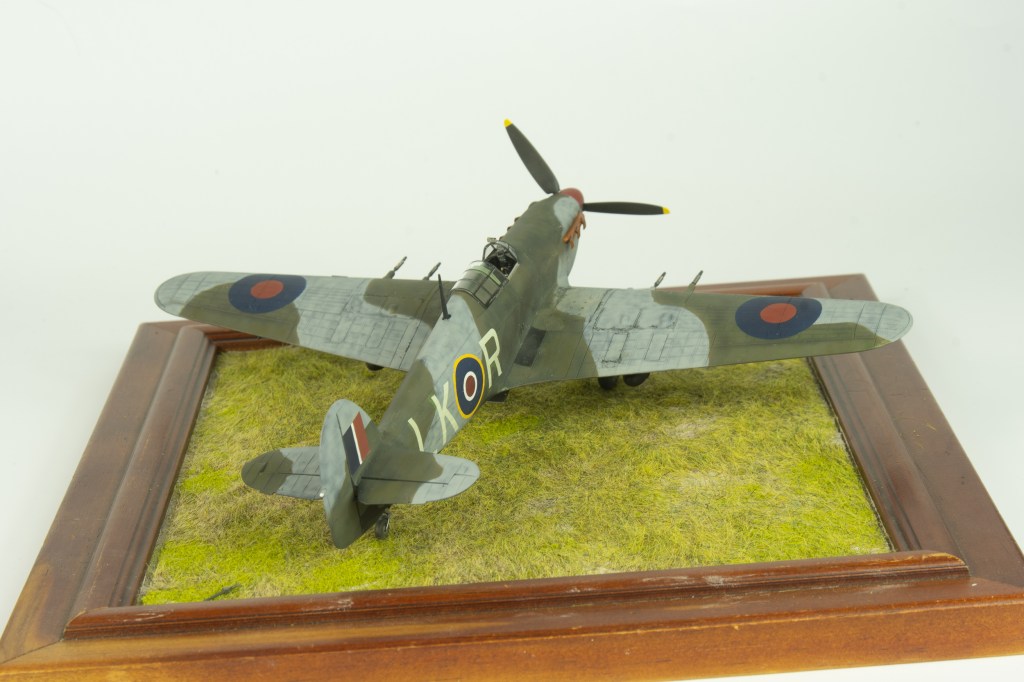
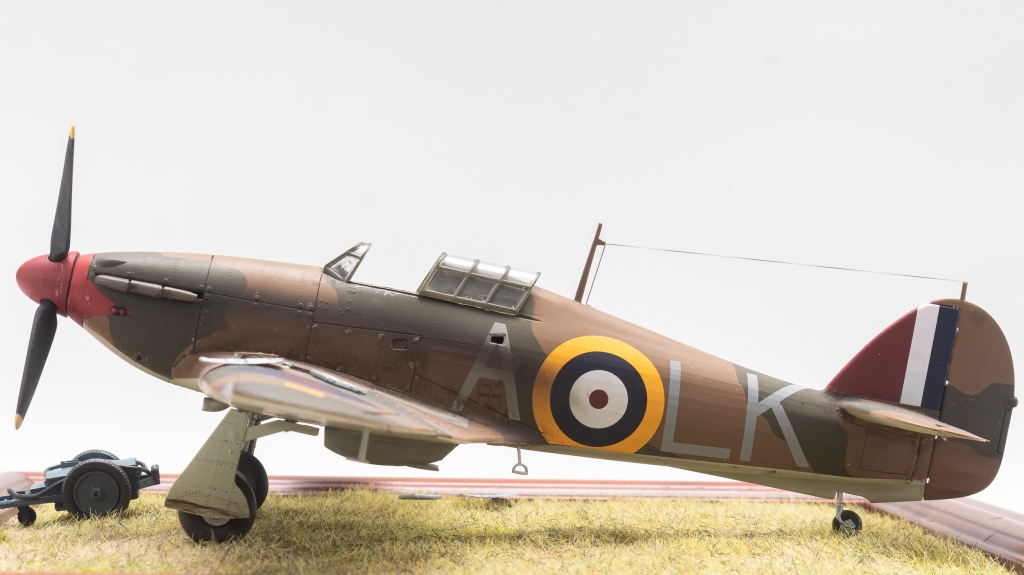
Arma Models 1/48 Hurricane MkIIc

  • Purchased; 2023
  • Completed; 2024
  • Enhancements;
  • Guns; Master Detail
  • wheels ASK distributors
  • Decals; Eagle Strike Night Hurricanes Part 1

Introduction

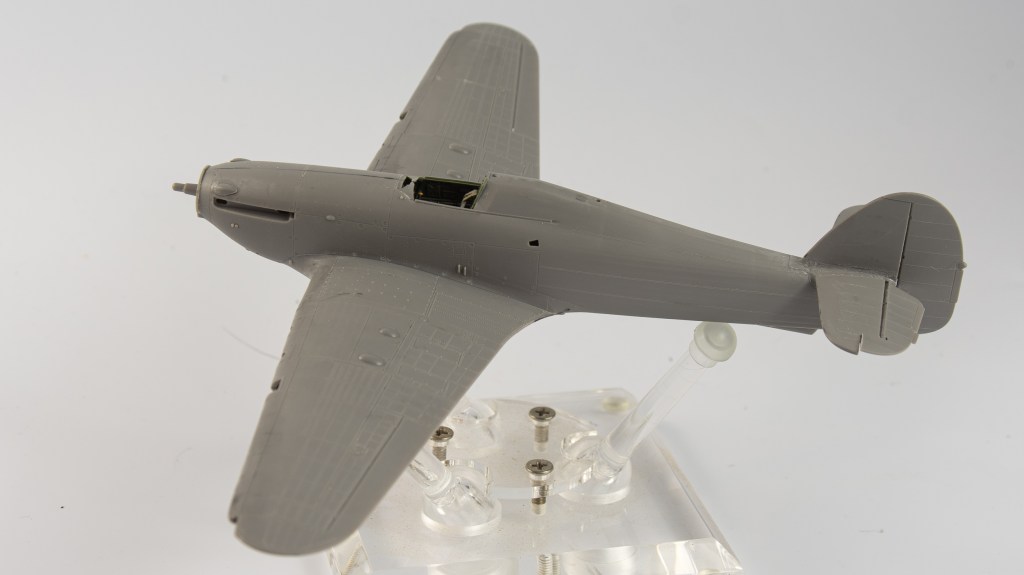
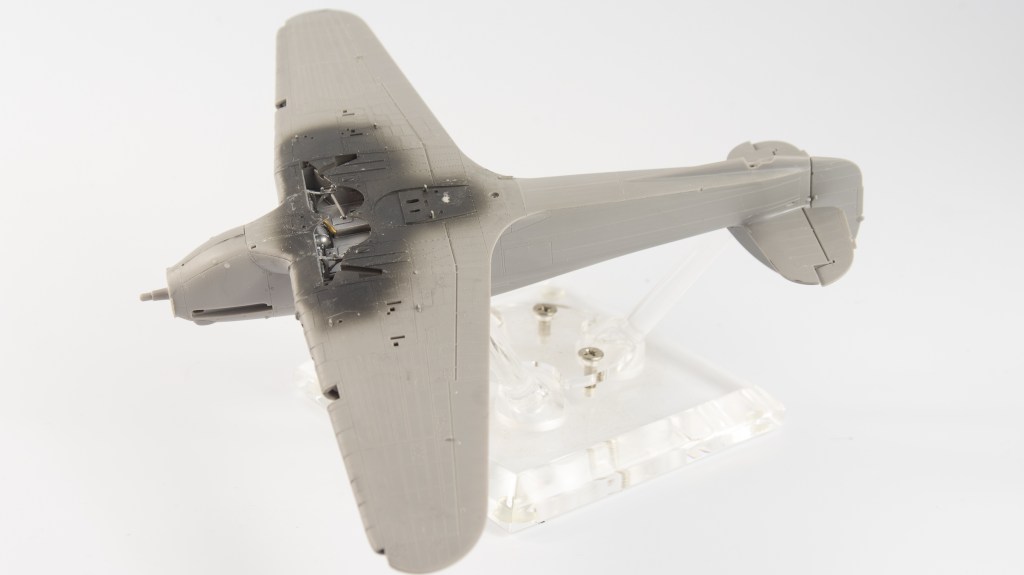
The Arma Models 1/48 Hurricane was the perfect antidote to the preceding Walrus It is a lovely fitting, well detailed model that builds up very quickly. the surface detail is some of the best out there, Arma using both raised and recessed detail to achieve the multitude of rivets on the wings. The fabric surfaces are not overdone, also being rendered subtly. Heres hoping Arma follow it up with the Mk1.

Construction

Really there’s nothing that I can add here that the many YouTube builds of the kit don’t already cover. The cockpit whilst being a little fiddly to clean up fits perfectly. It even clips into place without the need for any glue, although obviously you do need to use glue. For one thing, your seat will fall out! Talking about the seat, the kit one is a little thick, my boxing came with a lovely resin item, making the kit seat redundant. Same for the exhausts.

Some further thoughts;

Be precise cleaning up all sprue stubs , ensuring all mating surfaces are flat as this determines how much filling you will need to do.

If you are fitting the drop tanks, you can dispense with filling the shell ejection ports as suggested by Arma as the drop tank pylons cover the holes that need filling

Added details,; Obviously this is entirely up to the individual modeller how far he goes with adding all this, but Id suggest, at a minimum, the radiator bracing, upper nav. light, brake lines and rudder control lines although only the prominent brake lines were added to my model. I did open up the slot in the rear armour plate to allow the shoulder harness tail to fit through.

When choosing a particular airframe to model, check such details as round or rectangular rear view mirror, cockpit ventilation slots present or not, glare shields fitted or not and IFF aerials as these details varied greatly from airframe to airframe. As an example the aircraft I modelled had the cockpit ventilation slots fitted and no glare shield whereas other planes in the same Sqn did not have the slots or had the glare shields. Photos are your friend, and for RAF Aircraft, Flickr and the IWM website are the first places I visit. If I have any questions, Britmodeller will usually have the answer.

Finishing

A mate of mine, being Kiwi likes to finish a lot of his WW2 aircraft as aircraft that were flown by NZ pilots. Obviously he can’t do this with modern day subjects as NZ don’t have an Air Force of note anymore ( Sorry all my Kiwi followers, Im assuming you all have the same sense of humour as my mate that requires you to keep on kicking that dead horse until its completely lifeless!!)

So when I found an 87 Sqn, machine that was flown by an Aussie, Sgt B Bawden from Sydney, I decided to take a leaf from Calum’s (rather thin) book. My model was always going to be finished as an 87 Sqn machine so an Aussie pilot was the icing on the cake. Of course there were no available decals for Sgt Bawden’s machine in 1/48 scale meaning the scroll and NIGHT DUTY title would need to be hand painted. The below photo shows the actual machine, and Yes, I keep referring to aircraft as machines because thats how Biggles referred to them !

Researching the 87 Sqn machines revealed they were a Night Intruder Squadron, with overall black aircraft, however as the aircraft were required for daylight missions over the Dieppe beaches to support the landing their top surfaces were hastily painted with brushes in the temperate land scheme which at that stage would have comprised of mixed grey, (not Medium sea grey as Ive used) and dark green.

To achieve this rough look the model was first painted overall black, then a very patchy coat of MR Paint MSG applied by airbrush. Panzer putty was then used to mask off the grey areas and the green applied, this time using Gunze . The demarcations o these aircraft were not standard and differed from machine to machine.

There are some excellent articles on Britmodeller regarding these schemes, well worth a read if you love getting into the minutia of these things. It appears on this particular aircraft, the green covered the black quite well, but the grey, not so much. The plan was to brush tamiya MSG around the codes to emphasise the brush painted nature, but of course, I didn’t have any.

The wing roundels were sprayed on using masks from Hawaiian Air Depot https://www.hawaiianairdepot.com/shop/p/coming-soon-87-squadron-hurricane-night-intruders-for-the-148-arma-mk-iic

The rest of the national insignia were from the kit decal sheet. Codes came from a generic Xtradecals RAF code sheet. Colours for the wing roundels were Tamiya Flat Red mixed with a bit of Hull Red until a matt with the decals was achieved. The blue was Royal Blue with a few drops of Flat Black.

With regard to the HAD masks, I thought a real shortcoming with the set was no masks for the underside demarcation. Aircraft from this squadron had quite distinctive wavy demarcation on the empennage, and HAD should really have included these on their otherwise very complete mask set as its a unique feature of these schemes

That just left the scroll. The Eagle Strike Night Hurricanes Part 1 sheet contains a red scroll of the right size, but it reads – actually I can’t remember what it reads, but it certainly wasn’t NIGHT DUTY!. Underneath this red decal, the modeller applies a slightly larger white decal which allows the white border and lettering to appear.. Current sources suggest the scroll on Bawden’s aircraft was red with yellow border and lettering.

This was achieved – after a night of thinking about it in my sleep – by cutting out the underlying scroll shape from yellow decal using the Eagle Strike decal as a template. this only took 4 goes!

The lettering on the red scroll was painted out and I found some tiny tiny yellow decal letters to spell out Night Duty, as you can imagine, these were incredibly difficult to apply and I resorted to (untidily) brush painting the I and Y

No one seems sure how long these aircraft stayed in this scheme so I went light with the weathering. Just some black chips around access hatches and wing roots and exhaust stains as evident in the photos. The chipping on the canopy was achieved with the hairspray technique.

The exhausts were painted an orangey colour as the real things were coated with a paint that reduced glare, hence why this particular machine is not fitted with the glare guards./ Feedback from a couple of modelling friends led to me darkening them up as my mates felt they were too orange. They were shaded with a black brown mix, which I feel does make them look better. They are 3D printed by ARMA and have incredible detail. Far and above better than the kit offerings.

Conclusion

The Arma Hurricane is highly recommended. Although Arma market the IIc and IIc Trop as separate boxings, all the IIc boxings come with the parts to make a tropical or Night Fighter, so it doesn’t really matter which boxing you buy unless you are after one of the particular kit schemes. The only thing I wish I had done differently was use a mixed grey rather than the Medium Sea Grey for the camouflage.

This was a thoroughly enjoyable kit and I have already ordered a Sea Hurricane and a IIb . As Molly Meldrum would say ” Do yourself a favour”

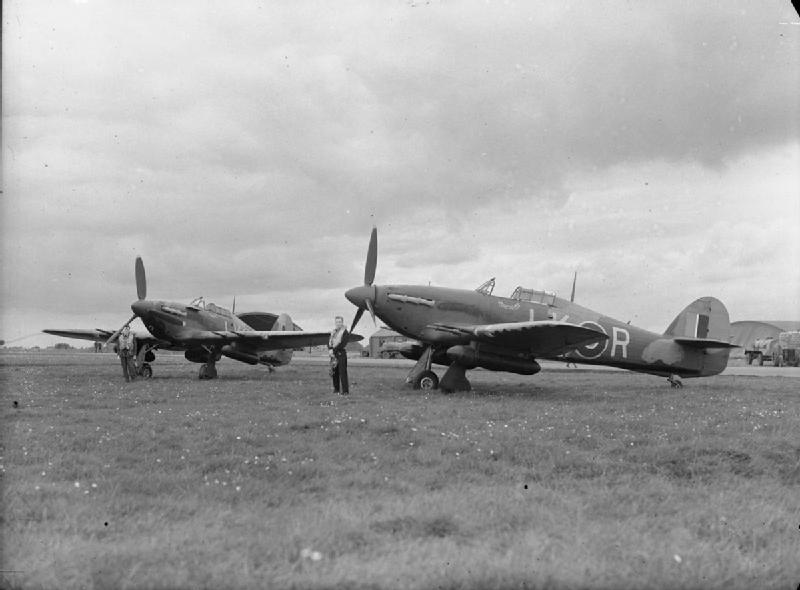
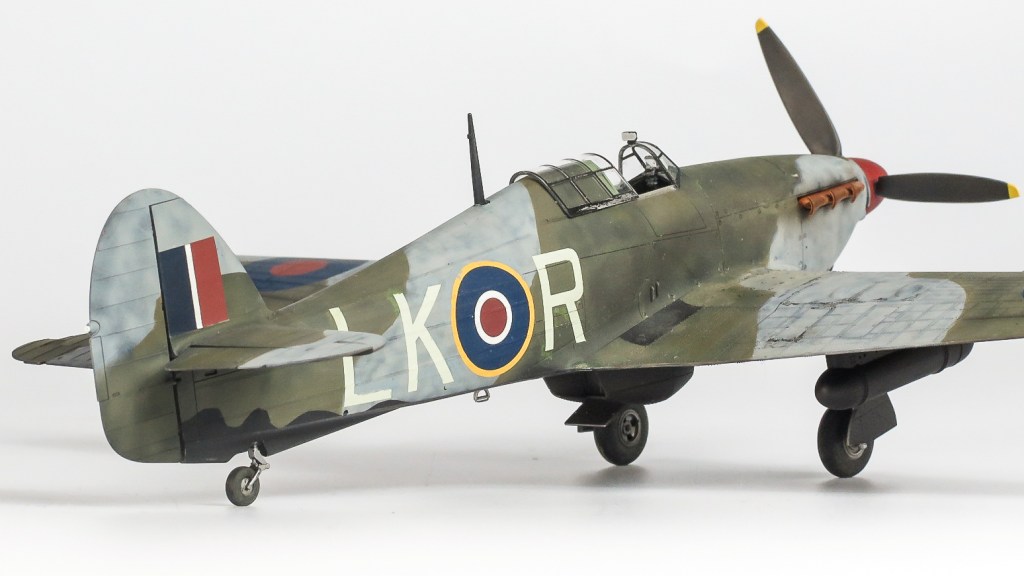
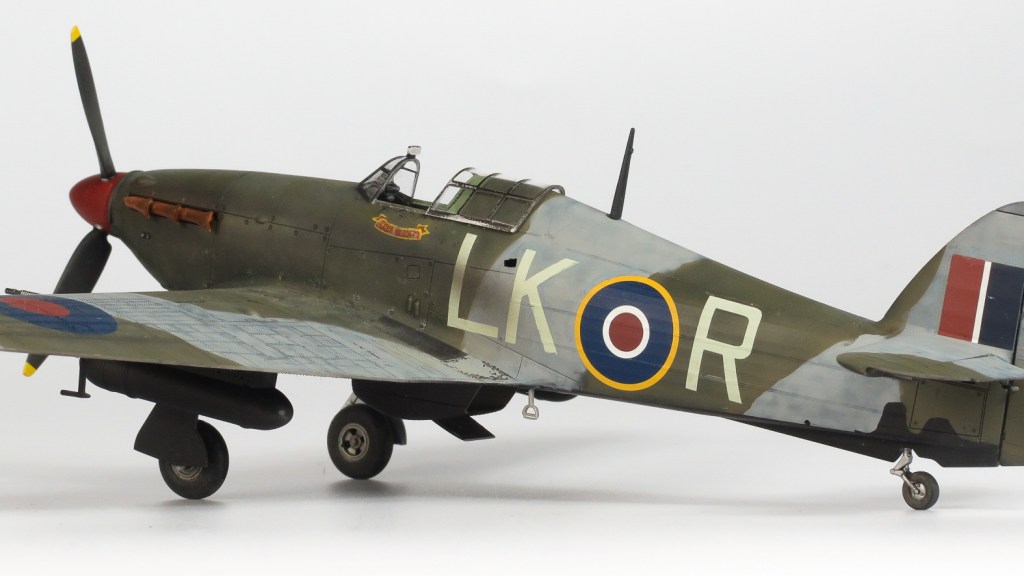
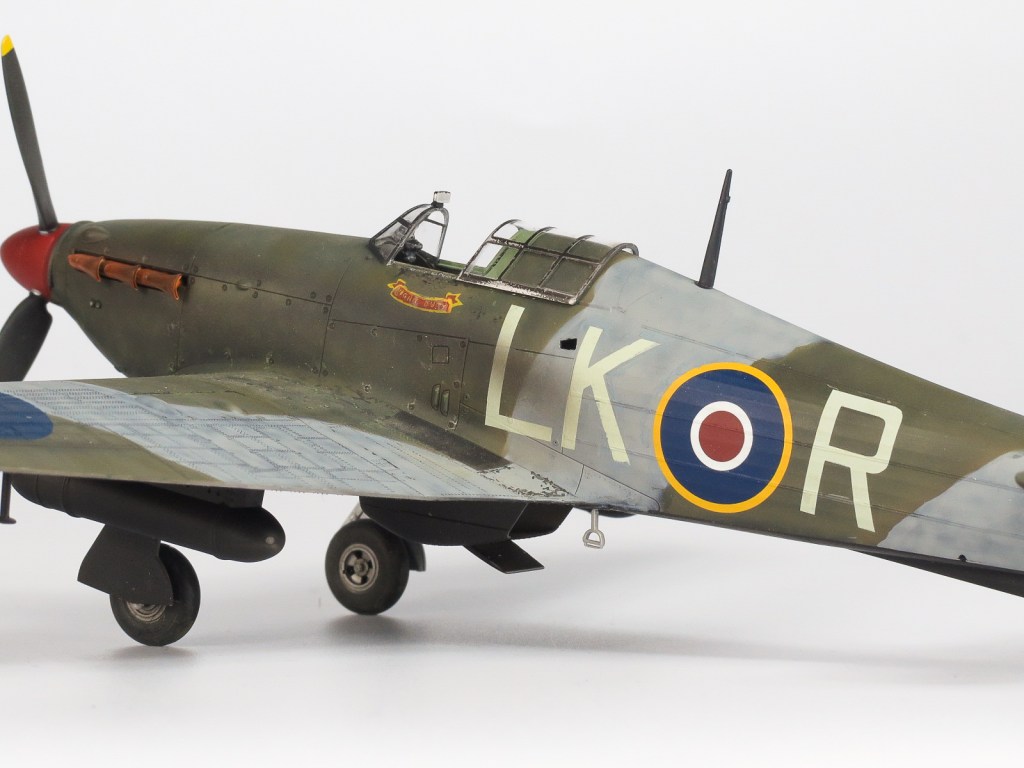
Hawker Hurricane IIc 87 Sqn. RAF Charmy Down UK June 1942

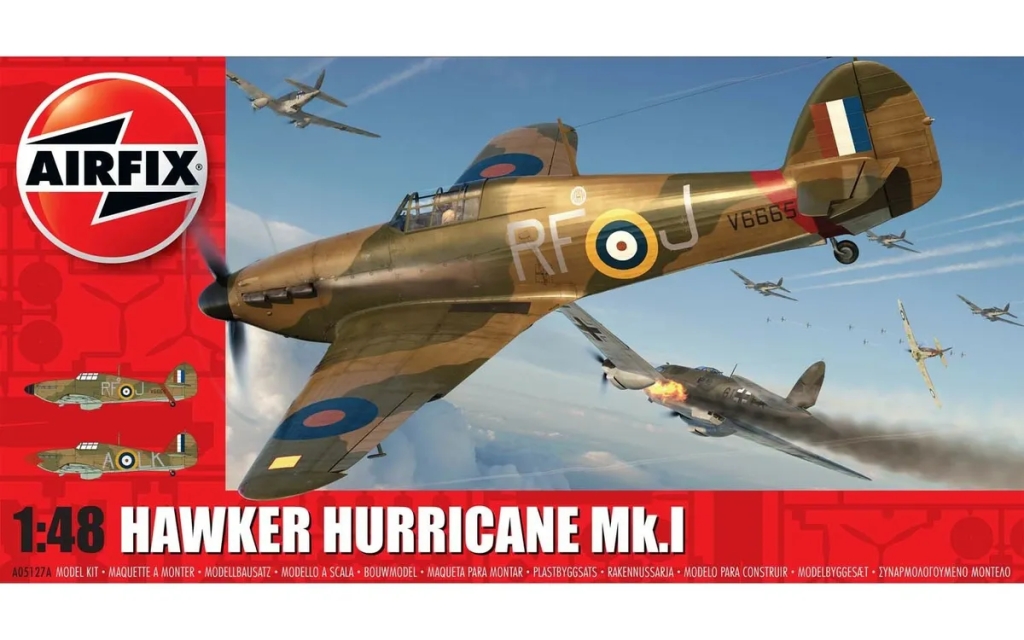
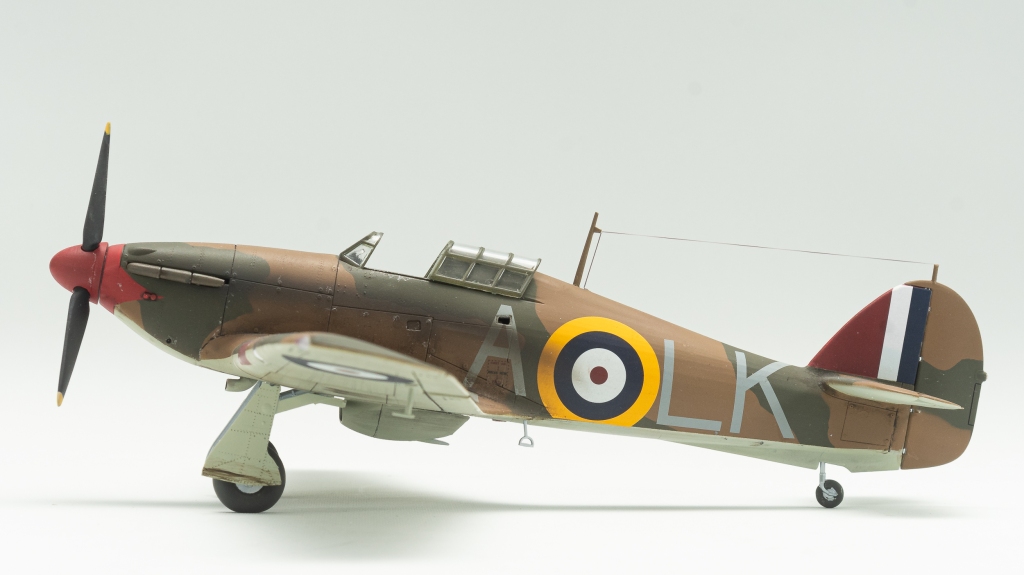
Airfix 1/48 Hurricane Mk1

  • Purchased; 2023
  • Built; 2023
  • Enhancements
  • Seat Belts; Eduard
  • Exterior details Eduard
  • Decals; Kit

What could be easier than an Airfix Hurricane to complete the years builds? A quick slammer, that should comfortably fit into the remaining three weeks of 2023. Well, only just as it turned out, with the EZ line being attached – the full stop to the sentence if you like – on the 29th December. PHEW! That was close.

Construction Notes

Judging by the many on line builds of the Hurricane, modellers either have an easy time ” took me back to my childhood memories of building models” or, its the kit from hell “the wing to fuselage join left gaps like the Grand Canyon”

My experience of the kit fell into the latter. Given the two extremes relayed by previous builders, Im still not sure whether it was the kit or me, although my lower wing half was slightly deformed out of the box, requiring gentle coaxing to meet the inner forward wing fillets of the upper wing parts.

I took particular care in ensuring all wing spars sat square, but still the wing would not fit snugly to the fuselage. Industrial type clamping was required! That said, with this, everything did close up quite tightly. Prior to this, the gun bay hatches were cut out so the nicely detailed bays could be displayed. A nice option on Airfix’s part.

It was here things sort of veered away from a quick build, as prior to closing the fuselage , the fuselage hand hold was drilled and cut out, but then things got crazy as the decision was taken to rivet the whole airframe. This was actually easier than first thought, although there were a few wavy lines requiring correction. The purpose of the exercise was to determine how involved it would adding rivets to the plain wings of the Revell 32 scale Hurricane. Overall, I feel far more confident now in adding detail like this.

Painting and Decalling

Gunze dark Earth and Tamiya Dark Green type 2, coupled with SMS Sky provided the classic British early war scheme. One of my favourite schemes, as evidenced by the growing number of models in my cabinet that wear it. The spinner colour and fin leading edge were matched to the decals using Vallejo flat red with a touch of vallejo cavalry brown. The kit decals performed without trouble, even the nose flash laying down over the nose drain detail with the aid of Micro set and sol.. Weathering was by way of Ammos PLW for brown and green camouflage. The jar was then binned as there was a ton of sediment in it that no amount of stirring would reduce. Binning it was also in line with my 2023 goal of consolidating my consumables. In future, my washes will be mixed from oil paints.

Stains ands other weathering was added with small dots of starship filth oil paint, then blended in with a dry brush. This is something I still very much need to refine though.

And That, as they say, was That!

Conclusion

Many modellers seem to have reported a trouble free build of the Airfix Hurricane. An equal number have found it a troublesome build. Further proof, that modelling experiences can be such an individual thing. I’m sure there will be other Hurricane Is along in 48 scale. Eduard and Arma are two brands that spring to mind that could potentially offer one, and if I make another Hurricane, it will be from these companies, rather than Airfix.

Thanks to everyone that has read my ramblings throughout the year, I hope that there will be many more in 2024.

Hawker Hurricane Mk1. 87 SQN Royal Air Force. Exeter England. August 1940
Leave a Reply

My 2023 Modelling year

Rather than just cataloguing my builds I thought the modelling year as a whole should be recorded. This means the events I attended as well as any thoughts I had.

This should provides some good laughs when I re read it some years in the future.

The year started with me asking my friends to pick models at random, that I would then build that year. This is the same system I have used for the last 5 years. That doesn’t stop me from using it every year though. One day I will build ALL the selected kits!

It never really works, I think the most I have built was 4 out of the 6 selected kits

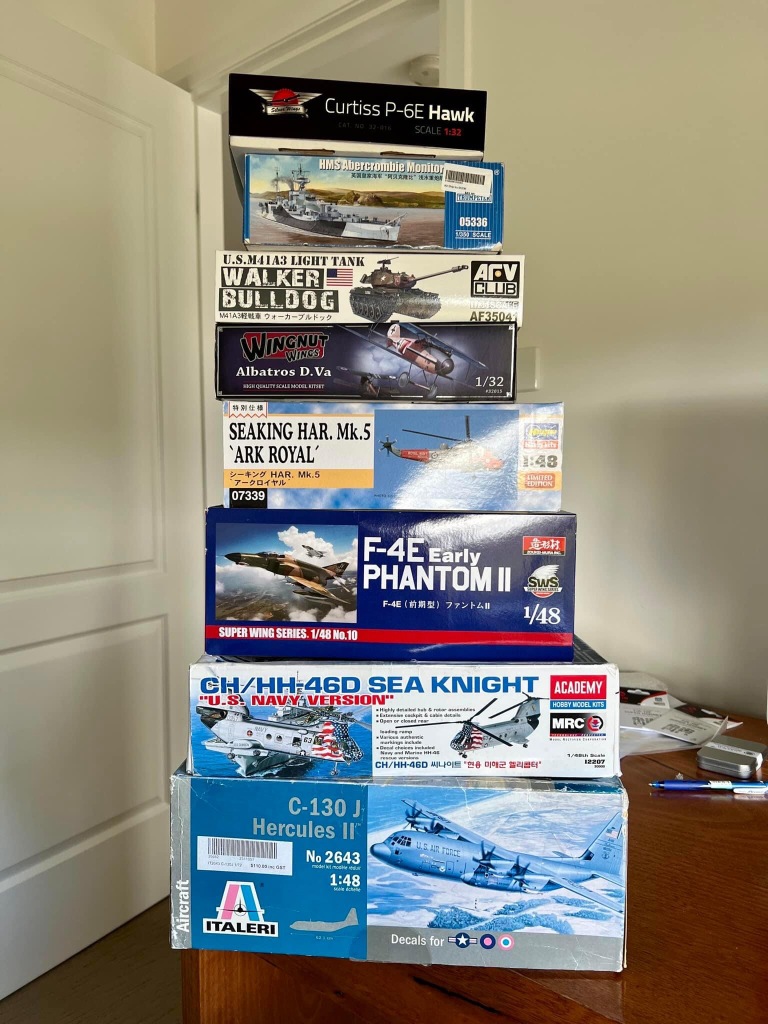
Anyway, here was the pile of kits elected for 2023

Quite the undertaking. Of course posting it on my FB page met with much laughter and banter from my friends.

So, how many of these did I actually build? Well the walker bulldog came the closest before being binned. What is they say about battle plans only lasting until the first contact!

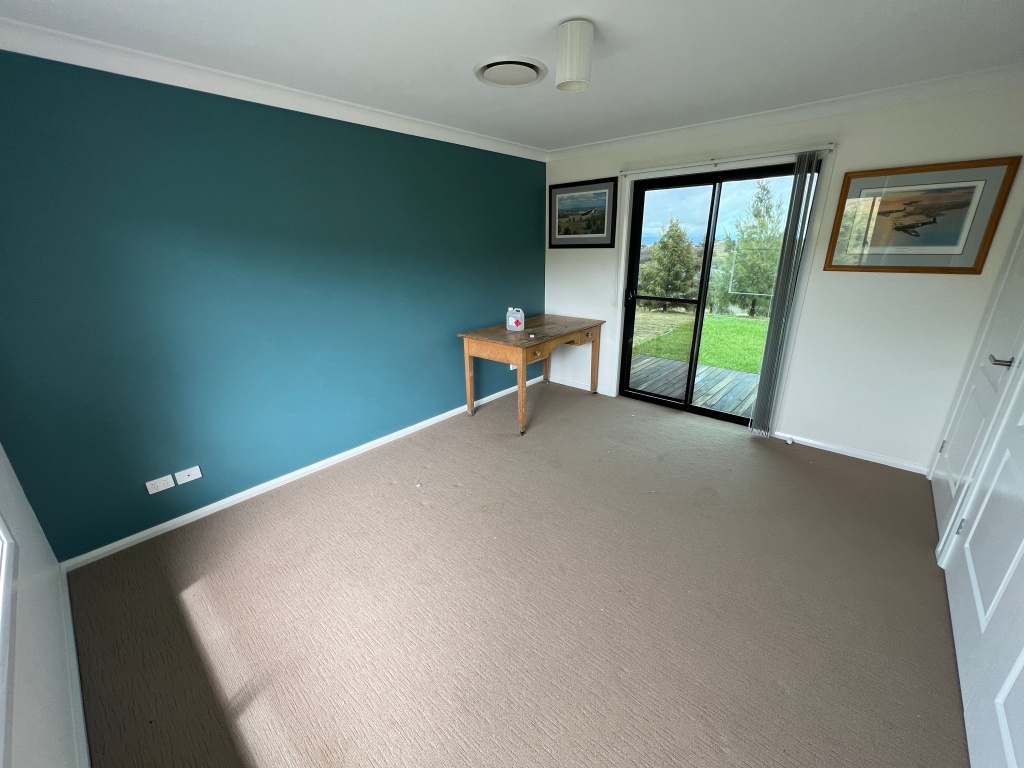
It became apparent I was not ready for modelling just yet. As well as recently retiring from the Ambulance Service, my wife and I had also moved to a different State and new house. Obviously there was a lot more to concentrate on than modelling, so my attention turned to building a new model room.

With this done, the modelling mojo soon returned and in quick succession three Airfix Spitfires made it into the display cabinet. Two of these were left overs from 2022,

I was back in the saddle. There were seven completions for the year, which I’m quite happy with, given my shaky start.

In addition two shows were attended, The NSW Scale Model Show and ScaleACT in Canberra, where I caught up with many modelling friends.

My other hobby is Aviation Photography, and three airshows were attended through the year as well

Hunter Valley Airshow

Classic Fighters Omaka New Zealand

ADF Newcastle Airshow Newcastle NSW

In addition there was a trip to West Australia and a road trip across to Canberra to view an Open day at the Australian War Memorial storage facility

WOW, So quite a busy year then!!

Modelling goals for the year were to start consolidating modelling consumables and tools. This will carry over into 2024, but Im quite happy with progress so far selling off quite a few tools and paints that just weren’t getting used. I bought far too may kits again but this was somewhat countered by selling just about all of my armour and ships kits at show swap and sells.

So, without further ado, onto the models

In order of completion;

And from the various events and airshows I attended

For more photos, see my Flickr page https://www.flickr.com/photos/131700029@N03/

Goals for next year will be to continue scaling down tools and the various brands of paint and glue used, concentrating on just using tamiya and gunze as the other brands are used up.

My collection of books and magazines will also be markedly downsized after the realisation, once bought, these just end up on the shelf, many of them not being further picked up after that initial read. Id also like to publish an article in one of the magazines.

May you all have a safe and Happy New Year you are celebrating that at this time of year. My sincere Thanks to those of you who have subscribed to the blog.

Now! To get my friends to pick 8 random kits for 2024!!

Leave a Reply

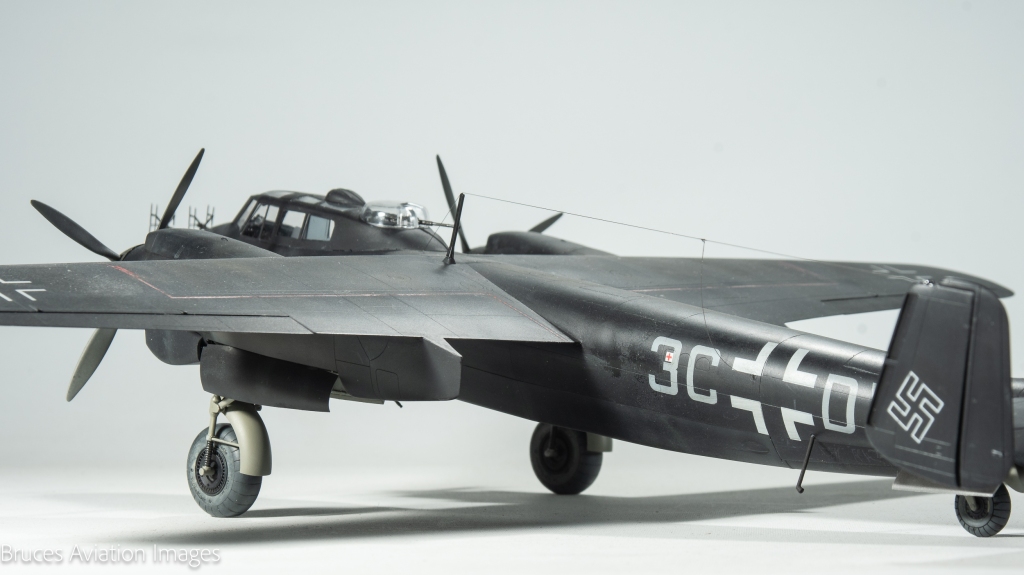
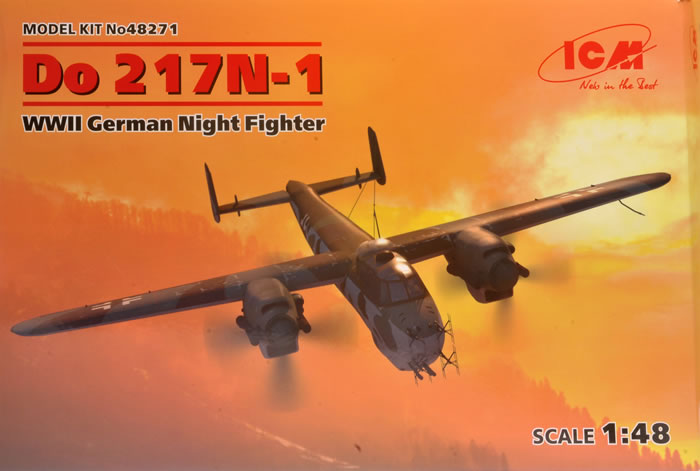
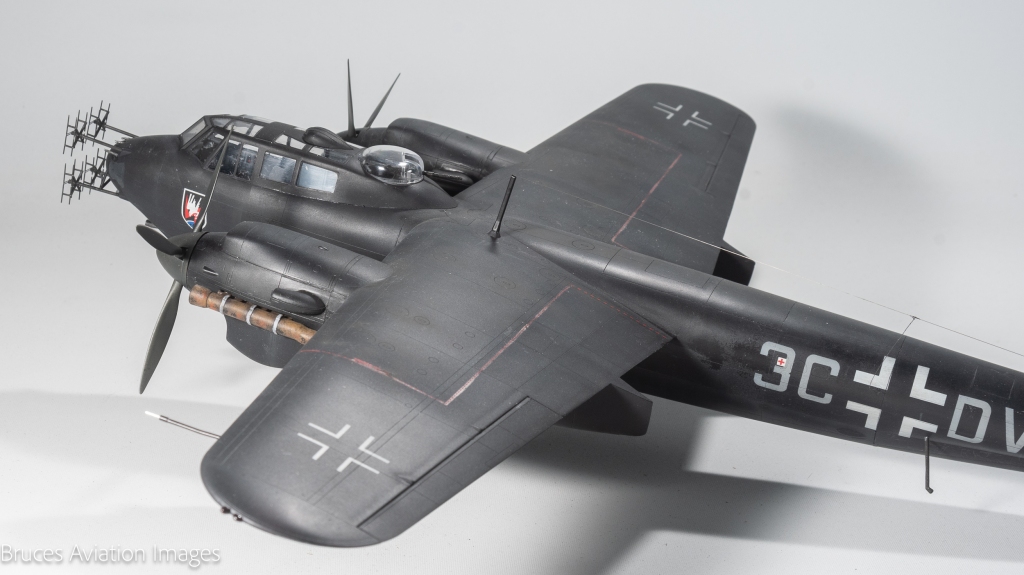
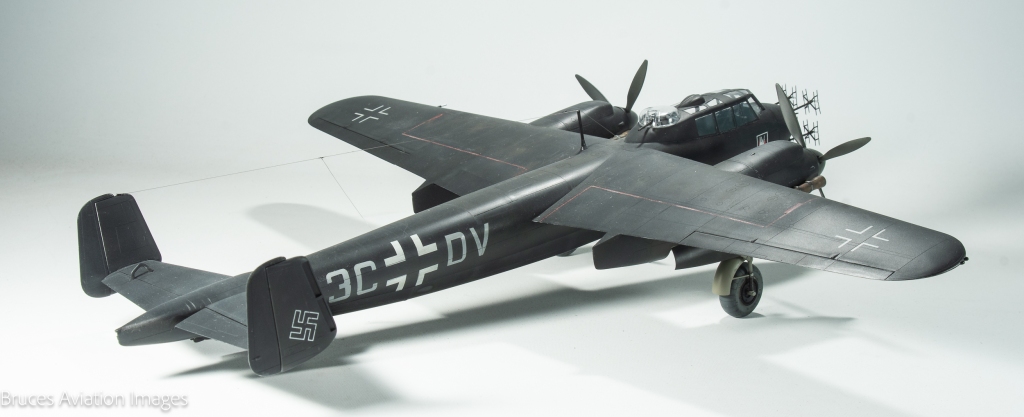
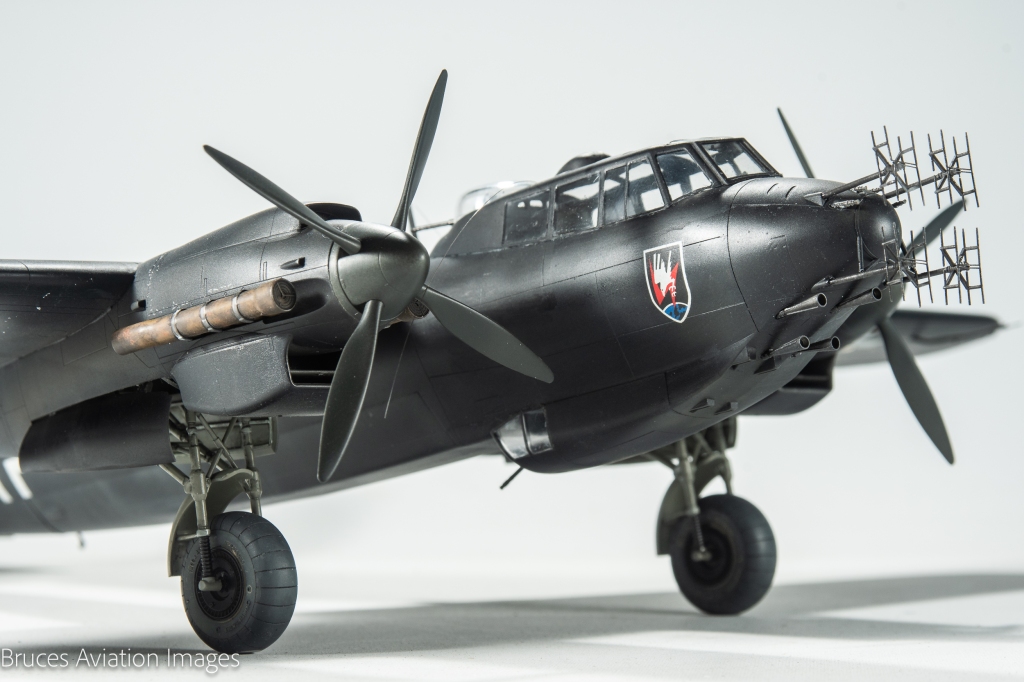
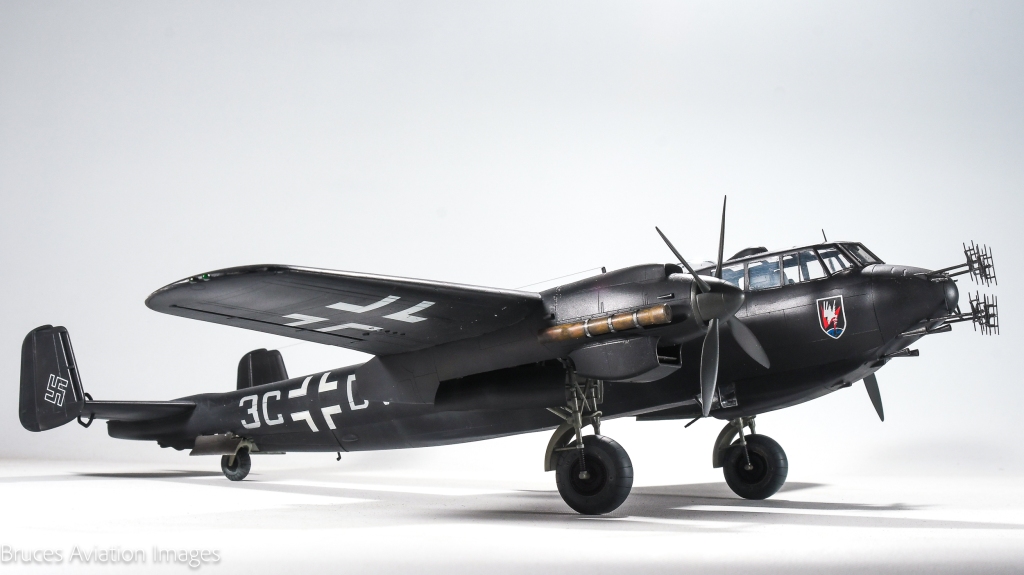
ICM 1/48 Dornier Do 217 N-1

  • Purchased: 2023
  • Built: 2023
  • Enhancements:
  • Seat belts; Eduard
  • FuG 202 aerials: Gaspatch Models
  • Wheels: Aires
  • Decals: Painted using montex mask set
  • Weapons; AIMS, Master details barrels and Vector MG131s

I’ve wanted a 1/48 Do217N in the collection since Koster Aero Enterprises bought out their vacform conversion for the Monogram kit way back in the early 2000s. Despite this, the kit and conversion set were sold in The Great Stash Slash of 2004. But, now that doesn’t matter as we have a much nicer kit of this variant that can be built straight from the box

The path that led me to the purchase and building of ICM’s lovely kit was again, one of impulse!

I had recently purchased some of AIMS 1/32 night fighter conversions for the Revell Ju88, which saw me flipping through a book on German night fighters.

A picture of an all black 217 rekindled the earlier enthusiasm with the resultant jump to remembering reading a build article by Andy King on the ICM 217 he did for The Modelling News.

Next minute, I’m on the BNA website and its in my basket! How does this stuff happen??? As a mate and I have repeatedly theorised, impulse buys need to be started straight away, whilst the enthusiasm is hot, or the danger is you will be selling that same kit at a swap and sell 5 years down the track.

So, box was duly opened, my work bench being opportunely clean of current builds.

The size of the aircraft took me by surprise upon opening the box and looking at the one piece wing, the only other ICM kit Ive built being the Do17. One could say the Do217 is to the Do17 as the Super Hornet is to the Classic Hornet

That wing has beautifully engraved crisp panel lines, but these do not carry over to the rest of the kit, the fuselage and some parts like radiators having shallower detail, and also quite textured surfaces that will require a rub down before paint. Two complete engines are included in the kit should you wish to display the model with cowlings off. I saw no need to make the aircraft uglier than it already is, so my nacelles will be closed. A bomb bay is also included as there are parts to allow both opened and closed doors. I dallied with the idea of an open bay to show off the interesting way the doors open, but again, the aircraft looked decidedly pregnant with open doors, plus there is only very rudimentary detail. A fuel cell is included, but no bombs. As my chosen schemes was the all black night fighter, I didn’t think a bomb load would be carried.

Construction Notes

The instructions are a bit vague in places in regard to where some of the cockpit components fit to each other. I found by studying all the parts, there are locations for the pilot seats and floor in the side walls, just that they are not called out very well in the instructions. I also found them a little confusing regarding displaying the engines until I realised you are required to cut the cowlings off if you want to display the engines. After this, it all made sense. This model was being made all closed up, so all steps dealing with the engines were crossed out to avoid mistakes and make things a little clearer.

I used part A15 as a jig to position the cockpit side walls. The cockpit was painted RLM 66 instead of ICMs suggested 02, as I think by 1943 this was the colour of Luftwaffe cockpits. Tamiya XF24 Dark Grey standing in for RLM66 on this occasion. Beware of the decal dials for the instrument panels as they are separate, not a one piece decal. Here was my first introduction to the keenness of ICM decals to fold over themselves, hmmmmm, those wingwalks were going to be fun! Make sure you paint the back of part E12 as it can be seen through the canopy. Ask me how I know!! It has a pin mark that needs to be filled or, do as I did and skin the rear of it with some plastic card. I went to the trouble of adding thin stretched sprue levers to part E31, I didn’t bother with the decal as it will never been seen. Seat belts were added to all seats from Eduard.

Although ICM say you can leave out the bomb bay floor if doing the 217 with closed doors, I decided to add it to provide a little bit of structural support to the fuselage. It a long assembly with minimal surface area for glue and I could see me cracking joins just through picking it up. In the event, I should also have added the sidewalls C18 and 22 for added support as the floor by itself does not really add any strength.

I managed to crack the wing leading edge joint several times, due to the broad chord of the wings coupled with , again minimal glueing area at the leading edge mating surfaces.

Take particular care ensuring you are using the correct parts for the nacelles. I managed to glue the port outer to the starboard inner side, then wondered why the nacelles weren’t a good fit! This was luckily, quickly corrected with a much better fit of the nacelles being achieved, in fact, the fit throughout was above average.

I found the best fit for the wing was to push it as far forward as possible to ensure a tidy fit on the ‘shoulders” This does leave you with a gap to be filled at the rear, but this was easily filled with a shim of plasticard. Before adding the wing, ensure all mating surfaces are free of burrs and flash, which helps in getting the best fit possible. Of course this advice should stem to all facets of assembly, in addition to plenty of dry fitting.

I replaced the peg on the tailwheel yoke part E42 with brass wire, similarly, I drilled and pinned the undercarriage legs for added strength rather than relying on the kits butt joins. ICMs wheels are fine OOB, but I had already purchased the Aires set. I would also suggest Quickboosts resin exhausts if you don’t want to deal with the joins on the kit items.

Painting and Decalling

SMS Camo black was settled upon as the base colour. This is quite a nice warm dirty black, very similar in fact to the colour of Mr Surfacer 1500 black. For highlights I used SMS German grey randomly mottled on the wing centre section through various Uschi van Der Rosten masks. All national insignia save for the swastikas was sprayed on using a montex mask set. The swastikas came from an old Aeromaster sheet.

Im not sure if these machines were painted black at the factory or at maintenance units, but figured either way – rightly or wrongly – the stencilling would not have been reapplied perhaps apart from the wingwalks.

I elected to use the wing walk decals which went on surprisingly well, despite me and long thin decals usually not getting on. Plenty of water was the secret. I was still congratulating myself on this miracle right up to the point where I managed to accidentally touch and remove a strip of the decal! Luckily a very generous modelling friend in the UK sent me some make for painting dotted wingwalks . Thanks Andy

ON reflection, I wished I had painted all the wingwalks as I was left with some silvering.

Some panels were then masked off and MRP black sprayed along panel lines which stood out nicely. Well until the Dullcote was applied. Then everything kind of blended together. Typical!

Exhausts were base coated in SMS dark earth before a layer of hairspray was added, then a mix of NATO brown and NOTO black . This was then chipped off. To be honest, Im not really happy with the results. I think I would have been better off stippling these colours on with some sponge

For the canopy, this is the second model I have used interior canopy masks on. This is a leaf out of Jamie haggo’s book, as he does it on all his models where the canopy interior is visible from the outside, his rationale being painted interior framing looks much better than the shiny plastic visible if you were to follow the normal convention of spraying the interior colour from the outside. And he’s right!

Final Assembly

This comprised of adding the undercarriage doors, all of which located securely. The aerial was added from invisible thread, and the machine gun and cannon barrels added. AIMS cannon barrels were used as, unlike the kit ones, they had open flash suppressors. I didn’t bother drilling out the mg barrels as the diameter was too small. Finally, the piece-de-resistance. the Gaspatch radar array was added. Cutting them away from the supports was heart in mouth stuff, let me tell you! I employed a new scalpel blade plus used a new set of nippers. They were painted in Tamiya dark Iron. If there is one must have Aftermarket accessory for this kit, its these, although looking at my slightly wobbly ones in my photos, this crew will have a hard time finding any Lancasters!

Conclusion

Im really happy to have a black Dornier 217 in the cabinet, and a much better replica than the old KAE and Monogram kit would have provided thanks to the access we now have to things like 3DP radar arrays and brass gun barrels.

The model itself was very enjoyable to build, with no real vices along the way, aside from the somewhat soft plastic, which does not suit structural components like landing gear. Despite this I look forward to building more ICM kits. The Do217N was unloved by its crews, its performance suffering greatly due to its increased armament, and all the added radar gear. But in my cabinet, its loved greatly by me!

Dornier 217N-1 II./NJG4 Luftwaffe. Germany 1943

Leave a Reply

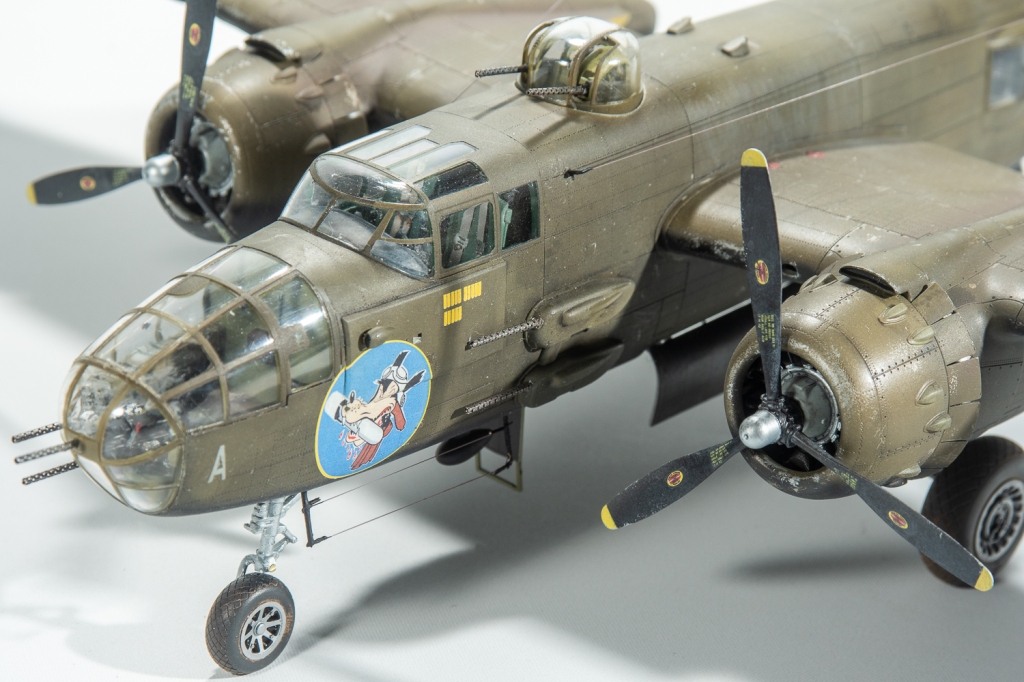
Hong Kong Models 1/48 B-25J Mitchell

  • Purchased: 2023
  • Built:2023
  • Enhancements:
  • Gun Barrels: Karaya & Master Models
  • Cockpit :Eduard Space 3D
  • Wheels: Eduard Brassin
  • Ammo feed chutes: Eduard
  • Decals: ArtScale RAAF Mitchells Part 2

Hong Kong Models 1/48 B-25 J comes in a box adorned with some nice art work that is also provided as a poster inside the box. Surface detailing is by way of petite engraved rivets that unfortunately fade away slightly at the fuselage centrelines . Amongst the 249 parts are options for different shaped bullet deflectors for the upper fuselage, a top turret or, if you’re building a Mitchell without a top turret, a blanking plate and separate cheek armour if you want to build an early J that was not fitted with the additional armour. Two different fits of fixed nose guns are also provided.

The kit can be built with flaps, boarding steps and landing gear up or down. Cowl flaps can only be shown in the open position, although Quickboost do make cowlings with closed flaps.

Interior detail is adequate for what will be seen with parts for the bomb aimer’s position, cockpit, top turret and tail gunners position. A bomb bay and bombs are supplied although there is no mid fuselage detailing around the waist gunners stations. If you want to add the ammo feed chutes, they will need to be sourced from an aftermarket set.

I found the fit of all parts excellent, with the tailplane, fins, and nacelles being a push fit. The engineering is spoilt though by the requirement to fit the landing gear early during construction. If I were to do this kit again, I would modify parts F24 and 25 by cutting the pointed ends so that the struts could be added later. Same with the nose gear part E32. I would just cut the end off the drag link, so that it could be fitted later.

Despite me protecting the front leg with a protective sleeve of foam, I still managed to break it off accidentally manhandling the model around the bench. Bras rod was used to replace the broken oleo, which also lent more strength to the part, so not a total loss, but annoying nonetheless

Although the gear locates solidly into deep sockets, the model still rocks slightly on its gear. Possibly due to the soft plastic, perhaps if they had of had the drag links also locate into sockets as well, the model would sit more solidly. The supplied nose weight fits quite cleverly underneath the cockpit to form the tunnel. No other weight is required.

Construction Notes

The Eduard seat belt set only included lap belts, I added the kit PE shoulder belts as I felt they would have been fitted at this late stage of aircraft development.

When building the bomb bay, fit part E45 during final assembly, as otherwise the arms will get broken. The kit bomb fins are rather thick, As you won’t see them, I left them as is, rather than bothering to thin them or replace with PE.

As mentioned above, I would modify the landing struts so that they can be added after painting.

This is one of those kits where you are required to follow the assembly sequences as set out in the instructions. I deviated by adding the cooling flap rings to the cowls which then made inserting the engines harder. The engines as provided were adequate, but can be dressed up if you want to add ignition wiring, etc Alternatively, if your name is Sam Dwyer, and you like to buy every piece of available aftermarket for a particular kit, Quickboost make resin items 😀

The landing light glare guards part EP4 were left off my model as per reference photos I looked at. There are two scoops provided in the kit that locate into shaped cutouts in the cheek armour plates. They are pictured in stage 35, but not called out in the instructions, from memory they were parts E58 and 59.

The kit wheel treads are a bit rubbish, so best replaced with AM ones. If you are replacing the kit gun barrels with brass ones (and why wouldn’t you!) the breech holes will need drilling out slightly, lets take a moment here to recognise HKM for providing separate barrels as this certainly aids painting. Ensure though that the waist guns have been securely glued to their mounts. One could also add PE ring sights as they would certainly be visible from outside.. All the transparencies fit very well, although I have a slight step on one side of my nose, which could have been minimised with more care on my part.

I was unhappy with the kit replication of the fabric ailerons. The elevators and rudders are fine, but the ailerons….not so much. I masked them off, then sprayed several coats of Mr Surfacer 500 primer to build the depressions up before sanding them flat. The rib tapes were simulated with tamiya tape. Although I think they look better than what was provided, Im not sure the effort was really worth it, having seen a few other built examples on the net. They don’t look too bad under paint.

Rivetting along the centre seams of the fuselage will need to be reinstated with a rivet wheel after the seams have been cleaned up. The wings can be left off to aid painting. Dry fits showed they slid easily into position, and more importantly, could also be easily removed. I also left the vertical fins off to aid painting. The fit is that good, so they were not added until very late in the build during final assembly. This makes the model a lot easier to handle. Still didn’t save that nose leg though!!

Painting, Decalling and Weathering

I wanted to try some hairspray chipping on this model, so first a base coat of Alclad Aluminium was laid down over the wings and engine cowlings where most of the chipping would be done. Two thin coats of generic hairspray were then sprayed over this before a coat of AK Real Colours OD was sprayed over the whole model.

AK RC faded OD was then sprayed over the model, leaving the dark OD under the wings and tailplane. Dark yellow was then added to the faded OD and this was further mottled over the upper surfaces of wings, tailplanes and fuselage. Fabric control surfaces were masked off and hit with the faded OD, this time mixed with a decent dollop of tamiya deck tan.

The undersides were then sprayed MRP matt black with the demarcations done freehand. No fading was added to the undersides, I would be relying on washes to give it a faded dusty look.

Once I had the basic colours blocked in, I took to the fronts of the cowlings and upper nacelles with a stiff damp brush slowly chipping away the OD to reveal the underlying silver. This was the first time I had tried hairspray chipping on an aircraft, and I’m not satisfied yet that it’s the best technique for aircraft chipping, certainly for small areas of chipping, Its a technique that definitely needs more practice on my part though.

I do think the silver pencil still offers more control.

WW2 Royal Australian Air Force national markings being fairly simple, lend themselves to being painted, so the roundels, fin flash, codes and serial numbers were scanned into my silhouette software and masks cut using the last of my Oromask.

The two machines on the ASL sheet have had their neutral grey undersides overpainted in black for night intruder operations, One of them, which was my original choice had the black painted hallway up the fuselage and nacelles rather than the normal demarcation line. sadly the one photo I could find of this aircraft , although of poor quality did not seem to show the high black sidesInitially my desire was to do the aircraft with the black undersides that reached midway up the fuselage, however then one photo I could find of this aircraft, although of poor quality seemed to contradict ASK’S drawings, with the fuselage painted with OD down to the usual demarcation. Certainly the tail fins did not look black. Shame, as I quite liked this scheme as drawn.

With the reasoning for my initial choice disproved, I turned to the other subject on the sheet. This in addition to the black undersides, also had nose art , although much later on I found , again. Artscales decals had probably got the background colour on this wrong too.

With the masks cut, a mate suggested that I first print them out on paper to check sizing. This was an excellent idea – thanks Calum – as it brought to light all of the decals were slightly too large according to photos of the actual machine. Subsequently, the masks were reduced size a bit. This is one of the advantages in using masks over decals.

,

Once the masks and decals had been applied another sealing coat of gloss was applied ready for the wash, which in this case was a brownish black shade of oil paint.

Once dry and the excess wiped off, a coat of semi gloss was applied ready for some oil paint weathering, semi gloss being used as the oils seem to blend a bit better over this. The problem was though, the only semi matt I had was a old bottle of low sheen Klear Kote by Alclad. This smelled like it was an enamel product and never really seemed to dry to a hard shell. Picking up the model, it remained , not tacky, but not dry over the course of a week until I dullcoted it. Even now, handling the model, my hands do not came away cleanly.

The Alclad went in the bin. This would be about the third Alclad product I have used that has not performed properly. They definitely seem to have a shelf life, well the clears and primers do!

The result of all this was, despite the matt coat, holding the model for any length of time seemed to pull away the matt coat, which led to a very truncated weathering session and my enthusiasm for the project being severely dented. Exhaust stains were sprayed on in thin coats, although looking at them, I wish I had used a darker shade. The pitot tube was replaced with Albion Alloy aluminium tube. On the underside the ADF football aerial was attached with some brass rod to secure it firmly in place. Brass rod was also used to replace the plastic pole aerials as I thought this would provide a stronger base for the EZI line strung between them. Aerial fairleads were also fashioned from brass rod for the tail fins and fuselage, Landing gear doors and actuator struts located securely to the nacelles and nose. Finally, the Karaya barrels were added to the gun positions, and the Eduard wheels glued on One gripe with these. The wheels are marketed as for use on the HKM kit, yet the axle holes required significant enlargement to take the HKM axles. If you are going to market an accessory as for a particular kit, then make it so that it is a drop fit for that kit and does not require modification. Eduard have form for this, especially their wheels. I would not be surprised if these are just their wheels for the Monogram kit, but with new packaging.

Finally, the transparencies were unmasked and to my horror, there was a lot of fluff on the inside. Most of the canopy fluff was removed by way of poking a bent micro brush through the top turret hole. I managed to pry off the nose cap as I had just used PVA.but in removing some overspray with a thinner dampened cotton bud, also managed to remove a swipe of paint off the nose . 50 ammo cans. Naturally I didn’t notice this until I had refilled the nose cap, this time with tamiya glue. Guess this model won’t be making the competition table after all.

Conclusion

I thoroughly enjoyed this build, All errors were of my own making. Lessons for me from this build were I still need to add as more parts like the wingtip lights that form part of the structure before painting, so that they can be properly faired in. My wingtip lights look like the late after thought they are. I also need to take more care with these bomber type aircraft to ensure fuselage openings are better sealed to avoid sanding swarf getting in.

Weak points of the kit though, are the exaggerated fabric effect on the ailerons and the ridiculous engineering that means the landing struts need to be added early in the build. Location points for the aerials and upper turret bullet deflectors also were non existent, which didn’t help with exact placement.

For my money though it leaves the Monogram kit in its dust, as it should. Yes, its twice the price, but in this instance is twice the kit. I will definitely be buying the solid nose strafers when HKM get around to releasing them. If using the ASK decals, do beware they are not the most accurate decals on the market in this case.

N.A.A B=25J Mitchell. 2 SQN R.A.A.F Hughes Airstrip. Northern Territory Australia 1944.

Leave a Reply

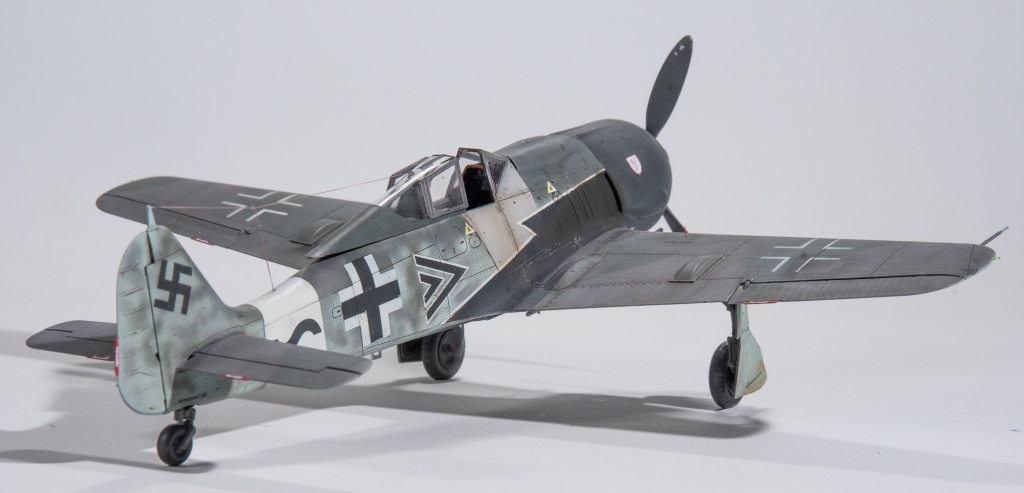
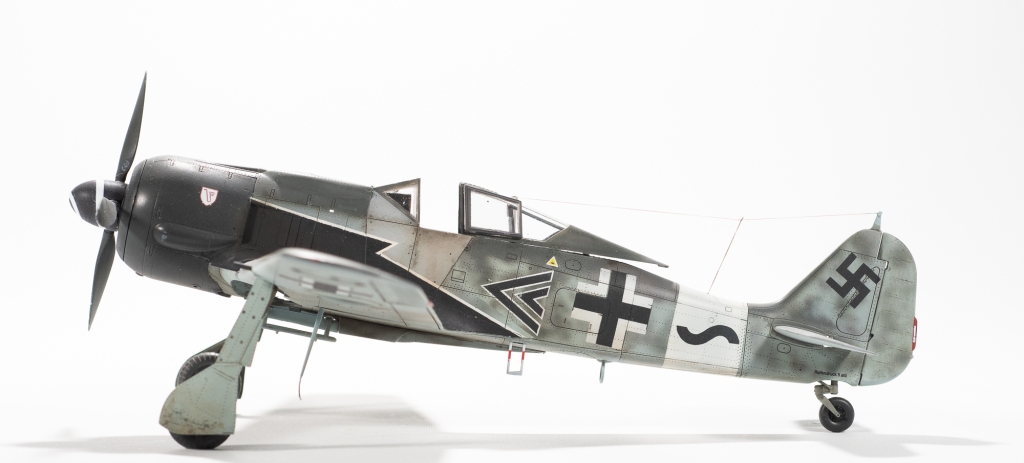
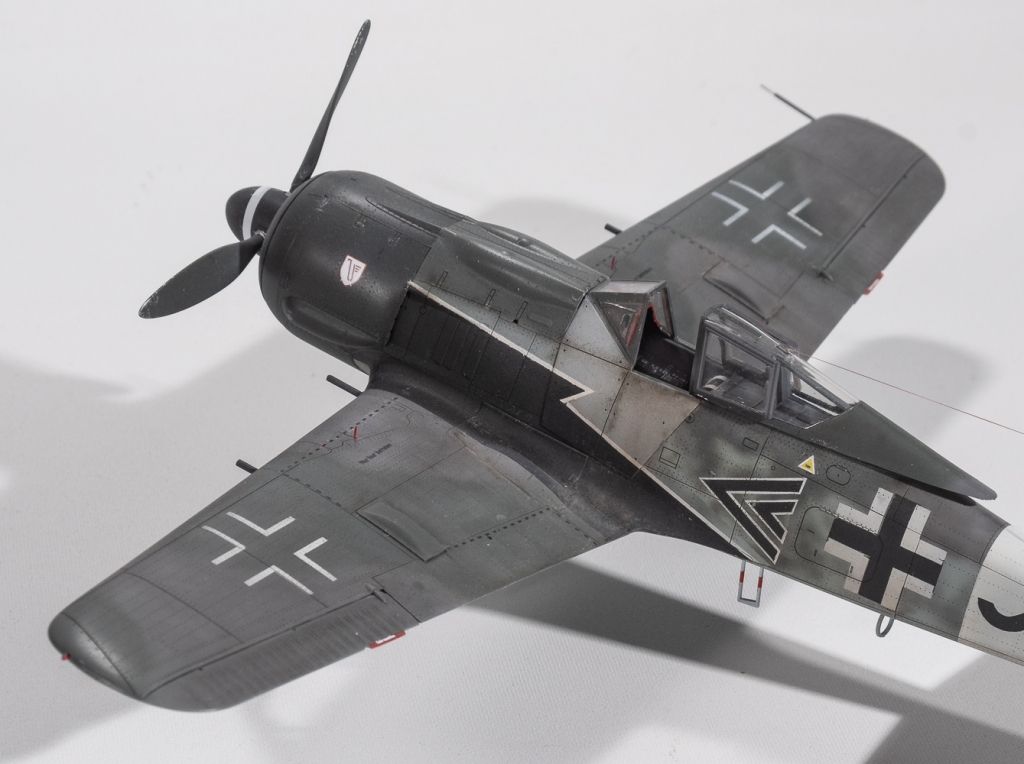
Eduard 1/48 FW190A8/R2

  • Purchased : 2023
  • Built; 2023
  • Enhancements: Gun barrels replaced with aluminium tube
  • Decals: Combination of kit decals and painted using Montex masks.

Construction Notes

Eduard’s new series of 190s have been written about in various online reviews as being viceless builds. Whilst they show a marked improvement in engineering, ease of assembly and surface detail over the older kits, I still found a few issues.

Everything in the cockpit is fairly straightforward, although I found the instrument panel has a tenuous and somewhat vague location between the two fuselage halves.

The same with part A32, I found it difficult getting it to seat properly. With the wheel wells, I was initially dubious of Eduards call out to paint them RLM76 rather than the usual RLM02. Perusing Eduard’s instructions for their other 190s showed me Eduard do call out 02 for the earlier marks. The A8/R2 kit is the only model where they suggest 76 wheel wells,

I decided they must know something I don’t! They have done quite significant research into the Rammjager as evidenced by back copies of the info magazine.

I cut the barrels off the inboard guns – to be reattached during final assembly – as they were bound to get knocked off during sanding operations.

Dry fitting the wing to the fuselage revealed a gap on one wing root. Consequently I delayed adding the gun deck and upper cowl parts to the fuselage so as to allow me to push the fuselage half out to meet the wing and reduce the gap. Great in theory, but I think doing that just created another problem for myself.

With the airframe together, one wing looked to have greater dihedral than the other. The wing root join was broken by way of using tamiya extra thin to rehydrate the join, then a shim added to reduce the dihedral. This seemed to fix the problem, or so I thought!

I should know better. Fiddling with wing roots like this just seems to muck with the geometry. Probably would have been better to add a sprue spreader under the cockpit. There are 2 more Eduard 190s in the stash, so it will be interesting to see if this problem appears on those, or was a construction fault on my part.

This aside, the model built up quickly. Filler was used on the centreline seam and the leading edges of the wings only. The tailplanes and gun covers fit perfectly.

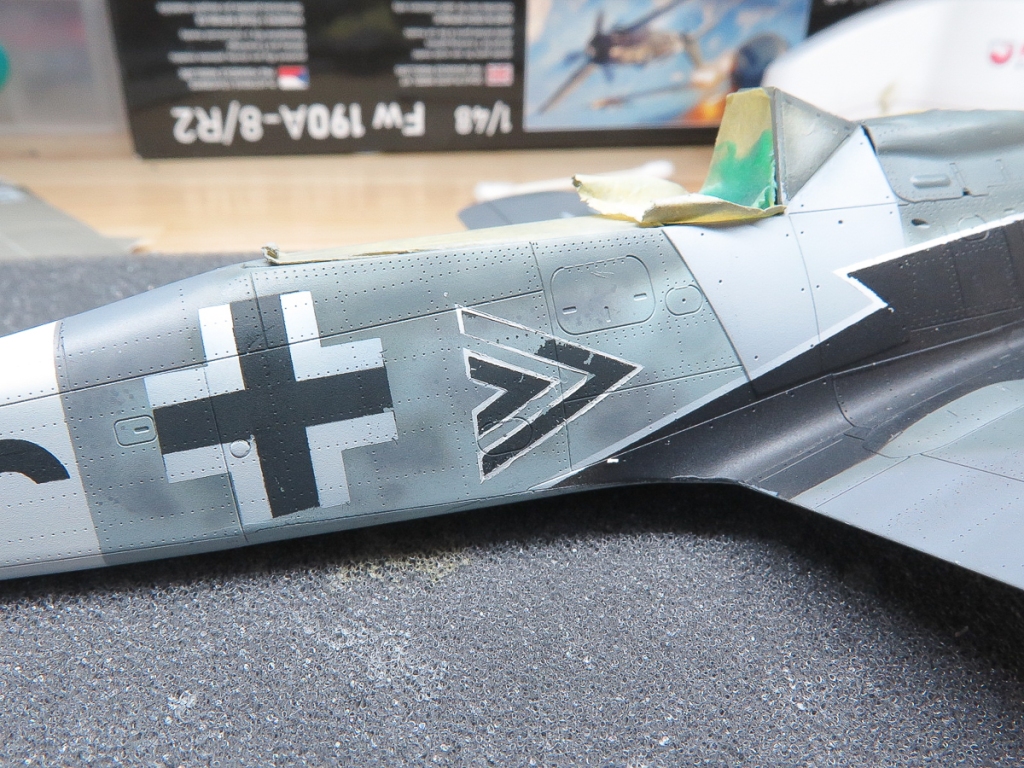
Of course, its too much to ask of me for a build to go flawlessly, and so it was again in this case, although problems did not rear their head until well into decalling. Again, an unforced error, falling foul of Eduards decals. Well, thats probably a bit unkind on Eduard. It was me trying a new (to me) technique of removing the carrier film with white spirits. This had gone swimmingly on the wing crosses, then I got cocky. For those not aware of this technique. I refer you to Gary Wickham’s excellent tutorial contained within his superb Tempest build. My mistake was I left the white spirits on the swastika and chevron for longer than a minute, the result being the white spirits removed the carrier film, the decal AND the underlying paint. AAAGGGGHH

Had I mentioned I was really happy with my overall paint job and tight mottling? No, well I was! In all, this was a fairly simple mistake to correct, but it occurred during a stage in my modelling where frustration with this kind of thing was overriding my perseverance, so back in the box it went.

Completing the phantom renewed my enthusiasm to complete the 190, so back out of the box it came. The existing paintjob was stripped using Gunze thinners and now that I had a blank canvas again, was repainted using Mr Colour paints, although my mottling was probably a little tighter on my first attempt.

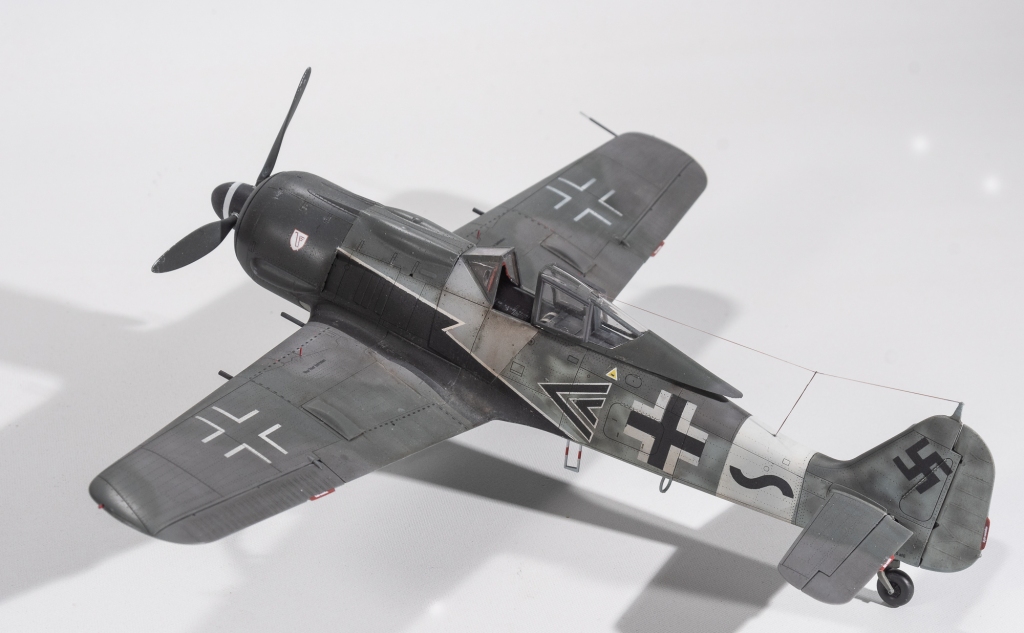
For the major markings a montex set designed for the tamiya kit was used. This was also not without some problems with recurrent peeling of paint and repeated masking and touch ups required. A couple of months earlier , this would have seen it relegated to the box or the bin, but this time I powered through, even cutting a new chevron and underwing code letter on my silhouette to replace the by now distorted montex masks. Its amazing how little achievements like this can lift your enjoyment for the hobby. Kit decals were used for the Udet emblem on the cowling, on this occasion, the carrier film not being peeled as they had laid down perfectly.

SMS flat was used as the final coat as this is not dead flat but leaves a nice sheen, which can be seen on period photos of Luftwaffe machines, the service life of which – by this stage of the war- could be counted in weeks, even days.

Oils were used on the underside to impart some staining. This technique still eludes me, analysing my attempt on this model has led me to think I need to apply smaller amounts in future. Oils certainly go a long way!

Casting an eye over the completed model, the geometry looks a bit askance to me despite Eduards engineering to ensure the added undercarriage sits at the right angles.. That added shim to the wing perhaps contributing to this, one wingtip still measuring higher.

Im reasonably happy with my efforts on this, more so, that – with this model – I had the perseverance to push through a couple of hurdles that presented themselves. I definitely feel Im back on the horse!

Would I build another Eduard 190? Definitely!

Focke Wulf 190A8/R2 IV (Sturm) JG3 Luftwaffe.

Mennington, Germany . July 1944

Leave a Reply