- Built: 2022
- Added to stash: 2021
- Enhancements: None
- Decals: Fundekals, Early War Spitfires Part 2
This is my second build of Eduard’s spitfire, and I found the experience as enjoyable as the first.
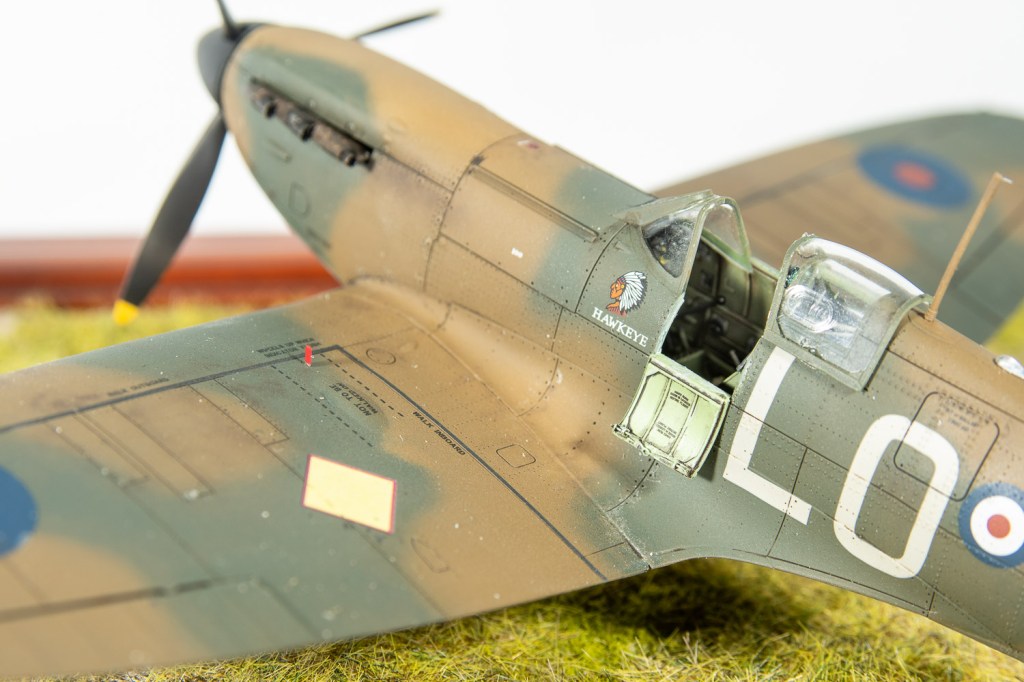
Upon examination of the parts the first thing the jumps out at you is the extensive surface detail Eduard’s mould makers have lavished on this kit. The empennage is covered in fine raised rivets whilst the wing rivets are recessed.
Careful study of the instructions and sprues reveals that Eduard have included parts to make any spitfire from the first production machines up to mid 1940 machines. There are unarmored and armoured windscreens, various separate armour plates and gunsights plus seats. Useful to understand all these differences was Wingleaders photo archive on the Spitfire Mk1. The Few boxing allows one to build two Spitfires, one with the later armoured fuel tank and one without, although this was not immediately apparent to me. It was only after careful study of the Wingleader book and the Fundekal instructions that I understood the various differences that I was looking at in photos. That Eduard has included all these optional parts shows how thoroughly they researched the aircraft.
Its a shame they did not include the later undercarriage selection lever as that would then allow you to build any spitfire up to the end of the Battle of Britain, although the later selection lever looks easy enough to scratchbuild, or you could just buy the Tamiya Mk 1. My research unearthed the electric undercarriage selector appeared around the 600th or February 1940 build machines. I could not find a definitive answer.
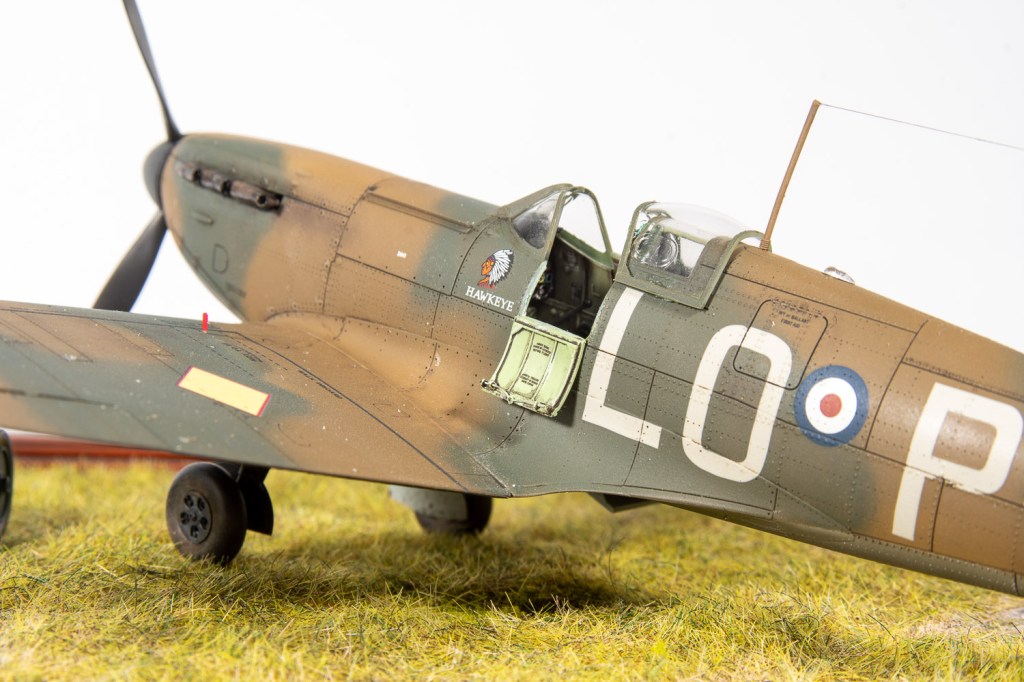
For this build, I deviated from the instructions a bit in that the cockpit sidewalls were added to the fuselage sides before being painted. The floor, complete with stick, rudder pedals and seat was treated as a separate subassembly. As were the various bulkheads, the rear bulkheads having their lightening holes drilled out. This method made it harder to get a paintbrush to all the little detail areas, and for the second build, the instructions were followed to the letter, which resulted in details being easier to reach with the paintbrush. The cockpit colour used for this build was a coat of SMS RAF interior green with the sidewalls washed with Mig Dark Wash.
With the cockpit completed, the rest of the build proceeds quite quickly. Ensure all mating surfaces of the wheel well parts are sanded at the correct angles to lessen gaps between the parts . Eduard, I feel could have made the fit of the sockets that accept the landing gear legs far more positive. Be careful ensuring you locate these carefully into parts xxx . Any misalignment here will affect the sit of the model later.
I had some gaps at the wing roots that I thought I could close up by running tape spanwise from wingtip to wingtip. While this did close up the gaps, it also introduced other problems such as too great a dihedral and led to some alignment issues. I won’t be doing that again!
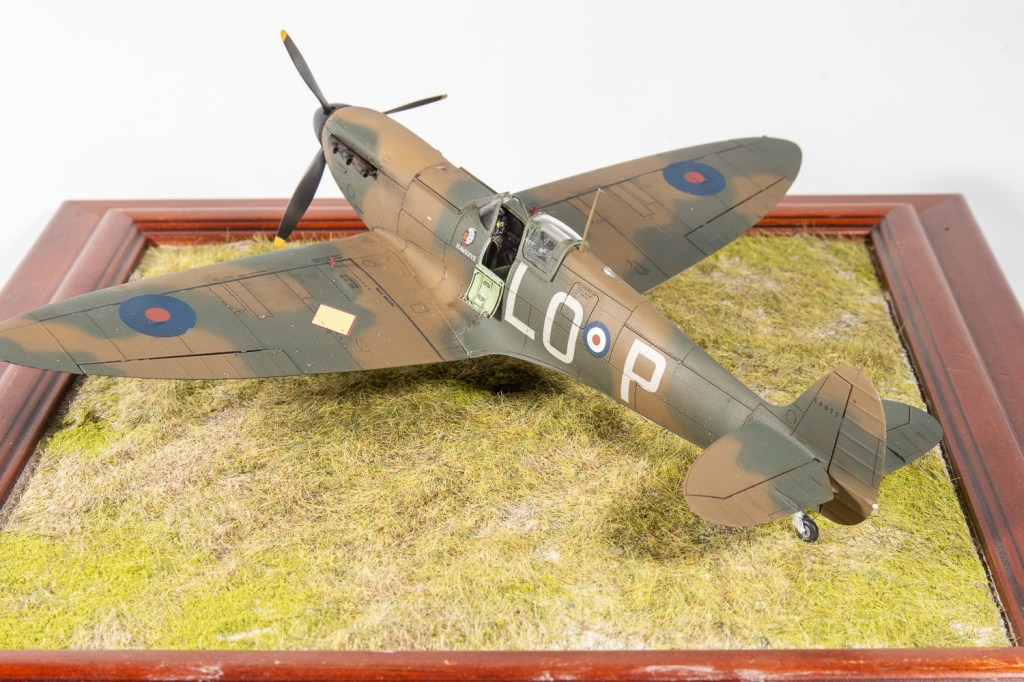
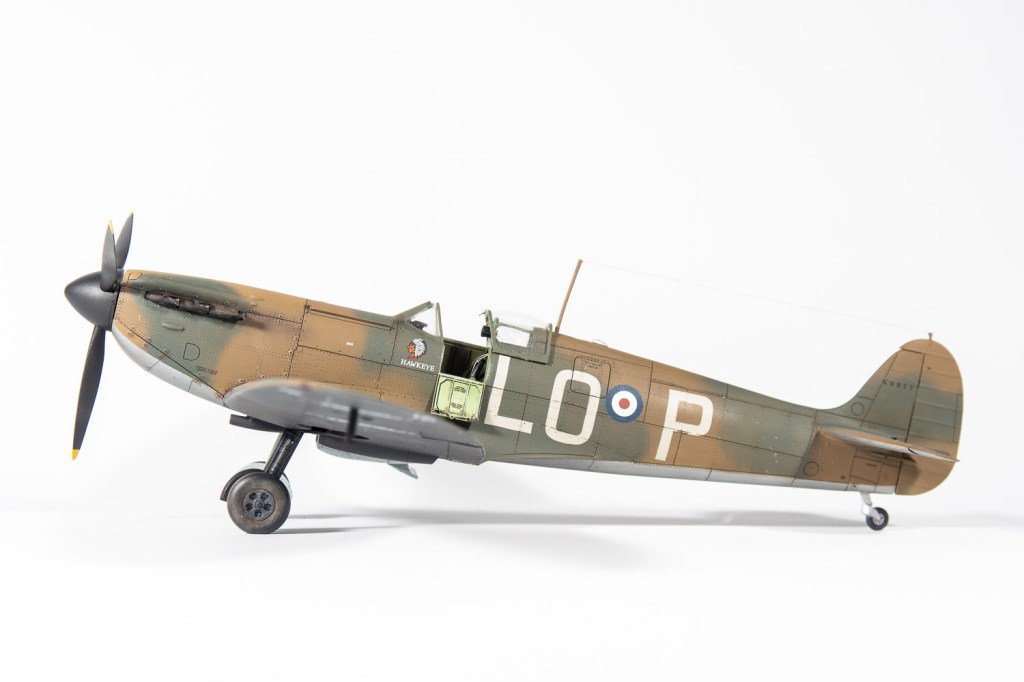
A smear of filler was needed around the stabilisers, and we were ready for paint. For this model I had decided to use some Mission Models Paint I had previously purchased. Reading up on peoples experience with this paint revealed modellers have a love hate relationship with it, but if modellers of the stature of Mike Rinaldi swear by it, it can’t be that bad, surely ?
Whilst I managed to get the paint down OK, I had great difficulty getting a fine line with the dark green, despite following MMPs mixing ratios and advised spraying pressure. The paint is also a little fragile with it lifting in several spots. A Peter on my FB page suggested thinning it with future with I will try on my next Spitfire build. The undersides were finished in Tamiya lacquers as per my usual practice.
Like MMP , Eduard’s decals also seem to have polarised modellers. For this build, only their stencils were used. Over a gloss coat, they were applied on little pools of Mr Setter, with the excess being wicked away with a cotton bud. Left to set overnight, I found I could peel away the carrier film off some of the larger designs like the trestle markings and gas patch, without tearing the decal.
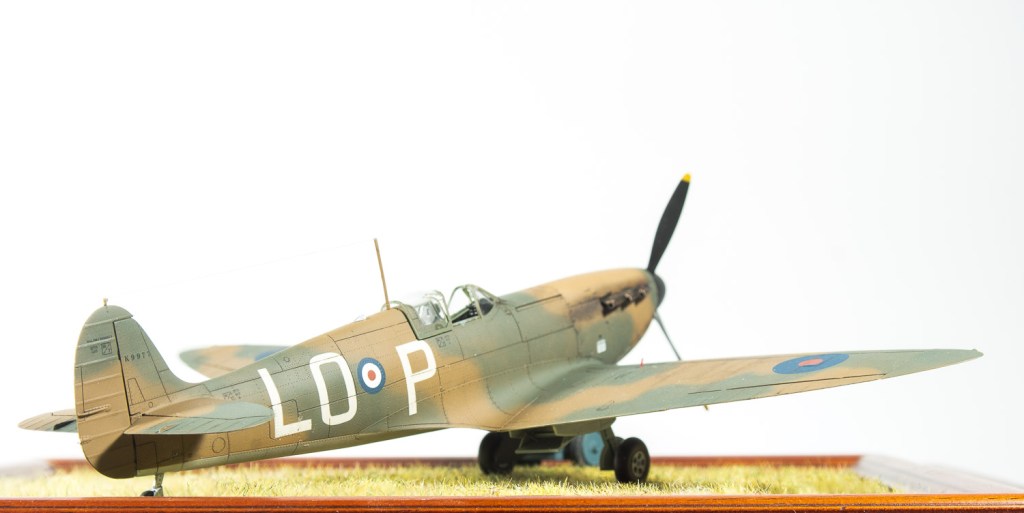
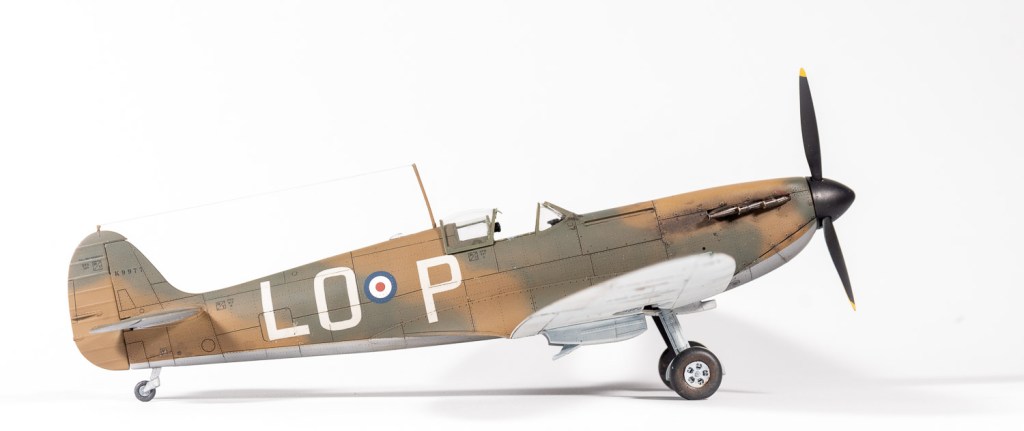
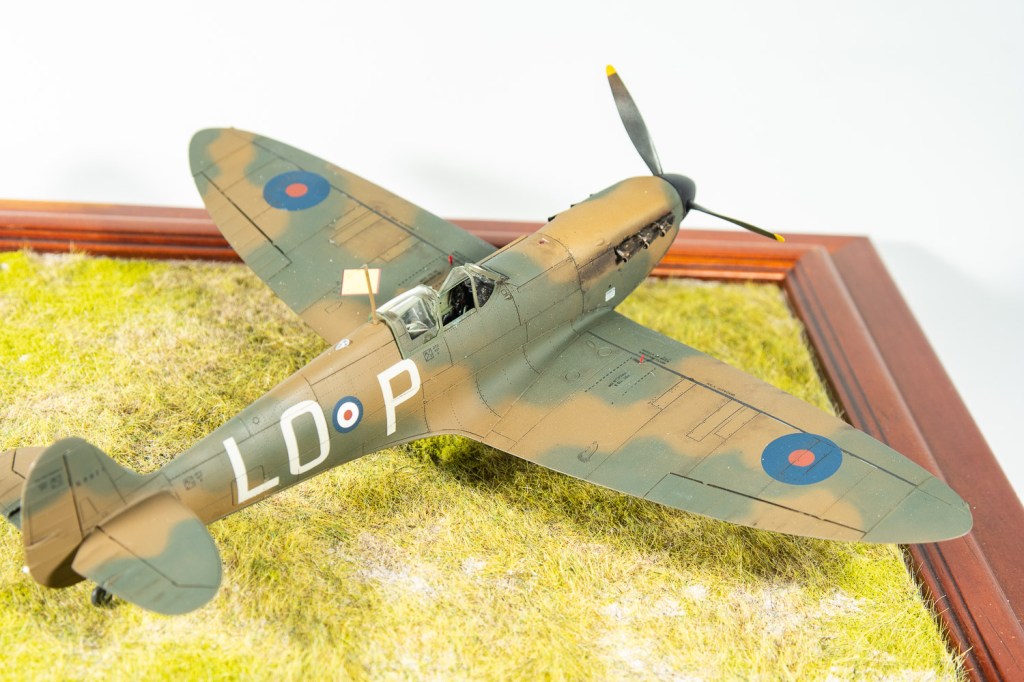
The code letters and roundels came from the fundekals sheets and performed absolutely flawlessly, even over the raised rivets on the fuselage. The unusually sized roundel appealed to me, and I wanted to represent a Spitfire from The Phony War period during which the R.A.Fs markings were rapidly evolving.
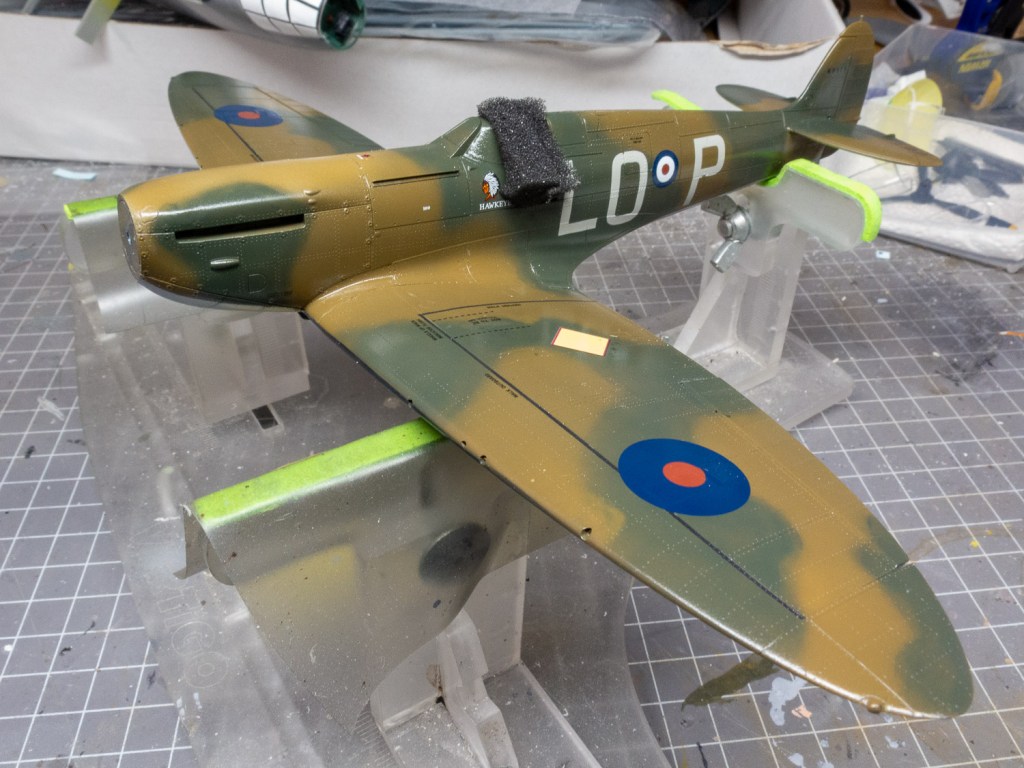
I should have mentioned prior to laying down the camouflage colours, black was airbrushed along the wings, then masked off to portray the wing walk lines.
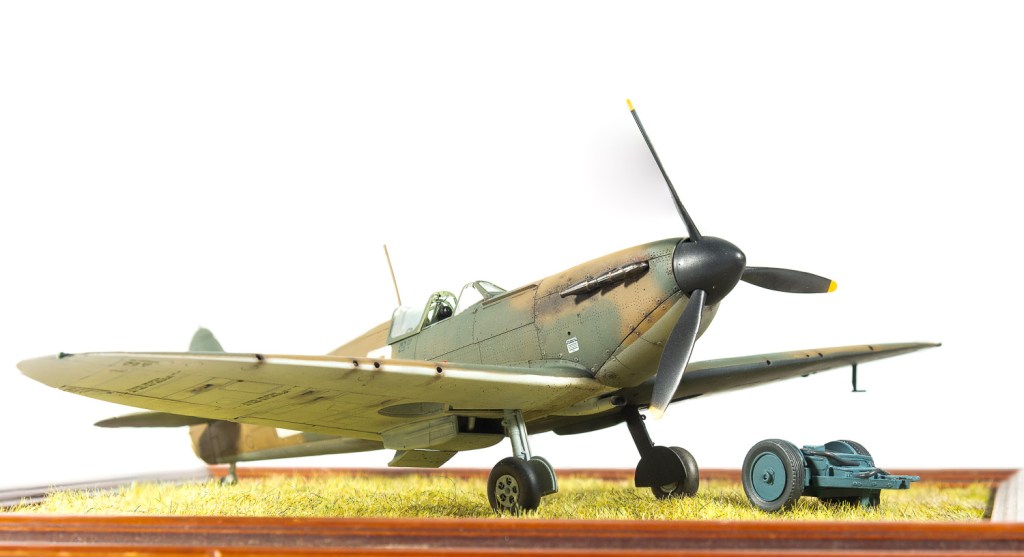
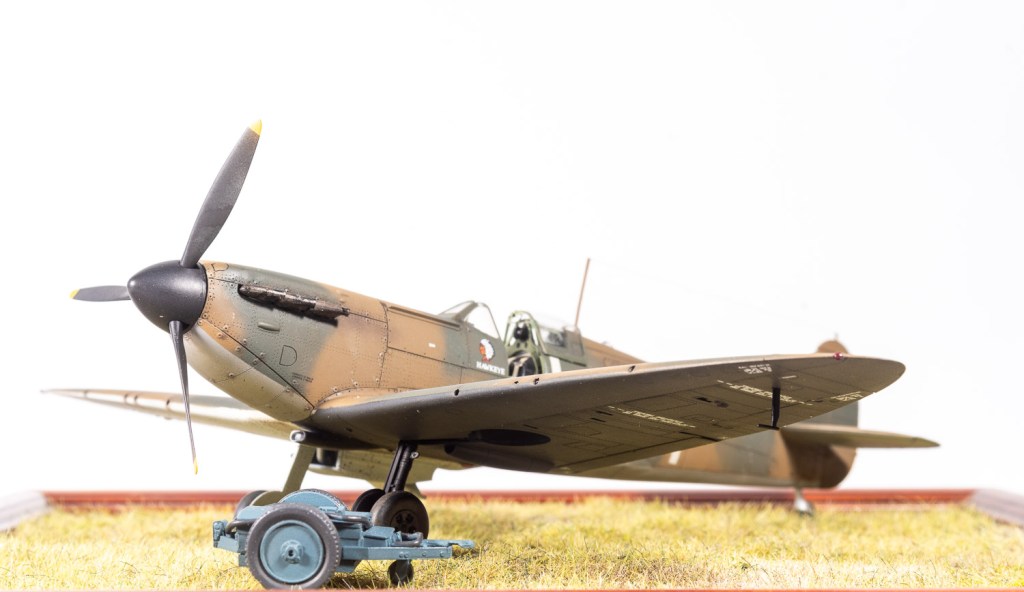
Final assembly saw the wheels, propeller resin exhausts and aerial pole mounted, the antenna wire from infinity rigging wire, which despite my best efforts, still bent under the elasticity of the infini thread. I’ll replace the kit part with some brass rod on my next build.
Eduard’s spitfire was a very enjoyable build. To my mind though, the kit contains some unnecessary complications, the undercarriage sockets being one. Fit was for the most part good, with a slight smear being needed on the taipan roots, and most reviewers stating the wing root fit also leaves a slight gap. Ima already working on the second kit from the box and have added the Vb dual boxing to the stash.
Supermarine Spitfire Mk 1. Royal Air Force Drem Scotland Jan. 1940


Beautifully done Bruce!
LikeLiked by 1 person