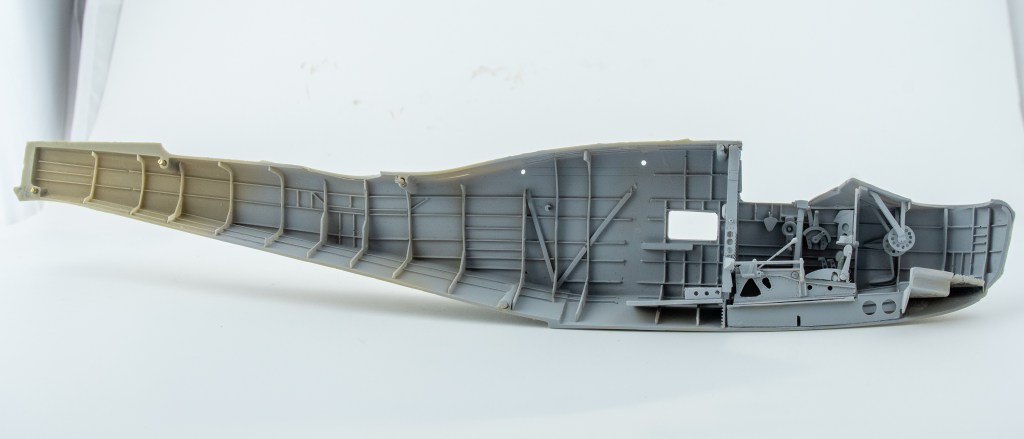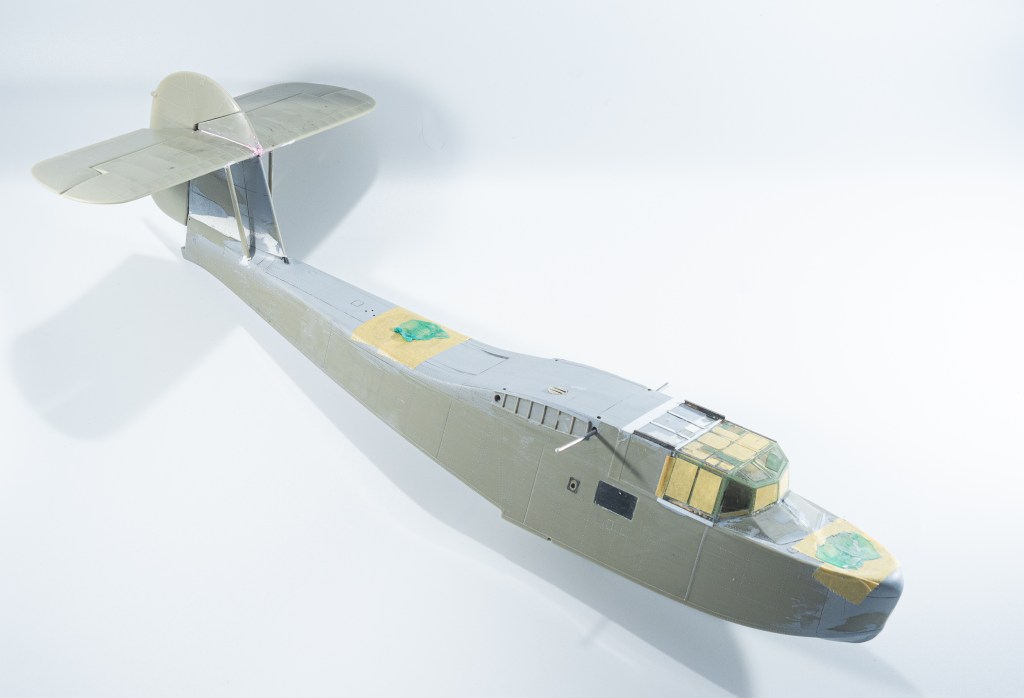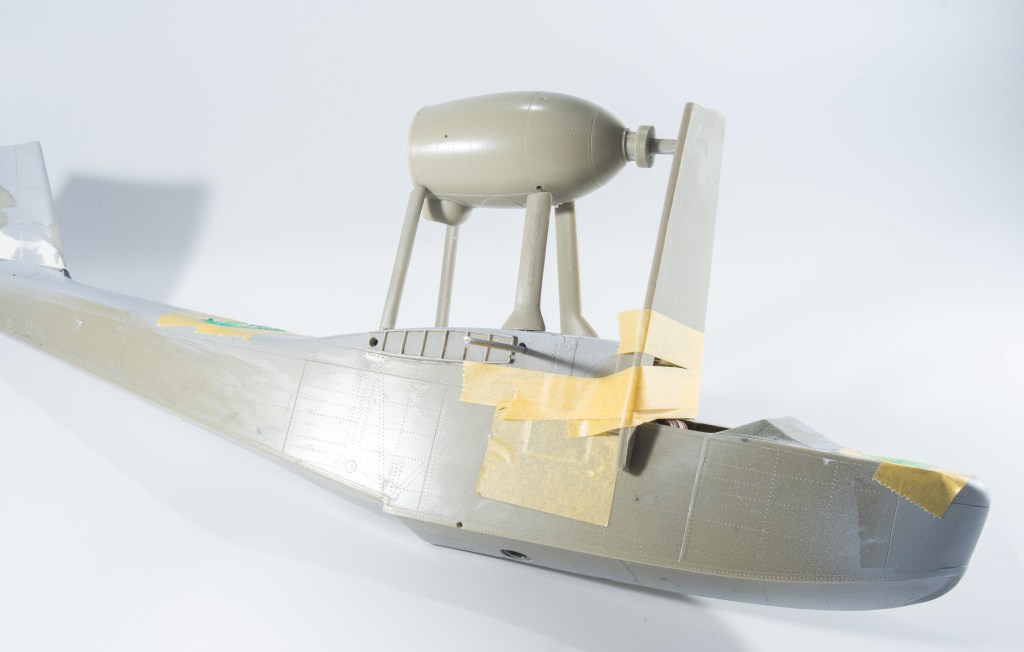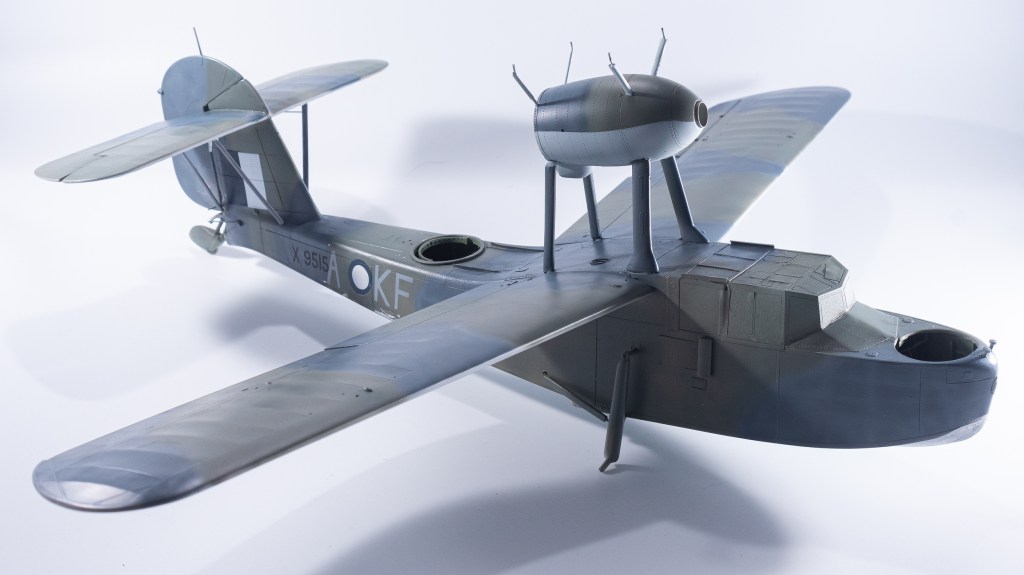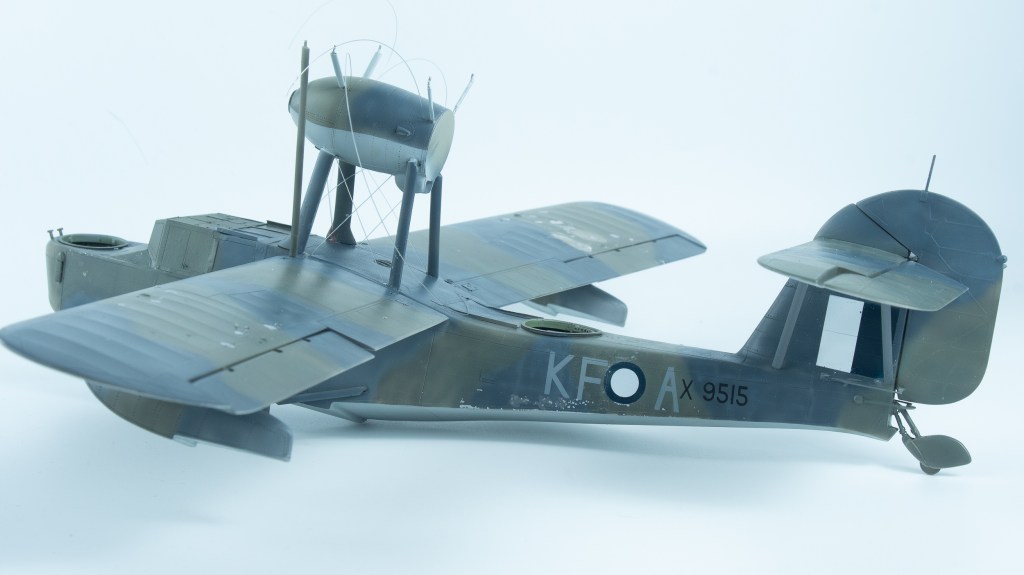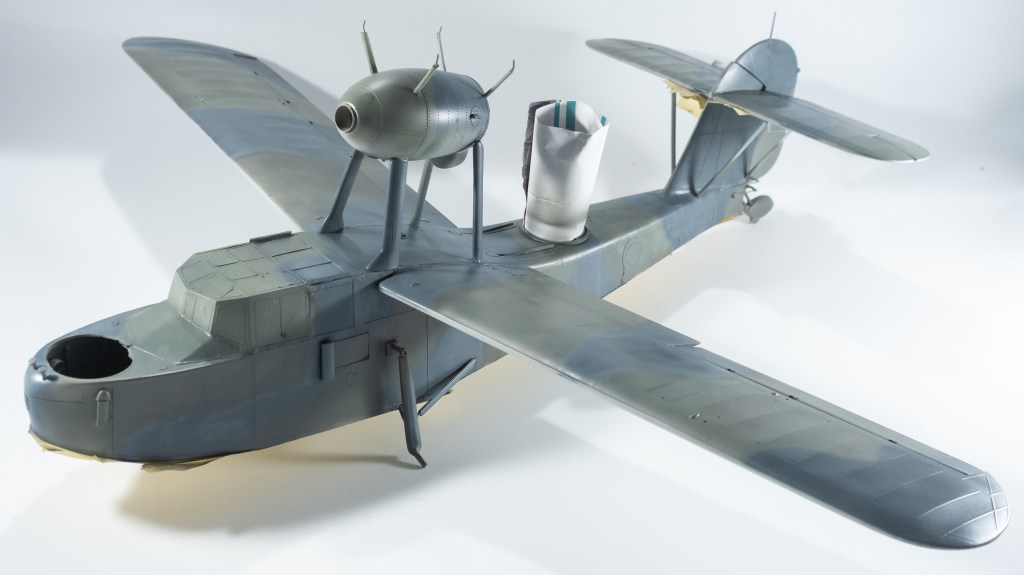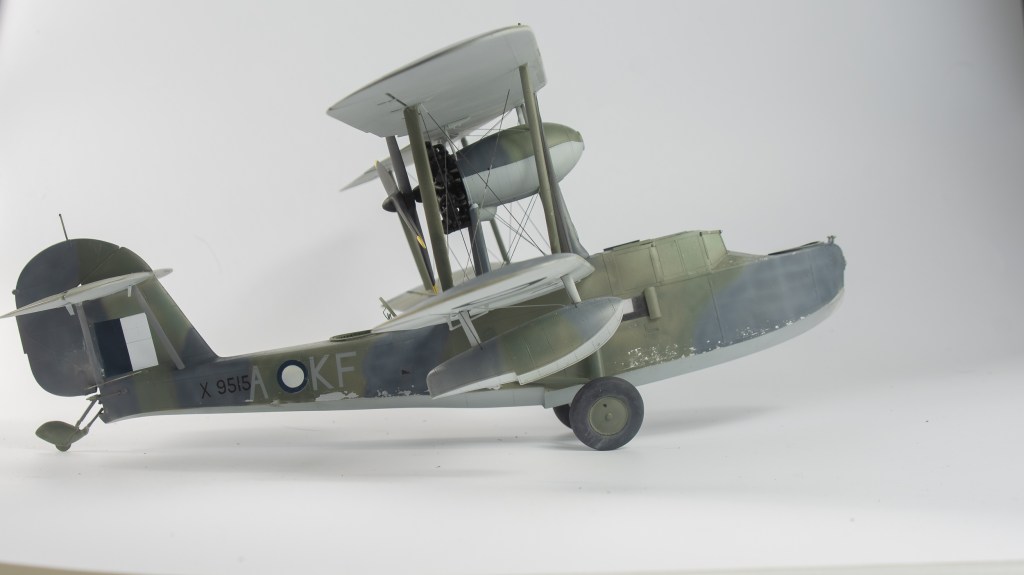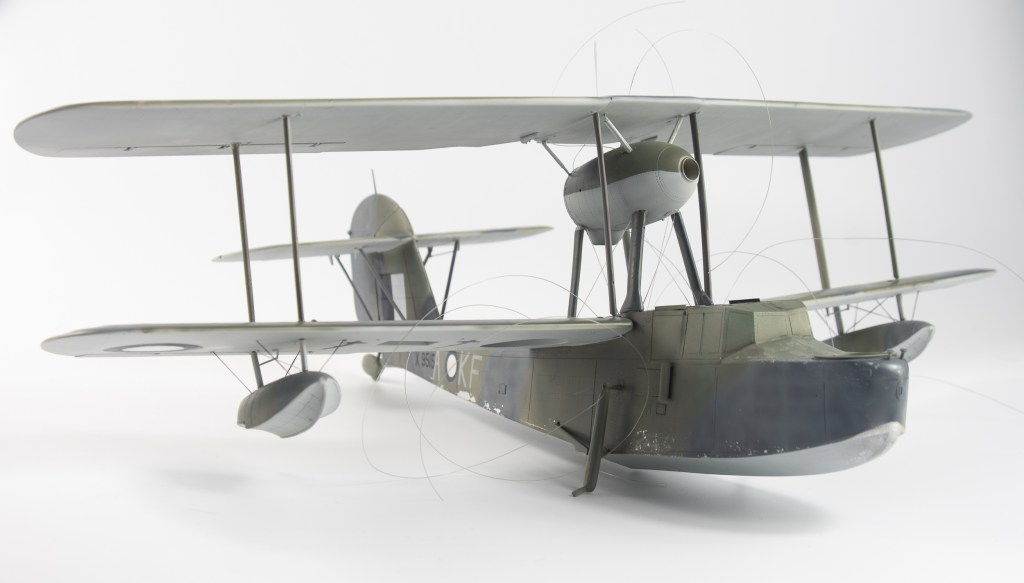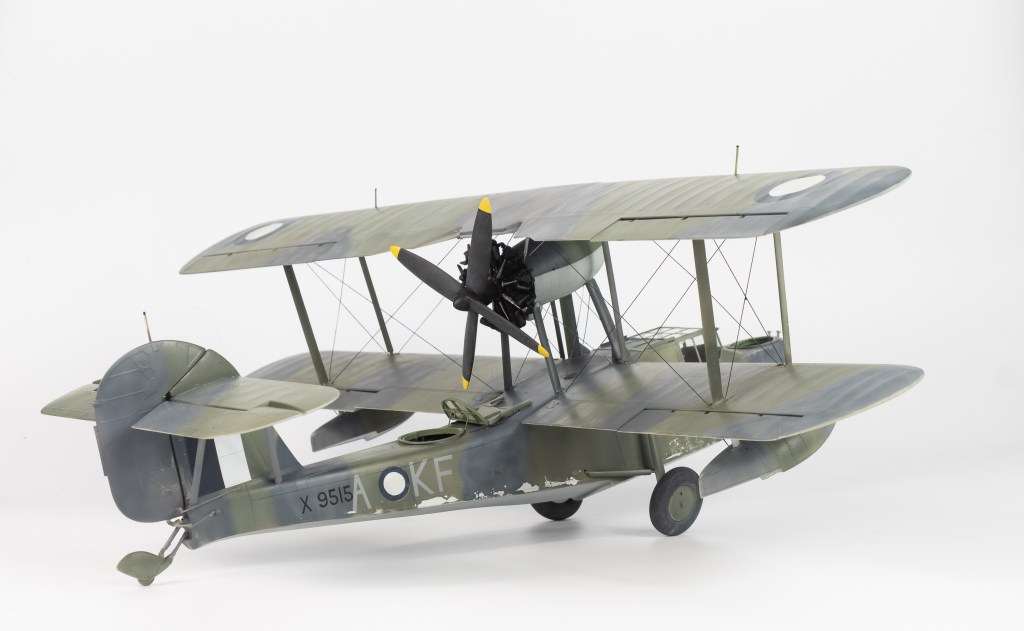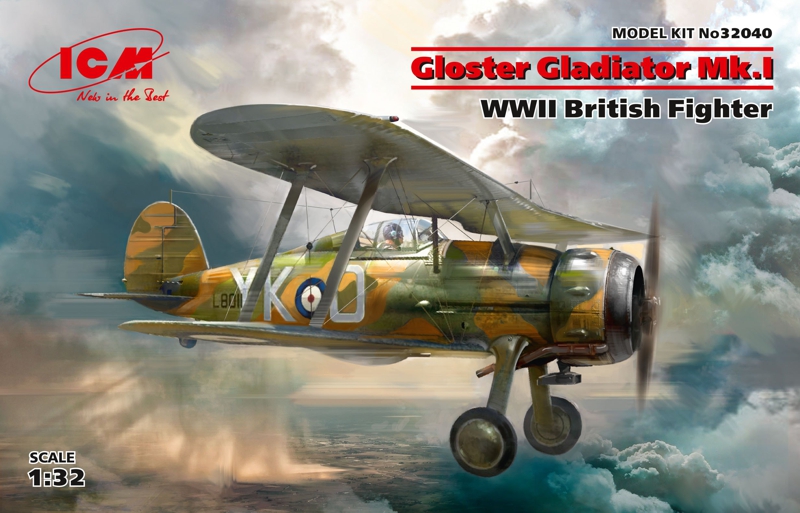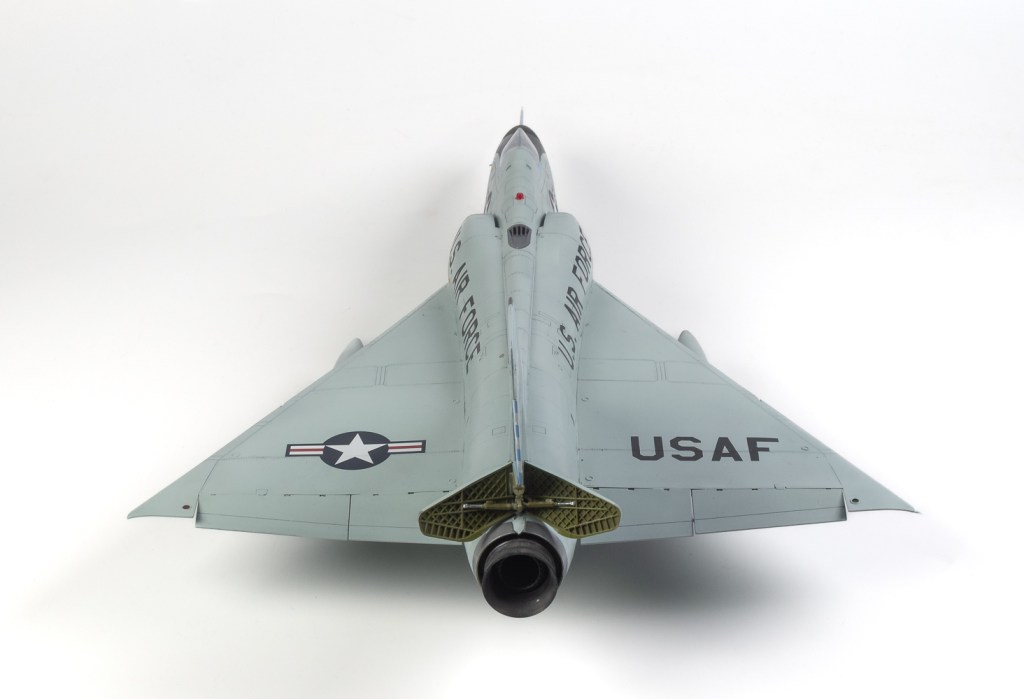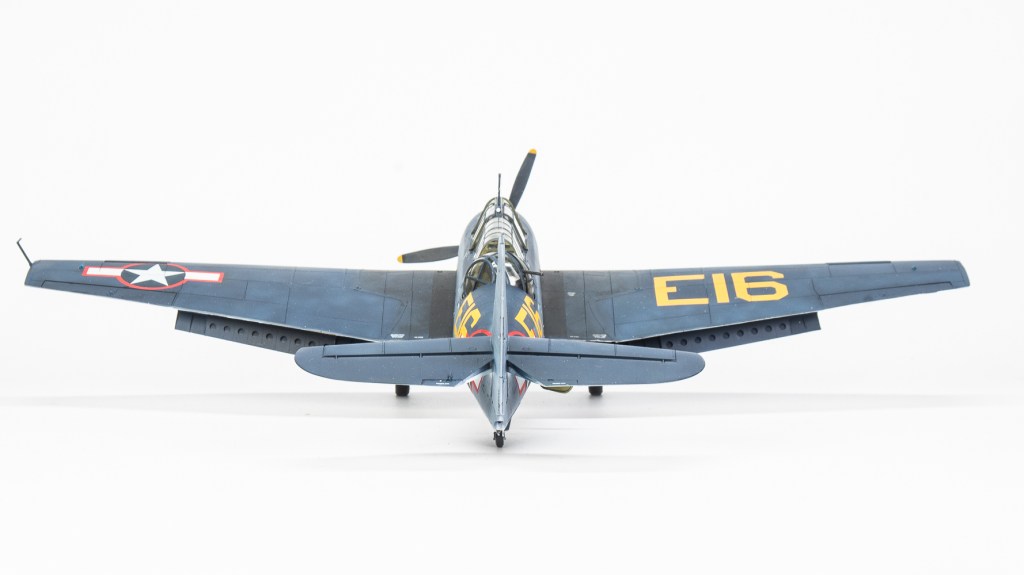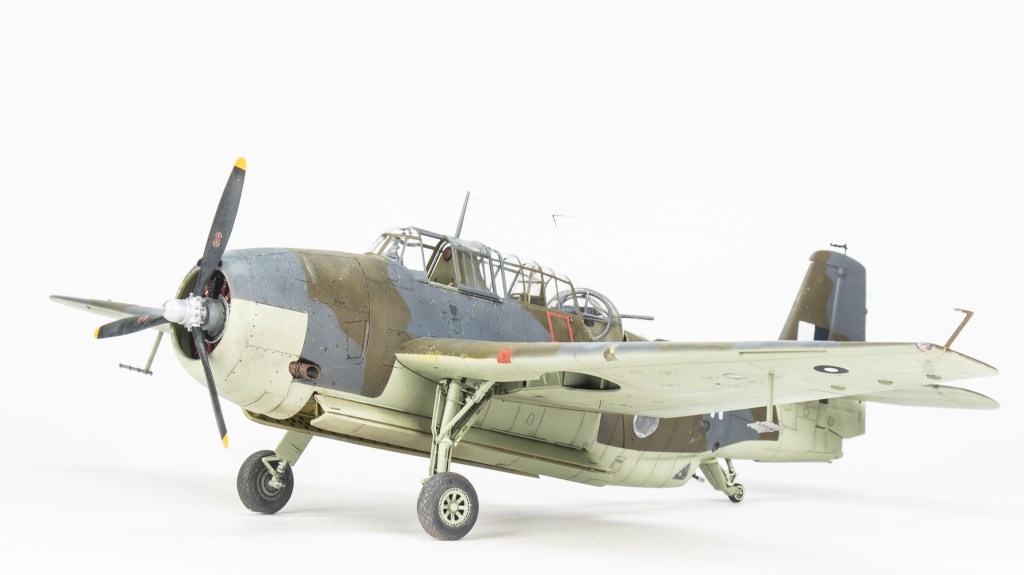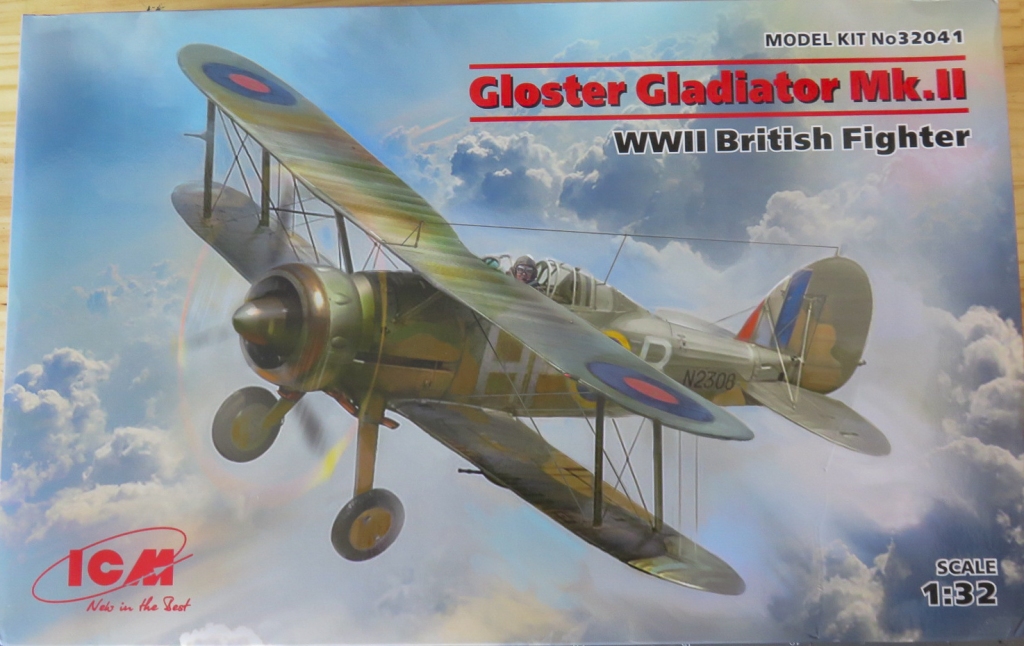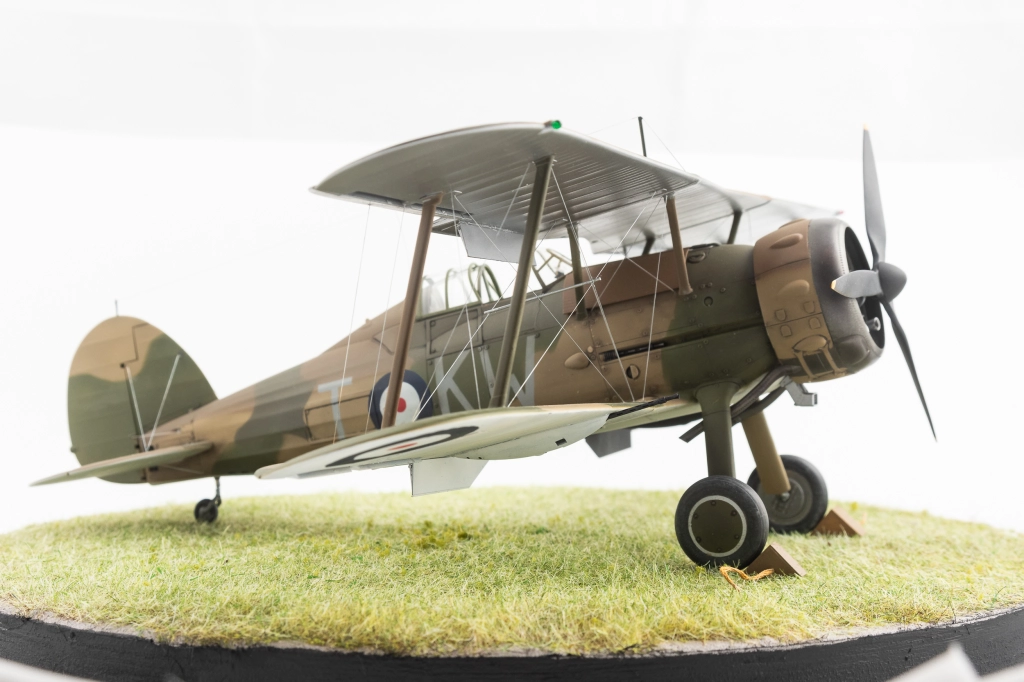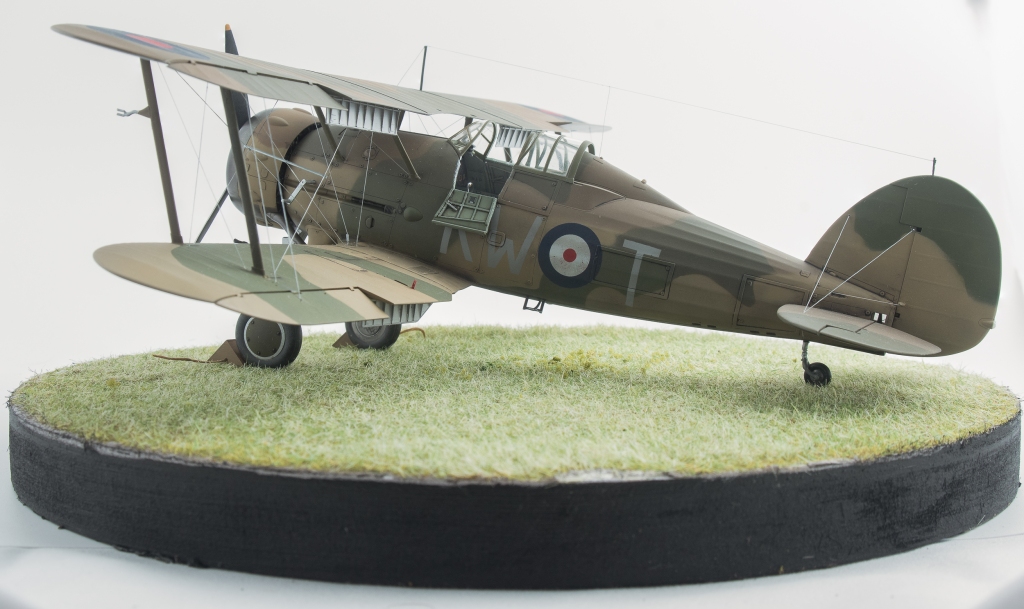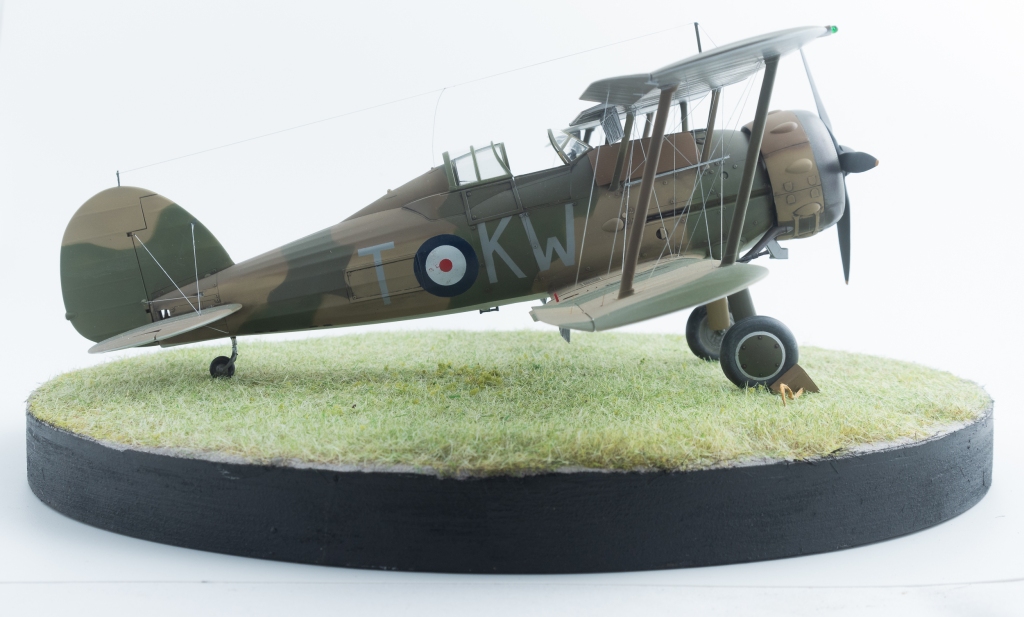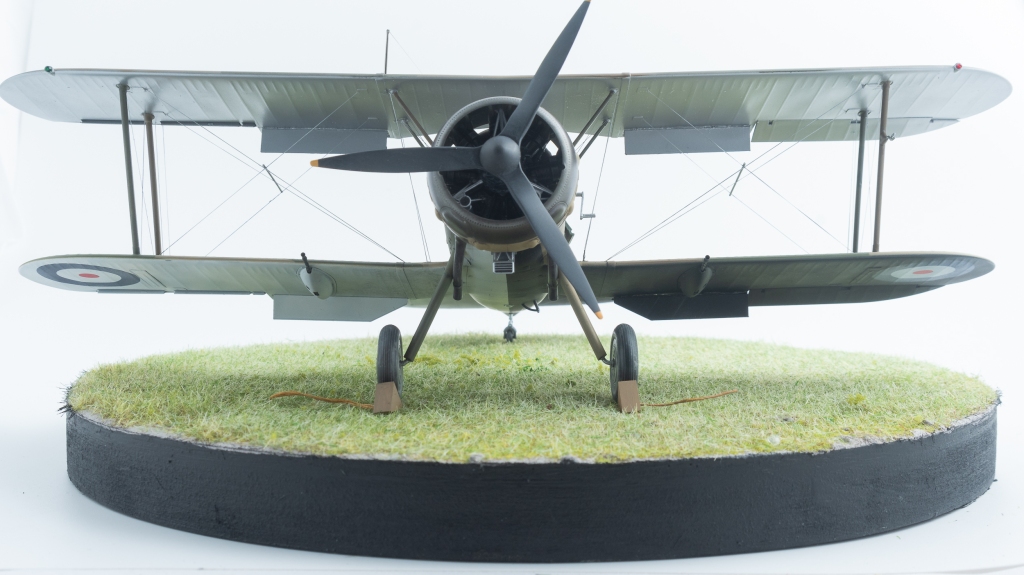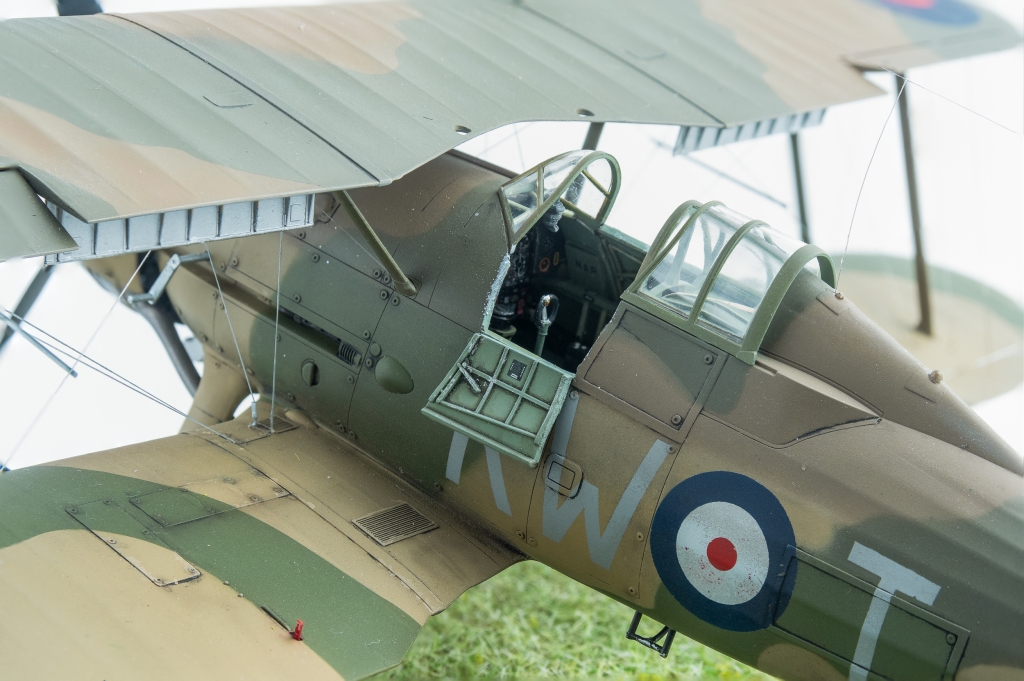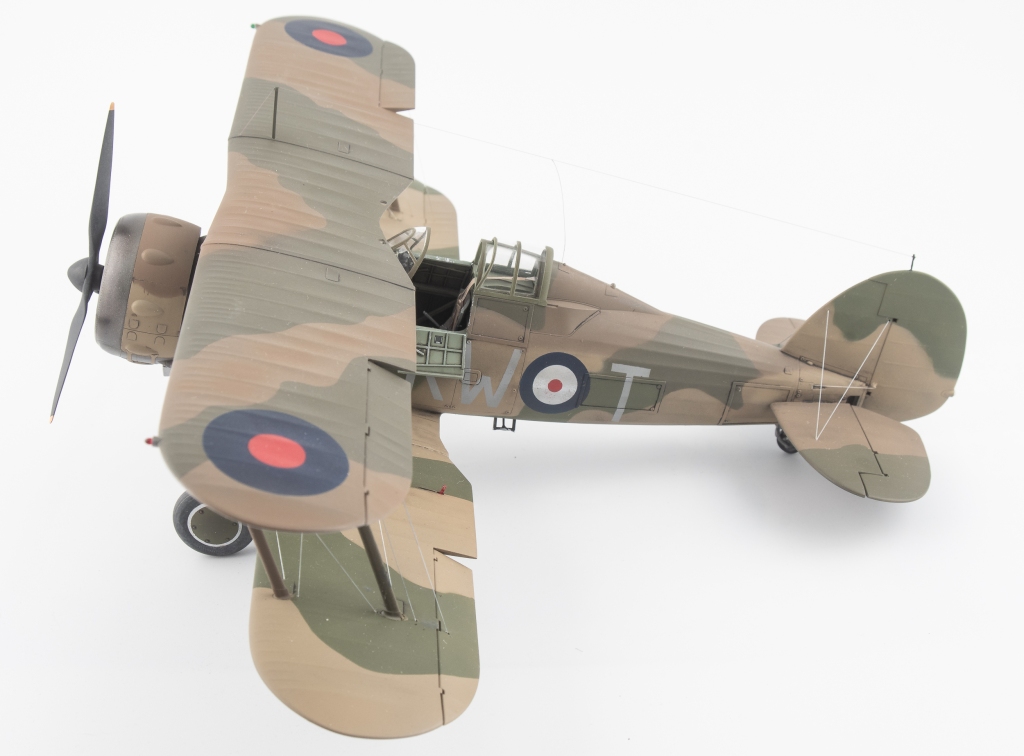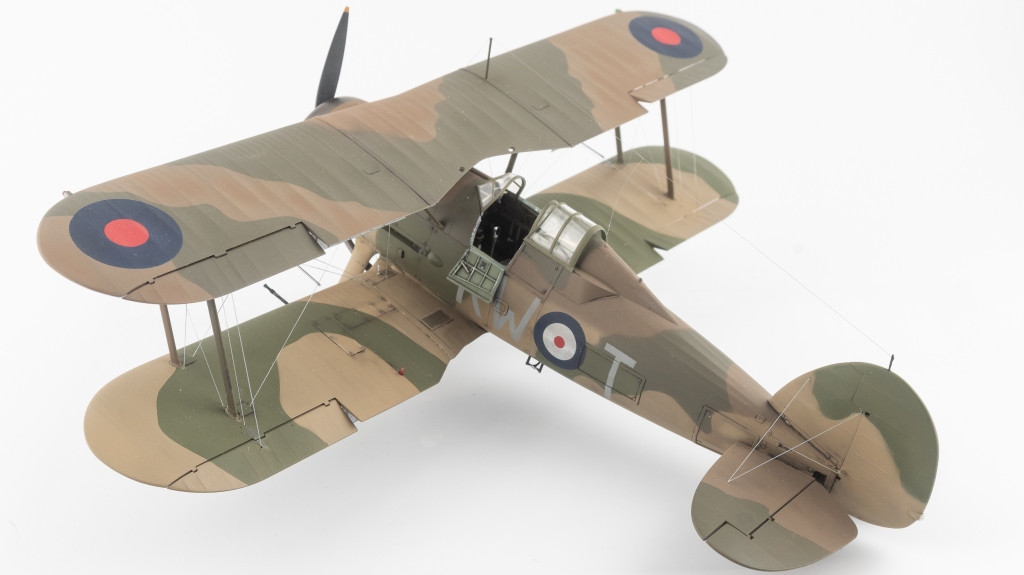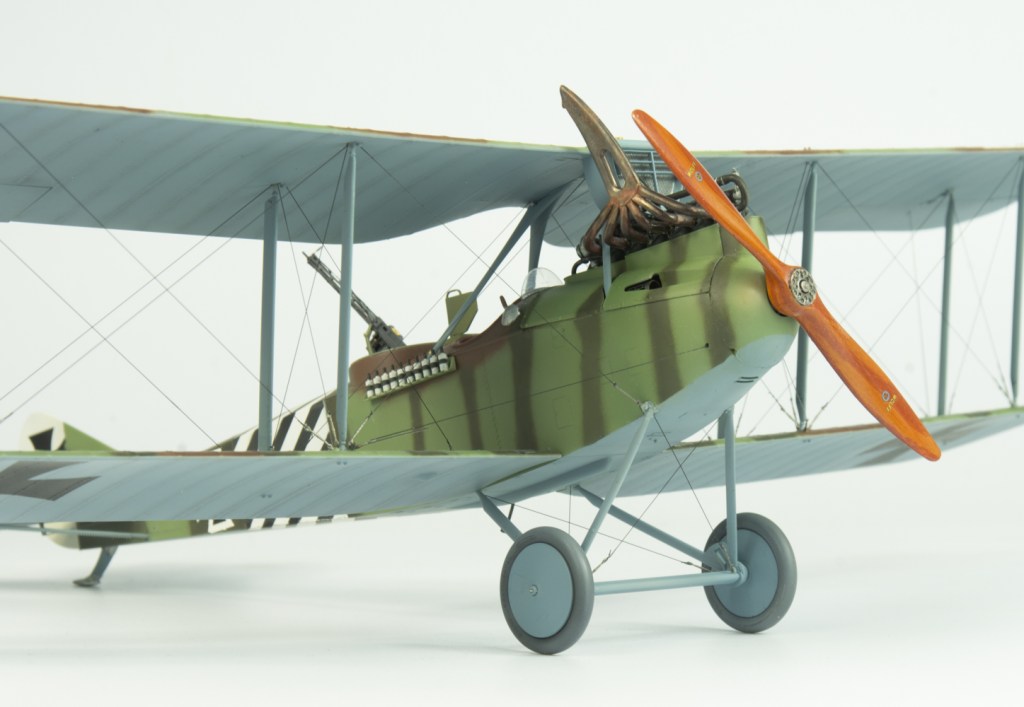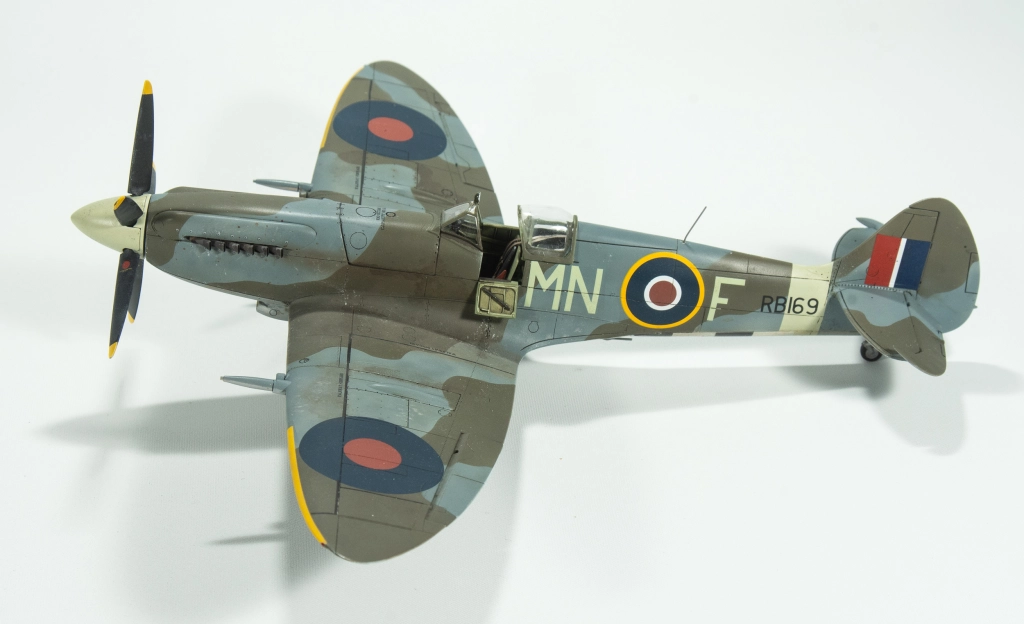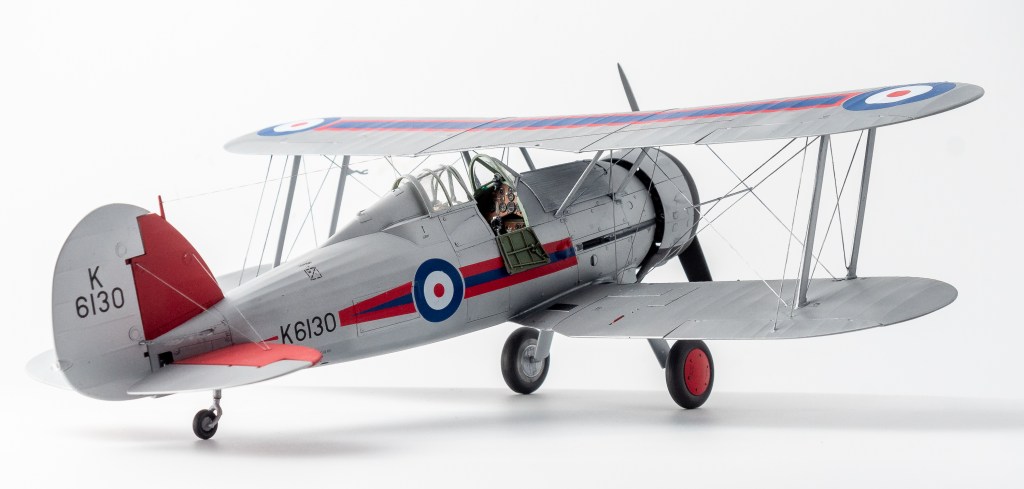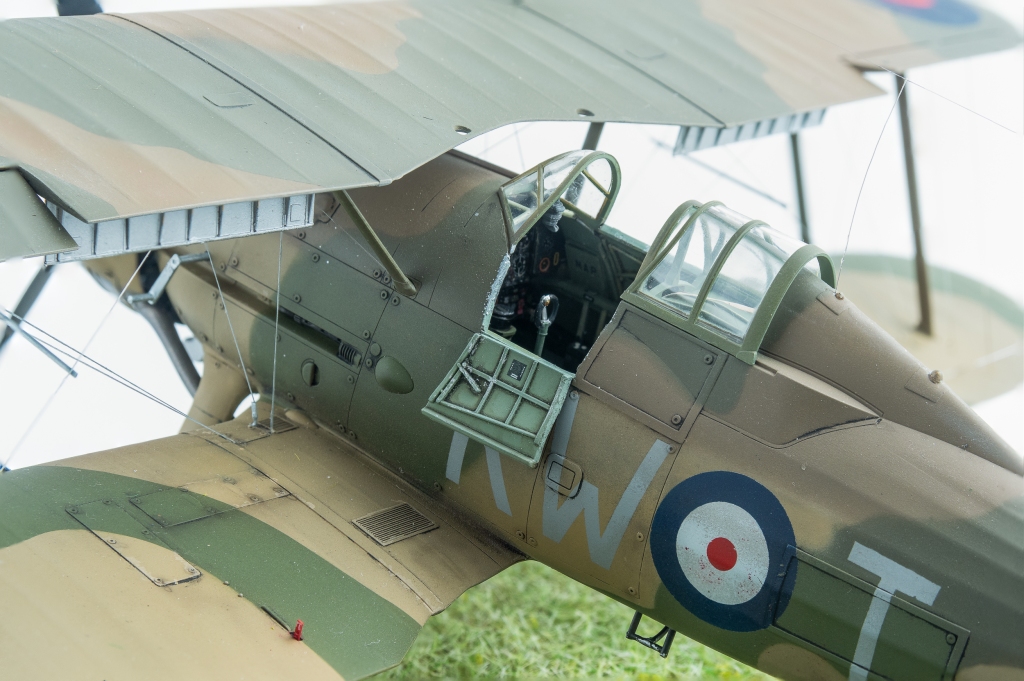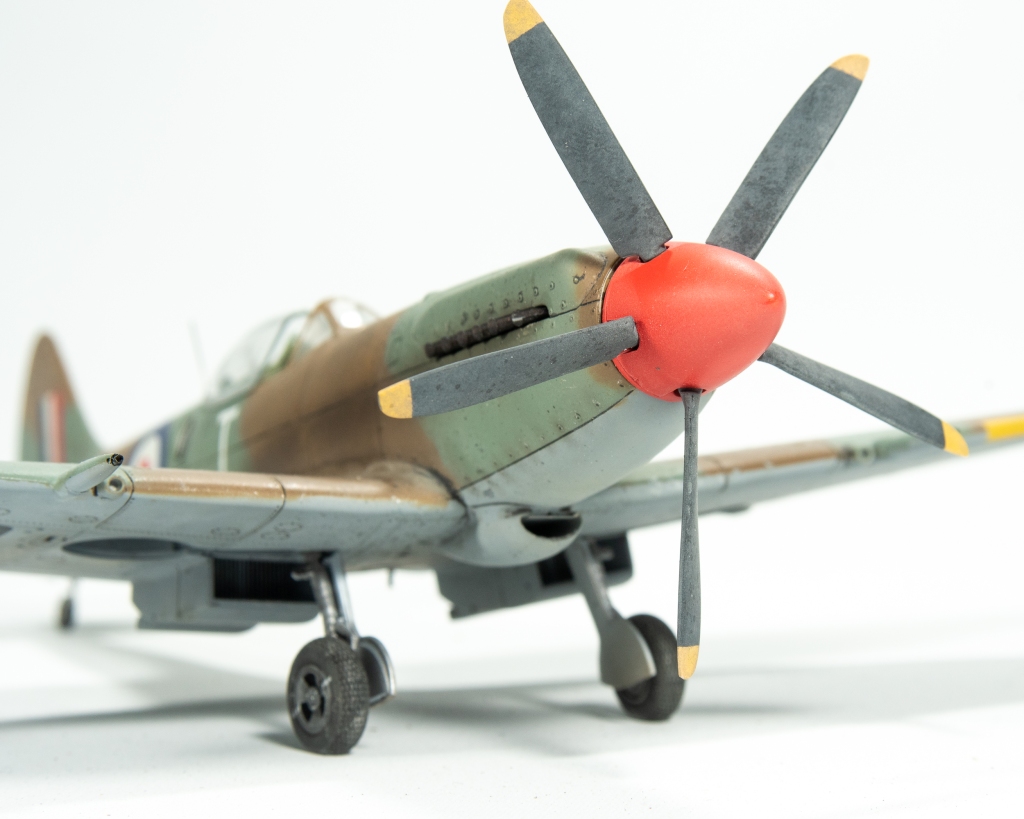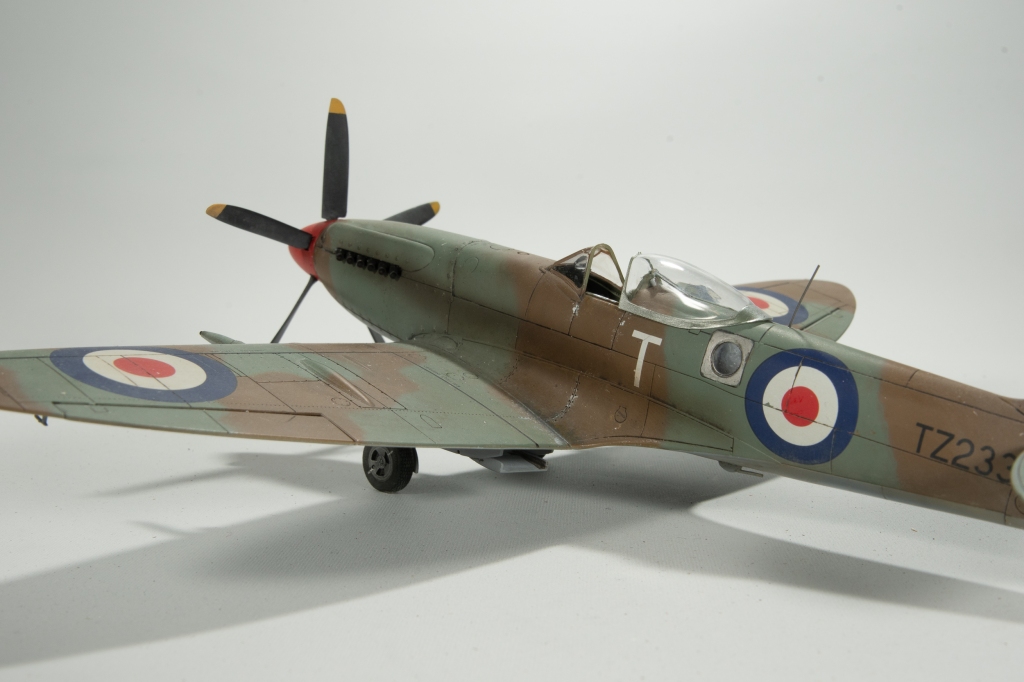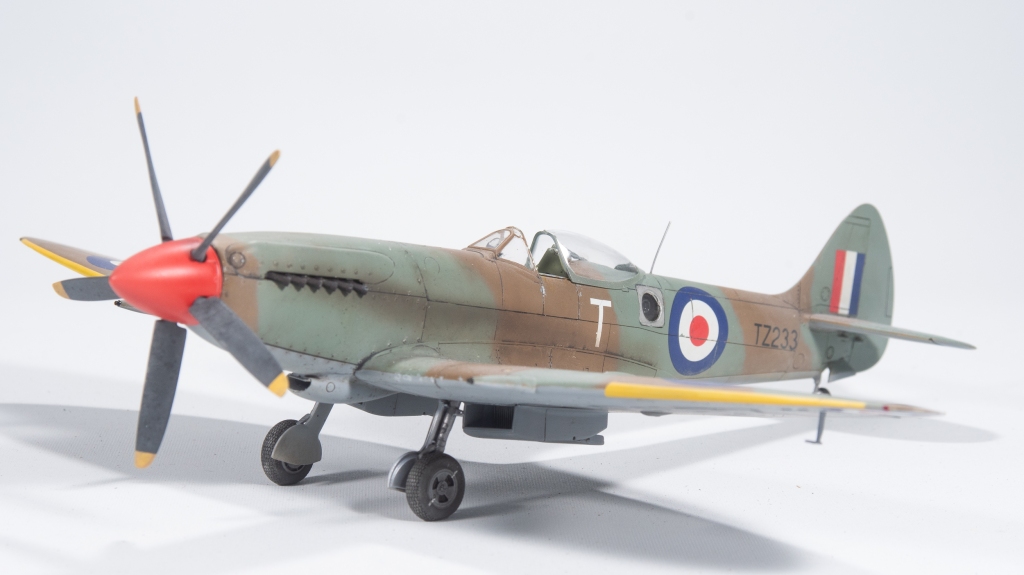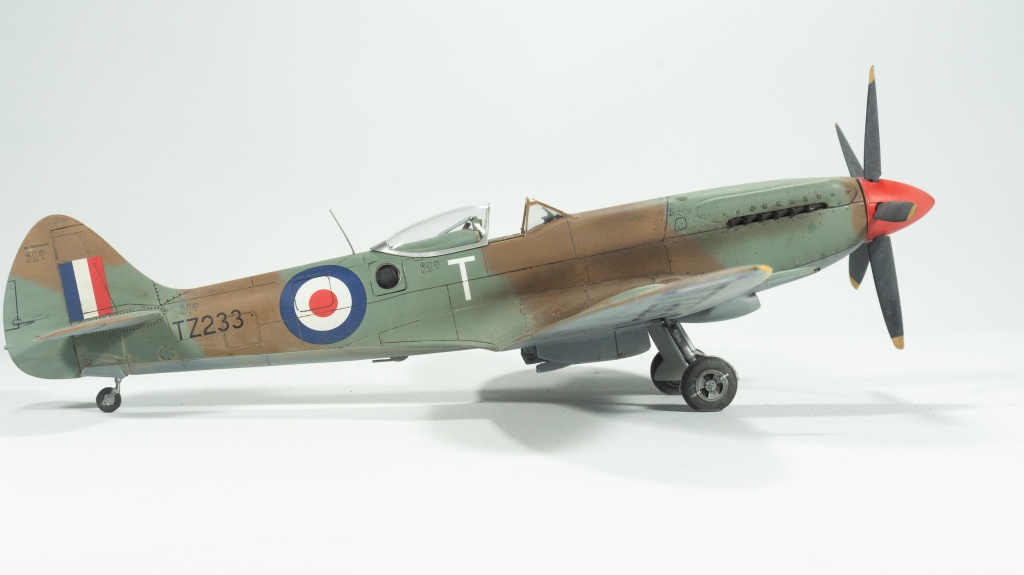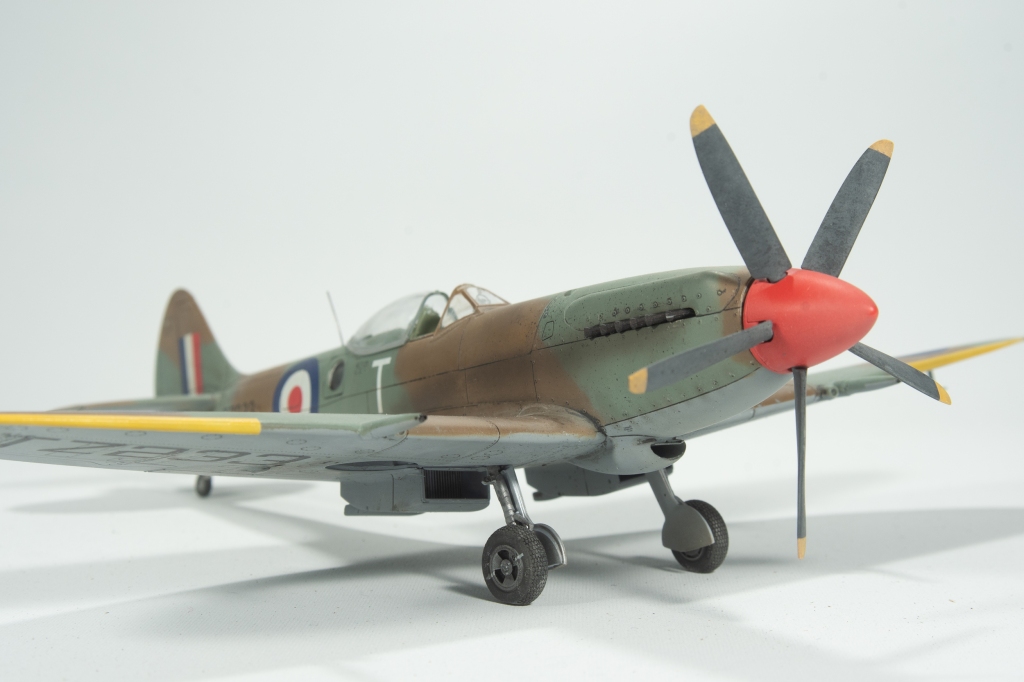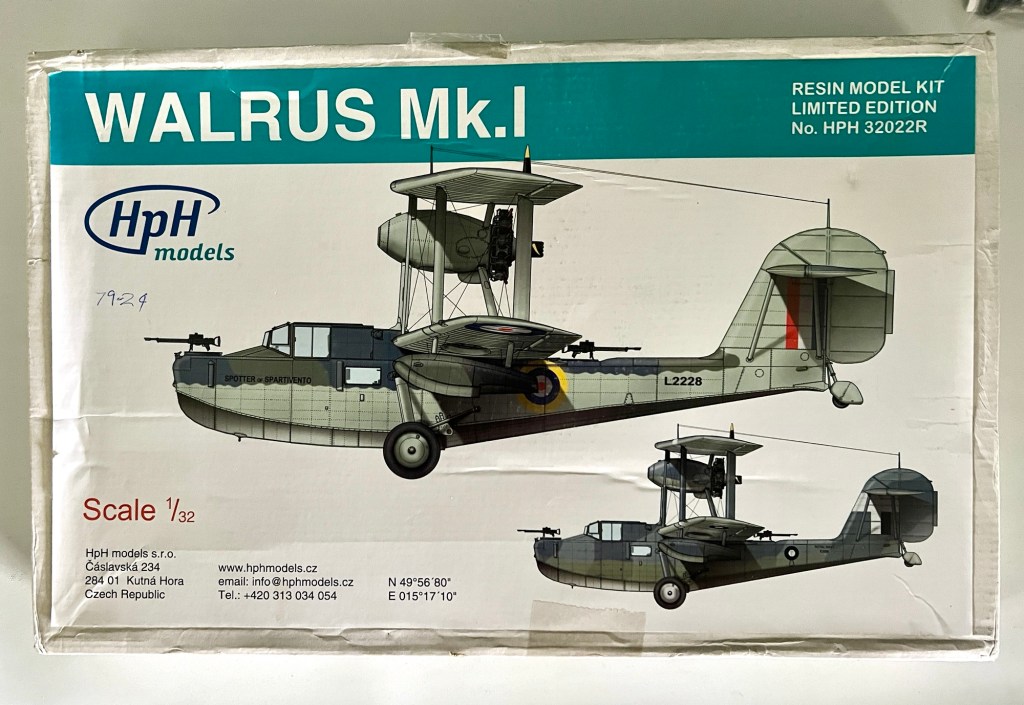
ICM 1/32 Gloster Gladiator MkI

  • Purchased; 2019
  • Built: 2024
  • Enhancements:
  • Instrument panel: Quinta
  • Seat Belts:Quinta
  • Gun barrels; Master Details
  • Cockpit Doors; Quickboost
  • Air Breather pipes; Quickboost
  • Compass Pedestal: Quickboost
  • Decals: Aero craft Models

Introduction

I enjoyed my other Gladiator so much, I decided to build the second one in the stash rather than selling it as was the original intention.

Even without considering the “foreign” air forces, such as Sweden or Finland one is spoilt for choice with Gladiator schemes, do you do a silver interwar one, or a camouflaged war RAF example? Then there are the Sea Gladiators as well. My previous model was finished in early war RAF camouflage, so this one would be a silver interwar RAF example.

Construction

To take a different path from the usual “starting with the cockpit”, the rudder, stabiliser and elevator halves were first glued together so that they would have time to properly set up and allow any glue shrinkage to show itself.

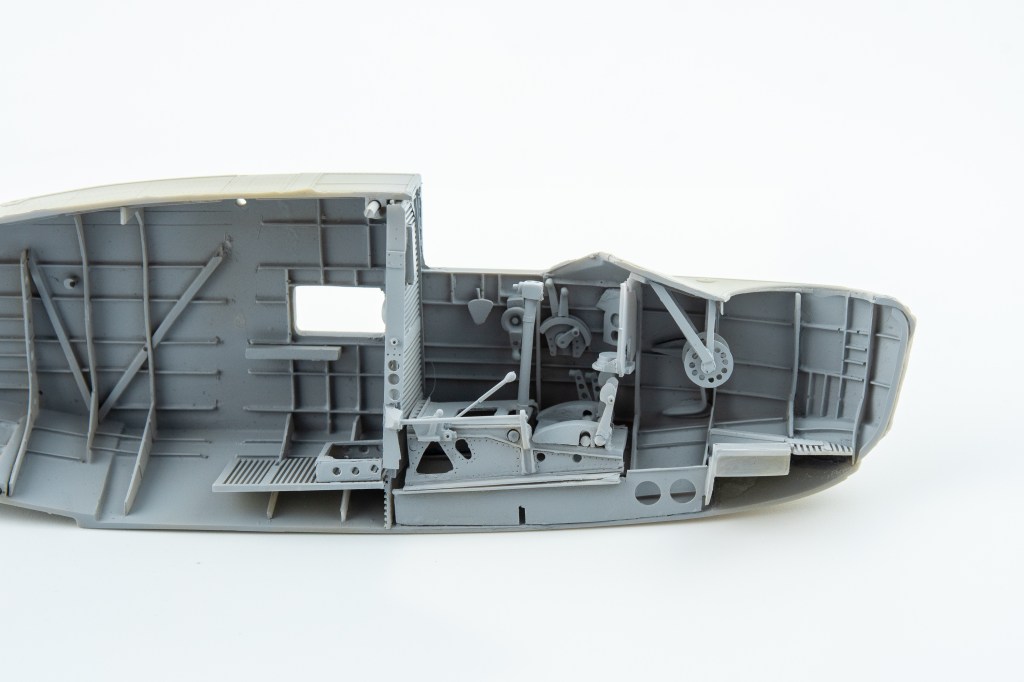
With this done, construction returned to following the steps outlined in ICMs instructions, starting with the cockpit.  ICM provides parts that when built up result in a reasonably busy looking cockpit.  

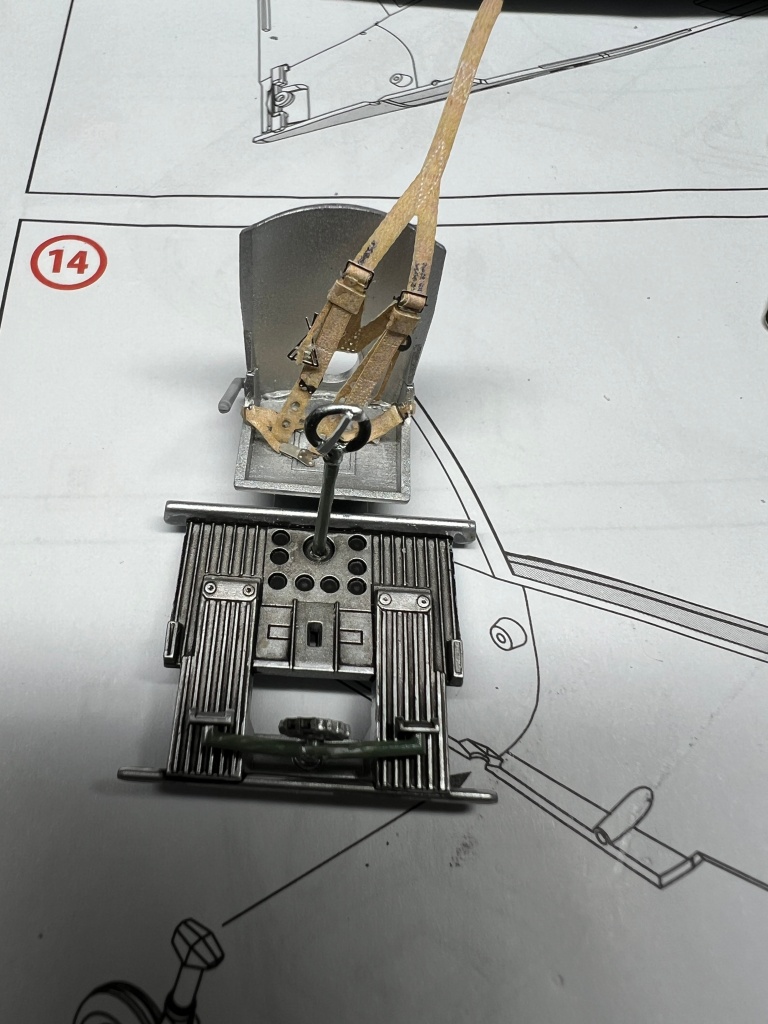
Of course, the builder can improve on this. In my case I included some simple additions and refinements starting off with wrapping thin copper wire around the spade grip of the very plain looking control column.  A brake lever, cam and the brake line were added from scrap plastic and solder.  

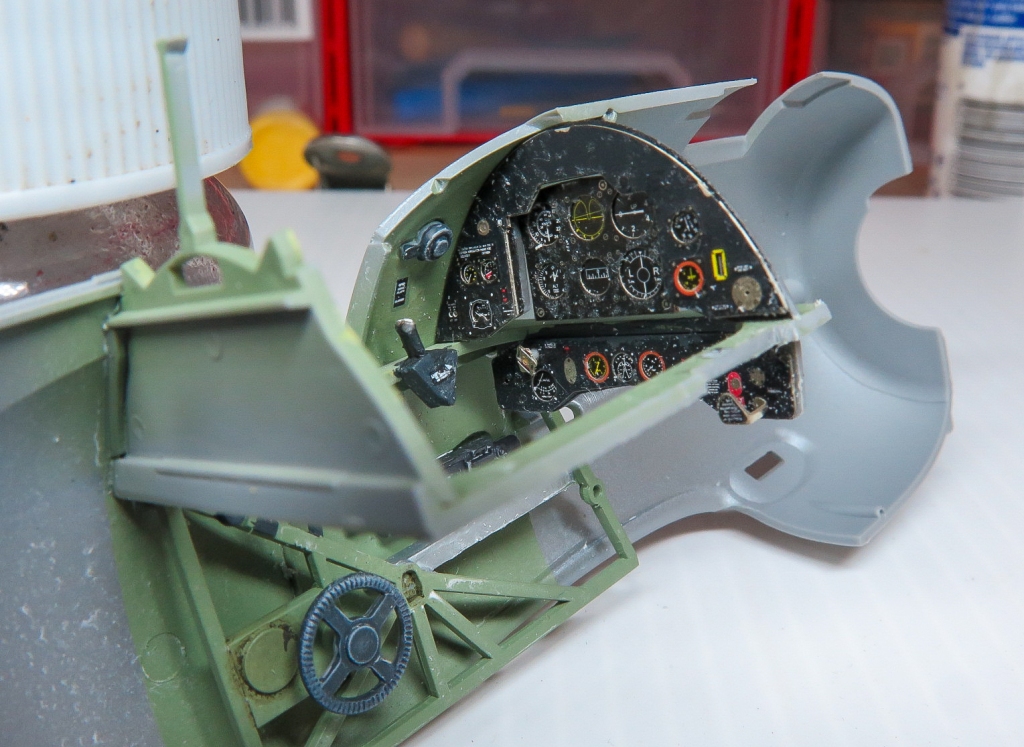
Map cases were built up out of plastic card, and the slots on the throttle quadrant deepened with a Trumpeter scriber before new throttle levers were added from slivers of plastic card topped with blobs of paint.  

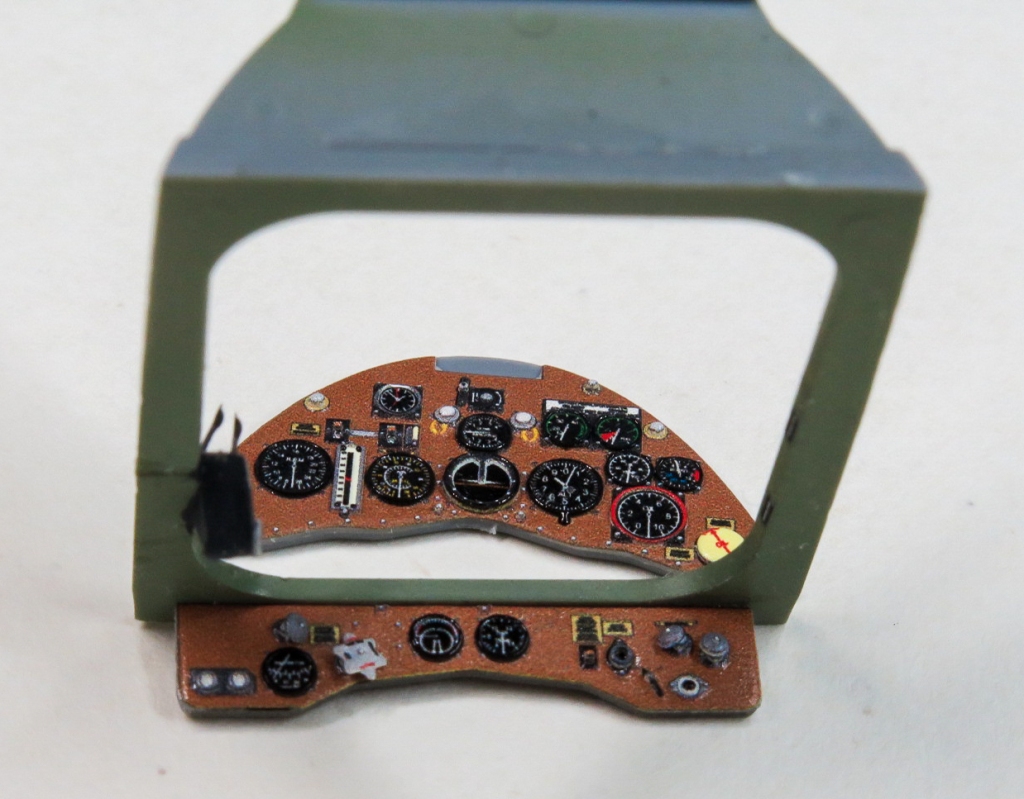
Quinta 3D Decals were used to replace the instrument panels and seatbelts.  The kit compass pedestal was replaced with a better detailed Quickboost item.

There is an ejector pin in the seatback that needs to be filled and the gunsight requires the clear reticule adding.  A punched disc of clear plastic did the job here.  

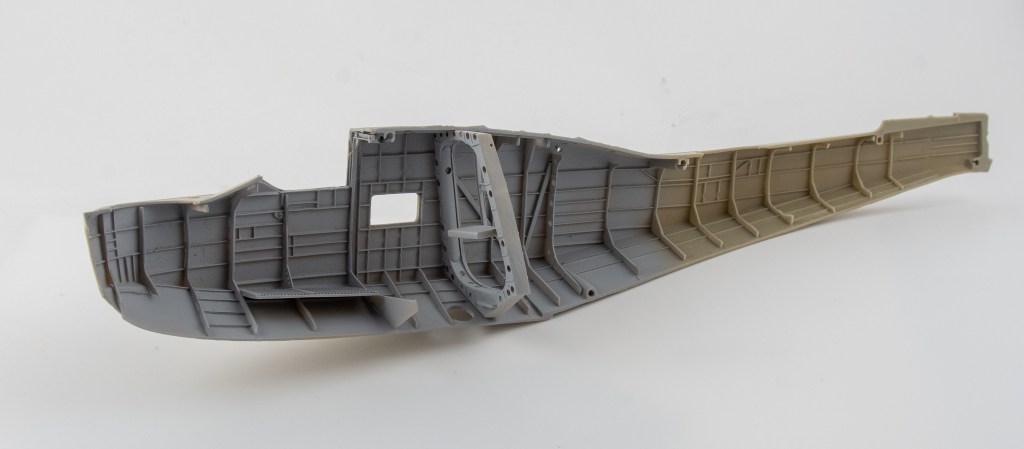
Once the cockpit shelf is added, you really can’t see too much into the depths of the cockpit, even with the cockpit access doors opened.  Speaking of shelves, to better replicate the real item, the rear shelf behind the pilot (part C22) was cut down to leave just the central beam.  To my eye, this really adds to the open framework look of these 30’s era aircraft.

If you wanted to add detail to the now visible interior behind the pilots seat, frames and a radio could be built up from card and strip.  I didn’t bother as my canopy will be open and sitting over the top of the fixed canopy section, so hopefully, that empty space will not be too visible.  Finally, the machine gun barrels were cut off, as these would be replaced by brass Master Detail barrels once all painting had been completed.

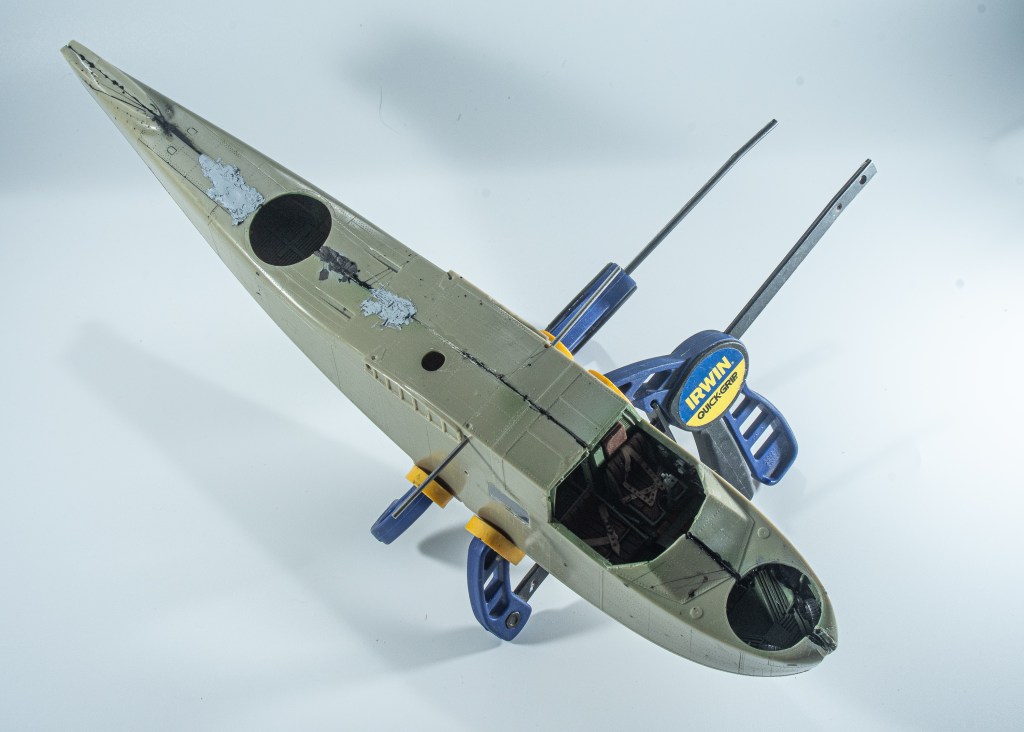
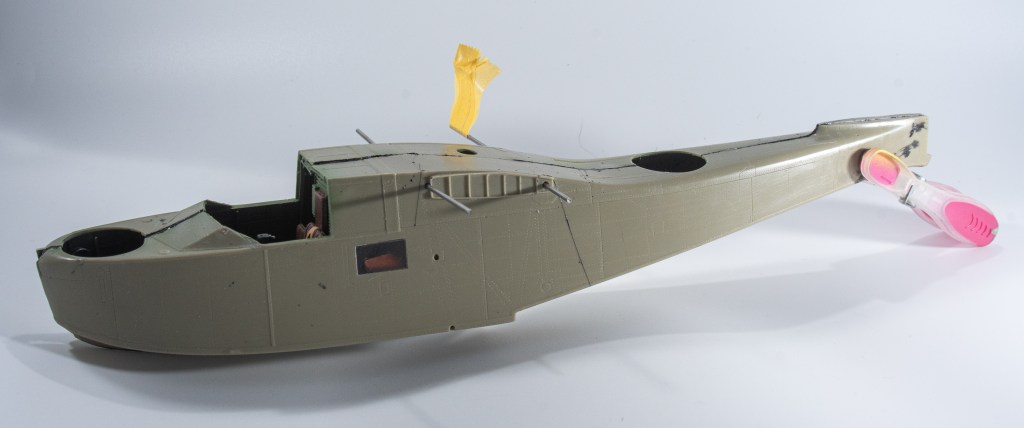
With the cockpit painted and detailed to my satisfaction, the fuselage halves could now be closed.  This was achieved with Tamiya Extra Thin Glue which was liberally applied allowing the excess to ooze out to fill any gaps.

The two halves fit tightly.  The lower insert…..not so much.  That said the gaps here were minor and were eradicated with CA glue mixed with Mig Ammo Steel metallic pigment.  To me the pigment seems to make the CA slightly easier to sand and  also has the benefit of colouring the glue so you can see what you are sanding!

The fuselage was then mated to the lower wing assembly with some filler required to blend in the rear join.  A result of the soft ICM plastic the wings are alarmingly flexible but adding the struts and top wing will hopefully add some rigidity.

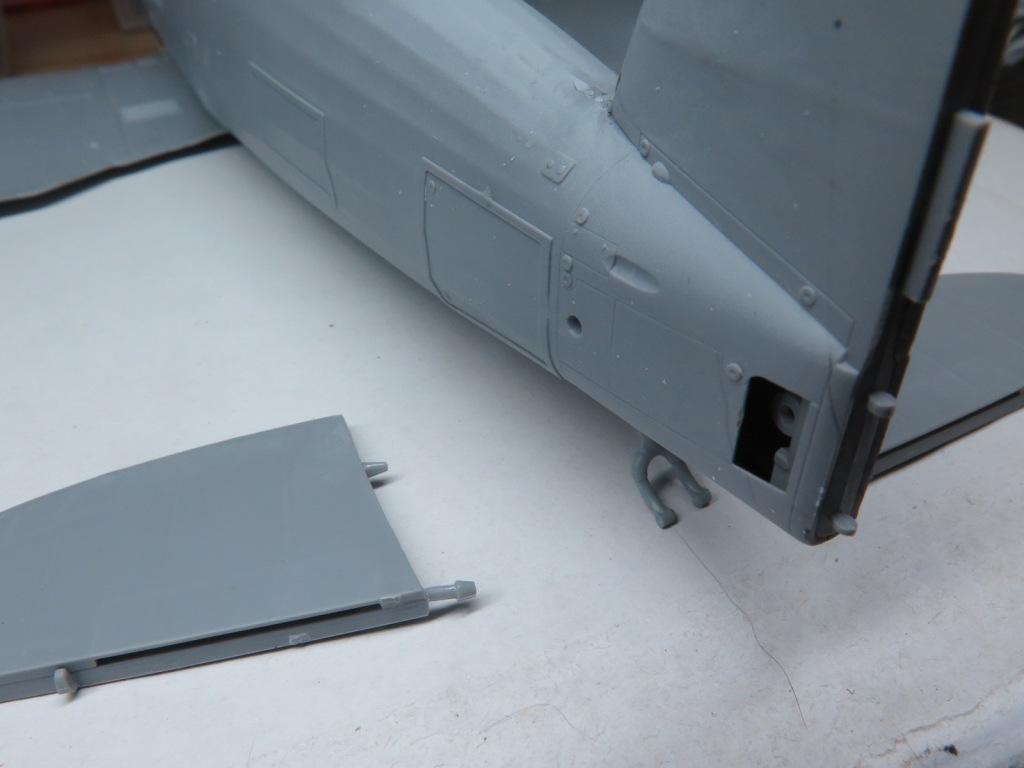
ICM would have you rely on a small diameter plastic peg, inserted into a hole in the fuselage to hold the horizontal stabilisers in place.  Given the soft plastic, this would likely end in tears so the pegs were cut off and a suitable diameter brass rod used to provide far more strength.  Even more fortuitous is that the real Gladiator has a small gap here between the fuselage and stabiliser.  While you have the brass rod out, the tailwheel strut can also be cut and replaced as this is another weak area of the model.

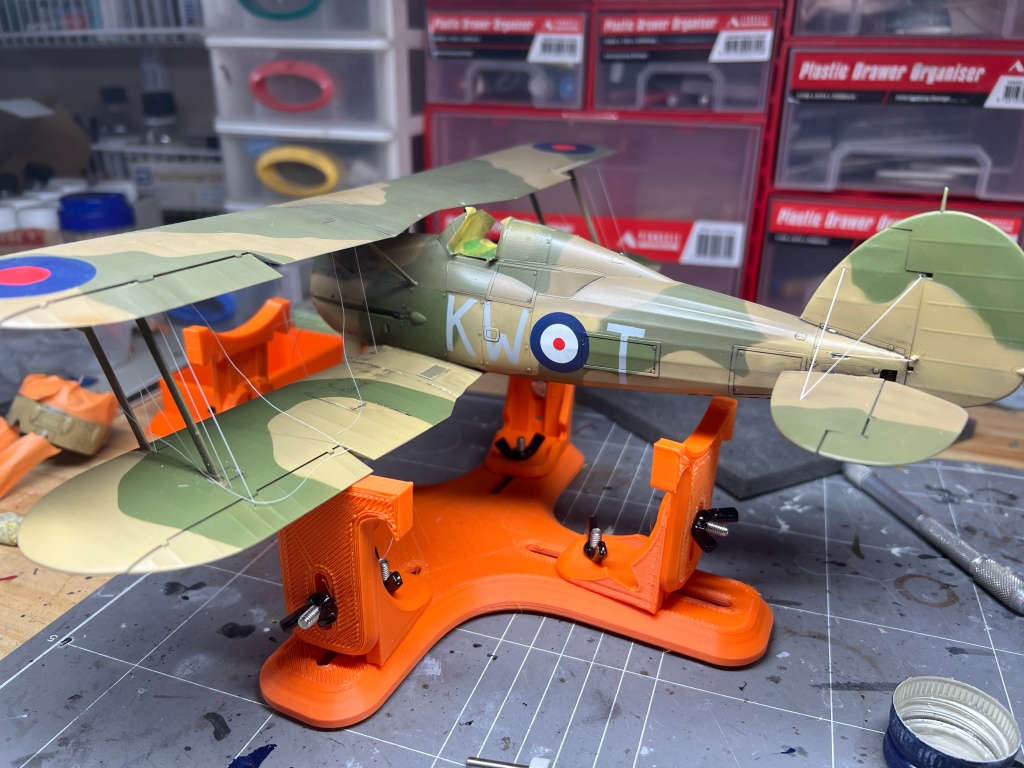
With this done, a complete airframe and top wing sat on my bench awaiting primer.  Prior to priming, a No. 77 drill was used to open up all the rigging points as I intended to use EZ line for the rigging.  Once all holes were drilled, the struts were cleaned up and attached in their respective positions.

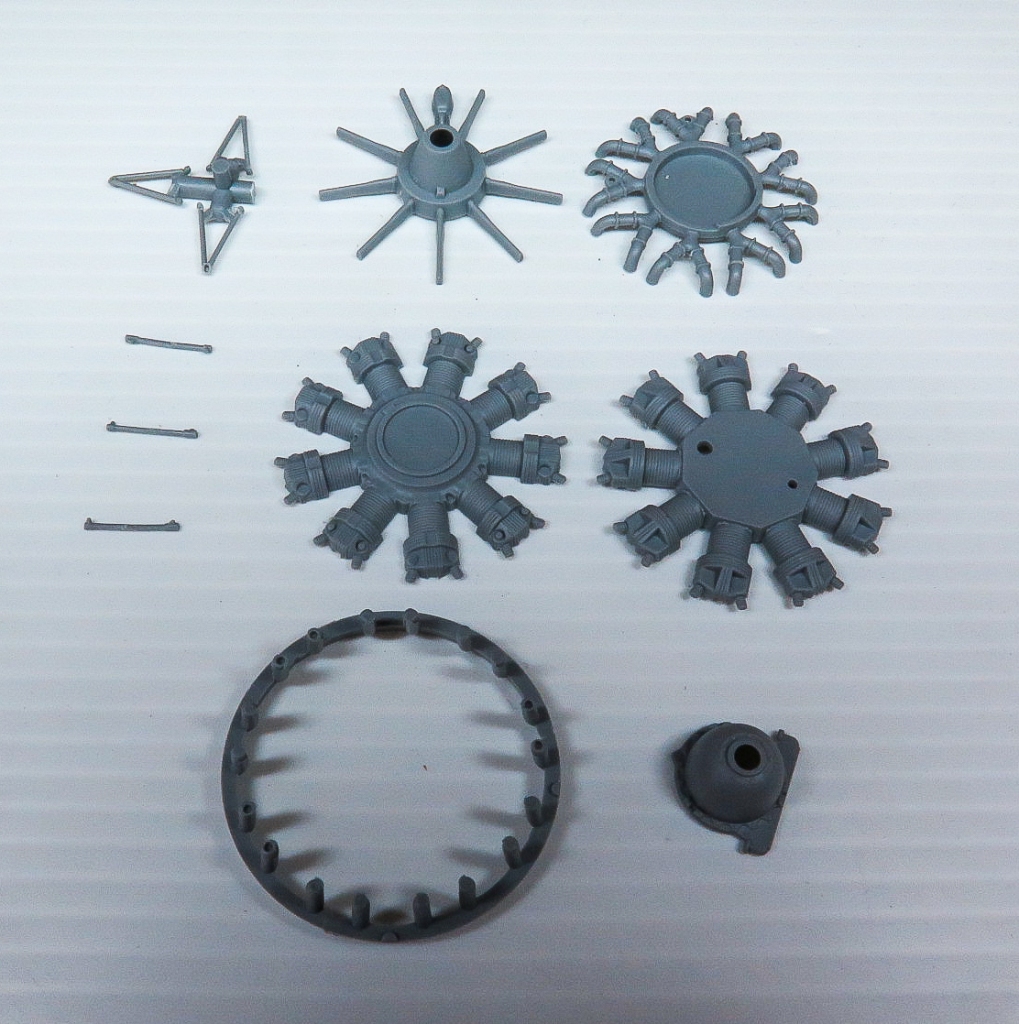
Next up was the engine. Again, ICM have done an excellent job of portraying the Mercury engine.  When completed it looks quite busy with its cowling support braces and cooler intake tubes.  Quickboost do make one piece air cooler intake tubes that are slightly better detailed however I didn’t use them on my model as the kit ones looked fine to my eyes.  The instructions here were slightly confusing, but eventually I worked out you have the option of building the cowling closed or open.  If building the closed version, do not add the cylinder heads, parts D14 or exhaust pipe “plates parts D21 and D22.

In a perfect illustration of the pre planning that goes into all my models, it was now that I decided the model would look better rigged with the AIMS PE Bracing wire set rather than the EZ line.  The reasoning being that the PE would better represent the flat RAF wires that were used on the real aeroplane.  The set was promptly ordered from AIMS in Hungary.  Post from Hungary to Australia takes about three weeks.

Painting and Finishing

While waiting for the PE bracing to arrive the model was painted.  A primer coat of Mr Surfacer 1500 revealed a few seams, mainly around the lower fuselage insert. These were eventually dealt with, some which required multiple attempts!

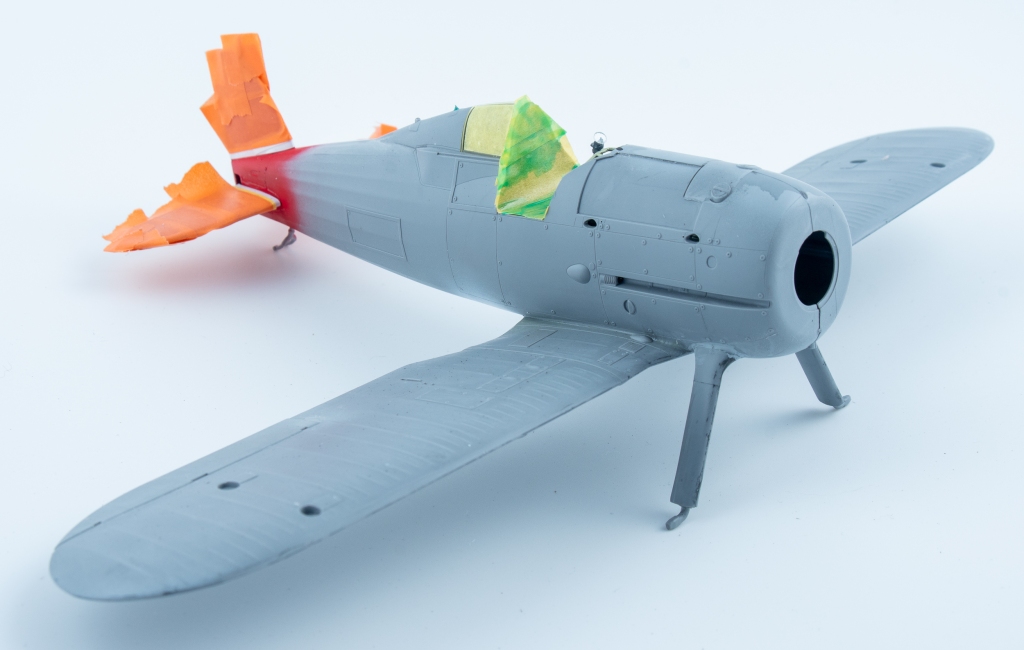
The fixed tail surfaces and wheel hubs were then given several light coats of SMS red.  This was then masked off and the remaining airframe, tail control surfaces and cowling got the Tamiya LP11 treatment with the model being rubbed down with fine 8000 grit sanding pads between coats.

Once the AIMS rigging arrived a careful perusal of the instructions revealed that AIMS wants you to remove the moulded inspection hatches from the wings so that they can be replaced with PE items.  The idea being that the hatches are placed over half the hole drilled for the rigging to make a slot for the PE bracing wires.

Whilst the AIMS instructions provide clear photos of an actual Gladiator to assist you with placing the PE bracing wires, it would have been more useful to have been given precise measurements as to where to drill the holes to accept the wires.  Of course, this meant that some of my previously drilled holes were in the wrong spot so these were carefully filled and redrilled all the time dodging previously installed struts.

In the end it all looked a bit messy, so the decision was made to strip the model using Mr Thinner and repaint.  This took me back to where I was 3 weeks prior.  I would complete far more models each year if I didn’t have to do so much twice or three times to each model!

On the other Gladiator build I had used a 1 Man Army mask set for the stencils and these had really impressed me sot they were put to work again.  If you have not seen these sets, they are laser cut masks for not only the national markings, but also all the maintenance stencils.  As the surrounding area needs to be taped off to prevent overspray, all these markings were sprayed prior to applying the decals as I did not want to be applying Tamiya tape over decals.  SMS Super matt Black was used to spray all the stencils, and then the masks removed.

The decals are by Aerocraft Models.  These performed very well, laying down with the aid of Microset and Microsol.  However, (there’s always a however!) Aerocraft do not give you handed fuselage Sqn flashes.

Both flashes provided are for the port side fuselage.  To apply the flash correctly to the starboard side and have the serial read correctly, the modeller will need to cut the serial from the flash and apply it separately so it is correctly orientated.  If applied straight off the sheet without modification your serial on one side will be upside down and back to front.

The front of the stripe is also angled to follow the panel line there, and if not corrected, this will slope the wrong way also. Aerocraft helpfully supply some spare striping in both red and blue, and this was used to reverse the angle of the flash on that side.

A sealing coat of SMS flat varnish was then applied over the whole model.  Once dry, panel lines were given a wash using Tamiya dark grey panel line accent with the excess being wiped off using white spirits.  Removable panels were outlined with black wash.

I wanted something different from my usual weathered finishes so on this model I went with a cleaner finish.

The exhaust collector ring and exhaust pipes were painted in a mix of MRP Exhaust Colour and SMS Dark Bronze.  If using the kit exhaust pipes, they will need their ends drilled out.

The Master Details machine gun barrels were first sprayed with Mr Metal Primer, followed by a coat of Tamiya Semi-Gloss Black with a final coat of Humbrol Gunmetal.  This was then gently buffed for about 20 minutes which imparted a lovely metallic sheen.

Rigging

The rigging could now be attended to using the AIMS set. All started well with the crossed cabane wires and inboard wires working as advertised.  Turning to the tail, despite drilling the holes as called out in the instructions, I just could not get the AIMS wires to fit.  AIMS only provide measurements for the holes in the tailplanes.  I really wish they had supplied all measurements.

Of course, a better modeller than me would probably have measured the wires against their respective positions before drilling.  As a consequence, the interplane wires were far too short to span between the holes I had drilled so EZ line was used for the rigging.  EZ Line was also used for the tailplanes.  In all, only the cabane rigging was used from the AIMS set. Other people have used this set without drama, so the inability to get a good result using it was purely my doing.

Final Steps

On the final stretch the wheels were added.  Then the model was given another coat of SMS Flat varnish, which dulled the silver nicely, making it look more like doped silver.

The clear parts were then unmasked and the gun barrels added.

The aerial wire on these early machines extended from the tail fin post to a point just behind the canopy where it then split into two wires reaching out to each wing.  To portray this, first a length of EZ line was added stretching span wise across the wing.  Next, another length was glued to the fin post with its other end intersecting the wing line.  Tension was then taken up so that the wing line stretched into a V, meeting the fuselage wire at a point over the spine.  A couple of turns around the wing wire were added and then a drop of Superglue was added to the fuselage wire to keep it all in place.

Finally, a length of monofilament thread was run from behind the cockpit up to meet the junction of all these wires.  Small dabs of Vallejo matt varnish were brushed over the superglue to remove any shininess and the model was done.

Conclusion

I found the ICM Gladiator an enjoyable build, to the point this is the second one I have completed.

Only a minimum of aftermarket enhancements were added to enhance certain details.  In my opinion there is enough detail out of the box to satisfy most modellers, what is there providing an excellent base for further detailing and refining if that’s your thing.

For me, the machine gun barrels, seat belts and instrument panel were “must have” refinements.  To this I would add the Quickboost cockpit doors, exhaust pipes, and if doing a MKII, the carburettor intake as “seriously think about getting”.

The AIMS bracing wires did not work FOR ME, but I do think they would enhance the finished model nicely being the proper flat section wire.

Weak points (literally) of the model were the stabiliser and tailwheel mounting points due to the ICM soft plastic.

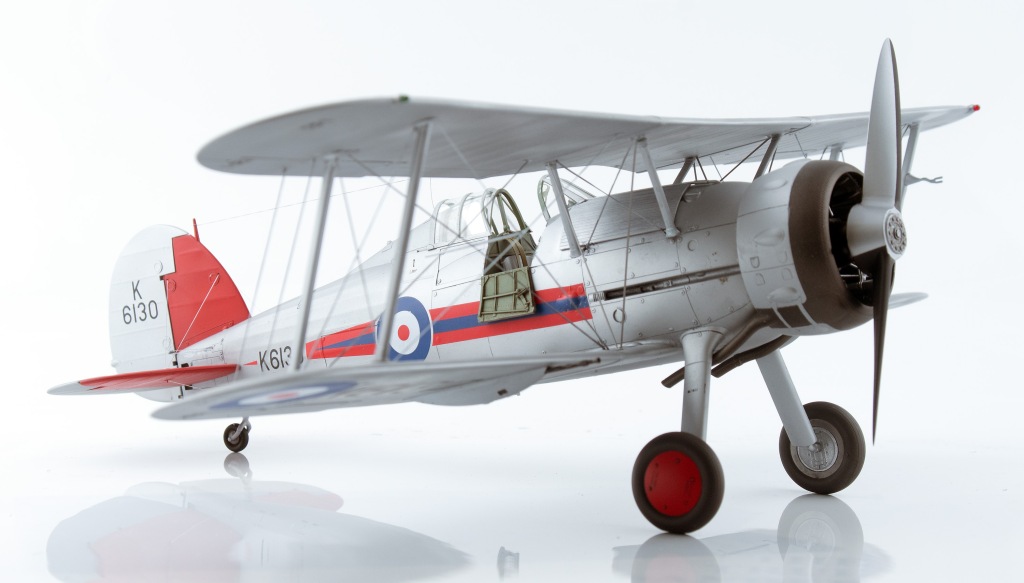
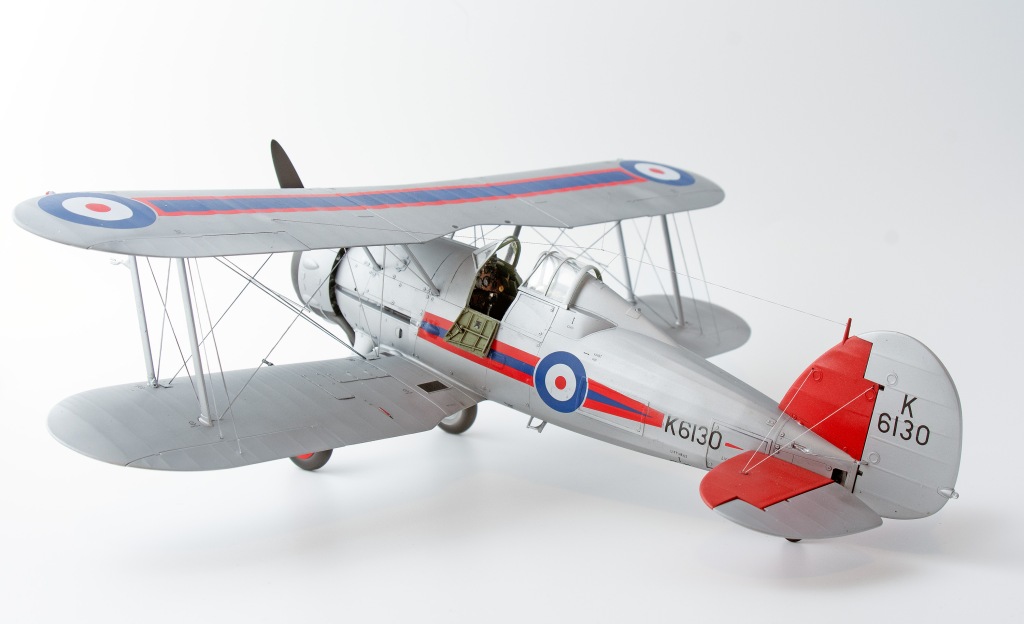
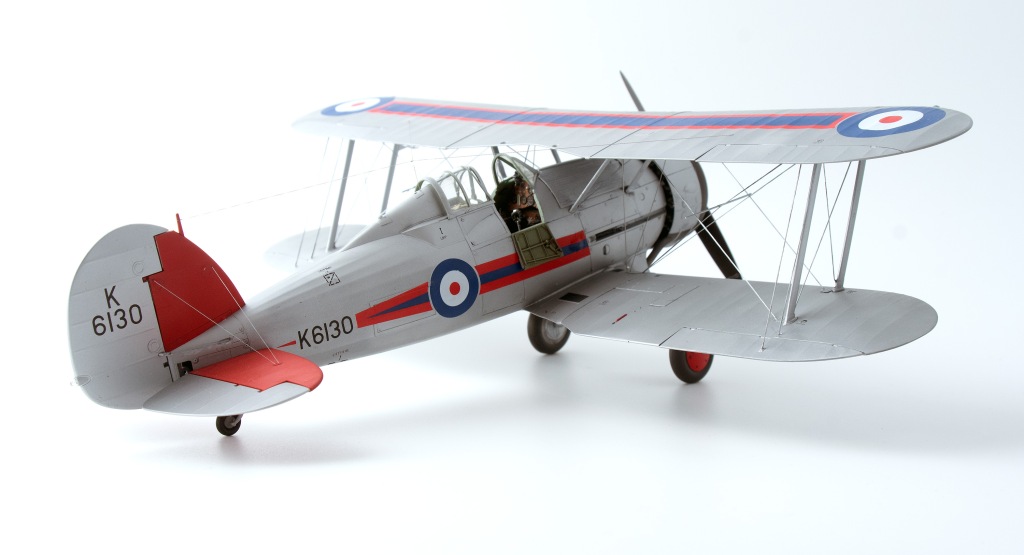
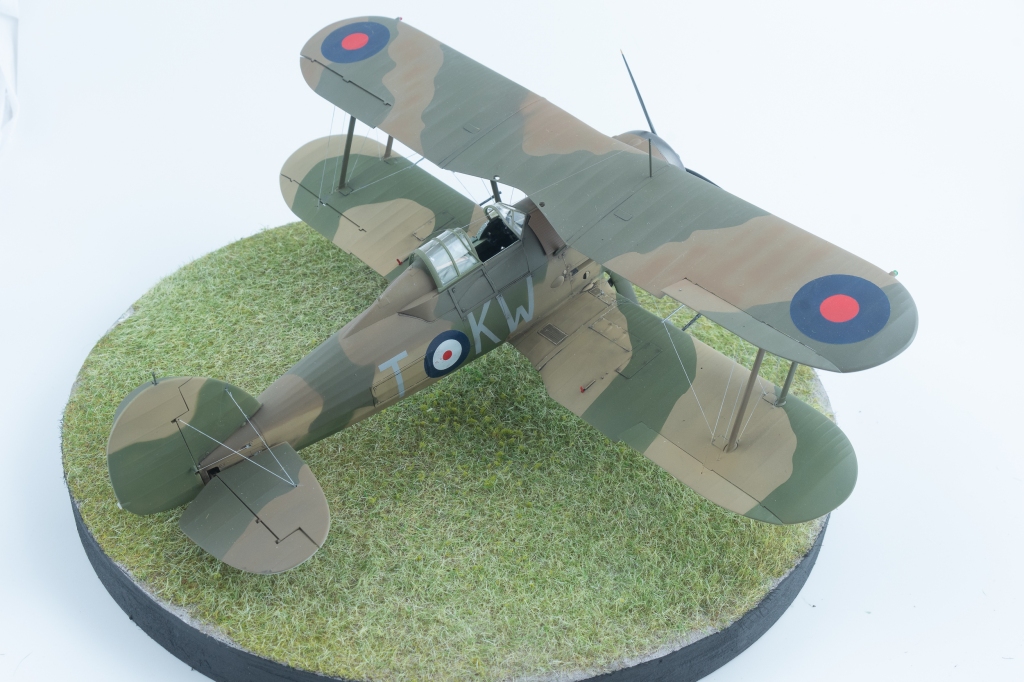
Gloster Gladiator Mk.I No.72 Sqn Royal Air Force Church Fenton. UK 1937

Leave a comment

ICM 1/32 Gloster Gladiator MkII

  • Purchased; 2020
  • Built; 2024
  • Enhancements;
  • Seatbelts : HGW
  • Gun Barrels Quickboost
  • Instrument Panel; Yahu
  • Flaps; AIMS
  • Carburettor intake; Quickboost
  • Compass pedestal; Quickboost
  • Decals;1 man Army paint masks

ICM released two boxings of the Gladiator. An initial Mk.I boxing followed by the Mk.II boxing a year later.

The MKII boxing being the one to get as it also contains all the MkI parts.

The kit is well moulded and comprises surprisingly few parts. This is the second ICM kit I have built, and they’ve both been very enjoyable build experiences, aided by good fit.

I was very much looking forward to starting this one too.

Construction Notes

Construction on this model started with the engine. No additions were used, it being built straight from the box. The completed engine looking quite busy to my eye. But spark plug leads could be added if desired, for a proper prototypical look. The join between the front collector ring and manifold should be filled, although this would be tricky to clean up, unless using a water based putty.

The breakdown of the cockpit gave me the initial impression ICM had greatly simplified it -true of every kit cockpit. But again upon completion and fitted, it looked suitably busy, especially if you enhance the Instrument panel with one of the 3d printed sets on the market, like Quinta, or as I used Yahu.

The throttle quadrant had two slots cut into it to accept the throttle and pitch control levers, and the rear of it was backed with some scrap card. The compass pedestal was replaced with the better detailed Quickboost item with the -in my case- out of register Yahu compass rose added to the face. The machine guns all had their barrels cut off, to be later replaced with brass barrels from Master Detail. The gunsight, part D19 also needs the reflector added from scrap clear plastic, a strange omission by ICM. 

An example of how ICM have simplified the cockpit is Part C22, the rear shelf, which to be accurate should in fact, not be a shelf, but just the central beam. In the actual machine, you can see down into the fuselage either side. On the port side there is a TR9 radio , the face of which Yahu supplies in their set. Some photos show a rectangular box mounted to this frame that sits behind the pilots head. All this would be quite easy to replicate from scratch if the modeller so desired.

The very plain control stick really should be replaced with either a better detailed resin item, or detailed with sprue and scrap to better replicate the real thing. I just added a hand brake lever to mine, and left it at that 

SMS British interior green was used, with a wash added from Modellers World ”wash for cockpit green.” Photos were conflicting on whether the cockpit was all green or green just above the sill with everything below silver. Mine was all grey green with a silver floor and seat. Once the prominent ejector pin mark in the seatback had been filled, seatbelts from HGW were added

With the cockpit added, the airframe built up fairly quickly, even with the added complication of cutting the flaps out and building up the AIMS PE flaps, which was achieved with some thin super glue applied with a bit of brass wire. The plastic flaps were cut from the kit wings with a thin PE saw after deepening the scribed lines so as to act as a guide for the saw.

Any gaps were filled with my super glue/metallic pigment mix. The underside insert needing a couple of passes before it was completely eradicated . There is no way those skinny little tailplane locating pegs are going to survive a knock, especially given ICMs soft plastic, so they were pinned to the fuselage with an old broken drill shank. The real machine having a gap between the tailplanes and fuselage. Whilst we have the brass rod out, the tail wheel should also have its locating peg replaced with the brass. This is another part that is prone to breakage, especially as ICM would have you fit it early in the construction process. All struts were left off until the painting was completed. Their fit to the wing is both positive and secure, so no problem adding them later. Same with the undercarriage, in hindsight, I wished I had of added it later as it made handling the model during the rigging process trickier. Whatever stage you add them, ensure you check the fit of the wheels to the axles. Mine were a little tight with the consequence that I broke an axle, which was sort of inevitable, given the soft plastic. The silver lining to this was it was repaired with a bit of brass wire that greatly increased its strength and also removed the flex from the plastic.

Painting and decaling

It took a great deal of studying photographs to decide on a scheme. The decision was complicated by the fact I wanted chosen scheme to feature black and white undersides , underwing roundels, early war type roundels and the four colour counter shaded scheme. If you think this would be an easy ask, think again! Early war Gladiators featured a multitude of schemes, sometimes, even in the same SQN. The Munich crisis roundels really appealed to me, but these aircraft were mostly silver undersides with no roundels. Eventually the 615 Sqn machine was picked, and to my joy, upon opening the 1 man Army mask set, roundels and codes for this very machine were included, saving me some Silhouette design time.

Painting started with the white half of the undersides using MRP white. The areas between the ribs were then sprayed with SMS German Cream and MRP Insignia white for some tone differences. The black half was base coated with SMS Camouflage black (my favourite black incidentally) and then the areas between the ribs were sprayed Tamiya rubber black. This was then masked off and a 50:50 mix of Gunze dark earth and MRP middle stone to represent the light earth was then sprayed on the top surfaces of the wings and lower fuselage. Tamiya RAF Green type 2 was mixed with a “smidge” of SMS Yellow for the light green. For painting the flying surfaces, TopNotch masks were used for the pattern, however the masks for the fuselage did not match the camouflage pattern of this particular aircraft , so blu tac sausages were used to mask the camouflage pattern.

These machines had gone over to France camouflaged in the standard DE/DG camouflage in 1939, Whilst there, the newly developed counter shade scheme was applied, possibly around early 1940. I imagine it would not have been the neatest job, due the RAF having no large maintenance facilities in France. In any case Gladiators in France did not last too long, the SQN being re equipped with Hurricanes soon after.

The Dark Earth and Dark Green were Gunze colours subtly shaded with some lightened and darkened mixes.

There is no definitive proof what colours the wheel covers actually were. Both red and green being called out by various profiles and kit manufacturers. I went with green.. The white outline though is very clear from period photos.

MRP Medium sea grey was used for the codes, the roundel colours are tamiya Royal Blue and SMS red, the red at this stage of the war being the bright red.

Rigging

This was by far the most frustrating part of the build. Contrary to all those modelling articles stating how easy EZ line is to use. “Just add a drop of super glue into your pre drilled hole and the line pulls taut” my experience was anything but the simple, relaxing task all these articles and youtube videos make rigging out to be!.

First off, the CA, despite being a new bottle would not stick, not sure if it was the humidity, but you’d think that would help set it. This was after 10 interminable minutes first trying to get the EZ line to into my drilled hole! It seems if the EZ line even sniffs the presence of CA, it curls up, refusing to be poked into the hole. Poking the line into the unglued hole was easy enough, but then getting the CA glue onto your brass wire applicator and then apply it accurately into the hole. You need another two hands!

EZ line was used as I wanted to replicate the flat RAF wires, despite my best efforts, there are some twists in my rigging lines, and by this stage I’d lost all patience in going back and removing the twists. Anyway, for what its worth my method was to attach the various lengths of line into No.80 holes drilled into the top wing, which at this stage has not been attached to the model, ensuring that they would be aligned so as to give the flat effect of the real rigging.

The top wing was then attached and the lines cut to slightly shorter than the required length and fed into the pre drilled holes in the lower wing. This is where it all started to get pear shaped. Anyway, I persisted until all wires were added.

The eagle eyed most you will spot a gas patch white metal RAF terminal used on the lower wing to see how this looked. This was the only one used as I found it too hard trying to line up the others to the exact angle needed, the metal not being malleable at all. Finally it was all painted Vallejo steel. and the model just needed the canopies unmasking and she was done.

Well not quite done as I needed to add the antenna post as ICM don’t include one. Probably a blessing as any part supplied would probably not stand up to the pull of the EZ line that was used for the antenna wire. A mast was formed out of brass wire and glued to the starboard wing, not centrally as ICM show on their box art

CONCLUSION

I really enjoyed this build, so much so that I started the MkI that was still in the stash which was initially going to go on the for sale pile. ICM have done a lovely job on this model and delivered it in a scale which does the real aeroplane justice. There are some annoyances, the soft plastic being the main one as it really requires the modeller to replace the tailwheel and stabiliser mounts which otherwise are far too weak and prone to breakage. Other than that, I found the rigging very frustrating, but thats on me! Lots more practise needed before tackling all those Wingnut Wings kits in the stash, me thinks!

Gloster Gladiator MkII 615 SQN RAF St. Inglevert. France 1940

Leave a comment

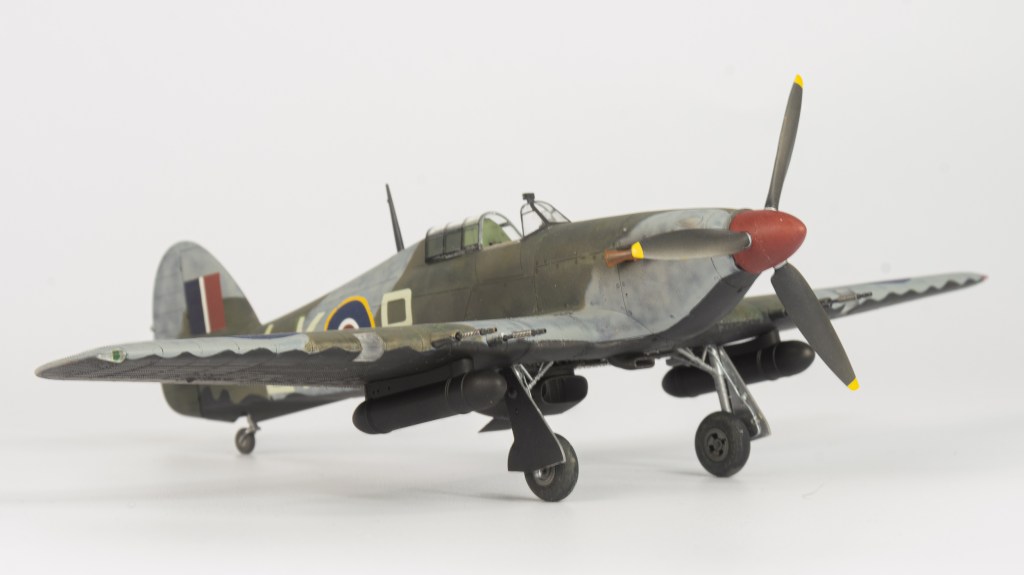
Airfix 1/48 Hurricane Mk1

  • Purchased; 2023
  • Built; 2023
  • Enhancements
  • Seat Belts; Eduard
  • Exterior details Eduard
  • Decals; Kit

What could be easier than an Airfix Hurricane to complete the years builds? A quick slammer, that should comfortably fit into the remaining three weeks of 2023. Well, only just as it turned out, with the EZ line being attached – the full stop to the sentence if you like – on the 29th December. PHEW! That was close.

Construction Notes

Judging by the many on line builds of the Hurricane, modellers either have an easy time ” took me back to my childhood memories of building models” or, its the kit from hell “the wing to fuselage join left gaps like the Grand Canyon”

My experience of the kit fell into the latter. Given the two extremes relayed by previous builders, Im still not sure whether it was the kit or me, although my lower wing half was slightly deformed out of the box, requiring gentle coaxing to meet the inner forward wing fillets of the upper wing parts.

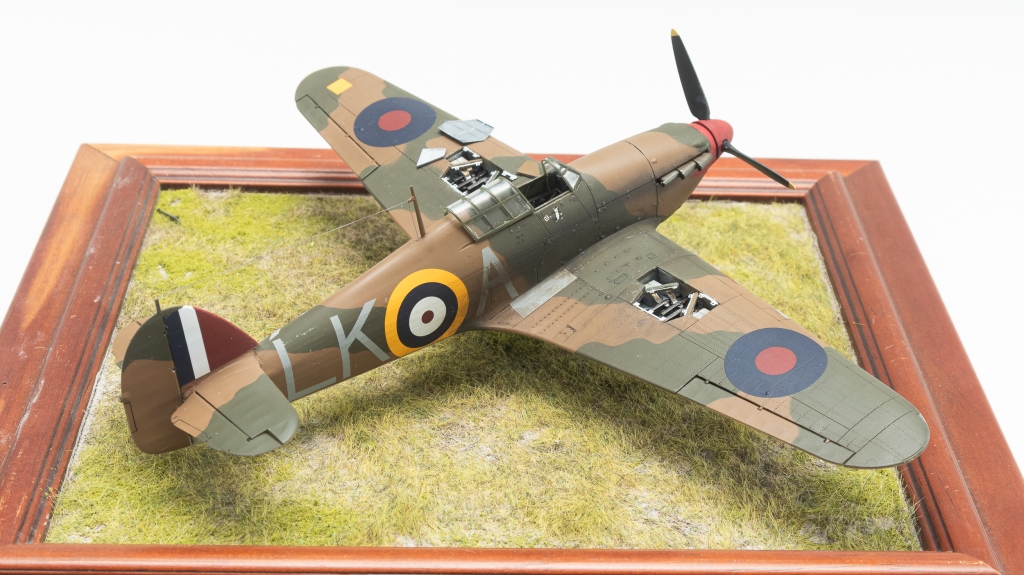
I took particular care in ensuring all wing spars sat square, but still the wing would not fit snugly to the fuselage. Industrial type clamping was required! That said, with this, everything did close up quite tightly. Prior to this, the gun bay hatches were cut out so the nicely detailed bays could be displayed. A nice option on Airfix’s part.

It was here things sort of veered away from a quick build, as prior to closing the fuselage , the fuselage hand hold was drilled and cut out, but then things got crazy as the decision was taken to rivet the whole airframe. This was actually easier than first thought, although there were a few wavy lines requiring correction. The purpose of the exercise was to determine how involved it would adding rivets to the plain wings of the Revell 32 scale Hurricane. Overall, I feel far more confident now in adding detail like this.

Painting and Decalling

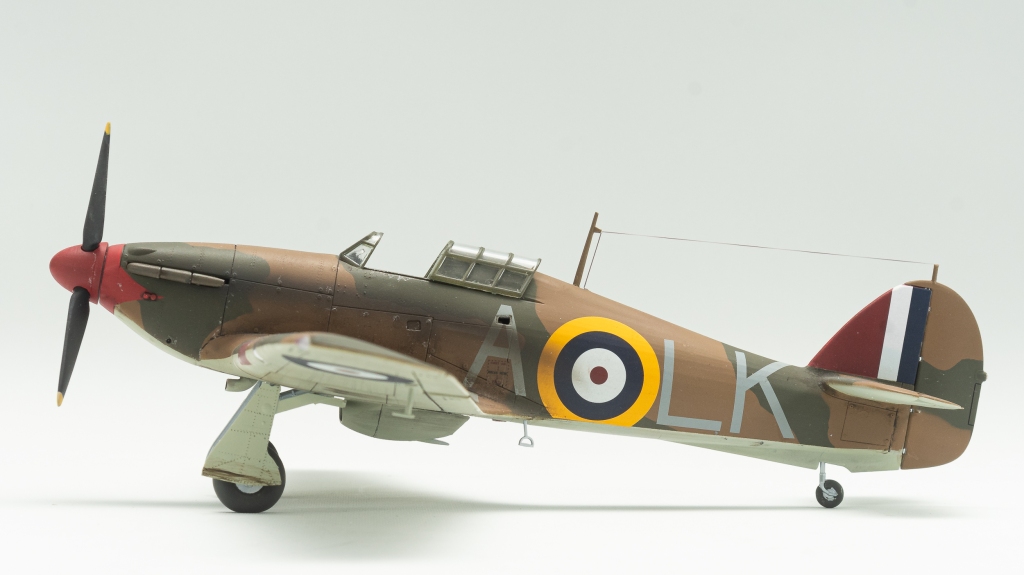
Gunze dark Earth and Tamiya Dark Green type 2, coupled with SMS Sky provided the classic British early war scheme. One of my favourite schemes, as evidenced by the growing number of models in my cabinet that wear it. The spinner colour and fin leading edge were matched to the decals using Vallejo flat red with a touch of vallejo cavalry brown. The kit decals performed without trouble, even the nose flash laying down over the nose drain detail with the aid of Micro set and sol.. Weathering was by way of Ammos PLW for brown and green camouflage. The jar was then binned as there was a ton of sediment in it that no amount of stirring would reduce. Binning it was also in line with my 2023 goal of consolidating my consumables. In future, my washes will be mixed from oil paints.

Stains ands other weathering was added with small dots of starship filth oil paint, then blended in with a dry brush. This is something I still very much need to refine though.

And That, as they say, was That!

Conclusion

Many modellers seem to have reported a trouble free build of the Airfix Hurricane. An equal number have found it a troublesome build. Further proof, that modelling experiences can be such an individual thing. I’m sure there will be other Hurricane Is along in 48 scale. Eduard and Arma are two brands that spring to mind that could potentially offer one, and if I make another Hurricane, it will be from these companies, rather than Airfix.

Thanks to everyone that has read my ramblings throughout the year, I hope that there will be many more in 2024.

Hawker Hurricane Mk1. 87 SQN Royal Air Force. Exeter England. August 1940

Leave a comment

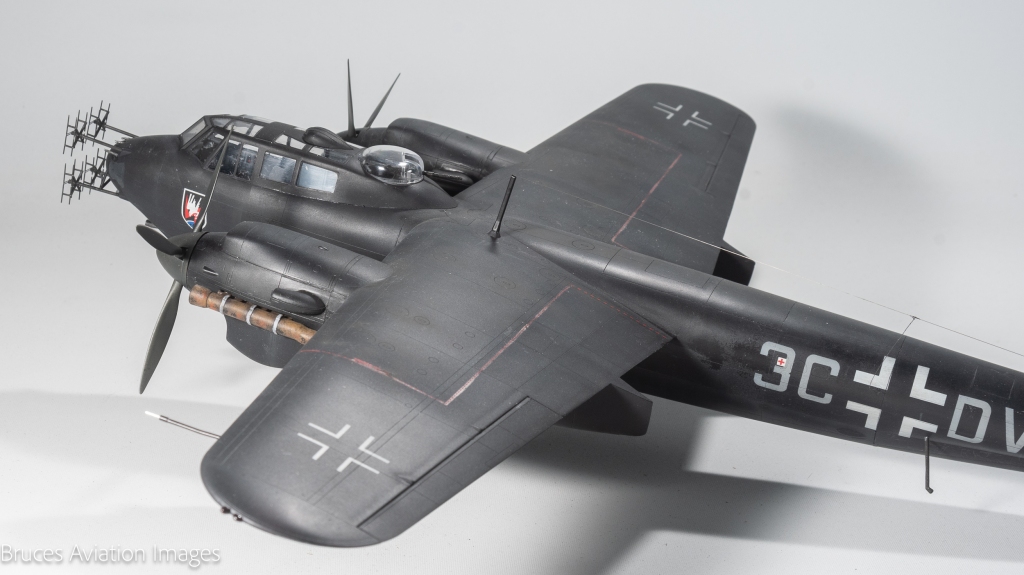
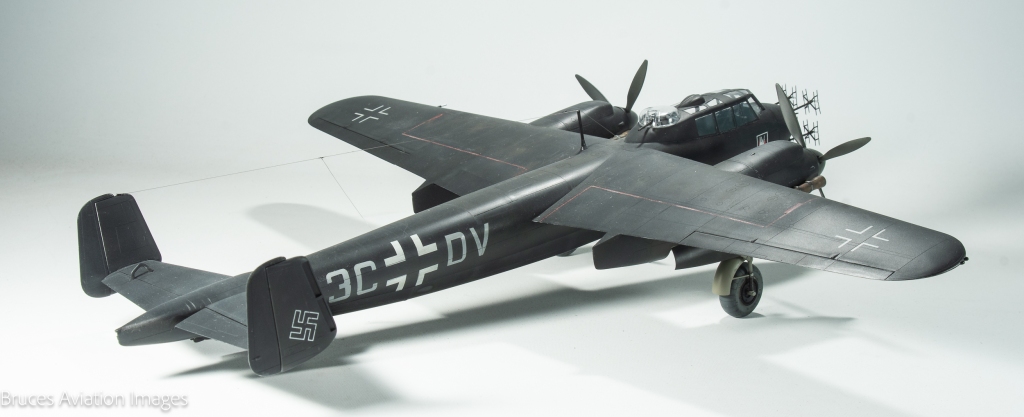
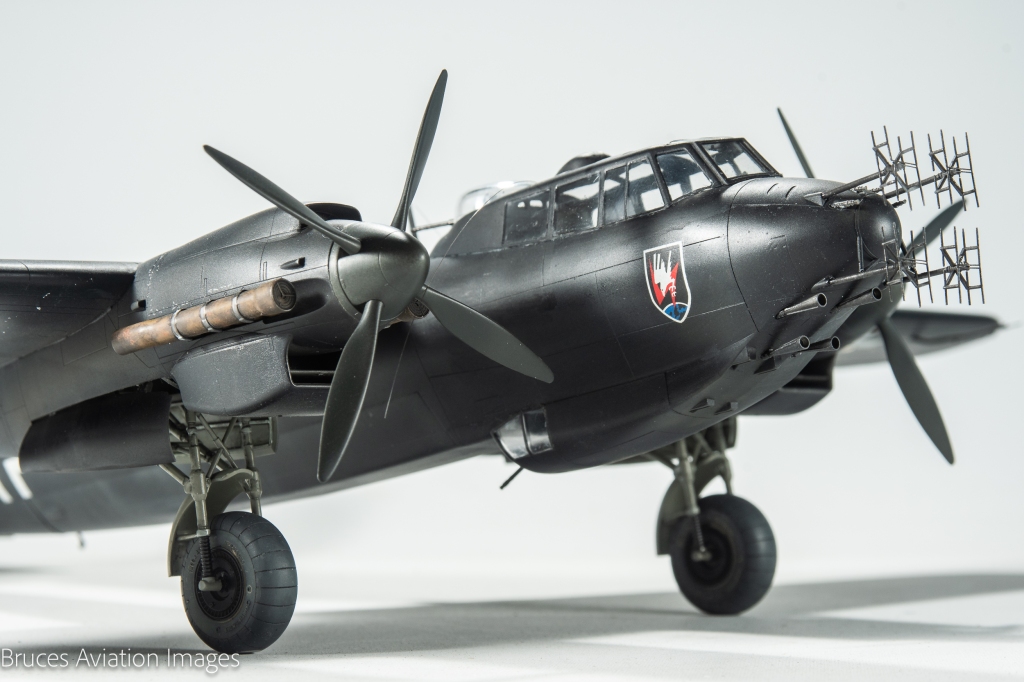
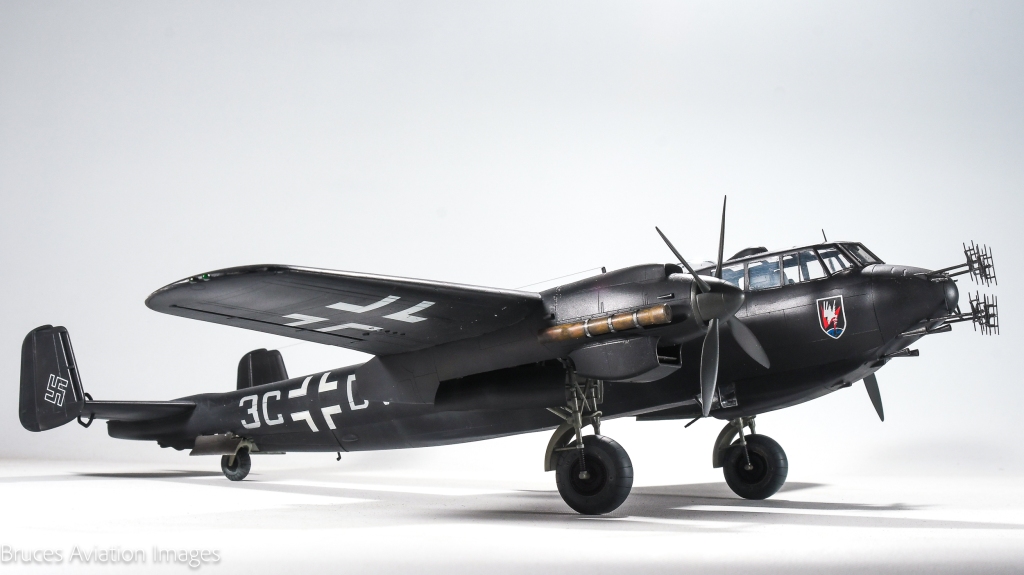
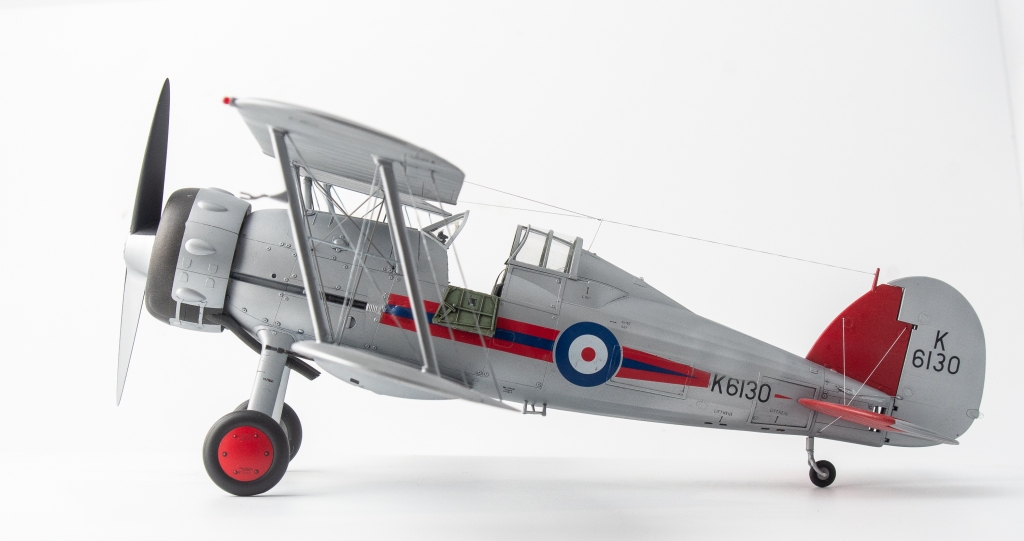
ICM 1/48 Dornier Do 217 N-1

  • Purchased: 2023
  • Built: 2023
  • Enhancements:
  • Seat belts; Eduard
  • FuG 202 aerials: Gaspatch Models
  • Wheels: Aires
  • Decals: Painted using montex mask set
  • Weapons; AIMS, Master details barrels and Vector MG131s

I’ve wanted a 1/48 Do217N in the collection since Koster Aero Enterprises bought out their vacform conversion for the Monogram kit way back in the early 2000s. Despite this, the kit and conversion set were sold in The Great Stash Slash of 2004. But, now that doesn’t matter as we have a much nicer kit of this variant that can be built straight from the box

The path that led me to the purchase and building of ICM’s lovely kit was again, one of impulse!

I had recently purchased some of AIMS 1/32 night fighter conversions for the Revell Ju88, which saw me flipping through a book on German night fighters.

A picture of an all black 217 rekindled the earlier enthusiasm with the resultant jump to remembering reading a build article by Andy King on the ICM 217 he did for The Modelling News.

Next minute, I’m on the BNA website and its in my basket! How does this stuff happen??? As a mate and I have repeatedly theorised, impulse buys need to be started straight away, whilst the enthusiasm is hot, or the danger is you will be selling that same kit at a swap and sell 5 years down the track.

So, box was duly opened, my work bench being opportunely clean of current builds.

The size of the aircraft took me by surprise upon opening the box and looking at the one piece wing, the only other ICM kit Ive built being the Do17. One could say the Do217 is to the Do17 as the Super Hornet is to the Classic Hornet

That wing has beautifully engraved crisp panel lines, but these do not carry over to the rest of the kit, the fuselage and some parts like radiators having shallower detail, and also quite textured surfaces that will require a rub down before paint. Two complete engines are included in the kit should you wish to display the model with cowlings off. I saw no need to make the aircraft uglier than it already is, so my nacelles will be closed. A bomb bay is also included as there are parts to allow both opened and closed doors. I dallied with the idea of an open bay to show off the interesting way the doors open, but again, the aircraft looked decidedly pregnant with open doors, plus there is only very rudimentary detail. A fuel cell is included, but no bombs. As my chosen schemes was the all black night fighter, I didn’t think a bomb load would be carried.

Construction Notes

The instructions are a bit vague in places in regard to where some of the cockpit components fit to each other. I found by studying all the parts, there are locations for the pilot seats and floor in the side walls, just that they are not called out very well in the instructions. I also found them a little confusing regarding displaying the engines until I realised you are required to cut the cowlings off if you want to display the engines. After this, it all made sense. This model was being made all closed up, so all steps dealing with the engines were crossed out to avoid mistakes and make things a little clearer.

I used part A15 as a jig to position the cockpit side walls. The cockpit was painted RLM 66 instead of ICMs suggested 02, as I think by 1943 this was the colour of Luftwaffe cockpits. Tamiya XF24 Dark Grey standing in for RLM66 on this occasion. Beware of the decal dials for the instrument panels as they are separate, not a one piece decal. Here was my first introduction to the keenness of ICM decals to fold over themselves, hmmmmm, those wingwalks were going to be fun! Make sure you paint the back of part E12 as it can be seen through the canopy. Ask me how I know!! It has a pin mark that needs to be filled or, do as I did and skin the rear of it with some plastic card. I went to the trouble of adding thin stretched sprue levers to part E31, I didn’t bother with the decal as it will never been seen. Seat belts were added to all seats from Eduard.

Although ICM say you can leave out the bomb bay floor if doing the 217 with closed doors, I decided to add it to provide a little bit of structural support to the fuselage. It a long assembly with minimal surface area for glue and I could see me cracking joins just through picking it up. In the event, I should also have added the sidewalls C18 and 22 for added support as the floor by itself does not really add any strength.

I managed to crack the wing leading edge joint several times, due to the broad chord of the wings coupled with , again minimal glueing area at the leading edge mating surfaces.

Take particular care ensuring you are using the correct parts for the nacelles. I managed to glue the port outer to the starboard inner side, then wondered why the nacelles weren’t a good fit! This was luckily, quickly corrected with a much better fit of the nacelles being achieved, in fact, the fit throughout was above average.

I found the best fit for the wing was to push it as far forward as possible to ensure a tidy fit on the ‘shoulders” This does leave you with a gap to be filled at the rear, but this was easily filled with a shim of plasticard. Before adding the wing, ensure all mating surfaces are free of burrs and flash, which helps in getting the best fit possible. Of course this advice should stem to all facets of assembly, in addition to plenty of dry fitting.

I replaced the peg on the tailwheel yoke part E42 with brass wire, similarly, I drilled and pinned the undercarriage legs for added strength rather than relying on the kits butt joins. ICMs wheels are fine OOB, but I had already purchased the Aires set. I would also suggest Quickboosts resin exhausts if you don’t want to deal with the joins on the kit items.

Painting and Decalling

SMS Camo black was settled upon as the base colour. This is quite a nice warm dirty black, very similar in fact to the colour of Mr Surfacer 1500 black. For highlights I used SMS German grey randomly mottled on the wing centre section through various Uschi van Der Rosten masks. All national insignia save for the swastikas was sprayed on using a montex mask set. The swastikas came from an old Aeromaster sheet.

Im not sure if these machines were painted black at the factory or at maintenance units, but figured either way – rightly or wrongly – the stencilling would not have been reapplied perhaps apart from the wingwalks.

I elected to use the wing walk decals which went on surprisingly well, despite me and long thin decals usually not getting on. Plenty of water was the secret. I was still congratulating myself on this miracle right up to the point where I managed to accidentally touch and remove a strip of the decal! Luckily a very generous modelling friend in the UK sent me some make for painting dotted wingwalks . Thanks Andy

ON reflection, I wished I had painted all the wingwalks as I was left with some silvering.

Some panels were then masked off and MRP black sprayed along panel lines which stood out nicely. Well until the Dullcote was applied. Then everything kind of blended together. Typical!

Exhausts were base coated in SMS dark earth before a layer of hairspray was added, then a mix of NATO brown and NOTO black . This was then chipped off. To be honest, Im not really happy with the results. I think I would have been better off stippling these colours on with some sponge

For the canopy, this is the second model I have used interior canopy masks on. This is a leaf out of Jamie haggo’s book, as he does it on all his models where the canopy interior is visible from the outside, his rationale being painted interior framing looks much better than the shiny plastic visible if you were to follow the normal convention of spraying the interior colour from the outside. And he’s right!

Final Assembly

This comprised of adding the undercarriage doors, all of which located securely. The aerial was added from invisible thread, and the machine gun and cannon barrels added. AIMS cannon barrels were used as, unlike the kit ones, they had open flash suppressors. I didn’t bother drilling out the mg barrels as the diameter was too small. Finally, the piece-de-resistance. the Gaspatch radar array was added. Cutting them away from the supports was heart in mouth stuff, let me tell you! I employed a new scalpel blade plus used a new set of nippers. They were painted in Tamiya dark Iron. If there is one must have Aftermarket accessory for this kit, its these, although looking at my slightly wobbly ones in my photos, this crew will have a hard time finding any Lancasters!

Conclusion

Im really happy to have a black Dornier 217 in the cabinet, and a much better replica than the old KAE and Monogram kit would have provided thanks to the access we now have to things like 3DP radar arrays and brass gun barrels.

The model itself was very enjoyable to build, with no real vices along the way, aside from the somewhat soft plastic, which does not suit structural components like landing gear. Despite this I look forward to building more ICM kits. The Do217N was unloved by its crews, its performance suffering greatly due to its increased armament, and all the added radar gear. But in my cabinet, its loved greatly by me!

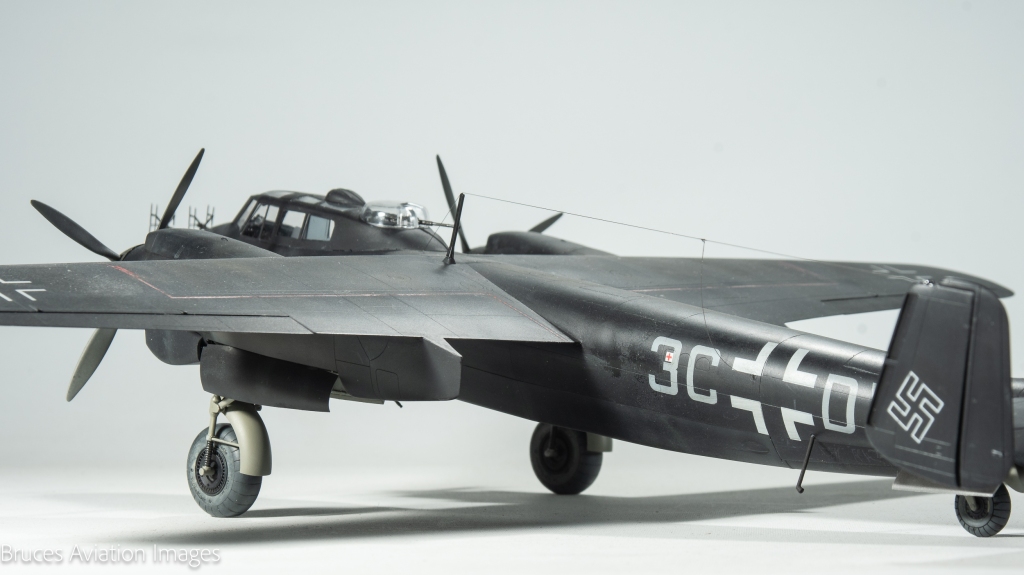
Dornier 217N-1 II./NJG4 Luftwaffe. Germany 1943
Leave a comment

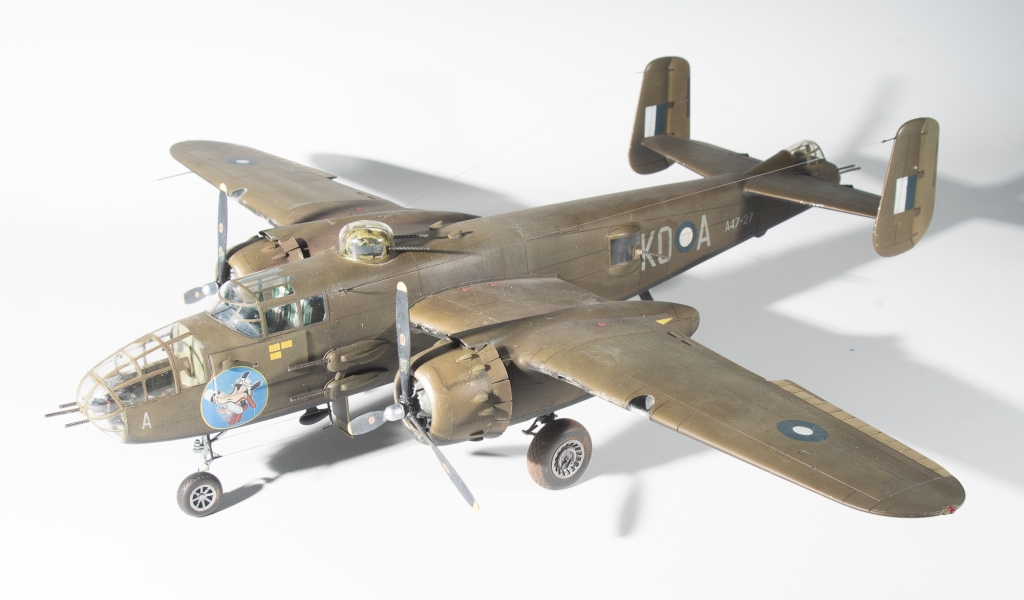
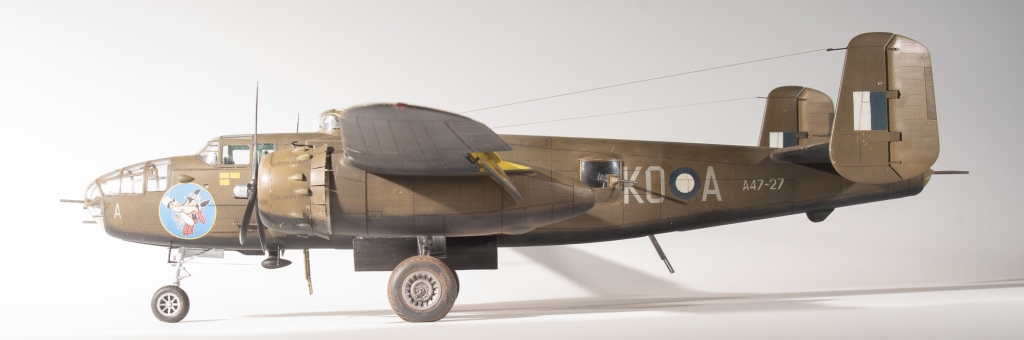
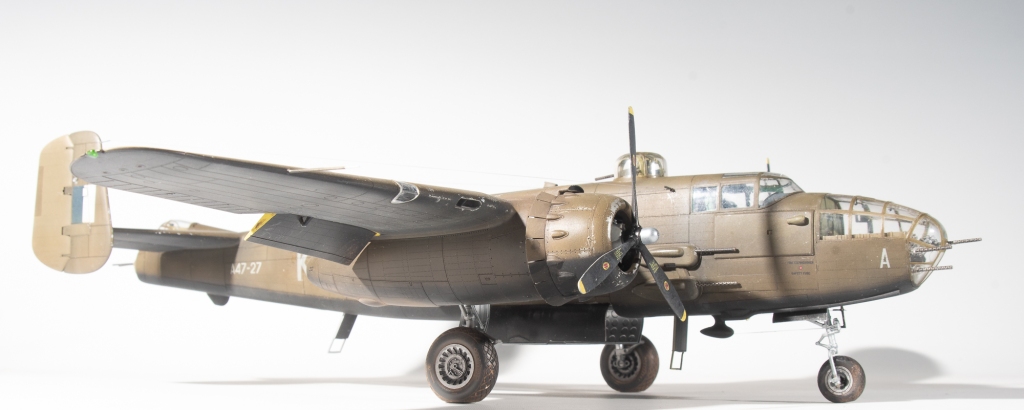
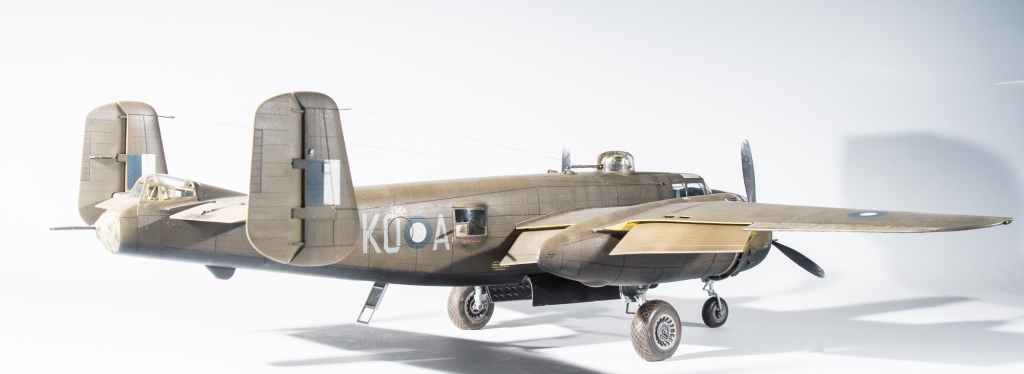
Hong Kong Models 1/48 B-25J Mitchell

  • Purchased: 2023
  • Built:2023
  • Enhancements:
  • Gun Barrels: Karaya & Master Models
  • Cockpit :Eduard Space 3D
  • Wheels: Eduard Brassin
  • Ammo feed chutes: Eduard
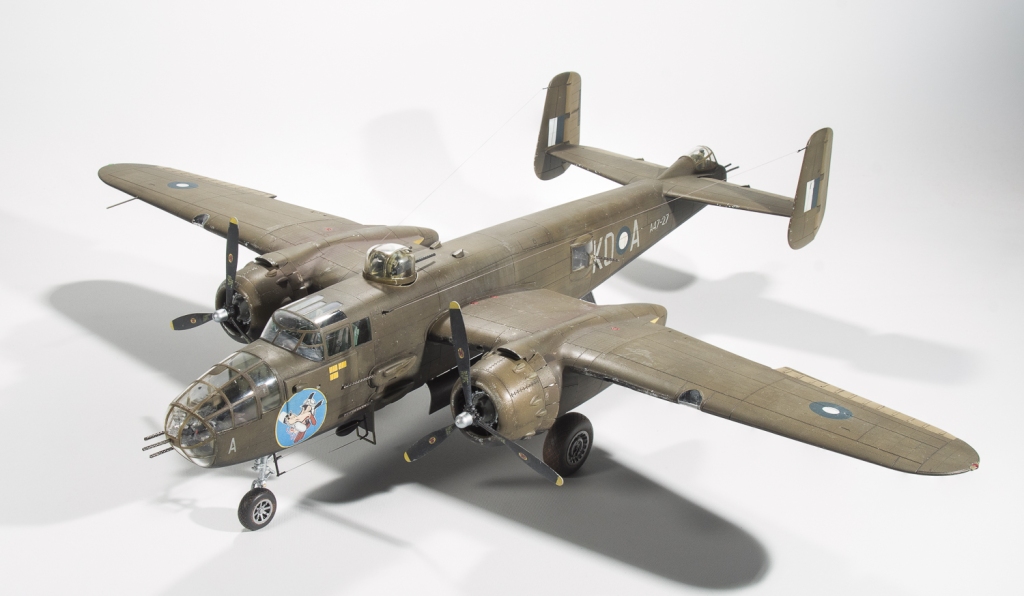
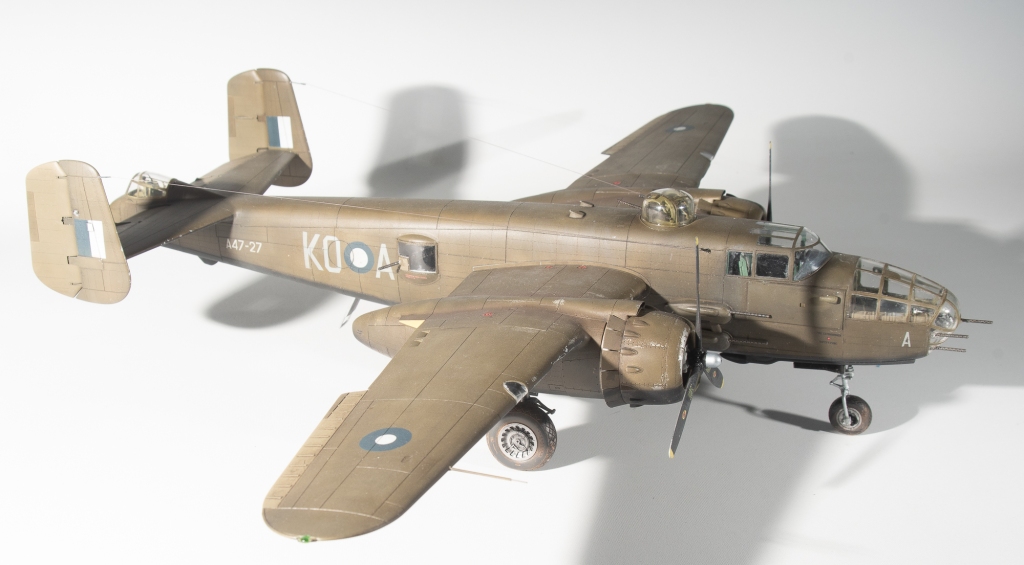
  • Decals: ArtScale RAAF Mitchells Part 2

Hong Kong Models 1/48 B-25 J comes in a box adorned with some nice art work that is also provided as a poster inside the box. Surface detailing is by way of petite engraved rivets that unfortunately fade away slightly at the fuselage centrelines . Amongst the 249 parts are options for different shaped bullet deflectors for the upper fuselage, a top turret or, if you’re building a Mitchell without a top turret, a blanking plate and separate cheek armour if you want to build an early J that was not fitted with the additional armour. Two different fits of fixed nose guns are also provided.

The kit can be built with flaps, boarding steps and landing gear up or down. Cowl flaps can only be shown in the open position, although Quickboost do make cowlings with closed flaps.

Interior detail is adequate for what will be seen with parts for the bomb aimer’s position, cockpit, top turret and tail gunners position. A bomb bay and bombs are supplied although there is no mid fuselage detailing around the waist gunners stations. If you want to add the ammo feed chutes, they will need to be sourced from an aftermarket set.

I found the fit of all parts excellent, with the tailplane, fins, and nacelles being a push fit. The engineering is spoilt though by the requirement to fit the landing gear early during construction. If I were to do this kit again, I would modify parts F24 and 25 by cutting the pointed ends so that the struts could be added later. Same with the nose gear part E32. I would just cut the end off the drag link, so that it could be fitted later.

Despite me protecting the front leg with a protective sleeve of foam, I still managed to break it off accidentally manhandling the model around the bench. Bras rod was used to replace the broken oleo, which also lent more strength to the part, so not a total loss, but annoying nonetheless

Although the gear locates solidly into deep sockets, the model still rocks slightly on its gear. Possibly due to the soft plastic, perhaps if they had of had the drag links also locate into sockets as well, the model would sit more solidly. The supplied nose weight fits quite cleverly underneath the cockpit to form the tunnel. No other weight is required.

Construction Notes

The Eduard seat belt set only included lap belts, I added the kit PE shoulder belts as I felt they would have been fitted at this late stage of aircraft development.

When building the bomb bay, fit part E45 during final assembly, as otherwise the arms will get broken. The kit bomb fins are rather thick, As you won’t see them, I left them as is, rather than bothering to thin them or replace with PE.

As mentioned above, I would modify the landing struts so that they can be added after painting.

This is one of those kits where you are required to follow the assembly sequences as set out in the instructions. I deviated by adding the cooling flap rings to the cowls which then made inserting the engines harder. The engines as provided were adequate, but can be dressed up if you want to add ignition wiring, etc Alternatively, if your name is Sam Dwyer, and you like to buy every piece of available aftermarket for a particular kit, Quickboost make resin items 😀

The landing light glare guards part EP4 were left off my model as per reference photos I looked at. There are two scoops provided in the kit that locate into shaped cutouts in the cheek armour plates. They are pictured in stage 35, but not called out in the instructions, from memory they were parts E58 and 59.

The kit wheel treads are a bit rubbish, so best replaced with AM ones. If you are replacing the kit gun barrels with brass ones (and why wouldn’t you!) the breech holes will need drilling out slightly, lets take a moment here to recognise HKM for providing separate barrels as this certainly aids painting. Ensure though that the waist guns have been securely glued to their mounts. One could also add PE ring sights as they would certainly be visible from outside.. All the transparencies fit very well, although I have a slight step on one side of my nose, which could have been minimised with more care on my part.

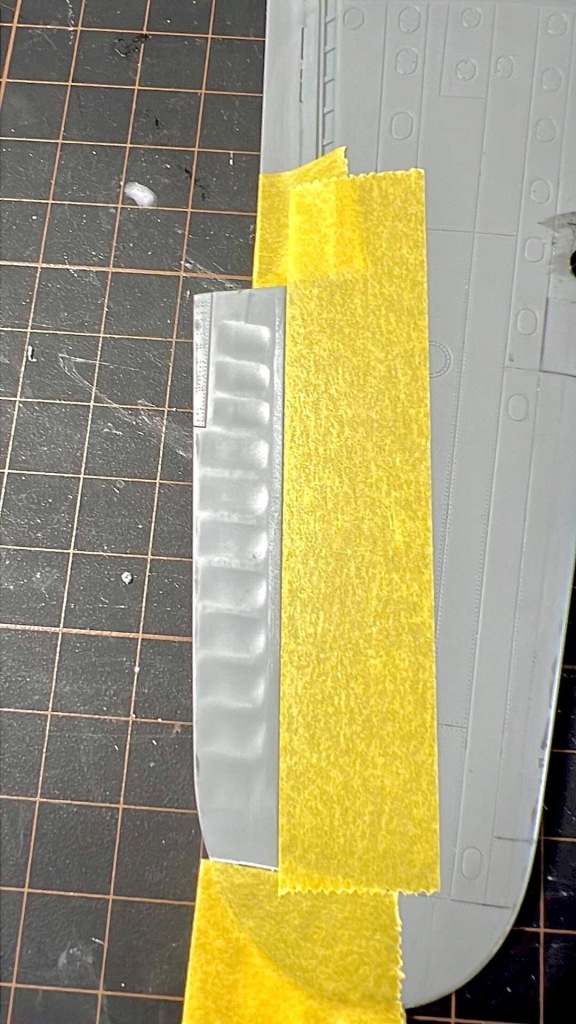
I was unhappy with the kit replication of the fabric ailerons. The elevators and rudders are fine, but the ailerons….not so much. I masked them off, then sprayed several coats of Mr Surfacer 500 primer to build the depressions up before sanding them flat. The rib tapes were simulated with tamiya tape. Although I think they look better than what was provided, Im not sure the effort was really worth it, having seen a few other built examples on the net. They don’t look too bad under paint.

Rivetting along the centre seams of the fuselage will need to be reinstated with a rivet wheel after the seams have been cleaned up. The wings can be left off to aid painting. Dry fits showed they slid easily into position, and more importantly, could also be easily removed. I also left the vertical fins off to aid painting. The fit is that good, so they were not added until very late in the build during final assembly. This makes the model a lot easier to handle. Still didn’t save that nose leg though!!

Painting, Decalling and Weathering

I wanted to try some hairspray chipping on this model, so first a base coat of Alclad Aluminium was laid down over the wings and engine cowlings where most of the chipping would be done. Two thin coats of generic hairspray were then sprayed over this before a coat of AK Real Colours OD was sprayed over the whole model.

AK RC faded OD was then sprayed over the model, leaving the dark OD under the wings and tailplane. Dark yellow was then added to the faded OD and this was further mottled over the upper surfaces of wings, tailplanes and fuselage. Fabric control surfaces were masked off and hit with the faded OD, this time mixed with a decent dollop of tamiya deck tan.

The undersides were then sprayed MRP matt black with the demarcations done freehand. No fading was added to the undersides, I would be relying on washes to give it a faded dusty look.

Once I had the basic colours blocked in, I took to the fronts of the cowlings and upper nacelles with a stiff damp brush slowly chipping away the OD to reveal the underlying silver. This was the first time I had tried hairspray chipping on an aircraft, and I’m not satisfied yet that it’s the best technique for aircraft chipping, certainly for small areas of chipping, Its a technique that definitely needs more practice on my part though.

I do think the silver pencil still offers more control.

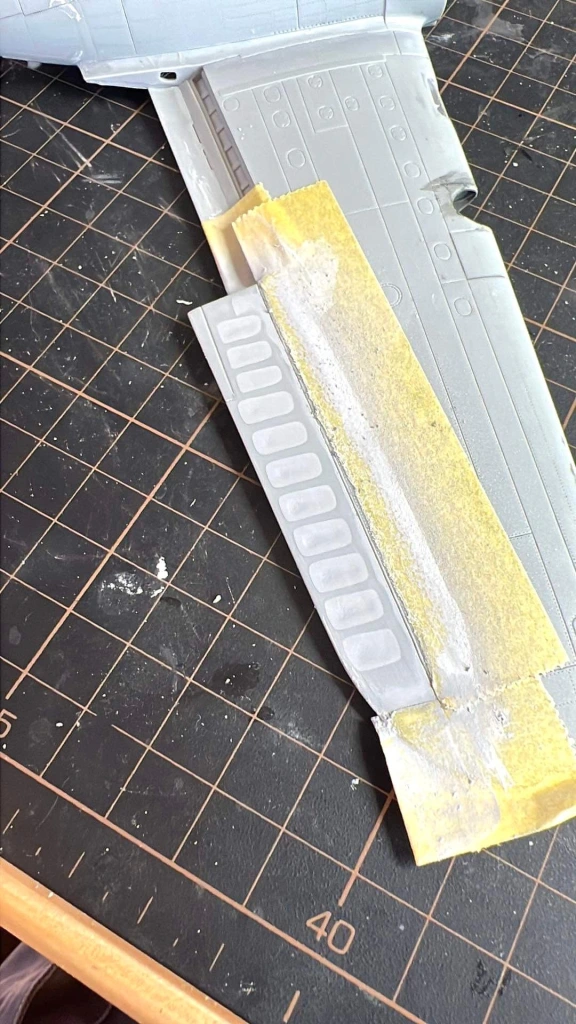
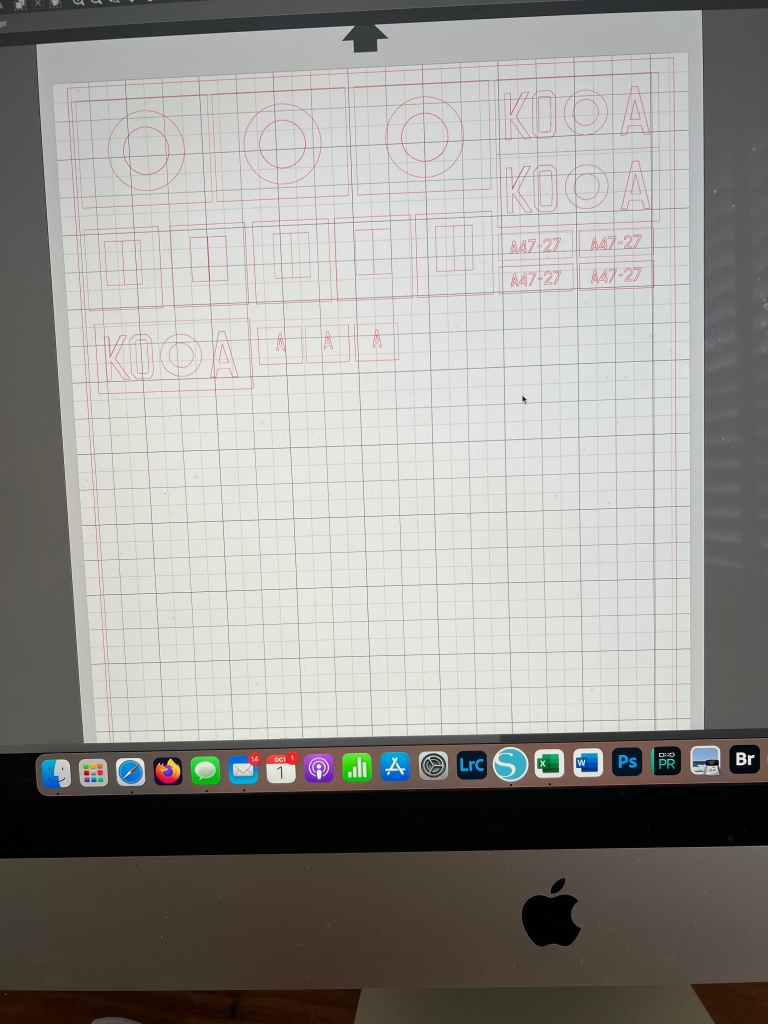
WW2 Royal Australian Air Force national markings being fairly simple, lend themselves to being painted, so the roundels, fin flash, codes and serial numbers were scanned into my silhouette software and masks cut using the last of my Oromask.

The two machines on the ASL sheet have had their neutral grey undersides overpainted in black for night intruder operations, One of them, which was my original choice had the black painted hallway up the fuselage and nacelles rather than the normal demarcation line. sadly the one photo I could find of this aircraft , although of poor quality did not seem to show the high black sidesInitially my desire was to do the aircraft with the black undersides that reached midway up the fuselage, however then one photo I could find of this aircraft, although of poor quality seemed to contradict ASK’S drawings, with the fuselage painted with OD down to the usual demarcation. Certainly the tail fins did not look black. Shame, as I quite liked this scheme as drawn.

With the reasoning for my initial choice disproved, I turned to the other subject on the sheet. This in addition to the black undersides, also had nose art , although much later on I found , again. Artscales decals had probably got the background colour on this wrong too.

With the masks cut, a mate suggested that I first print them out on paper to check sizing. This was an excellent idea – thanks Calum – as it brought to light all of the decals were slightly too large according to photos of the actual machine. Subsequently, the masks were reduced size a bit. This is one of the advantages in using masks over decals.

,

Once the masks and decals had been applied another sealing coat of gloss was applied ready for the wash, which in this case was a brownish black shade of oil paint.

Once dry and the excess wiped off, a coat of semi gloss was applied ready for some oil paint weathering, semi gloss being used as the oils seem to blend a bit better over this. The problem was though, the only semi matt I had was a old bottle of low sheen Klear Kote by Alclad. This smelled like it was an enamel product and never really seemed to dry to a hard shell. Picking up the model, it remained , not tacky, but not dry over the course of a week until I dullcoted it. Even now, handling the model, my hands do not came away cleanly.

The Alclad went in the bin. This would be about the third Alclad product I have used that has not performed properly. They definitely seem to have a shelf life, well the clears and primers do!

The result of all this was, despite the matt coat, holding the model for any length of time seemed to pull away the matt coat, which led to a very truncated weathering session and my enthusiasm for the project being severely dented. Exhaust stains were sprayed on in thin coats, although looking at them, I wish I had used a darker shade. The pitot tube was replaced with Albion Alloy aluminium tube. On the underside the ADF football aerial was attached with some brass rod to secure it firmly in place. Brass rod was also used to replace the plastic pole aerials as I thought this would provide a stronger base for the EZI line strung between them. Aerial fairleads were also fashioned from brass rod for the tail fins and fuselage, Landing gear doors and actuator struts located securely to the nacelles and nose. Finally, the Karaya barrels were added to the gun positions, and the Eduard wheels glued on One gripe with these. The wheels are marketed as for use on the HKM kit, yet the axle holes required significant enlargement to take the HKM axles. If you are going to market an accessory as for a particular kit, then make it so that it is a drop fit for that kit and does not require modification. Eduard have form for this, especially their wheels. I would not be surprised if these are just their wheels for the Monogram kit, but with new packaging.

Finally, the transparencies were unmasked and to my horror, there was a lot of fluff on the inside. Most of the canopy fluff was removed by way of poking a bent micro brush through the top turret hole. I managed to pry off the nose cap as I had just used PVA.but in removing some overspray with a thinner dampened cotton bud, also managed to remove a swipe of paint off the nose . 50 ammo cans. Naturally I didn’t notice this until I had refilled the nose cap, this time with tamiya glue. Guess this model won’t be making the competition table after all.

Conclusion

I thoroughly enjoyed this build, All errors were of my own making. Lessons for me from this build were I still need to add as more parts like the wingtip lights that form part of the structure before painting, so that they can be properly faired in. My wingtip lights look like the late after thought they are. I also need to take more care with these bomber type aircraft to ensure fuselage openings are better sealed to avoid sanding swarf getting in.

Weak points of the kit though, are the exaggerated fabric effect on the ailerons and the ridiculous engineering that means the landing struts need to be added early in the build. Location points for the aerials and upper turret bullet deflectors also were non existent, which didn’t help with exact placement.

For my money though it leaves the Monogram kit in its dust, as it should. Yes, its twice the price, but in this instance is twice the kit. I will definitely be buying the solid nose strafers when HKM get around to releasing them. If using the ASK decals, do beware they are not the most accurate decals on the market in this case.

N.A.A B=25J Mitchell. 2 SQN R.A.A.F Hughes Airstrip. Northern Territory Australia 1944.

Leave a comment

Eduard 1/48 FW190A8/R2

  • Purchased : 2023
  • Built; 2023
  • Enhancements: Gun barrels replaced with aluminium tube
  • Decals: Combination of kit decals and painted using Montex masks.

Construction Notes

Eduard’s new series of 190s have been written about in various online reviews as being viceless builds. Whilst they show a marked improvement in engineering, ease of assembly and surface detail over the older kits, I still found a few issues.

Everything in the cockpit is fairly straightforward, although I found the instrument panel has a tenuous and somewhat vague location between the two fuselage halves.

The same with part A32, I found it difficult getting it to seat properly. With the wheel wells, I was initially dubious of Eduards call out to paint them RLM76 rather than the usual RLM02. Perusing Eduard’s instructions for their other 190s showed me Eduard do call out 02 for the earlier marks. The A8/R2 kit is the only model where they suggest 76 wheel wells,

I decided they must know something I don’t! They have done quite significant research into the Rammjager as evidenced by back copies of the info magazine.

I cut the barrels off the inboard guns – to be reattached during final assembly – as they were bound to get knocked off during sanding operations.

Dry fitting the wing to the fuselage revealed a gap on one wing root. Consequently I delayed adding the gun deck and upper cowl parts to the fuselage so as to allow me to push the fuselage half out to meet the wing and reduce the gap. Great in theory, but I think doing that just created another problem for myself.

With the airframe together, one wing looked to have greater dihedral than the other. The wing root join was broken by way of using tamiya extra thin to rehydrate the join, then a shim added to reduce the dihedral. This seemed to fix the problem, or so I thought!

I should know better. Fiddling with wing roots like this just seems to muck with the geometry. Probably would have been better to add a sprue spreader under the cockpit. There are 2 more Eduard 190s in the stash, so it will be interesting to see if this problem appears on those, or was a construction fault on my part.

This aside, the model built up quickly. Filler was used on the centreline seam and the leading edges of the wings only. The tailplanes and gun covers fit perfectly.

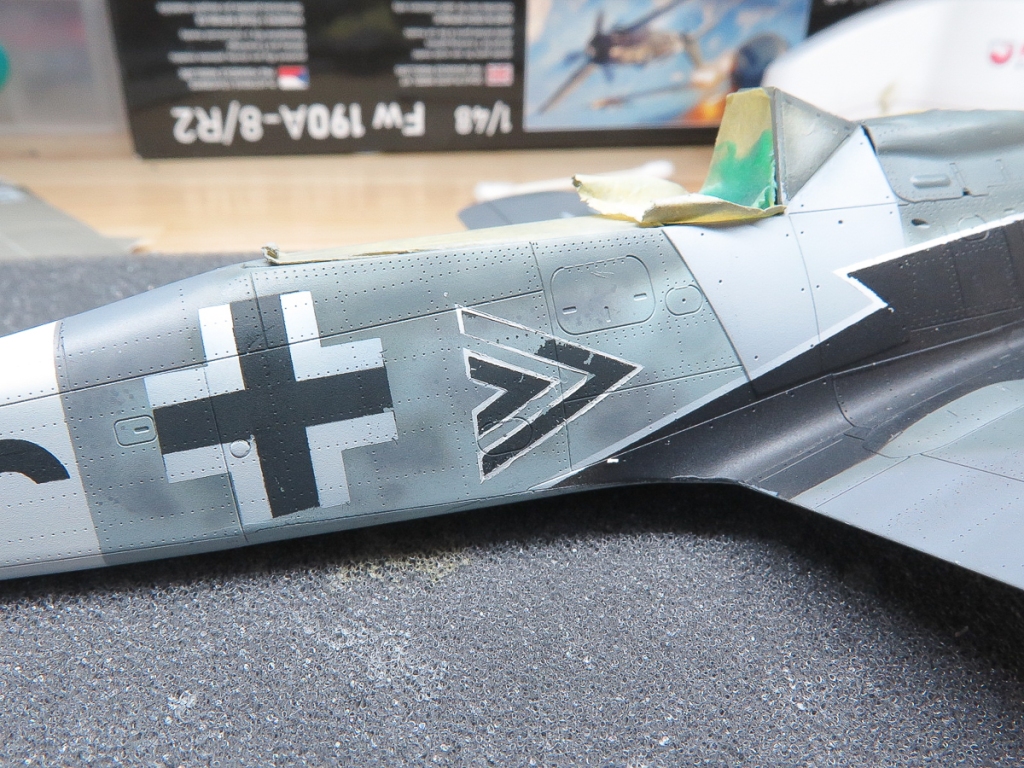
Of course, its too much to ask of me for a build to go flawlessly, and so it was again in this case, although problems did not rear their head until well into decalling. Again, an unforced error, falling foul of Eduards decals. Well, thats probably a bit unkind on Eduard. It was me trying a new (to me) technique of removing the carrier film with white spirits. This had gone swimmingly on the wing crosses, then I got cocky. For those not aware of this technique. I refer you to Gary Wickham’s excellent tutorial contained within his superb Tempest build. My mistake was I left the white spirits on the swastika and chevron for longer than a minute, the result being the white spirits removed the carrier film, the decal AND the underlying paint. AAAGGGGHH

Had I mentioned I was really happy with my overall paint job and tight mottling? No, well I was! In all, this was a fairly simple mistake to correct, but it occurred during a stage in my modelling where frustration with this kind of thing was overriding my perseverance, so back in the box it went.

Completing the phantom renewed my enthusiasm to complete the 190, so back out of the box it came. The existing paintjob was stripped using Gunze thinners and now that I had a blank canvas again, was repainted using Mr Colour paints, although my mottling was probably a little tighter on my first attempt.

For the major markings a montex set designed for the tamiya kit was used. This was also not without some problems with recurrent peeling of paint and repeated masking and touch ups required. A couple of months earlier , this would have seen it relegated to the box or the bin, but this time I powered through, even cutting a new chevron and underwing code letter on my silhouette to replace the by now distorted montex masks. Its amazing how little achievements like this can lift your enjoyment for the hobby. Kit decals were used for the Udet emblem on the cowling, on this occasion, the carrier film not being peeled as they had laid down perfectly.

SMS flat was used as the final coat as this is not dead flat but leaves a nice sheen, which can be seen on period photos of Luftwaffe machines, the service life of which – by this stage of the war- could be counted in weeks, even days.

Oils were used on the underside to impart some staining. This technique still eludes me, analysing my attempt on this model has led me to think I need to apply smaller amounts in future. Oils certainly go a long way!

Casting an eye over the completed model, the geometry looks a bit askance to me despite Eduards engineering to ensure the added undercarriage sits at the right angles.. That added shim to the wing perhaps contributing to this, one wingtip still measuring higher.

Im reasonably happy with my efforts on this, more so, that – with this model – I had the perseverance to push through a couple of hurdles that presented themselves. I definitely feel Im back on the horse!

Would I build another Eduard 190? Definitely!

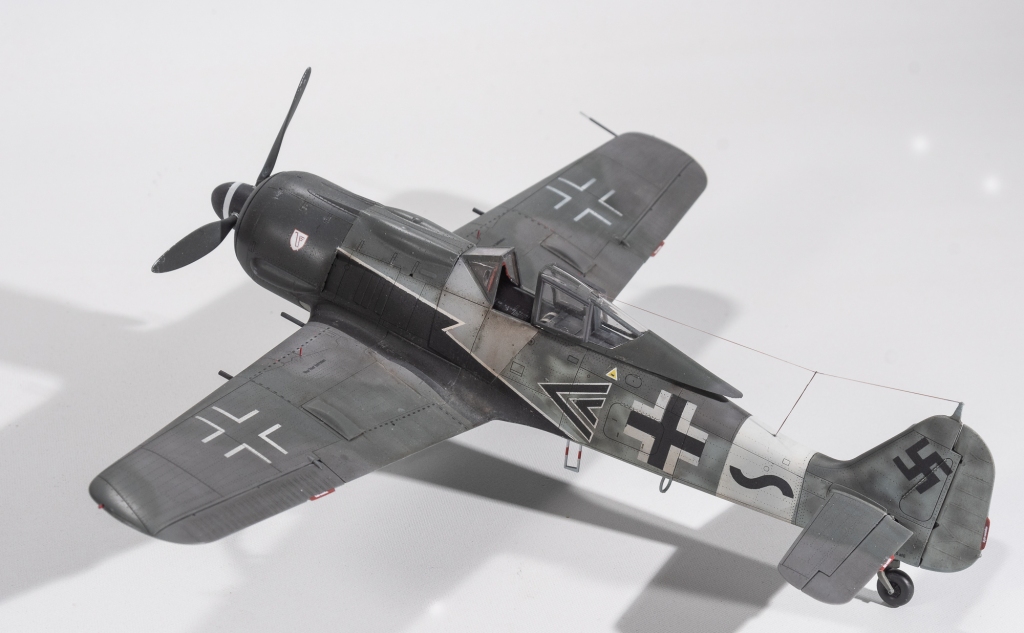
Focke Wulf 190A8/R2 IV (Sturm) JG3 Luftwaffe.

Mennington, Germany . July 1944

Leave a comment

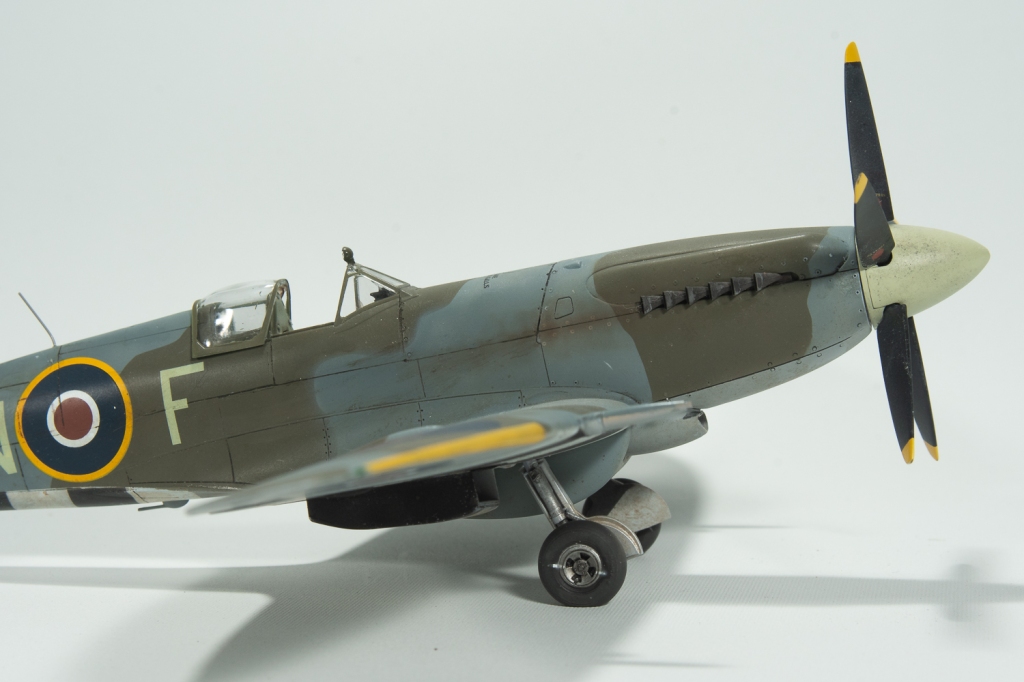
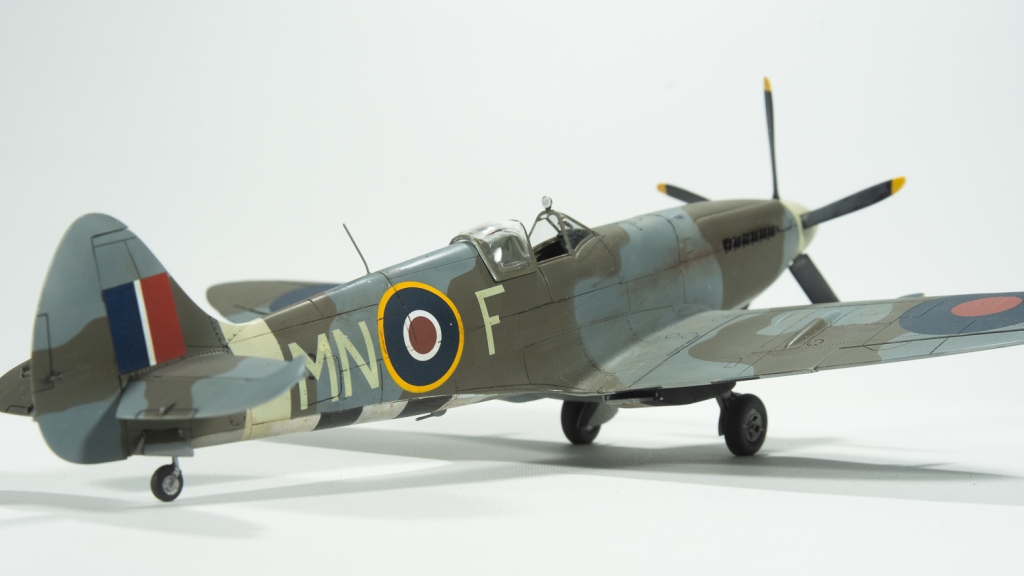
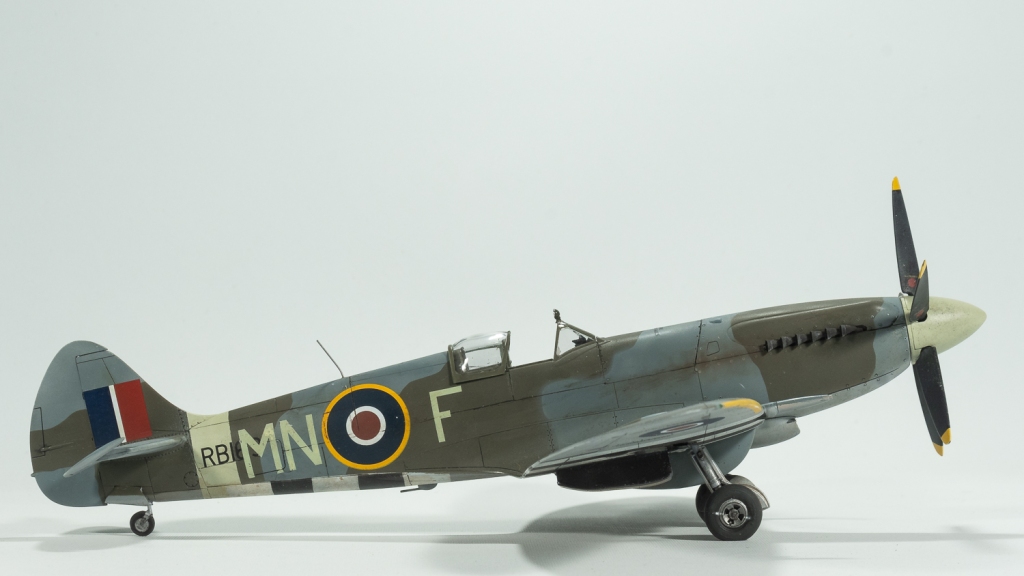
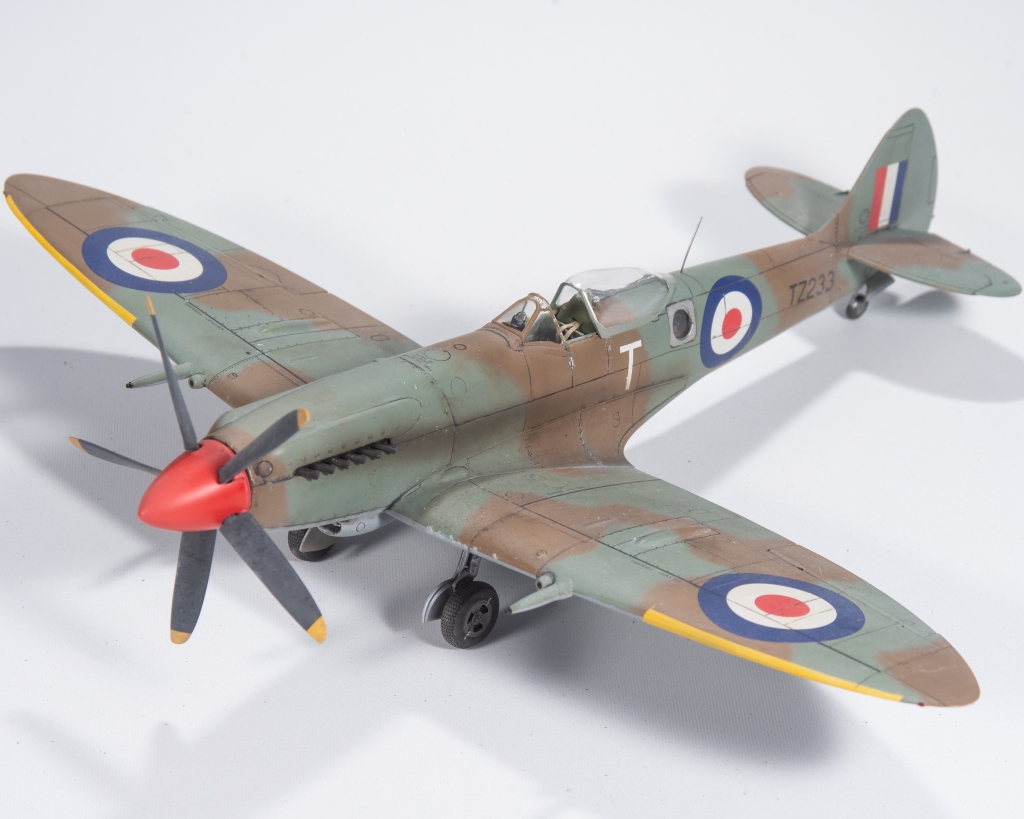
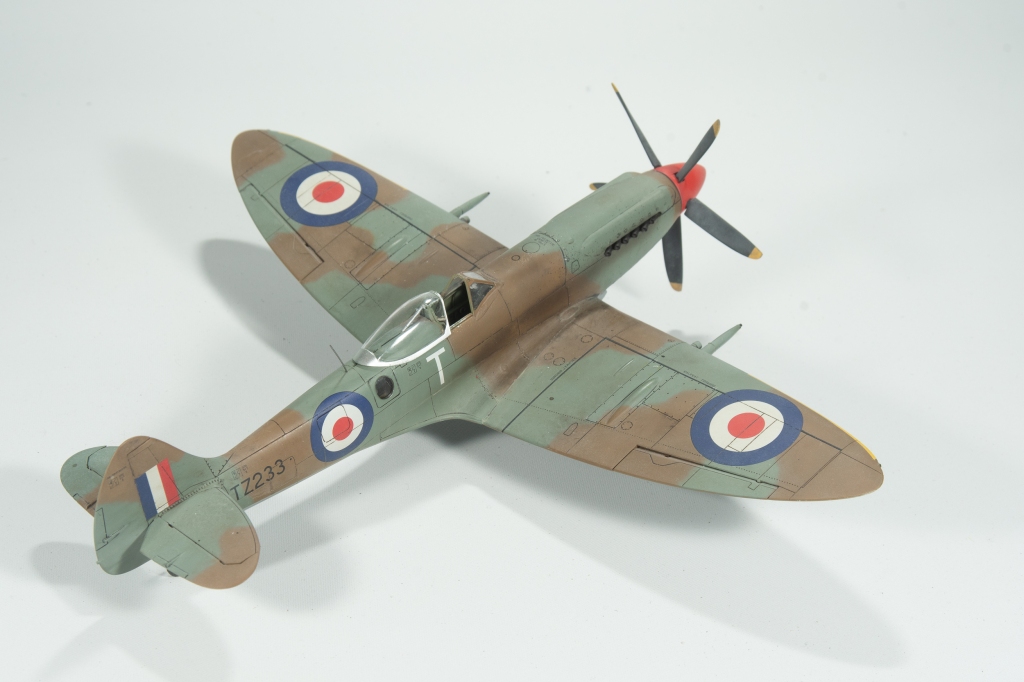
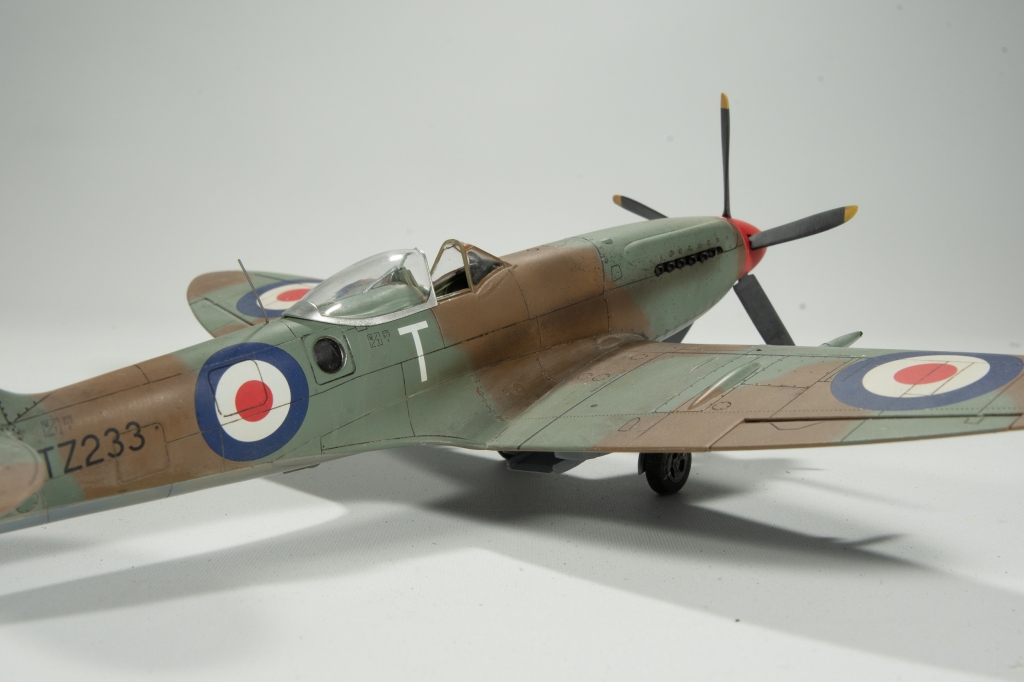
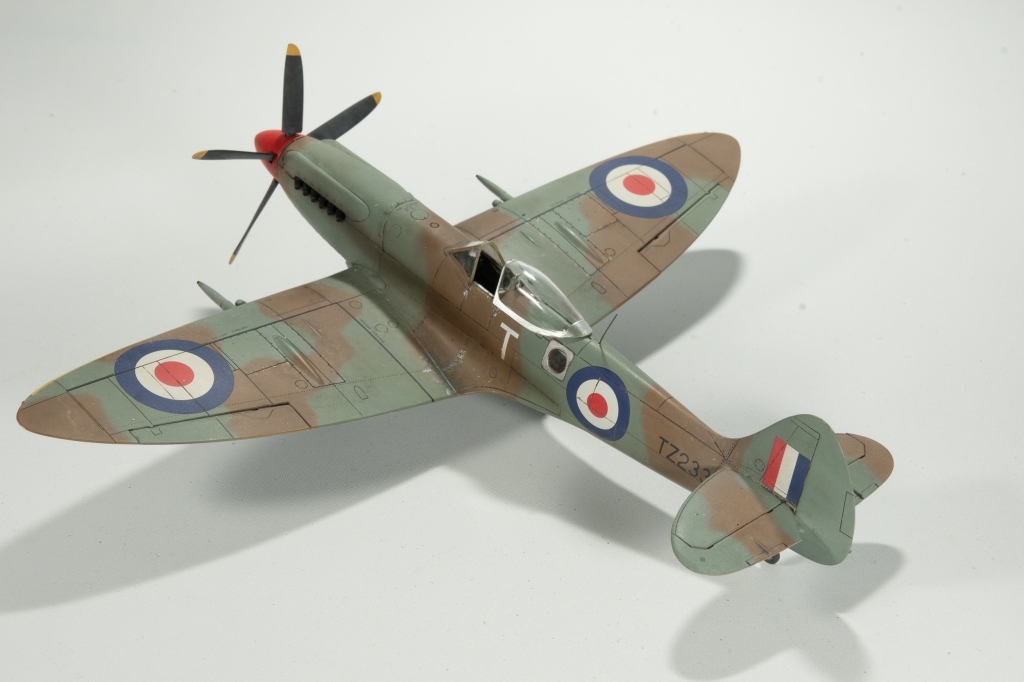
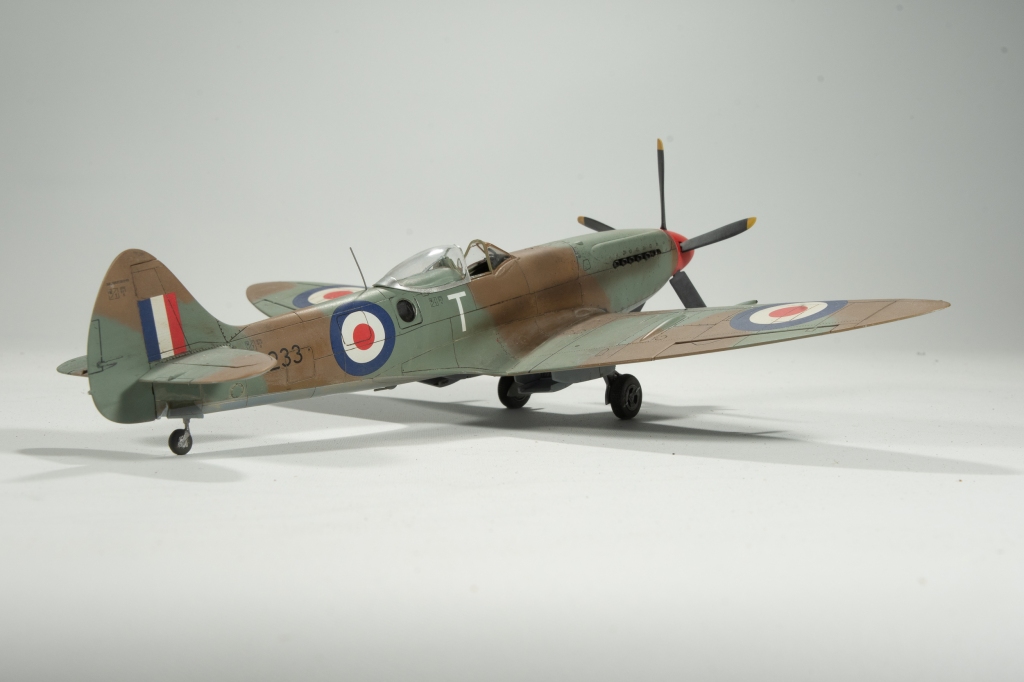
Airfix 1/48 Spitfire Mk XIVe (conversion)

  • Acquired: 2023
  • Completed: 2023
  • Enhancements;
  • Wheels; Brassin
  • Gun Barrels; Master Model
  • Exhausts; Brassin
  • Seat Belts; Eduard
  • Decals; Xtradecal

Another project (and Spitfire) started on nothing but an impulse. That impulse came in the form of fellow modeller Andy King publishing a post on his blog on how he was tackling converting the above two kits to arrive at an early Spitfire MkXIV,

His clear photos and narrative indicated what seemed a fairly straight forward conversion, one possibly even I could handle despite my inability to constantly cut straight lines.

A mate very graciously sent me the required Airfix kits, those being the Spitfire MkVb and XIV. Thanks Norm!

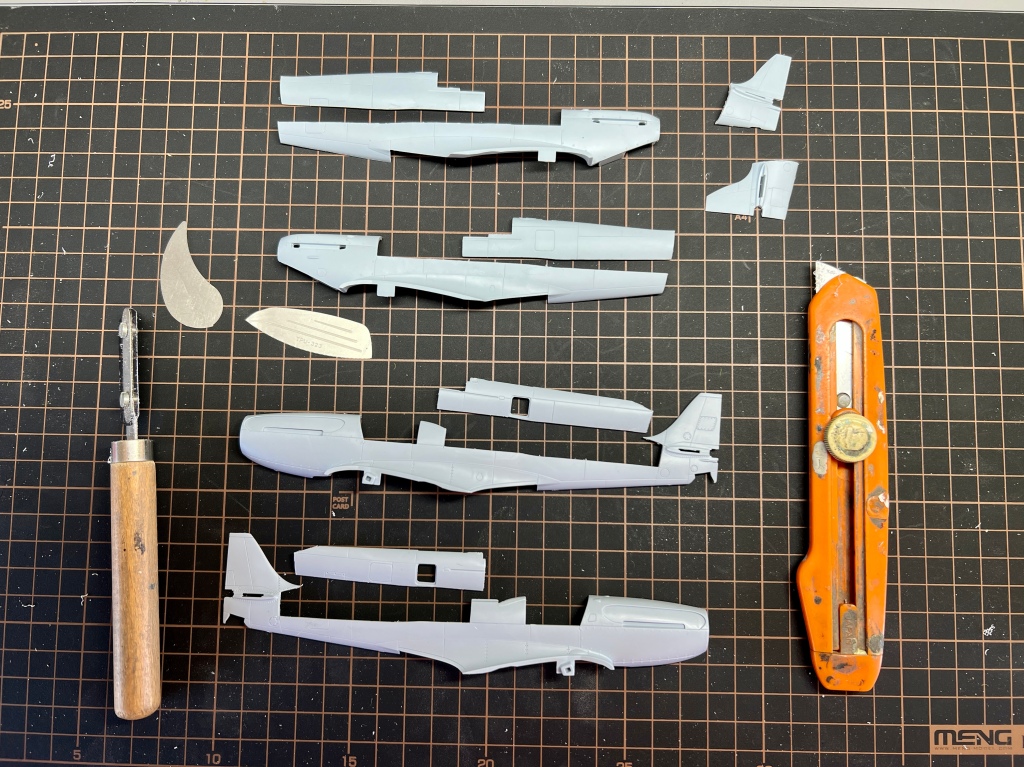
First order of (de) construction was too cut the kits along the required panel line as indicated in Andy’s article, although I deviated from Andy in just cutting straight through the rear access hatch rather than cutting around it to make the cut easier. Take particular care around the fin fillet of the XIV. Once cut, I traced the fillet onto the Vb fuselage halves with a pencil so I had an accurate edge to cut to.

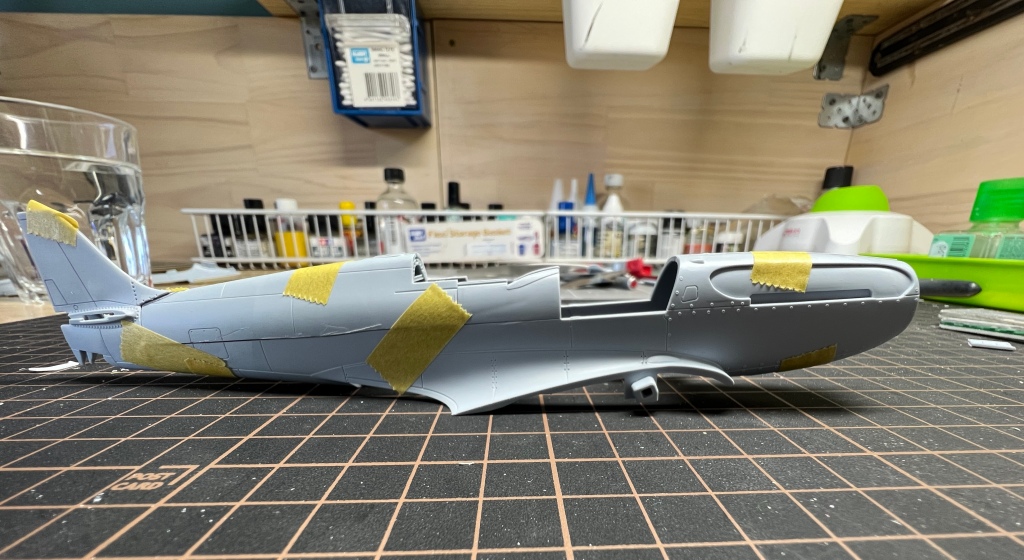
It was then a simple matter of joining the spine from the Vb kit to the lower fuselage of the XIV.

This had been the deciding moment. If this had not worked, the project probably would have been binned, but I was very happy with the result.

A tape together showed everything that needed to match up did

From here it was just a matter of assembling the spitfire as per the XIV instructions. The fuselage join did require some filler and subsequent rescribing of the lost panel line with that troublesome little jig just aft of the canopy. My work here was not great and I wish i had of had the patience to persist with it until I was truly happy with the result rather than settling for just “good enough”

If I could offer one bit of advice to modellers on the oft asked question of “How can I improve ?” it would be to persist until you are happy with your efforts rather than just accepting mediocrity. If only I took my own advice more often!

For the cockpit, the rear bulkhead from the Vb was married to the sidewalls of the XIV cockpit, and the fit of the fixed rear clear section from the Vb checked for fit. All good

What wasn’t so good though was when it came time to offer the lower wing section up to the fuselage, I could not get to mate to the wing fillets as it was fouling on the rear of the cockpit tub. Talking to Andy, he’d faced the same problem although in his case it was possibly due to him using the Eduard cockpit.

A long process of elimination and trouble shooting revealed the Vb bulkhead was not sitting as deep into the tub as it could. Remedying this sorted the problem and i got the lower wing fitted without further problem, and before you say “Bruce, that photo does not look like the fit is problem free,” the clamps are actually ensuring the underwing radiators sit flush with their cutouts. They mating surfaces do require some judicious sanding to ensure their fillets sit flush with the wing.

The top surfaces were then added for a nice tight fit. There was a small misalignment on the cannon stubs, but a skinny sanding stick paid short shift to that!

Painting time!

Annoyingly I had small flecks of paint pull up with tape all through the painting stage, no idea why as I had cleaned the plastic prior to painting with tamiya thinner X20A, and also used a primer. Nothing major, until I went to swab up some surplus Mig Ultra decal solvent with a cotton bud and removed not only the decal solvent, but also the clear finish and paint down to the plastic.

I have never had this happen before. It was easily touched up, although you can still see the scar. Also evident in the above pic are my dodgy scribing skills.

The camouflage demarcation was achieved by using the AML camouflage mask set. Its designed for the Academy kit, but still fits the airfix kit nicely. I managed to create a few ridge lines though with over judicious coats of paint.

Weathering was achieved with oil washes and spattering on Tamiya brown panel liner to represent spaces of mud kicked up by the propeller. Just needed to add the exhaust pipes and the mirror that came from a quick boost set and she was done

There exhausts were base coated in dark iron, then washed progressively with tamiya dark brown panel liner, Vallejo pale german camouflage brown and finally Vallejo white grey.

Im very happy to have this mark of Spitfire in the cabinet. A shout out to Andy King for doing the conversion as I never would have thought of it. Do check out his blog. He has always got something interesting on his bench.

Supermarine Spitfire XIVe. 350 (Belgian) SQN. R.A.F Lympne. 1944

Leave a comment

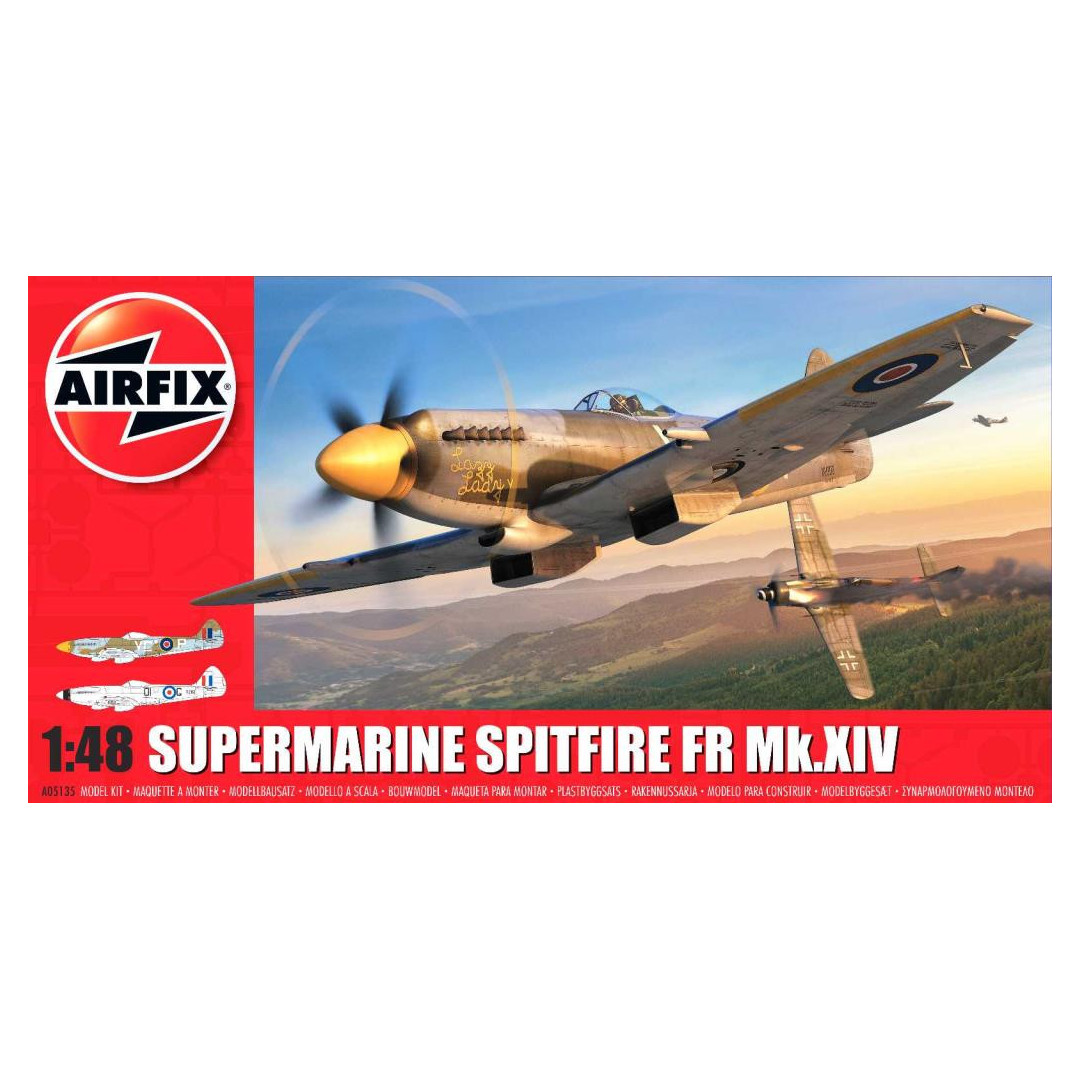
Airfix 1/48 Spitfire FRXIV (yes, another one!)

  • Added to Stash; 2022
  • Completed; 2023
  • Enhancements:
  • Exhausts: Brassin
  • Wheels: Brassin
  • Seat Belts: Eduard
  • Guns: master barrel
  • Decals: Xtradecals

Well! I certainly did not see myself completing another of these kits, immediately following on from my other one, but I had become intrigued by a few comments on my Facebook page as to how to get a better fit at the wing roots.

The suggested method was to fit the upper wings direct to the fuselage . This allowing the best way to get a tight fit, then the lower wing is added.

I was doubtful this would work on this model, given the very small contact area for the upper wings abutting the wing fillets. Instead I added the upper wings to the lower wings, only glueing the tips together to ensure there would be no step. As the wings had had no glue added inboard of the aileron cut outs, the soft plastic allowed me to spread the upper and lower wing to fit over the undercarriage location stubs moulded in situ along the wing root. My wing root gap was almost non existent this time, needing only a thin smear of Mr Surfacer to reduce the join.

My other major departure from the instructions with this build was to glue the fuselage halves together, completely dress the join, then add the fuselage from below. The fuel tank was still a poor fit.

I added a 10thou shim to the front. The shim was sanded to conform to the cross section of the cover before it was put fit on. Result was a much tighter fit.

The construction on this was looking a lot tighter than my first one, which pleased me. For the finish, a modified desert day scheme used by the RAF post war was settled on. The different scheme a mate had used on his really appealed to me, so I wanted something similar for mine.

Not the same, obviously as I didn’t want to show him up!

The modified desert scheme was only used on two aircraft types that I know of, the Spitfires XIVs of 208 SQN and Tempests of 6 SQN. It was arrived at to differentiate the spitfires of the RAF from those of the Israeli Air Force and the Royal Egyptian Airforce, following a couple of “friendly’ fire incidents, which led to the loss of a few RAF machines.

During this time frame, all three Air Forces flew Spitfires, albeit different marks, so making your aircraft different from the others was a necessity.

Colours used were Gunze’s dark earth and MRPs light slate grey and medium sea grey for the undersides. The camouflage being freehand with my Iwata HP-C. Some tonal variation was achieved by utilising a random preshade of differing colours such as yellow, tan and light grey,

Decals were from xtradecals and there was no problems with applying them over a gloss coat, the post war D type roundels looking superb against the drab camouflage. With the national markings done it was time for the stencils which came from the kit sheet, well that was if I hadn’t accidentally thrown them out during packing up for the house move. Actually, there was nothing accidental about it as I can remember looking at them and thinking “I won’t need these, its a field applied camouflage” so in the bin they went.

I may have been correct in this assumption as the only two photos I could find on the net of these machines showed weren’t the best quality, so I couldn’t make out if there was stencilling or not. Given the machines were completely painted in a new scheme – well the top surfaces anyway – my supposition was stencilling was reapplied. In any case a lat mark spitfire stencil sheet by Barracuda Studios was duly ordered

Given Roy Sutherland markets this as suitable for any Spitfire from mark nine to mark 22, it was disappointing to find only enough stencils for four propeller blades, not five as needed in my case, or in fact for a mark 22/24.

Wing Walk lines were masked and painted as long thin decals and I don’t get on well!

An interesting little fact I discovered on Spitfires post VIII – the mechanical undercarriage down rods which extend above the wings when the gear is down, were deleted. So I didn’t add them as was my original intent and what started me down the stencilling rabbit hole

I was particularly pleased with my handling of the canopy on this kit. It was sharply masked and remained crystal clear, which is not usual for me, well thats how I remembered it before the move.

Imagine my horror when I pulled it from the box to discover a dirty great crack the length of it.

No problem, there’s two in the kit, in fact I had two remaining ones from both kits. I had used one as a mask when painting this kit, so cleaned it up with some MR Thinner, which revealed that this one was also cracked, I mean for christs sake!!!! Maybe I applied too much pressure whist holding it when painting the kit. So, the remaining canopy was masked up and painted. Unmasking this revealed………. a tiny spot where the plastic had crazed, what caused it. I don’t know, no glue had been near it, only lacquer paint, whether it pooled on this spot whilst painting, I have no idea. The offending area was sanded out and repolished but I could not eradicate it completely.

Thanks though to some fellow modellers following a plea on one of the facebook sites, I soon had not one but two extra canopies to replace my marred example. The whip aerial was added from some piano wire and she was done.

Looking at the completed model with a critical eye, there are a few areas Im not happy with, and some unforced errors I continue to make, but the different camouflage certainly sets it apart from my other Spitfires, and I have really grown to love the Griffon engined spits.

Supermarine Spitfire FRXVIII 208 SQN Royal Air Force Egypt 1949

Leave a comment

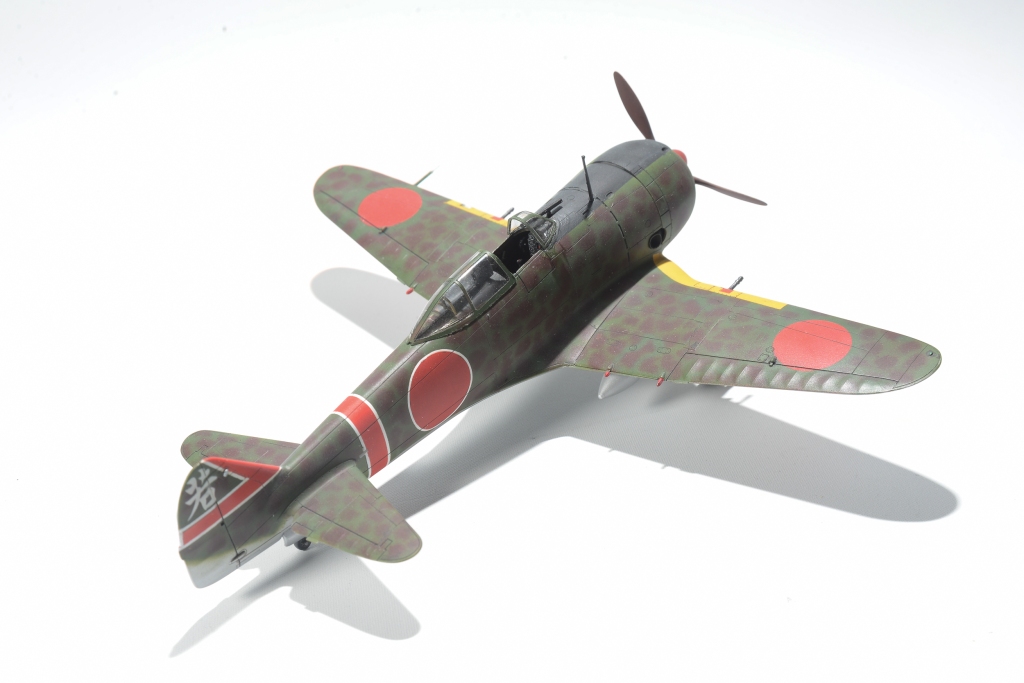
Hasegawa 1/48 Nakajima Ki44 Tojo

  • Added to stash: 2022
  • Built: 2022
  • Enhancements: Seat belts- Eduard
  • Decals: Combination of kit and home made masks

There is not really much to say about the construction off this kit at all, it being virtually viceless

The model was purchased off Facebook along with the hasegawa Val, both fine examples of Hasegawa single engined Japanese WW2 aircraft dating from the early 2000s. Kits that have pretty much stood the test of time well, although some of the details could now be considered a bit clunky.

The only tweak made to the model was to insert a spreader bar of plastic to eliminate a wing root gap.

Aside from this, assembly was trouble free. The model was assembled with super glue in an effort to avoid ghost seams. The fact I still experienced some has left me on the fence about assembling kits with superglue. Certainly with this kit, it led to no advantage.

The intent behind this model was purely as a fun build and to test my airbrush skills whilst I waited for resin bits to arrive for my Meng Super Hornet build. As such, only PE seatbelts were added and I left it as a clean unweathered build. Given the simple shapes of the markings, the opportunity was taken to further learn how to use my silhouette machine. The decal sheet was scanned and the required decals traced out and cut from Oromask 810. This is certainly getting easier, the more I use the machine and software.

Undersides were painted in tamiya LP11 whilst upper surfaces were done using Mr Color nakajima green and a mix of tamiya acrylics to match the gunze colour “propeller colour” which is a dark brown. It took me two goes with my Iwata HP-C, the first being stripped back as the mottle did not look dense enough compared to the kit paint guide.

Yellow ID bands were gunze yellow with a bit of red added. Lastly the black anti glare panel was added before all the bits such as undercarriage, doors, tanks were glued on. Well, not all bits, the telescope sight managed to end up in that alternate universe a lot of plastic kit parts end up in. This necessitated a new one being made from some plastic rod and the windscreen being levered off to fit it. I never managed to get a clean fit on the windscreen again, so left it slightly wonky.

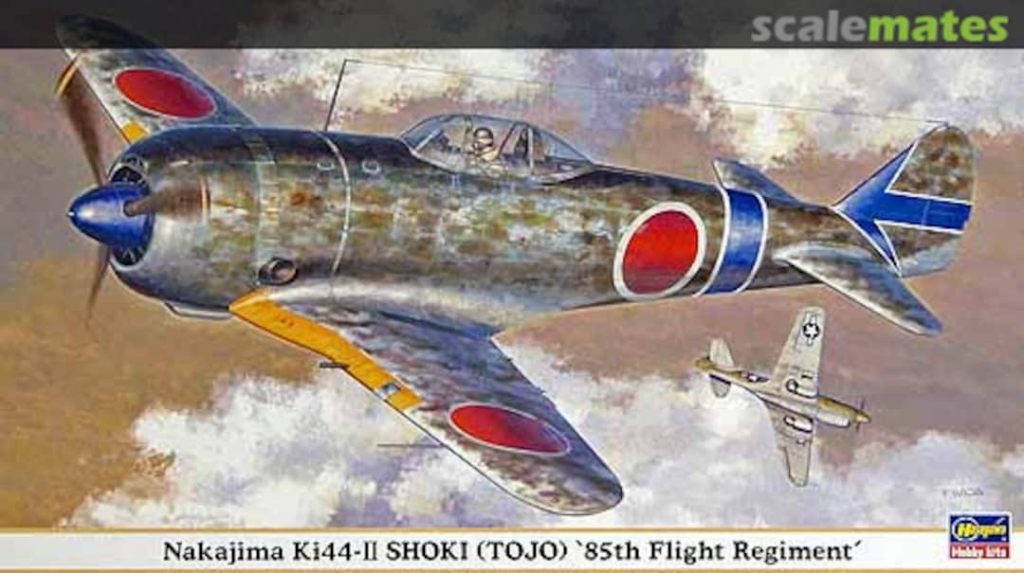
The Hasegawa Tojo was a fun little build. I didn’t get it done in the last week of my holidays as planned due to coming down with Covid, and its certainly not my best work, I mean look at that windscreen for gods sake! As a break from larger and more complicated builds though, it certainly was the required tonic. The big brother of this kit lives in my stash, and I wouldn’t mind doing this one in the box scheme from this kit with those striking blue bands.

Nakajima Ki44-II “tojo” 2nd Company 85th Flight Reg.

Imperial Japanese Army. China 1944

Leave a comment

Fly Models 1/32 Hawker Hurricane llD

  • Built: 2022
  • Added to stash: 2017
  • Enhancements:
  • Instrument panel-Yahu
  • Seatbelts-HGW
  • Decals: all insignia painted on using kit scheme as templates. Stencils-1 man Army

“I can’t see any more Fly kits in my future”

My love for this particular mark of Hurricane dates back to the mid 70s when the owner of a Perth W.A hobby shop I frequented showed me his rendition of the ancient Monogram 48 scale kit.

It is still clear in my mind (yet I cant remember what I did last week!) as he had added the exhaust streaks and some scuffing around the wing roots. All the raised rivets had been dry brushed and there was not a seam or silvered decal anywhere. At the time I had no idea kits could be made to this standard, where did the seams go, and why were there no brush strokes!!!!

This stalwart of early British fighters, though has sadly been ignored by the main manufacturers when it comes to 32 scale.

There was a early kit released by Revell in the lates 60s, which remained the only game in town until Pacific Coast Models and then Fly released their non mainstream kits.

As a “lo-fi” kit, I think the Fly Models Hurricane rates above the Pacific Coast kit from what I can remember of my PCM kit before I sold it. Out of the box, the Fly kit boasts sublime surface detail on the wings in the form of raised rivets. The fabric effect on the fuselage is not overdone, there are recessed rivets on the leading edge which means it will be easy to reinstate these following sanding and filling sessions. All this complimented by some nice resin and photo etched details. Not mentioned in the instructions, there are also parts to make a MkIV out of the box, with the armoured radiator and (crude) rockets, rails, blast plates and drop tanks being included. These parts will find a new home in my spares box.

There are surprisingly few parts for a 32 scale model, but construction certainly was not simple. Not helping in this was the instruction booklet. There detail on illustrated parts in some cases not matching the detail on the actual parts in some cases. The seat adjustment handle, bulletproof glass, and armoured rear cockpit bulkhead being some examples.

I would advise washing the sprues in soapy water before assembly. Usually I would not do this but found on this particular model, my Tamiya extra thin just did not grab like it does on other plastic. I can only assume this was due to some contaminenat on the plastic, although they did not feel greasy.

The cockpit “cage” was frustrating to clean up and get square, again not aided by vague instructions. I used the compass face included in the Yahu set. Fly would have you glue the seat adjustment lever to the wrong side of the seat, they also have you incorrectly have the seat harness attaching to the rear of the seat. It should in fact run through a slot in the armour plate. Despite the diagram showing an armour plate detailed with bolt heads the PE item in the kit is featureless. I added punched plastic card discs, although mine are overscale. The control column likewise is not the detailed item shown in the instructions but a rather featureless plastic part. I wrapped fine wire around the spade grip. The super detailers amounts you could also add the chain running from the pulley mounted on the column .

The fuselage went together without too much drama, well apart from a seam on the cowling that just would not disappear despite numerous sanding sessions. In the end I scribed a trench along it then filled it with superglue and sanded it down. That did the trick.

If there is one trick to this kit, it is ensuring that you remove COMPLETELY, the casting block on the wheel well roof. My dremel got this job. When I had finished, in some areas the roof was that thin it was almost transparent!

Get this right, and assembly is reasonably straight forward, with the wing centre section fitting to the fuselage reasonably well. I chose to add plastic card tabs to the various wing sections to aid assembly. You want to avoid steps at all costs, sanding will destroy all that lovely raised detail.. To this end I chose to add the top halves of the wings to the wing roots as I wanted a clean join here. This meant, on my kit I had a step on the leading edges, but figured any detail destroyed here would be easier to re instate than the raised rivets around the wing root.

The landing light as a consequence also was not the best fit. Superglue came to the rescue. The tailplanes also required filler along their roots as did almost every trailing edge. No razor sharp trailing edges on this Hurricane!

Fly would have you add three recognition lights underneath. Wartime aircraft seem tp have only the centre one fitted based on photos I looked at, so the two outer lenses were glued in place then faired over with putty. Whilst we are on the bottom of the machine, of you are going to add the pulldown footstep, don’t forget it is linked to the handhold to the rear of the cockpit, so this should also be cut out and the inward folding cover added. I didn’t bother so I won’t add the step either.

The model required several sessions of priming, and then remedial sanding and filling to smooth over several areas. The underside could then be preshaded in SMS PRU Blue before the final colour using SMS Azure Blue. A marbled coat was then applied using lightened Azure Blue. Staying with the undersides, the wheelwells were painted silver and the underside roundels painted using Montex masks from their A type roundel set. Whilst masking the underside demarcation line, something was not looking right. My theory is Fly have engraved the bottom lines of the side cowlings too low. They should be higher up the fuselage sides which would make the bottom cowling also wider as it looks a bit too narrow. I have not compared this to any plans, just eyeballing photos. I probably should have filled and re engraved the lines, but I was on a roll now and not wanting to slow my progress.

Uppersurfaces were painted with SMS Mid Stone and SMS Dark Earth. The SMS rendition of Dark Earth looks a little too dark too me, but it does complement the mid stone nicely. Lightened mixes of each colour were applied in random streaks and mottles, with the fabric rear and control surfaces being painted in paler still shades of the basic colours to represent the different way these would have faded from the metal areas.

Masks for the codes and serials were cut by a mate. Thanks Calum. The roundels again are from Montex masks as was the fin flash. Artillery Models actually sell the decal sheets from each boxing as masks, but don’t waste your money. They are made from a very light tack transparent frisket, and just do not easily transfer from the sheet or even stick to the model.

What is worth the money (well maybe not, as they are very expensive, are the set of stencils from One Man Army out of Belgium. These are masks which you can spray all the stencils through, rather than using decals or dry transfers. Some of these stencils such as the No Step markings are tiny, but the masks are very sharply cut. I was most impressed and will be investing in more of their sets. they can be re used so my set will be re used on Revells forthcoming new tool Hurricane. TIP: buy from Hannants as even with postage to Australia, they are still cheaper than BNA have them for.

Chipping was added using Vallejo white grey and then the whole model sprayed with tamiya semi gloss varnish ready for washes and further weathering to be applied.

For this model, the oil dot filter process was used. Small dots of white, buff and yellow oil paint was applied to the top surfaces and scrubbed in with an old brush. This had the effect of bleaching the upper surfaces. Im not sure Im really happy with the effect although it does give a sun faced effect to the model.

The Artillery Models vac form canopy was cut out and fitted as the kit plastic canopy did not fit over the spine of the aircraft and sat high. Reskit wheels were purchased but they look to be significantly undersized. Looking at photo I think the kit supplied resin wheels are more correct, but their hubs are way too small.

I found the undercarriage difficult to fit as it does not locate positively within the wheelwell. The tailwheel was ri enforced with a bit of brass tubing as I did not trust the kit plastic.

Lastly the kit gun barrels were replaced with brass tubing although I think mine are fairly anaemic looking for 40mm weapons. I may revisit these later.

Conclusion

The Fly Hurricane kit is one Ive been wanting to make for a while, purely as I love the aeroplane, but it certainly tested me, to the point Ive sold the other Fly Hurricane kits I had in the stash. They are just not an enjoyable build experience.

Having this model on the shelf takes me many years back, to a young boy,, standing at the counter of that upstairs Hay St. Mall hobby shop gazing in awe at another hurricane in desert camouflage. And for that reason alone this rates as one of my favourite builds so far.

Hawker Hurricane Mk.IID. 6 SQN Royal Air Force.

Shandur. Egypt 1942