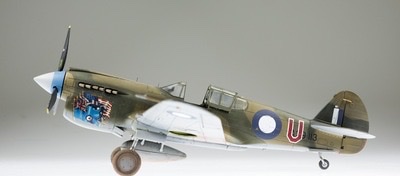
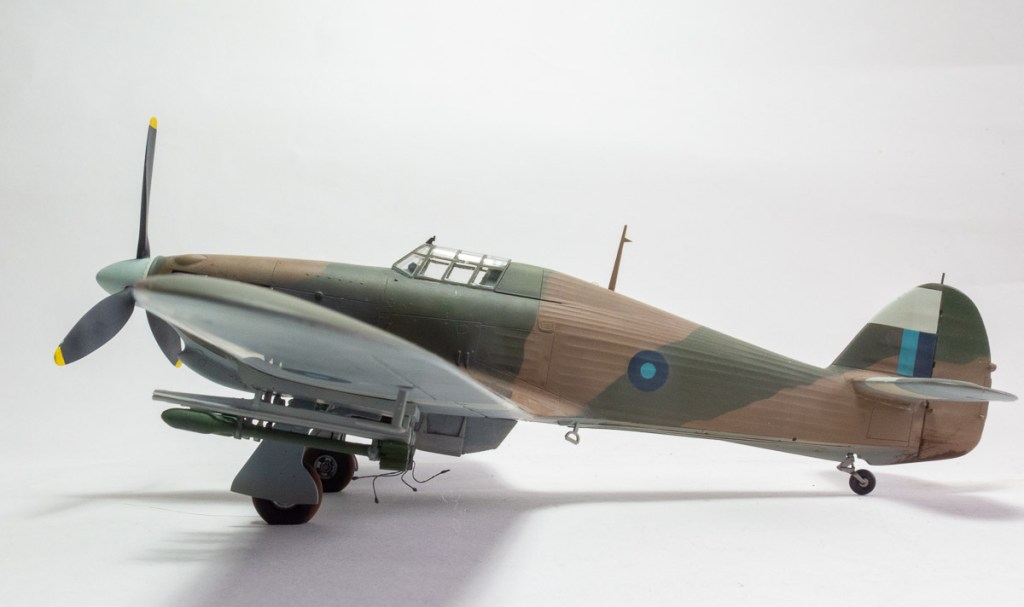
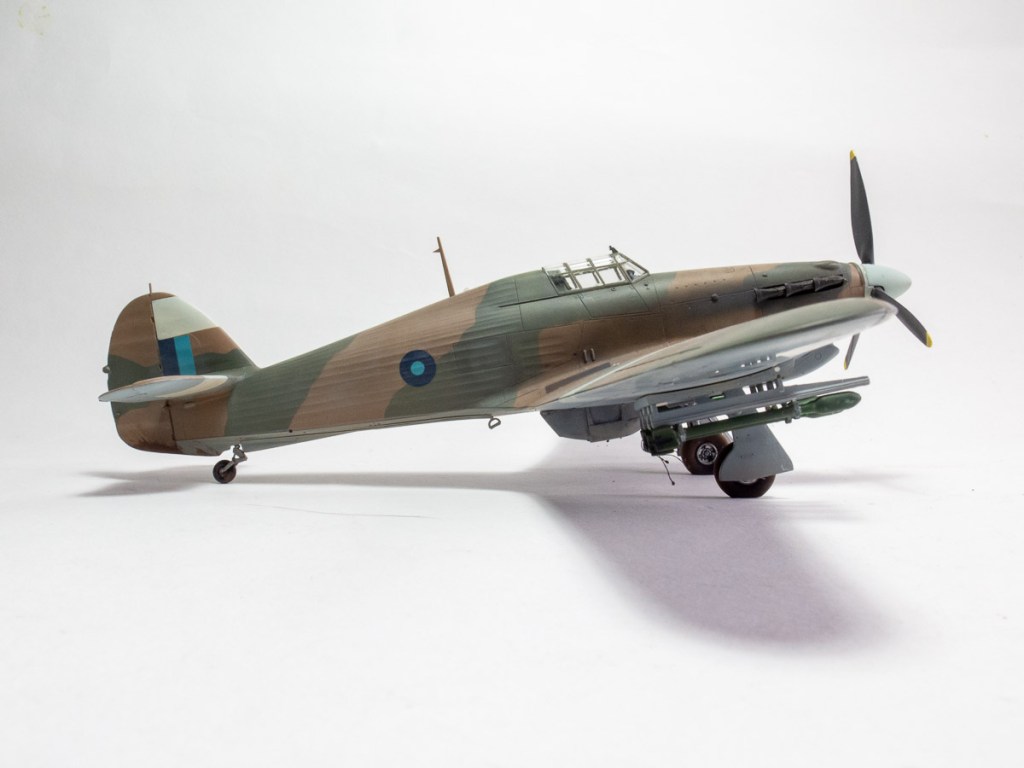
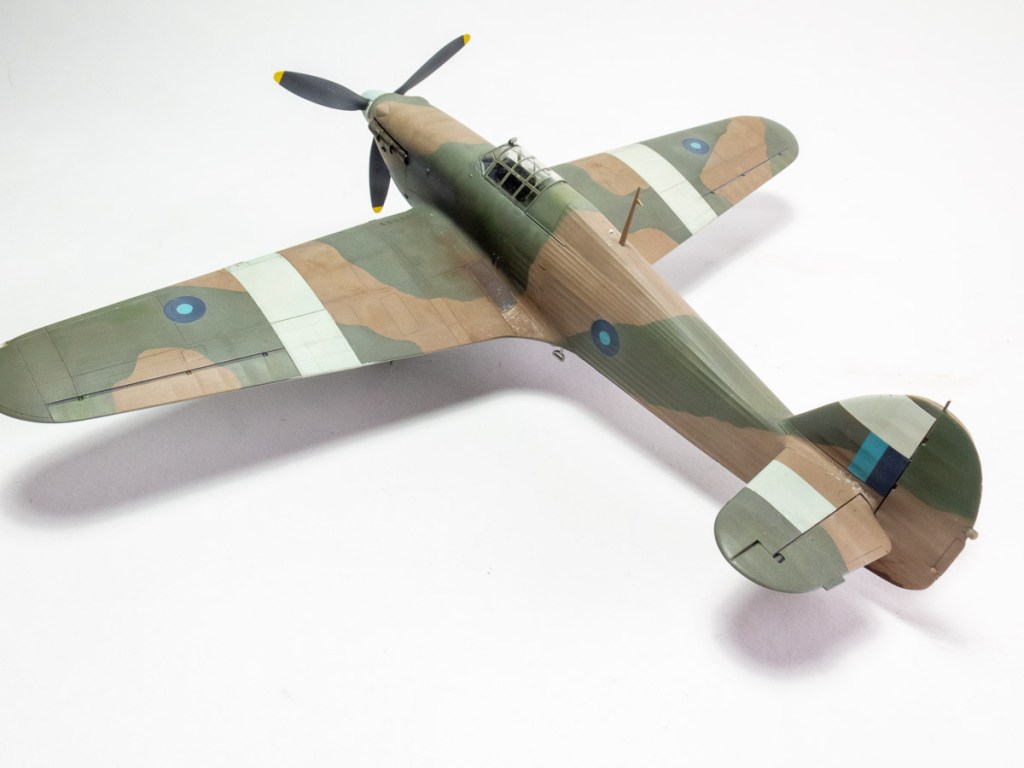
- Built: 2016
- Aftermarket Used: Nil
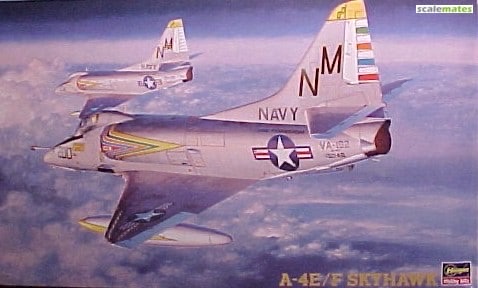
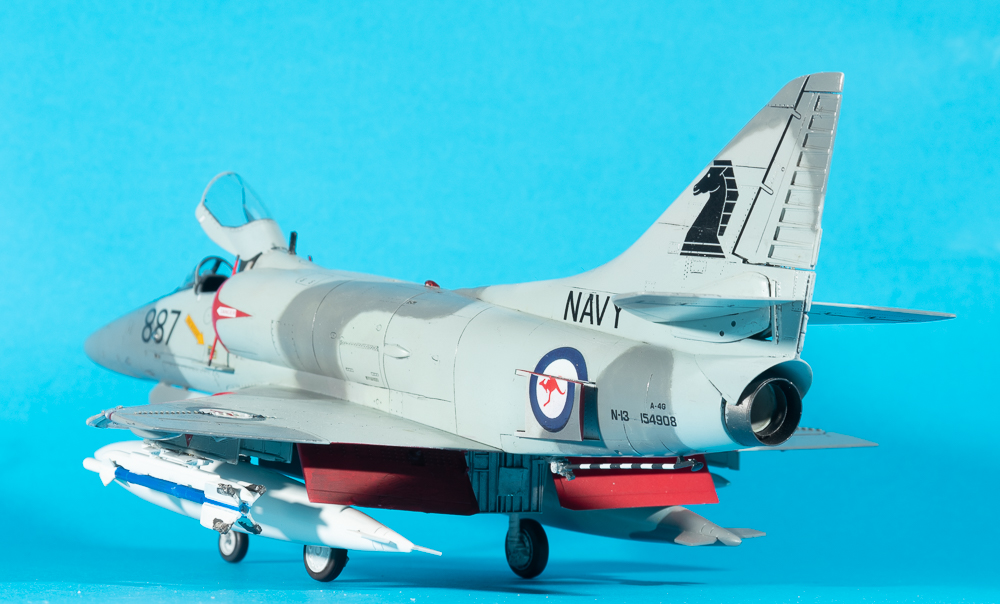
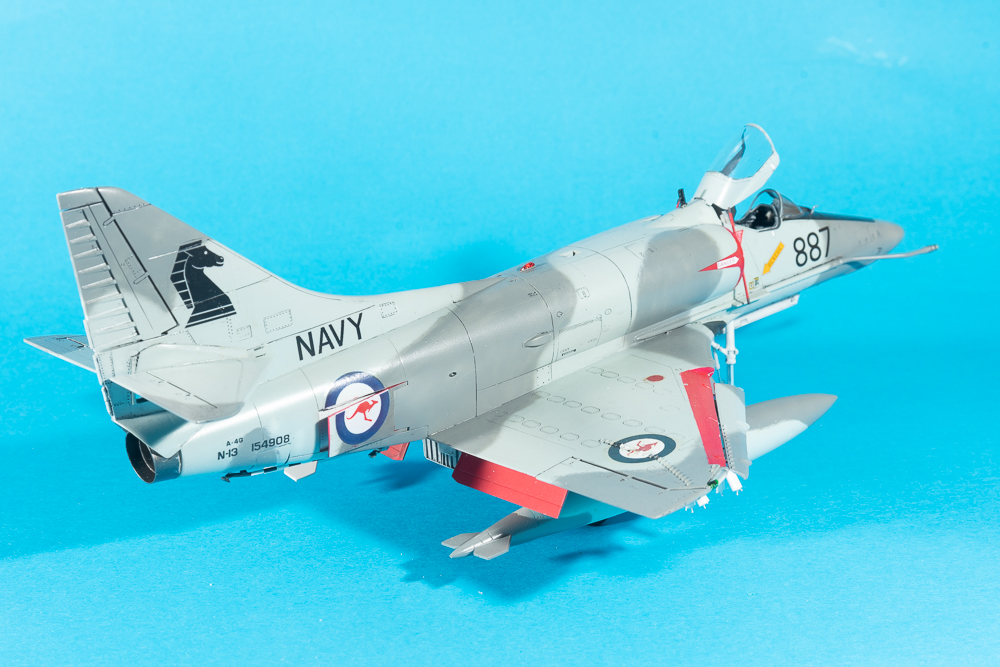
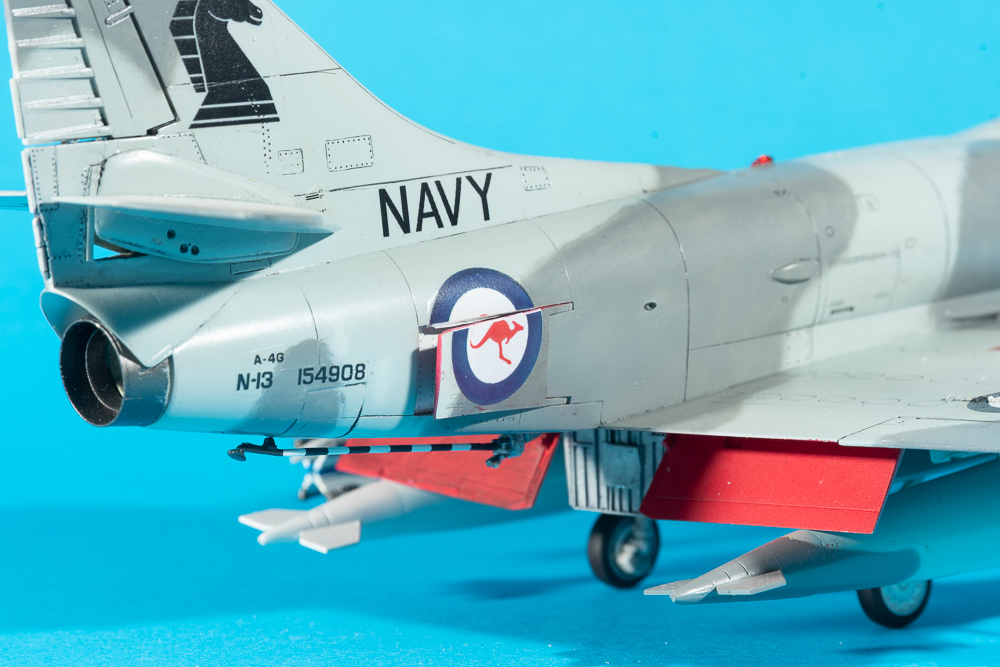
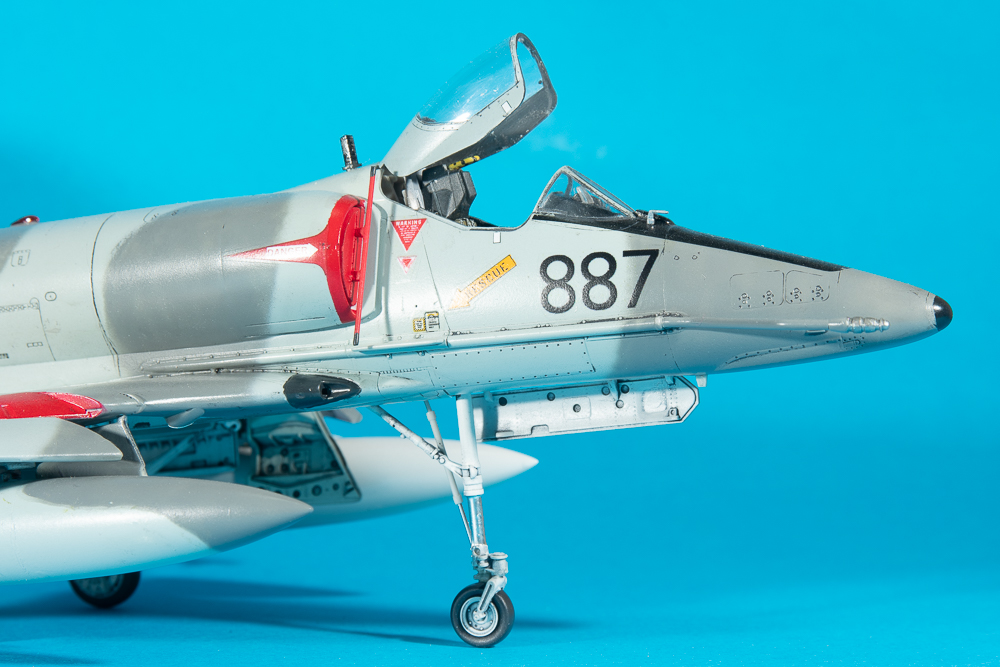
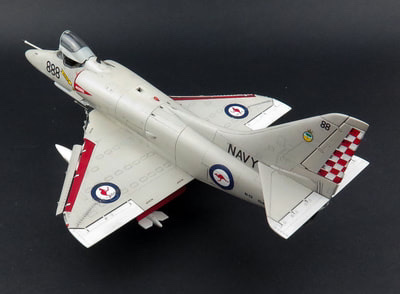
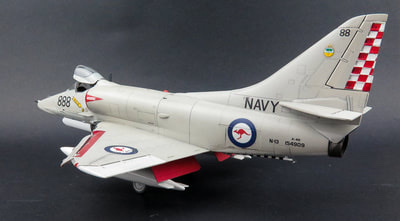
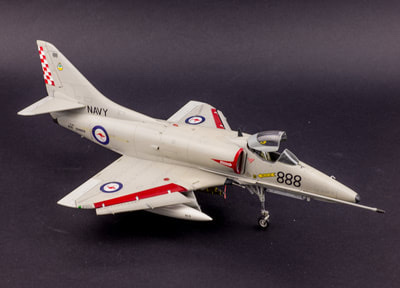
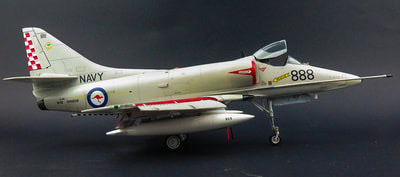
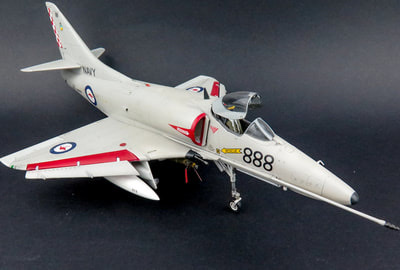
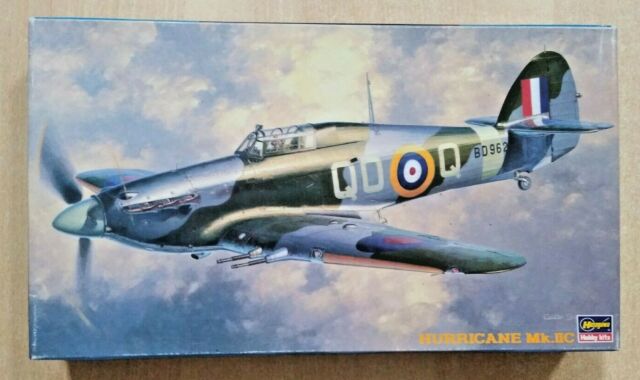
- Decals: Kit
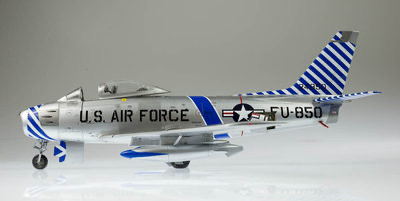
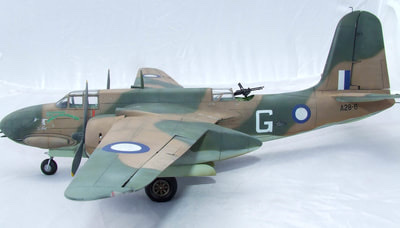
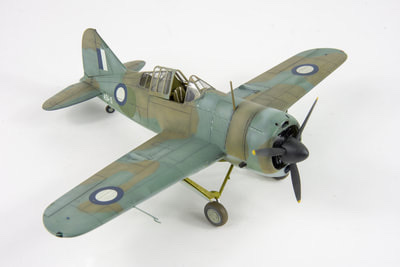
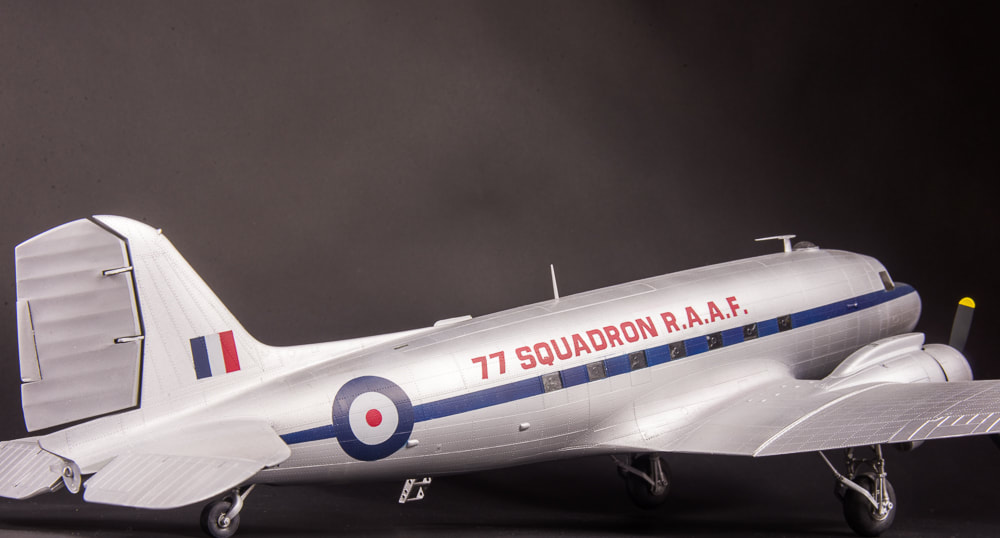
This was the second review I did for The Modelling News and I had high hopes for it. Unfortunately the kit was a bit of a chore, whether this was because I had just built a kittyhawk, or because of all the remedial work required, I found myself having to dig deep to finish the build.
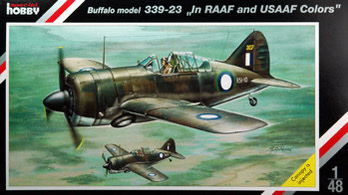
Despite its inaccuracies, the kit has some nice features, although I can not recommend it given the Airfix kit is far superior. I imagine this will be relegated to the shadows, especially in the Western market.
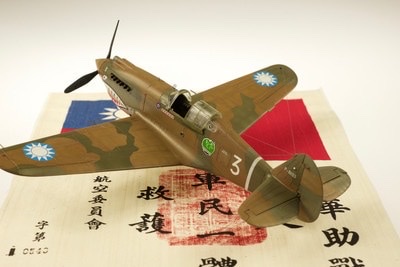
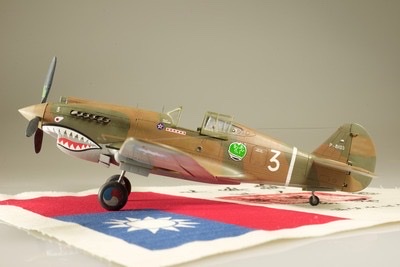
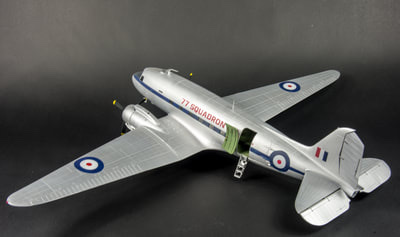
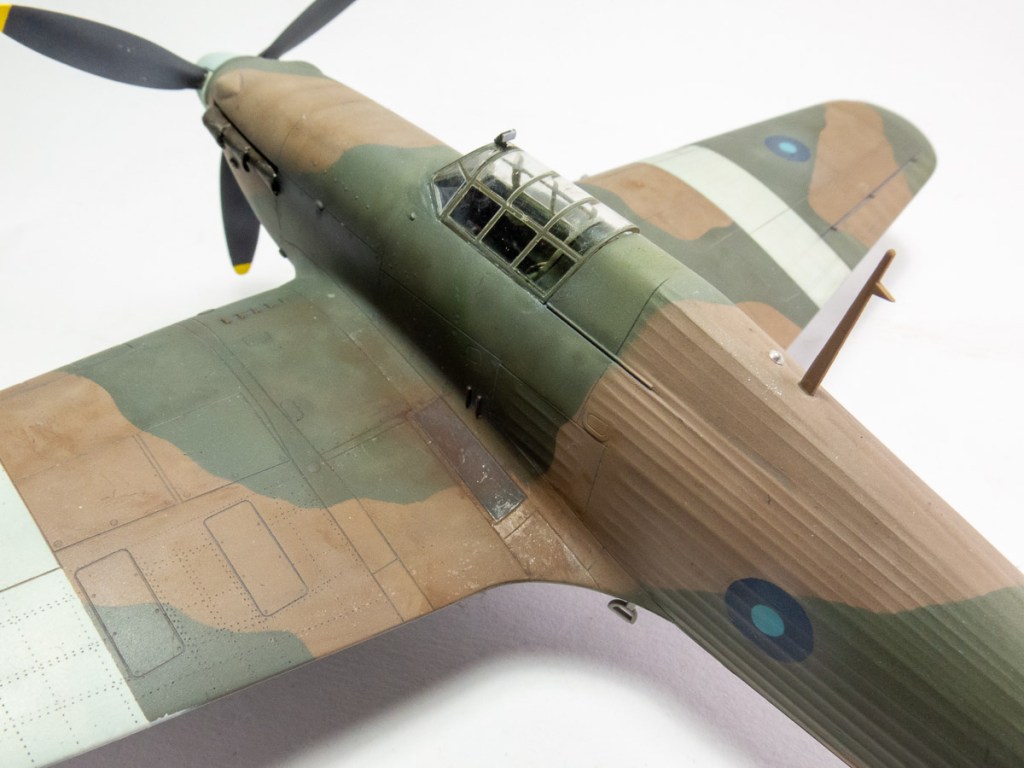
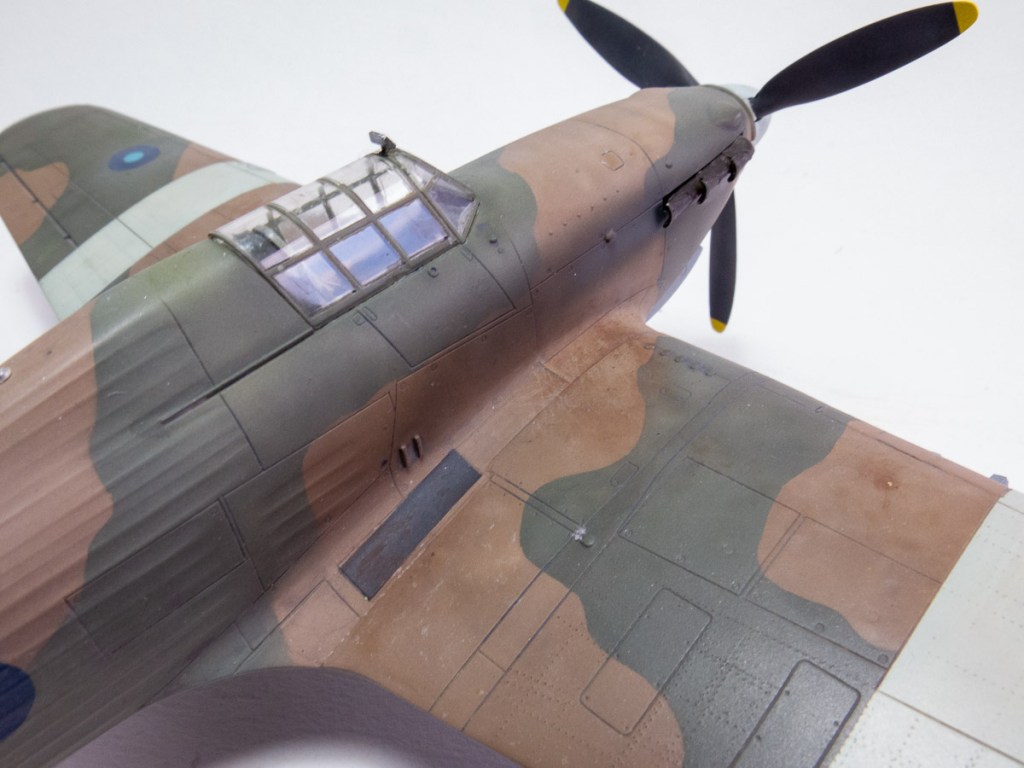
Curtiss 81-A2 Hawk. American Volunteer Group. China. 1941