
- Added to Stash; 2022
- Completed; 2023
- Enhancements:
- Exhausts: Brassin
- Wheels: Brassin
- Seat Belts: Eduard
- Guns: master barrel
- Decals: Xtradecals
Well! I certainly did not see myself completing another of these kits, immediately following on from my other one, but I had become intrigued by a few comments on my Facebook page as to how to get a better fit at the wing roots.
The suggested method was to fit the upper wings direct to the fuselage . This allowing the best way to get a tight fit, then the lower wing is added.
I was doubtful this would work on this model, given the very small contact area for the upper wings abutting the wing fillets. Instead I added the upper wings to the lower wings, only glueing the tips together to ensure there would be no step. As the wings had had no glue added inboard of the aileron cut outs, the soft plastic allowed me to spread the upper and lower wing to fit over the undercarriage location stubs moulded in situ along the wing root. My wing root gap was almost non existent this time, needing only a thin smear of Mr Surfacer to reduce the join.
My other major departure from the instructions with this build was to glue the fuselage halves together, completely dress the join, then add the fuselage from below. The fuel tank was still a poor fit.
I added a 10thou shim to the front. The shim was sanded to conform to the cross section of the cover before it was put fit on. Result was a much tighter fit.
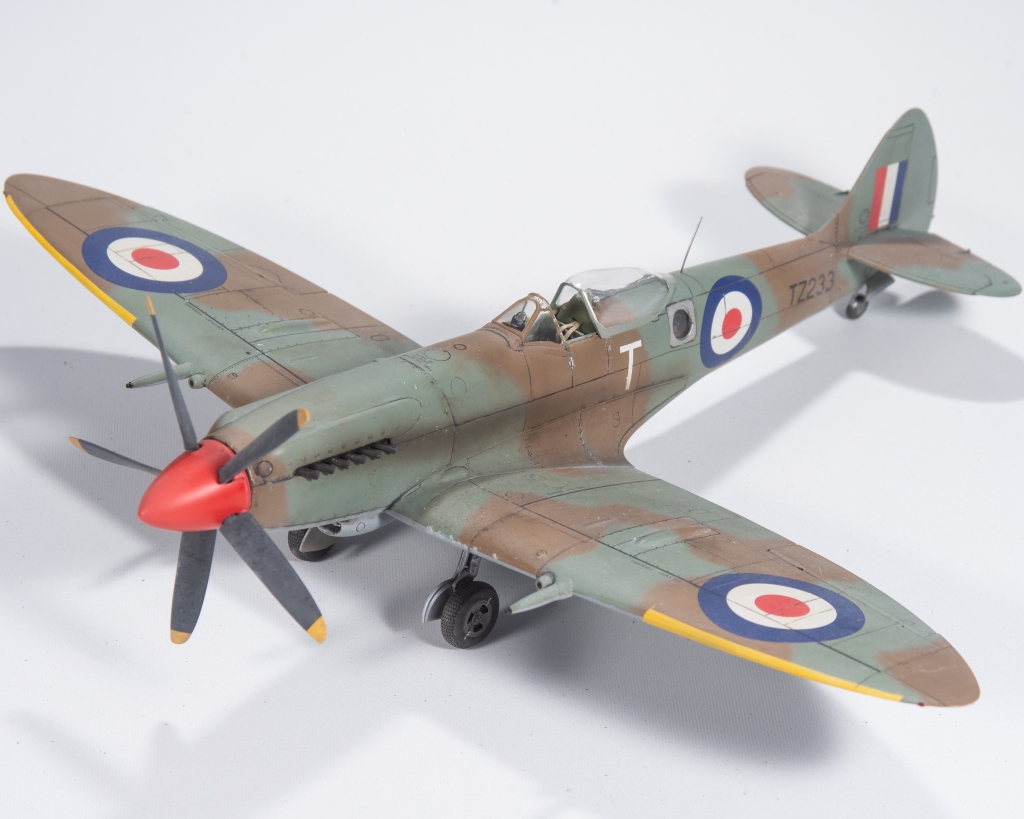
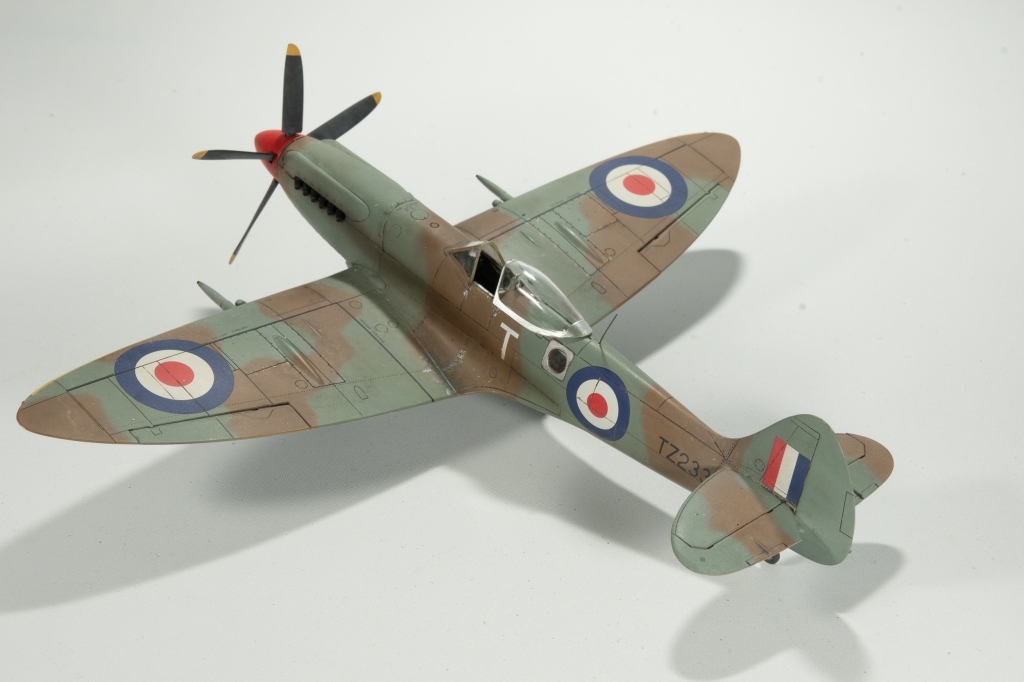
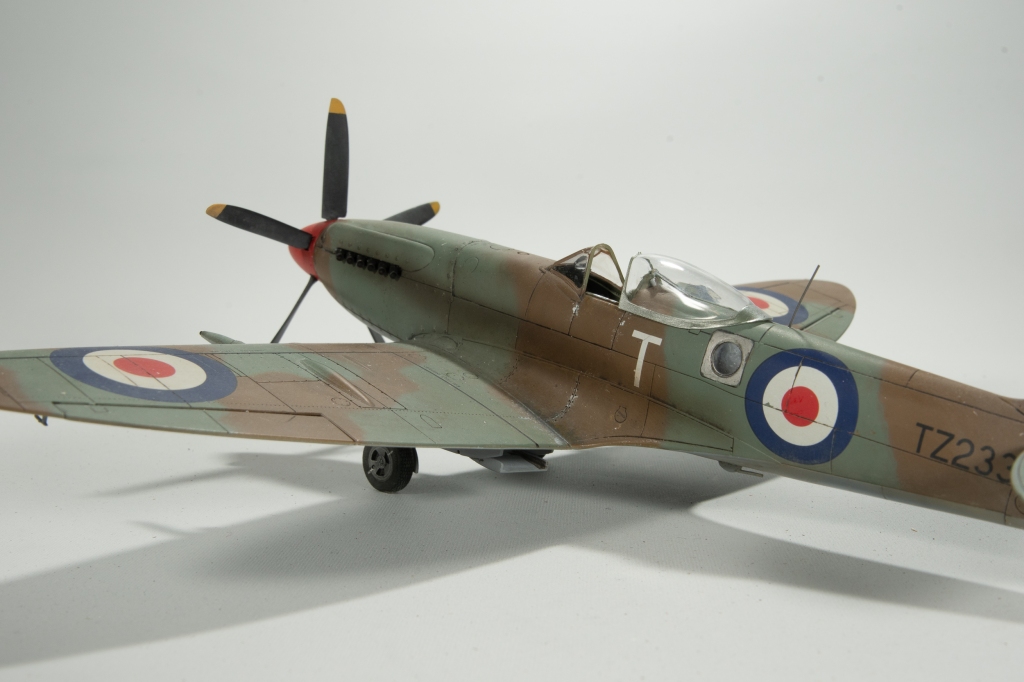
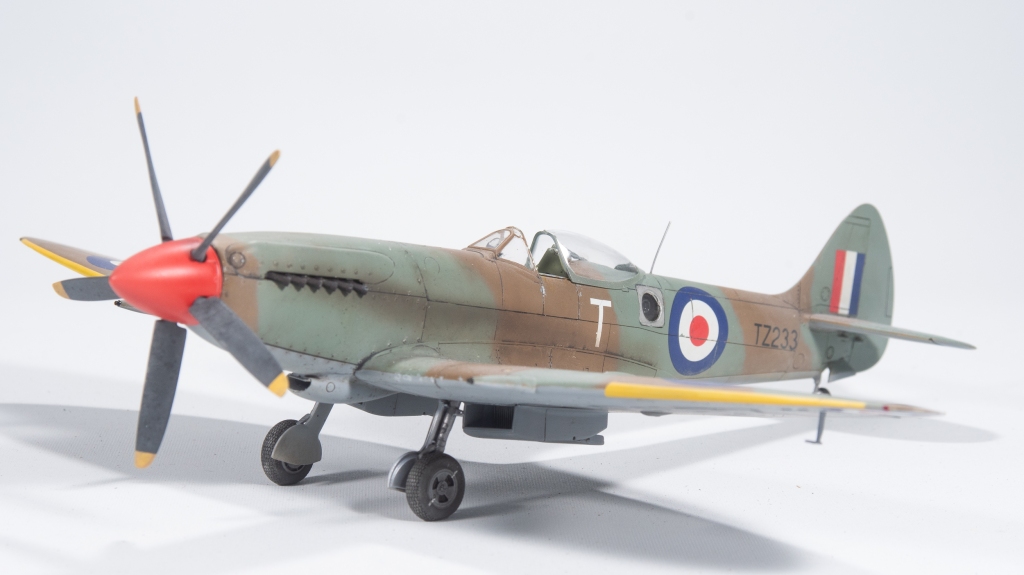
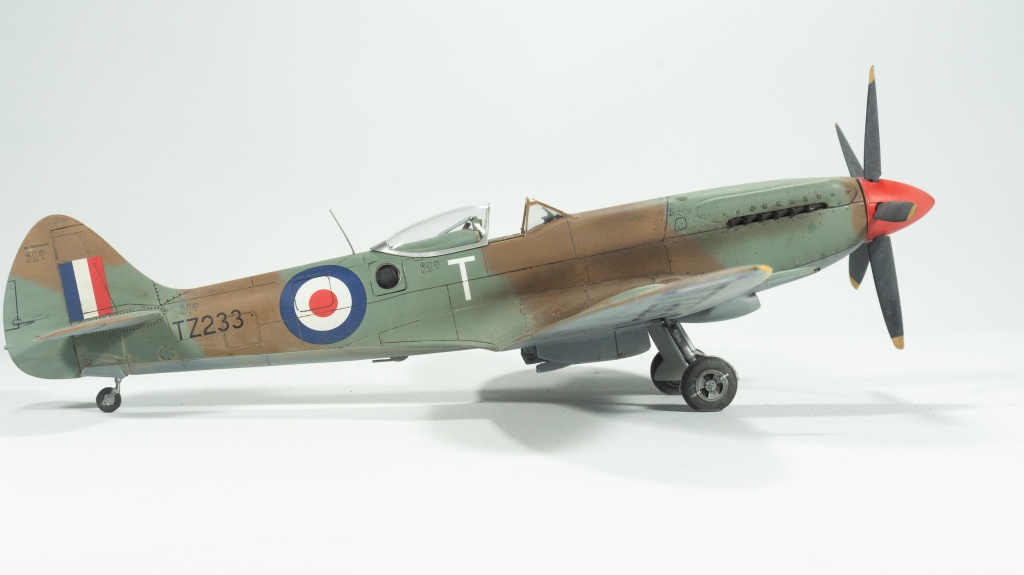
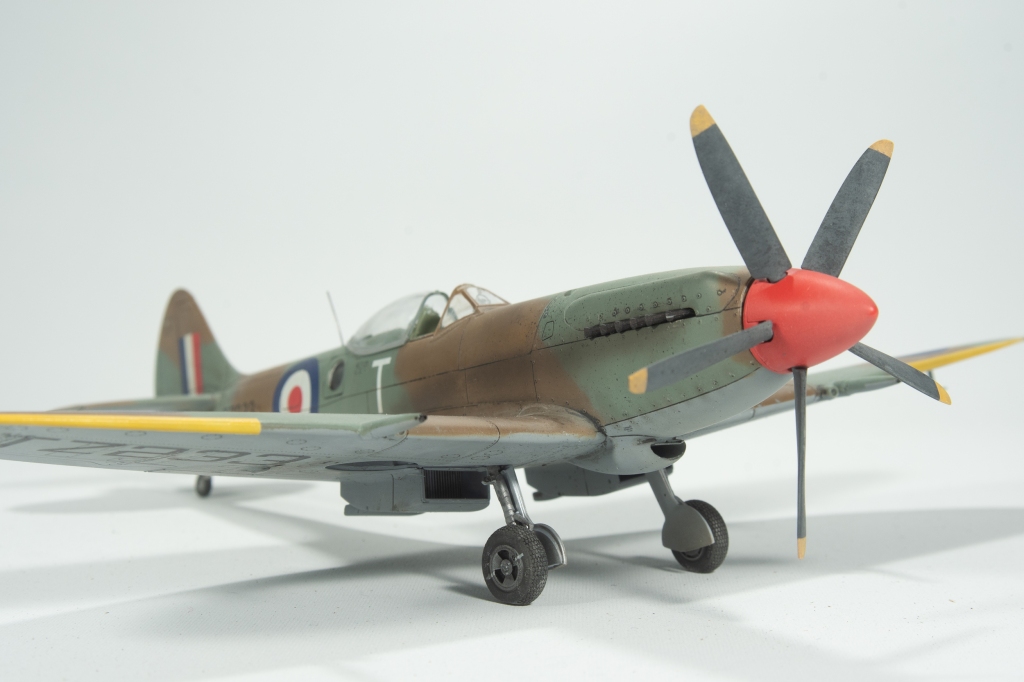
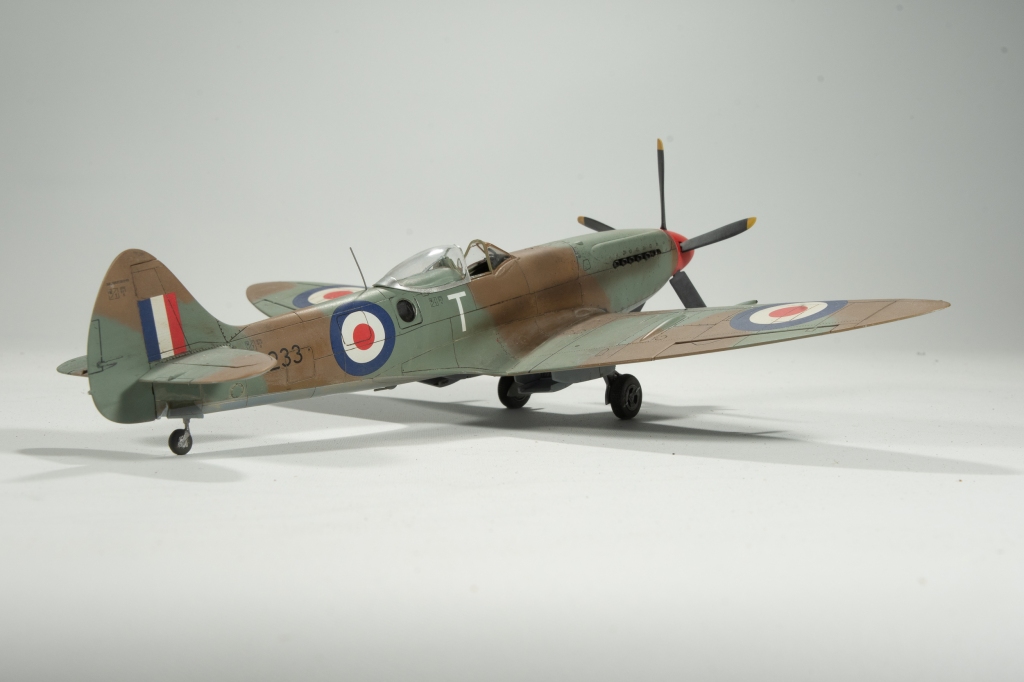
The construction on this was looking a lot tighter than my first one, which pleased me. For the finish, a modified desert day scheme used by the RAF post war was settled on. The different scheme a mate had used on his really appealed to me, so I wanted something similar for mine.
Not the same, obviously as I didn’t want to show him up!
The modified desert scheme was only used on two aircraft types that I know of, the Spitfires XIVs of 208 SQN and Tempests of 6 SQN. It was arrived at to differentiate the spitfires of the RAF from those of the Israeli Air Force and the Royal Egyptian Airforce, following a couple of “friendly’ fire incidents, which led to the loss of a few RAF machines.
During this time frame, all three Air Forces flew Spitfires, albeit different marks, so making your aircraft different from the others was a necessity.
Colours used were Gunze’s dark earth and MRPs light slate grey and medium sea grey for the undersides. The camouflage being freehand with my Iwata HP-C. Some tonal variation was achieved by utilising a random preshade of differing colours such as yellow, tan and light grey,
Decals were from xtradecals and there was no problems with applying them over a gloss coat, the post war D type roundels looking superb against the drab camouflage. With the national markings done it was time for the stencils which came from the kit sheet, well that was if I hadn’t accidentally thrown them out during packing up for the house move. Actually, there was nothing accidental about it as I can remember looking at them and thinking “I won’t need these, its a field applied camouflage” so in the bin they went.
I may have been correct in this assumption as the only two photos I could find on the net of these machines showed weren’t the best quality, so I couldn’t make out if there was stencilling or not. Given the machines were completely painted in a new scheme – well the top surfaces anyway – my supposition was stencilling was reapplied. In any case a lat mark spitfire stencil sheet by Barracuda Studios was duly ordered
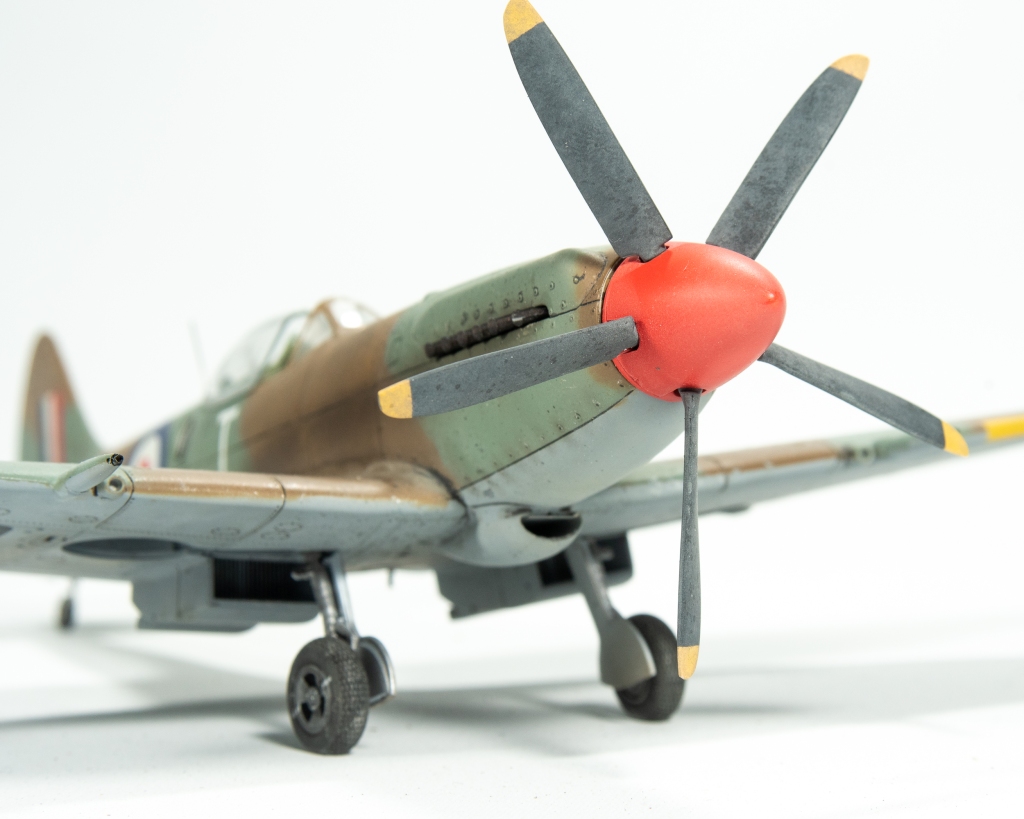
Given Roy Sutherland markets this as suitable for any Spitfire from mark nine to mark 22, it was disappointing to find only enough stencils for four propeller blades, not five as needed in my case, or in fact for a mark 22/24.
Wing Walk lines were masked and painted as long thin decals and I don’t get on well!
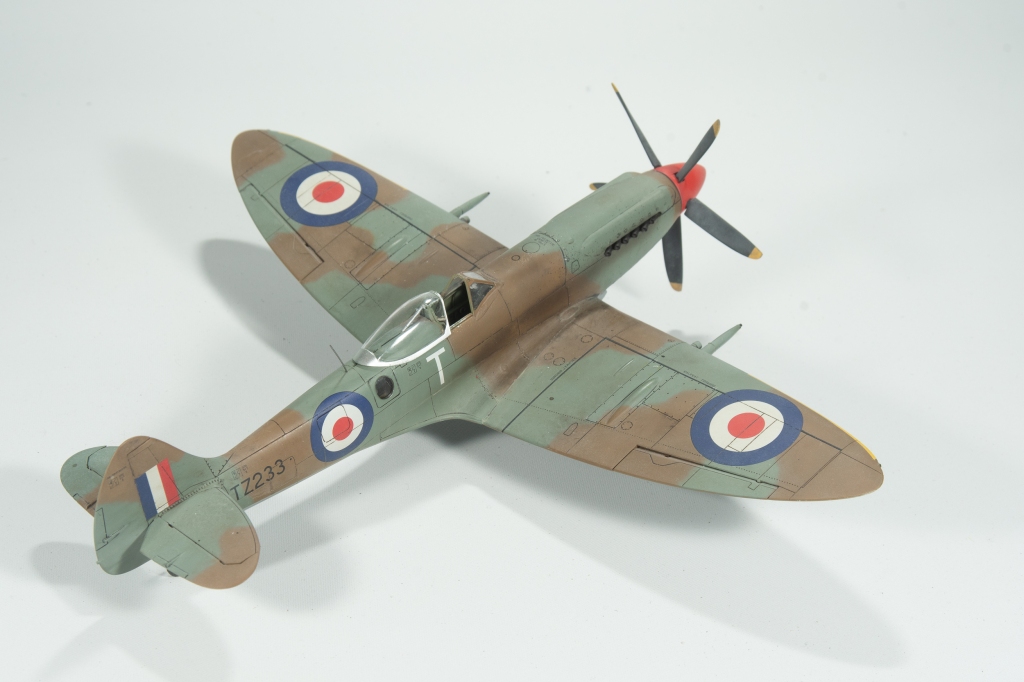
An interesting little fact I discovered on Spitfires post VIII – the mechanical undercarriage down rods which extend above the wings when the gear is down, were deleted. So I didn’t add them as was my original intent and what started me down the stencilling rabbit hole
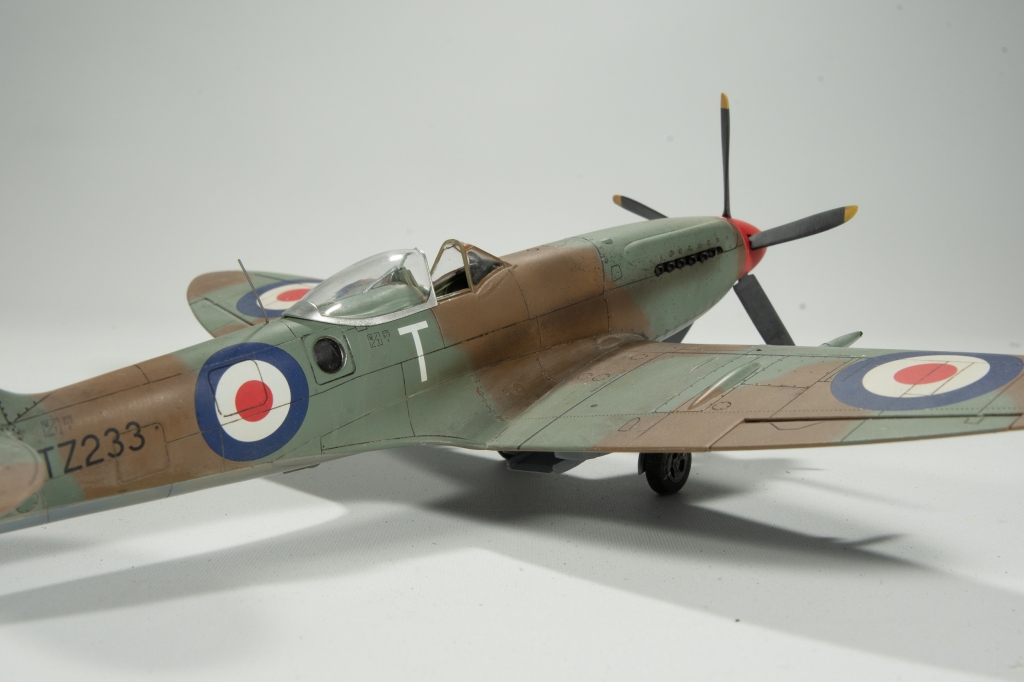
I was particularly pleased with my handling of the canopy on this kit. It was sharply masked and remained crystal clear, which is not usual for me, well thats how I remembered it before the move.
Imagine my horror when I pulled it from the box to discover a dirty great crack the length of it.
No problem, there’s two in the kit, in fact I had two remaining ones from both kits. I had used one as a mask when painting this kit, so cleaned it up with some MR Thinner, which revealed that this one was also cracked, I mean for christs sake!!!! Maybe I applied too much pressure whist holding it when painting the kit. So, the remaining canopy was masked up and painted. Unmasking this revealed………. a tiny spot where the plastic had crazed, what caused it. I don’t know, no glue had been near it, only lacquer paint, whether it pooled on this spot whilst painting, I have no idea. The offending area was sanded out and repolished but I could not eradicate it completely.
Thanks though to some fellow modellers following a plea on one of the facebook sites, I soon had not one but two extra canopies to replace my marred example. The whip aerial was added from some piano wire and she was done.
Looking at the completed model with a critical eye, there are a few areas Im not happy with, and some unforced errors I continue to make, but the different camouflage certainly sets it apart from my other Spitfires, and I have really grown to love the Griffon engined spits.
Supermarine Spitfire FRXVIII 208 SQN Royal Air Force Egypt 1949


Leave a reply to andyk21 Cancel reply