Purchased : 2014
Completed: 2020
Enhancements:
Some added details to cab from card and rod
Jerry Cans: Bronco Commonwealth AFV equipment
Decals: Kit
This kit was purchased from the much missed late John Xigoladis of Showcase Models Australia fame, who bought us the Bushmaster PMV. John used to have a small shop in the heart of Melbourne Australia, which, as well stocking all the major brands also carried some obscure brands, well, for Australia anyway.
I have a bit of an interest in soft skins, especially Commonwealth ones, so was very happy to see this on the shelf and quickly plucked it out from below a stack of other kits to take to the counter and ask John for a peak at the contents.
It all looked quite crisp and nicely moulded in the box, so away with me it came.
Fast forward 6 years- actually quite quick, I have kits that have been in the stash for up to 20 years – and I was looking for an easy uncomplicated build following my Tornado odyssey. This seemed to fit the bill
For anyone else contemplating this build, your first stop should be here . Terry’s review is an excellent article on building the model, its also about the only review I have seen on the net.
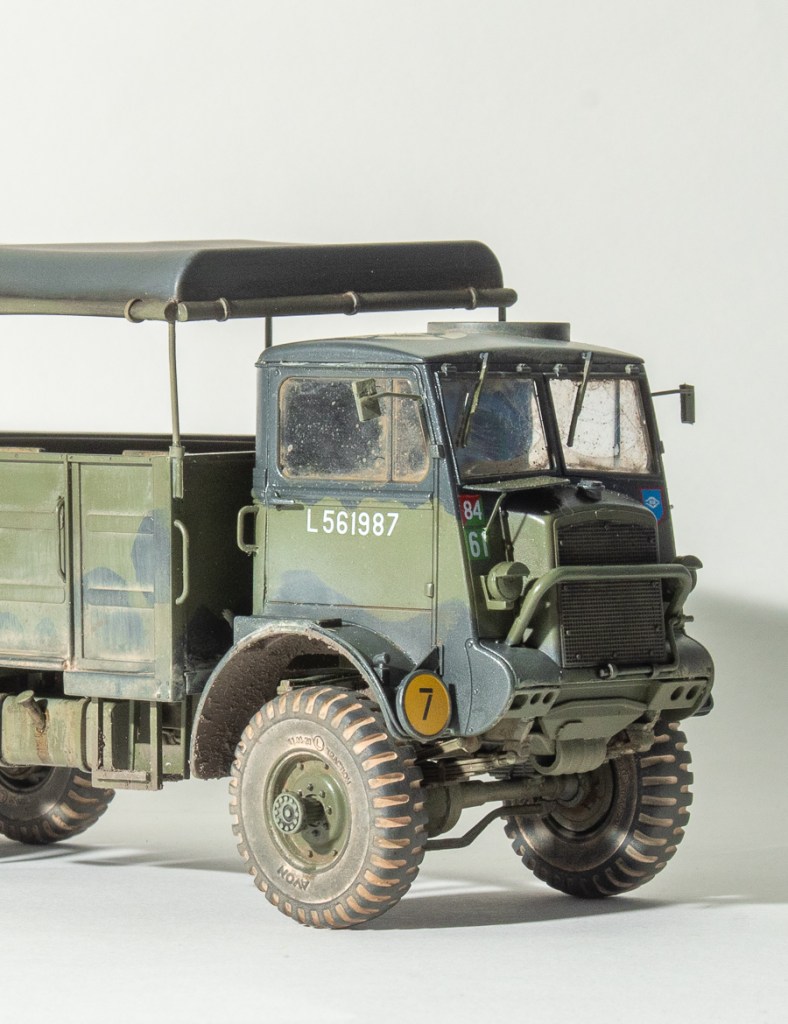
As I pretty much followed Terrys build and suggestions, there is not a lot else I can say about my build. The plastic was quite soft and marred by several heavy mould seams on parts, the most noticeable being cylindrical parts. Where I could, I replaced these using rod or brass wire. Some details like seat backs and steps look a little chunky, and the headlights had sink marks in their centres.
Fit was excellent throughout with the caveat of the mudguards as pointed out in Terry’s review. Although the plan was to build OOB, I did add some scratchbuilt details to the cab as per the article. Eduard, Plus Models, Reskit and PART all offer detail sets for this kit if you want.
The interior was painted with SMS paints SCC15 Olive Drab, and chips added with a sponge and Vallejo German camouflage black brown. Scuffed paint was added by way of dry brushing silver paint on the floor and pedals.
dial decals were from a 1/32 instrument panel sheet were added to detail the blank instrument cluster provided by IBG. This is probably the only British Army truck fitted with an air speed indicator!
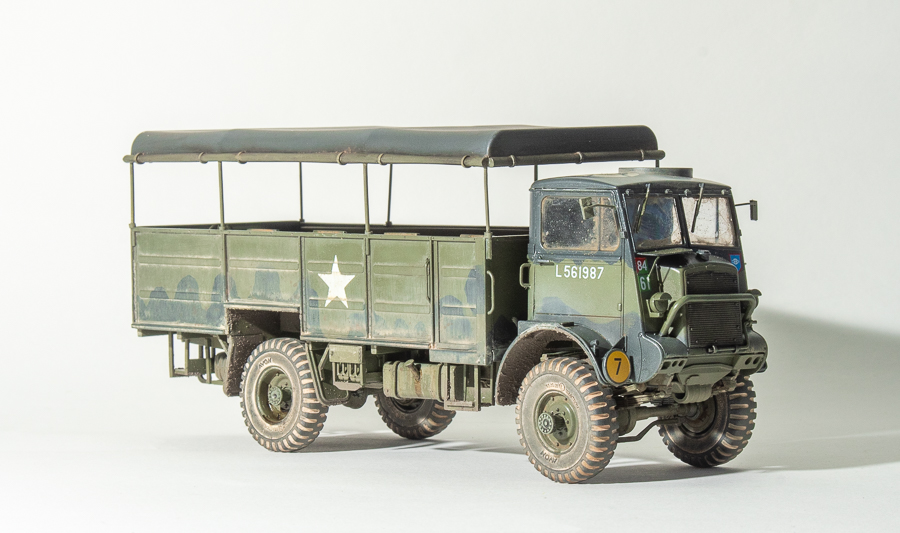
The cargo body is missing handles and locking latches, but I left the model as is. I should have probably replaced the thick grab handles with in scale wire though. I did briefly toy with the idea of leaving the rather featureless moulded rear tarp off and scratch building the metal hoops, but in the end carried on with the kit part for a quick build. I believe there is supposed to be a flap in this towards the front where a Bren gun could be mounted on a pole for AA defence , but could find no photos of this set up. The tarp is one of the weaker parts in the kit I think.
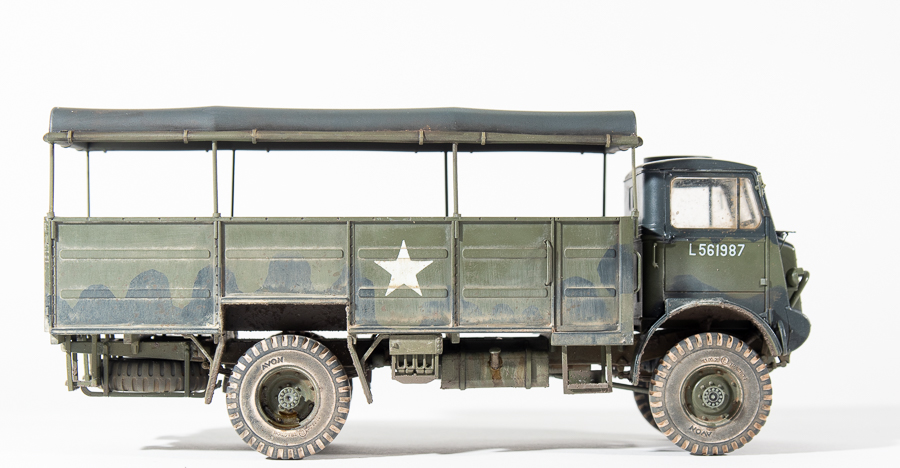
The real truck has a wooden floor in the cargo tray, Thi sounded like a great excuse to break out the chipping fluid and practise my chipping technique to portray paint worn away by many pairs of hob nailed boots. Would the SMS paints chip though? Reading various threads on FB modelling groups seemed to suggest they would, so an underlying generic wood colour was laid down, followed by two coats of AKs “worn effects” This was allowed to dry and then the SMS green laid down. Once dry I scrubbed the paint with a wet stiff bristled brush until the green paint started to chip away. It took a little more effort than using acrylic paint. A coarse sanding stick was also used to impart some scratches to seats and seat backs and around high traffic areas.
Overall, I was quite happy with the result.
Stars were painted using masks from Js works, and left me unimpressed. The masks are not sharply cut out and you are left with a bit of a ragged looking star. In this case, the following weathering steps would go some way towards hiding it. The kit decals were used for all other markings and performed flawlessly. They are printed by Techmod, whose decals I have never had a problem with.
Jerry cans from a Bronco set were added to fill the kit provided empty racks. They needed to be thinned down a bit to fit both cans in the racks.
By this stage I had a pretty pristine looking truck, so it was time to impart a bit of dirt and grime. First step towards this was building up misted coats of Humbrol khaki drill over the trucks undercarriage and a little up the sides to replicate a coating of dust.
My M60 Build had left me feeling a little more confident about the weathering process. Like most modellers, I have a library of modelling books including the Mig FAQ series and the Tankart books, which a friend describes as “impenetrable” Im going to agree with him as after several reads of the Rinaldi books, I was only a little the wiser about some processes. In some respects they are quite dense regarding technique. By far the most helpful tool I found was a series of YouTube by “Nightshift Modelling” This bloke really breaks the techniques down with his video demonstrations in a way books just can’t. I just followed his process for using oils and pigments. I certainly could have gone further with the weathering on this truck, but decided to stop as I was keen to move on to the next subject. The old impatience kicking in!
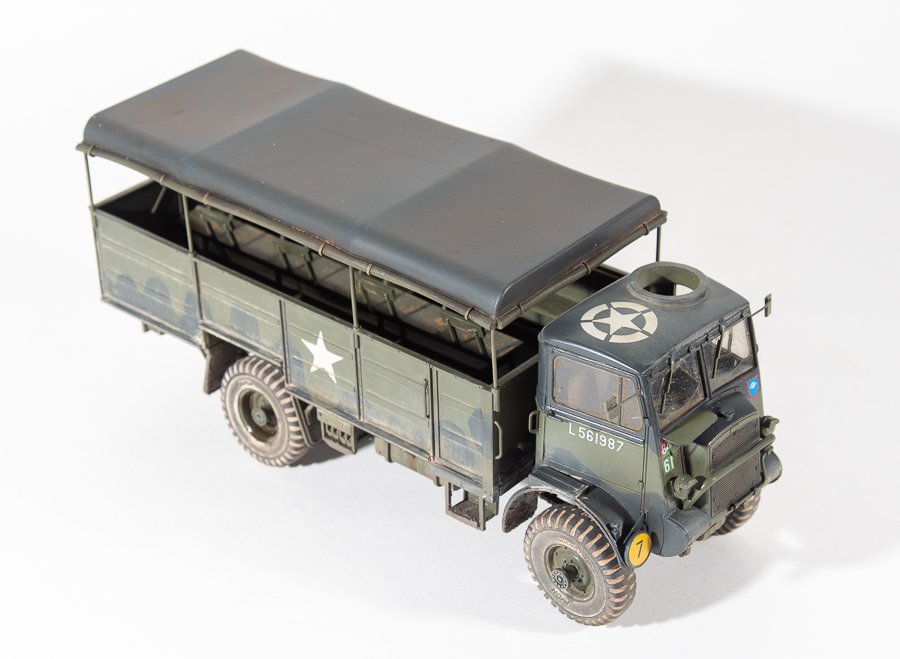
Final assembly found me struggling to get the tarp cover square to everything else. I ended up replacing the kit poles with plastic rod and think I may have actually cut one side longer than the other, as from the front it definitely does not look square!
There is a friend in my little modelling circuit that we mock for being quite meticulous in his planning of a build. Here I really should have taken a page out of Andrew’s book, because meticulous planning would have seen me cut away the kit mounted tubes on the sides of the cargo bed that the metal hoops slide into on the real truck, and replace them with brass tubing. This would have made the tarp assembly far more solid, with the benefit of also being easily removable. We won’t mock you anymore Andrew! (Who am I kidding, yes we will)
Following the kit instructions here leaves you with an assembly difficult to keep square and adequately mount to the body solidly.
I really enjoyed this build, despite me rushing a few details towards the end. Looking at the photos, my weathering still looks a little unrefined, but I felt with this model, my confidence in working with oils and pigments had grown.
Would I build another? Id definitely build another British cargo truck, maybe the ICM Models Ford though. I just think the IBG kit misses a few quite visible details, ie windscereen wipers
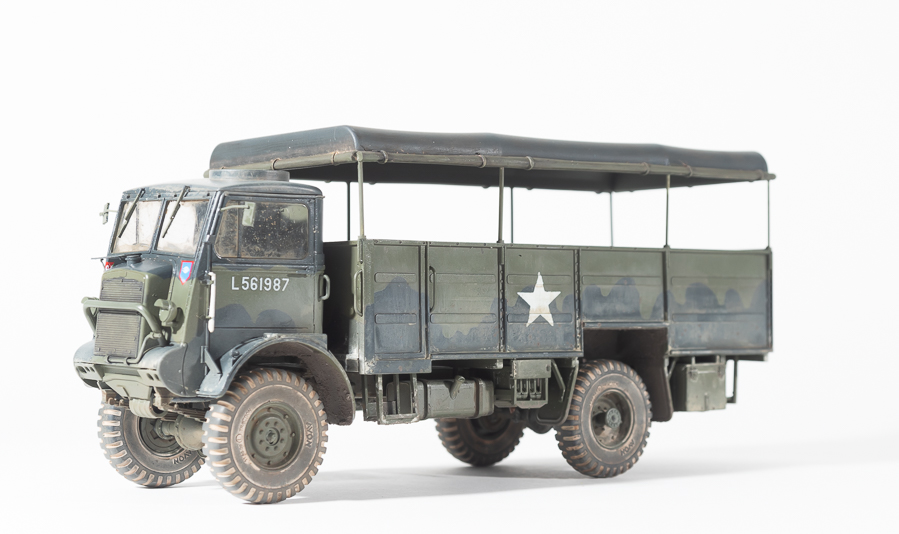
Bedford QLT Irish Guards. Holland 1944