- Purchased; 2023
- Completed; 2024
- Enhancements;
- Guns; Master Detail
- wheels ASK distributors
- Decals; Eagle Strike Night Hurricanes Part 1
Introduction
The Arma Models 1/48 Hurricane was the perfect antidote to the preceding Walrus It is a lovely fitting, well detailed model that builds up very quickly. the surface detail is some of the best out there, Arma using both raised and recessed detail to achieve the multitude of rivets on the wings. The fabric surfaces are not overdone, also being rendered subtly. Heres hoping Arma follow it up with the Mk1.
Construction
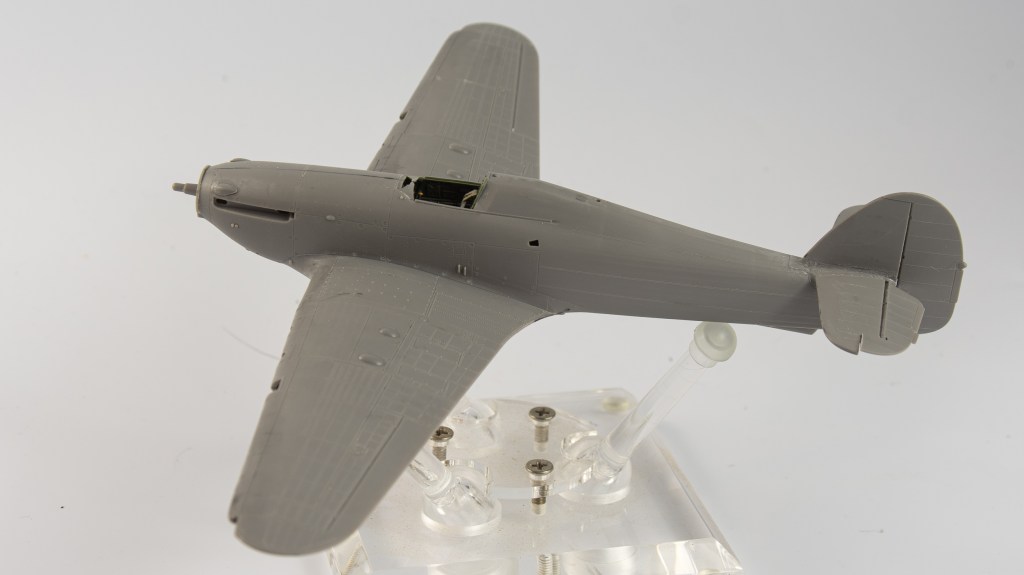
Really there’s nothing that I can add here that the many YouTube builds of the kit don’t already cover. The cockpit whilst being a little fiddly to clean up fits perfectly. It even clips into place without the need for any glue, although obviously you do need to use glue. For one thing, your seat will fall out! Talking about the seat, the kit one is a little thick, my boxing came with a lovely resin item, making the kit seat redundant. Same for the exhausts.
Some further thoughts;
Be precise cleaning up all sprue stubs , ensuring all mating surfaces are flat as this determines how much filling you will need to do.
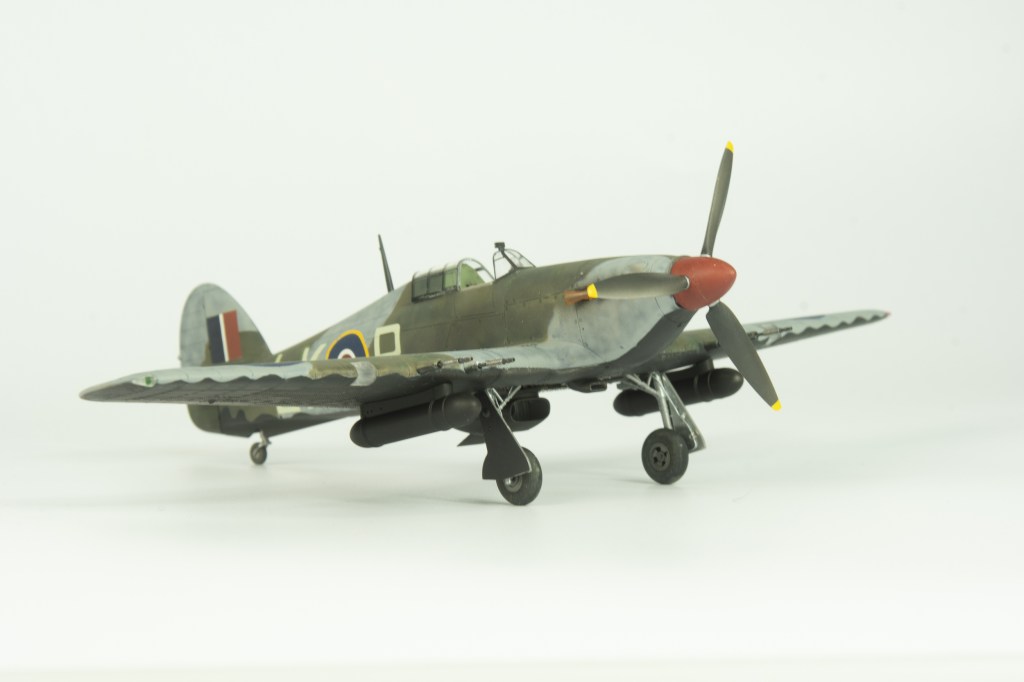
If you are fitting the drop tanks, you can dispense with filling the shell ejection ports as suggested by Arma as the drop tank pylons cover the holes that need filling
Added details,; Obviously this is entirely up to the individual modeller how far he goes with adding all this, but Id suggest, at a minimum, the radiator bracing, upper nav. light, brake lines and rudder control lines although only the prominent brake lines were added to my model. I did open up the slot in the rear armour plate to allow the shoulder harness tail to fit through.
When choosing a particular airframe to model, check such details as round or rectangular rear view mirror, cockpit ventilation slots present or not, glare shields fitted or not and IFF aerials as these details varied greatly from airframe to airframe. As an example the aircraft I modelled had the cockpit ventilation slots fitted and no glare shield whereas other planes in the same Sqn did not have the slots or had the glare shields. Photos are your friend, and for RAF Aircraft, Flickr and the IWM website are the first places I visit. If I have any questions, Britmodeller will usually have the answer.

Finishing
A mate of mine, being Kiwi likes to finish a lot of his WW2 aircraft as aircraft that were flown by NZ pilots. Obviously he can’t do this with modern day subjects as NZ don’t have an Air Force of note anymore ( Sorry all my Kiwi followers, Im assuming you all have the same sense of humour as my mate that requires you to keep on kicking that dead horse until its completely lifeless!!)
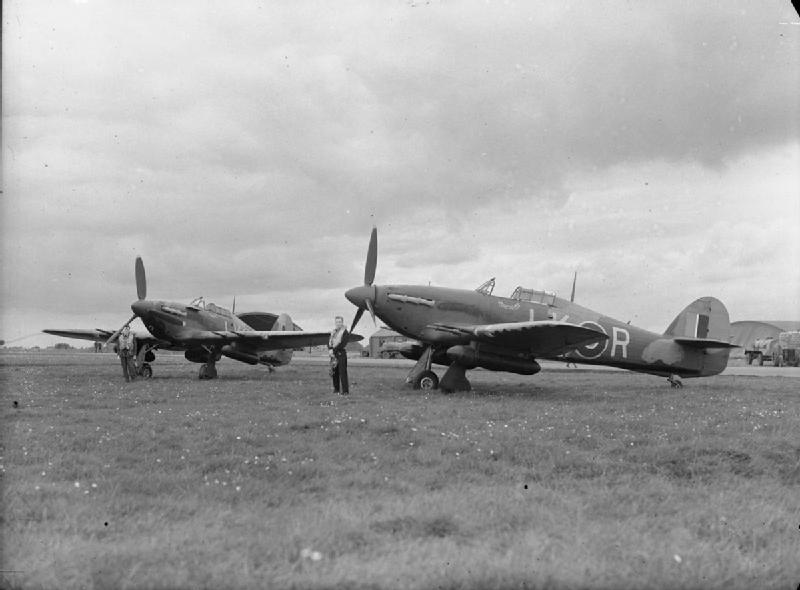
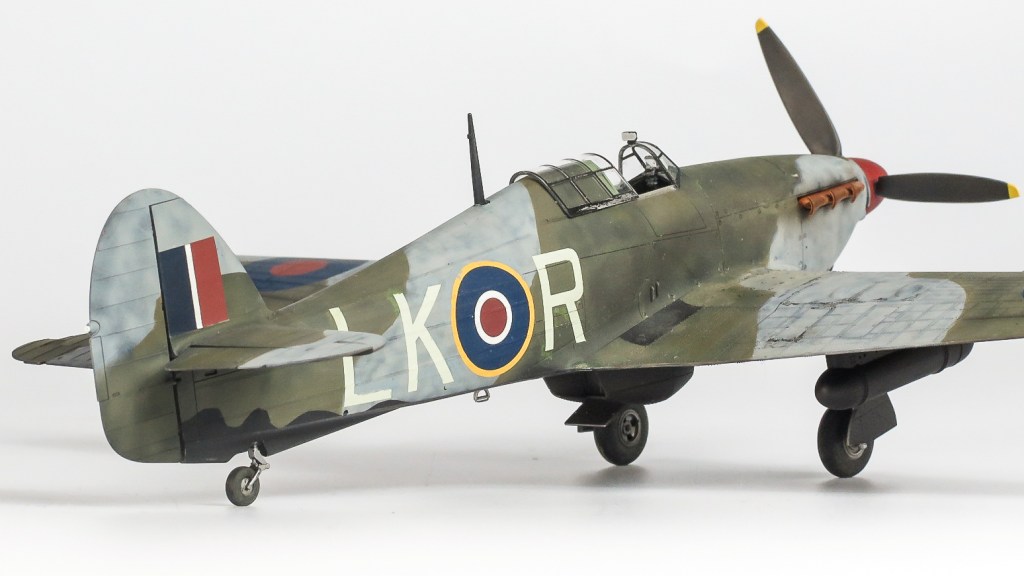
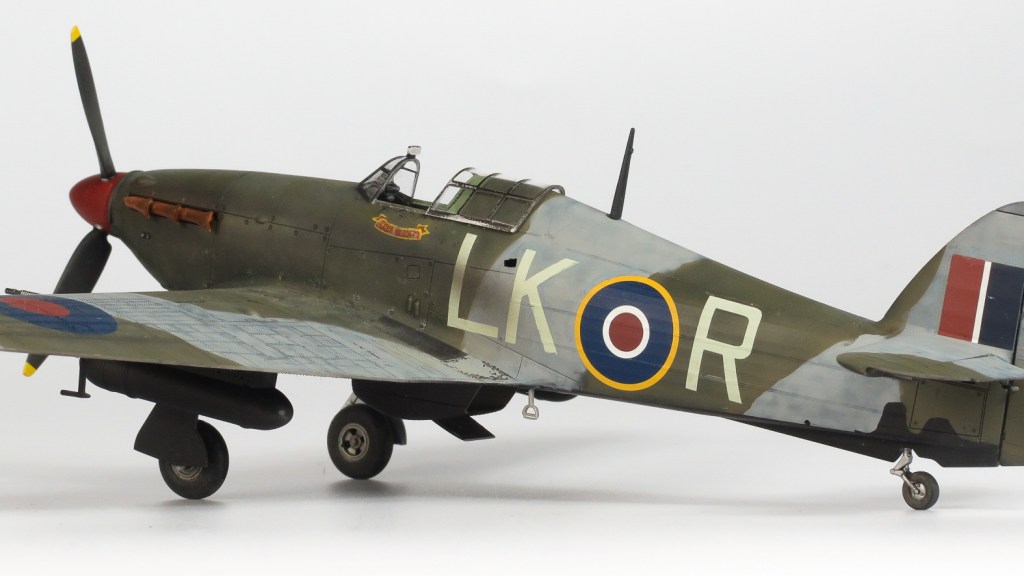
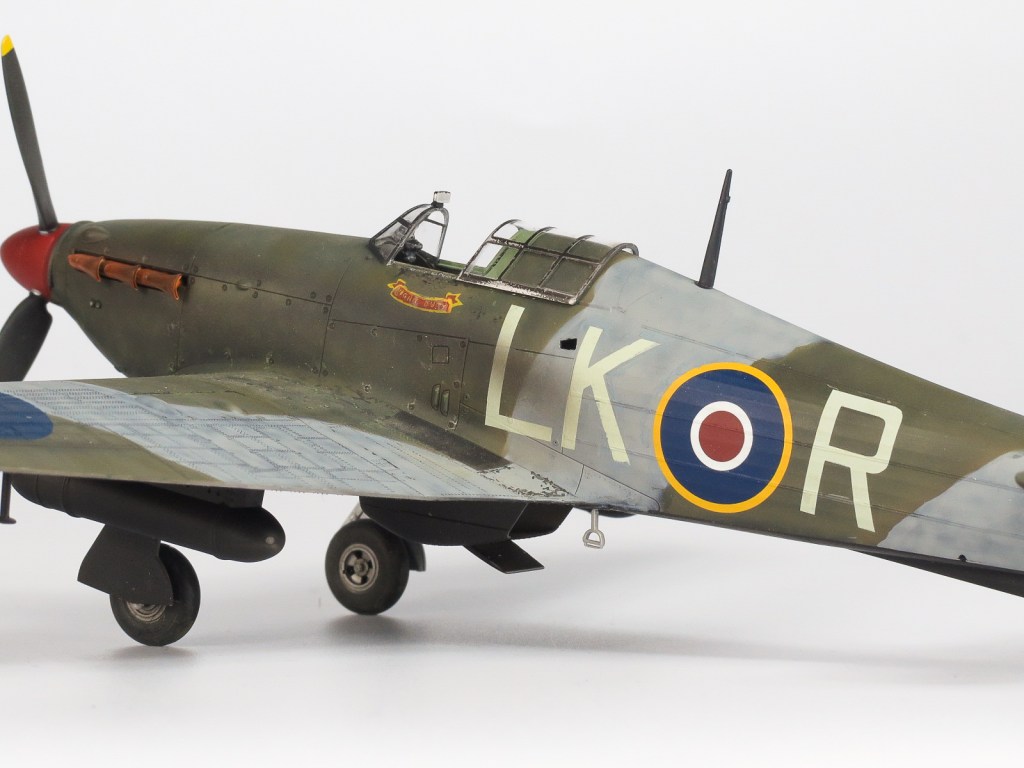
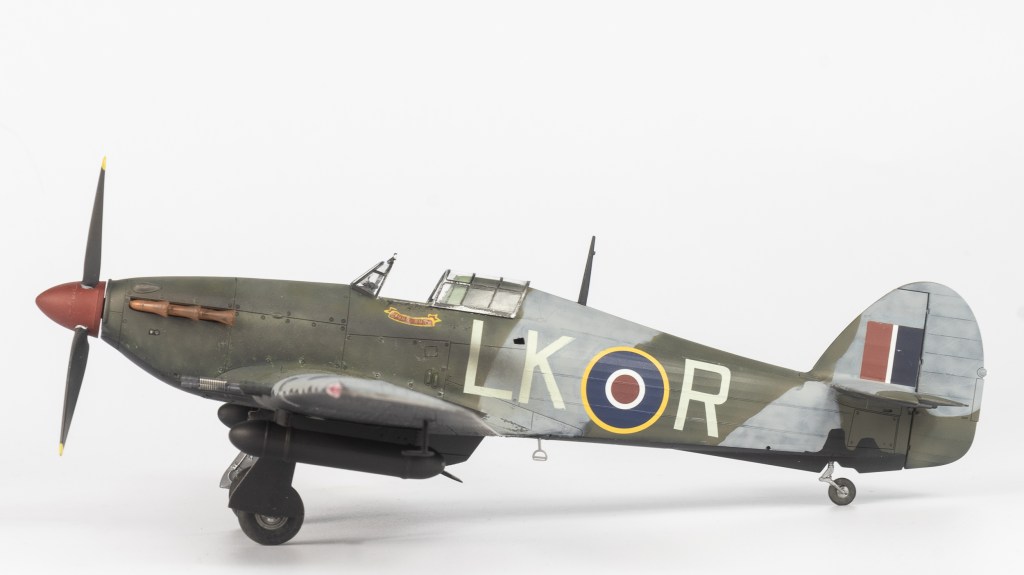
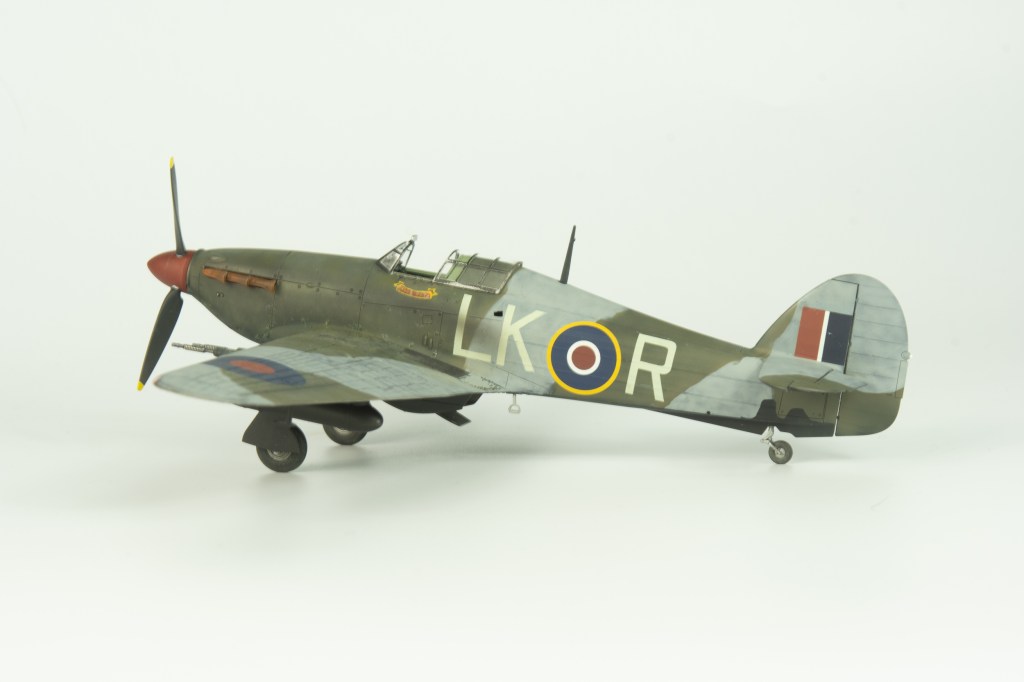
So when I found an 87 Sqn, machine that was flown by an Aussie, Sgt B Bawden from Sydney, I decided to take a leaf from Calum’s (rather thin) book. My model was always going to be finished as an 87 Sqn machine so an Aussie pilot was the icing on the cake. Of course there were no available decals for Sgt Bawden’s machine in 1/48 scale meaning the scroll and NIGHT DUTY title would need to be hand painted. The below photo shows the actual machine, and Yes, I keep referring to aircraft as machines because thats how Biggles referred to them !
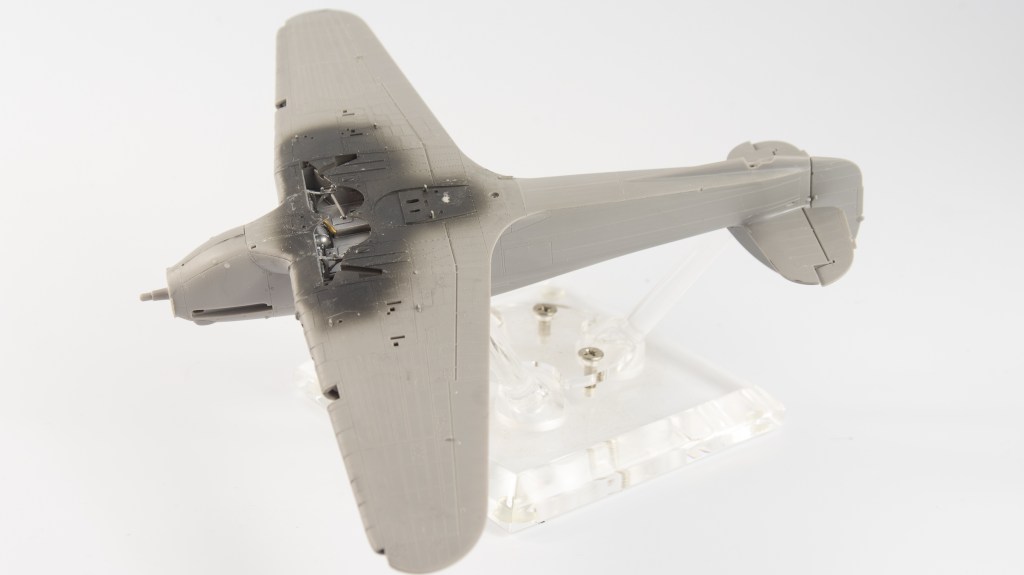
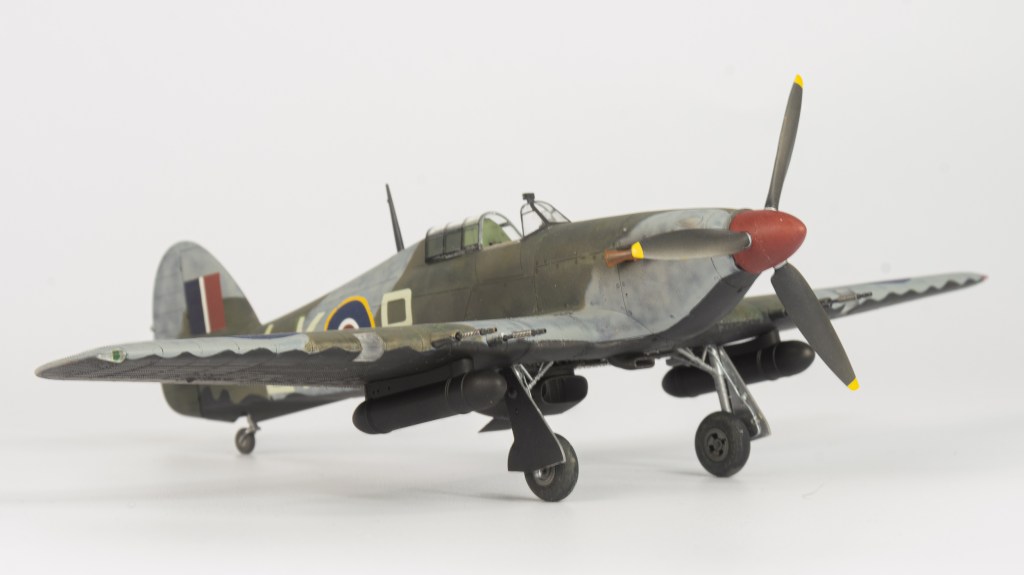
Researching the 87 Sqn machines revealed they were a Night Intruder Squadron, with overall black aircraft, however as the aircraft were required for daylight missions over the Dieppe beaches to support the landing their top surfaces were hastily painted with brushes in the temperate land scheme which at that stage would have comprised of mixed grey, (not Medium sea grey as Ive used) and dark green.
To achieve this rough look the model was first painted overall black, then a very patchy coat of MR Paint MSG applied by airbrush. Panzer putty was then used to mask off the grey areas and the green applied, this time using Gunze . The demarcations o these aircraft were not standard and differed from machine to machine.
There are some excellent articles on Britmodeller regarding these schemes, well worth a read if you love getting into the minutia of these things. It appears on this particular aircraft, the green covered the black quite well, but the grey, not so much. The plan was to brush tamiya MSG around the codes to emphasise the brush painted nature, but of course, I didn’t have any.
The wing roundels were sprayed on using masks from Hawaiian Air Depot https://www.hawaiianairdepot.com/shop/p/coming-soon-87-squadron-hurricane-night-intruders-for-the-148-arma-mk-iic
The rest of the national insignia were from the kit decal sheet. Codes came from a generic Xtradecals RAF code sheet. Colours for the wing roundels were Tamiya Flat Red mixed with a bit of Hull Red until a matt with the decals was achieved. The blue was Royal Blue with a few drops of Flat Black.
With regard to the HAD masks, I thought a real shortcoming with the set was no masks for the underside demarcation. Aircraft from this squadron had quite distinctive wavy demarcation on the empennage, and HAD should really have included these on their otherwise very complete mask set as its a unique feature of these schemes
That just left the scroll. The Eagle Strike Night Hurricanes Part 1 sheet contains a red scroll of the right size, but it reads – actually I can’t remember what it reads, but it certainly wasn’t NIGHT DUTY!. Underneath this red decal, the modeller applies a slightly larger white decal which allows the white border and lettering to appear.. Current sources suggest the scroll on Bawden’s aircraft was red with yellow border and lettering.
This was achieved – after a night of thinking about it in my sleep – by cutting out the underlying scroll shape from yellow decal using the Eagle Strike decal as a template. this only took 4 goes!
The lettering on the red scroll was painted out and I found some tiny tiny yellow decal letters to spell out Night Duty, as you can imagine, these were incredibly difficult to apply and I resorted to (untidily) brush painting the I and Y
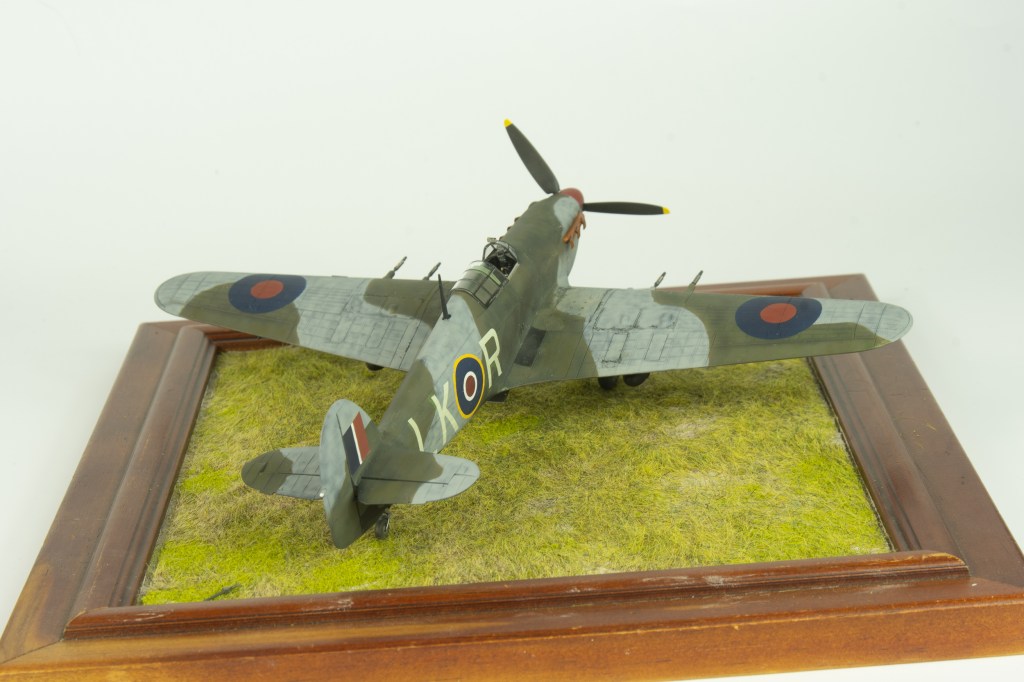
No one seems sure how long these aircraft stayed in this scheme so I went light with the weathering. Just some black chips around access hatches and wing roots and exhaust stains as evident in the photos. The chipping on the canopy was achieved with the hairspray technique.
The exhausts were painted an orangey colour as the real things were coated with a paint that reduced glare, hence why this particular machine is not fitted with the glare guards./ Feedback from a couple of modelling friends led to me darkening them up as my mates felt they were too orange. They were shaded with a black brown mix, which I feel does make them look better. They are 3D printed by ARMA and have incredible detail. Far and above better than the kit offerings.
Conclusion
The Arma Hurricane is highly recommended. Although Arma market the IIc and IIc Trop as separate boxings, all the IIc boxings come with the parts to make a tropical or Night Fighter, so it doesn’t really matter which boxing you buy unless you are after one of the particular kit schemes. The only thing I wish I had done differently was use a mixed grey rather than the Medium Sea Grey for the camouflage.
This was a thoroughly enjoyable kit and I have already ordered a Sea Hurricane and a IIb . As Molly Meldrum would say ” Do yourself a favour”
Hawker Hurricane IIc 87 Sqn. RAF Charmy Down UK June 1942


Leave a comment