
- Purchased: 2024
- Completed: 2026
- Enhancements:
- Wheels – Brassin
- Exhausts – Quickboost
- Seatbelts – Eduard
- Decals: – Furball Colours & Markings SBD Dauntless
This is the second AM Dauntless kit that has crossed the bench. The first being completed just after its release waaaaaaayyyyyy back in 1997. That one was an SBD-1 finished in the very striking “yellow wings” scheme. It stood out at the time as a fun build, and I’m happy to report the second time around the experience was the same.
Build
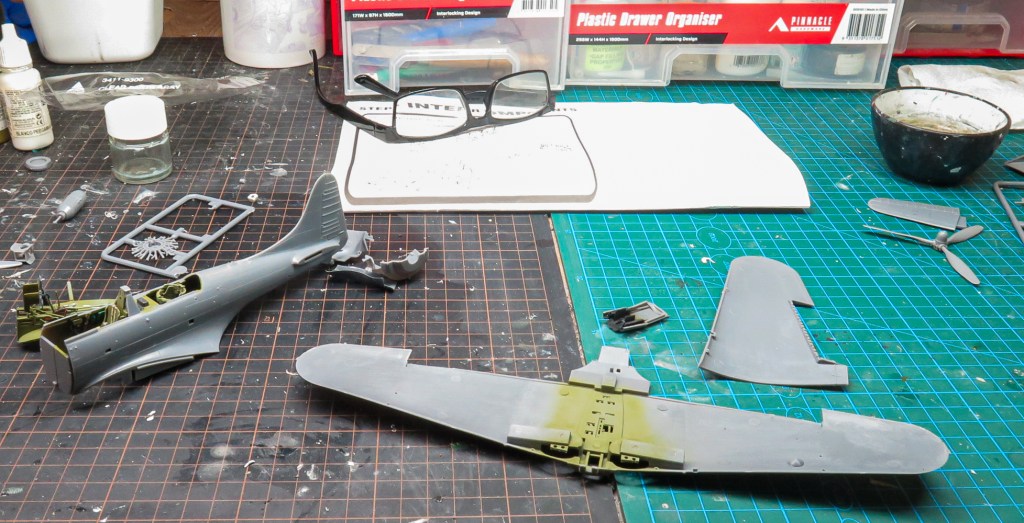
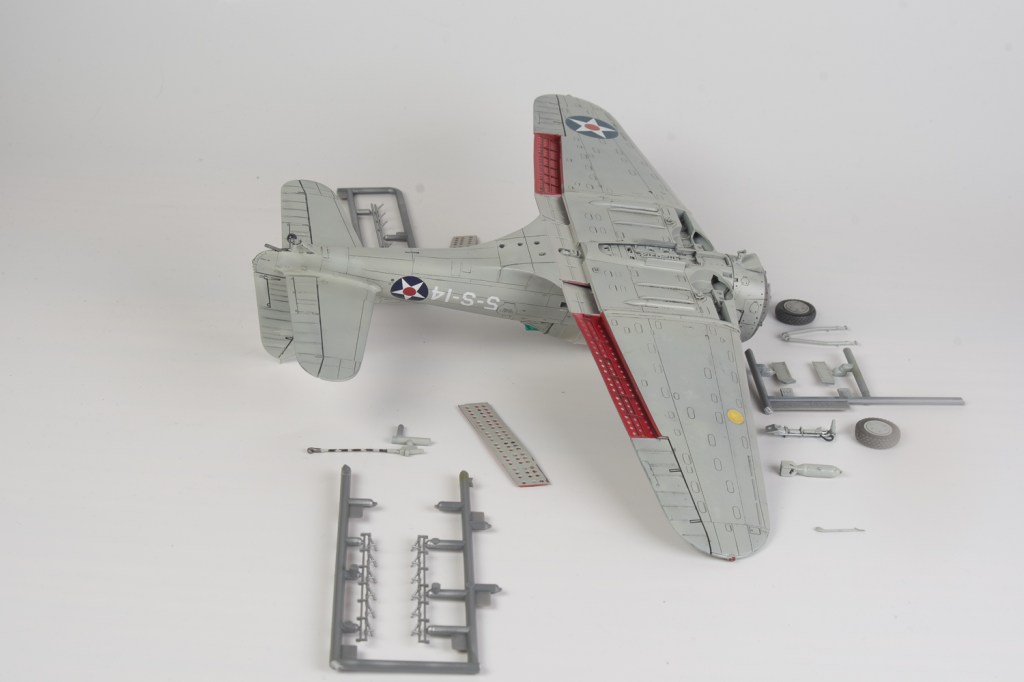
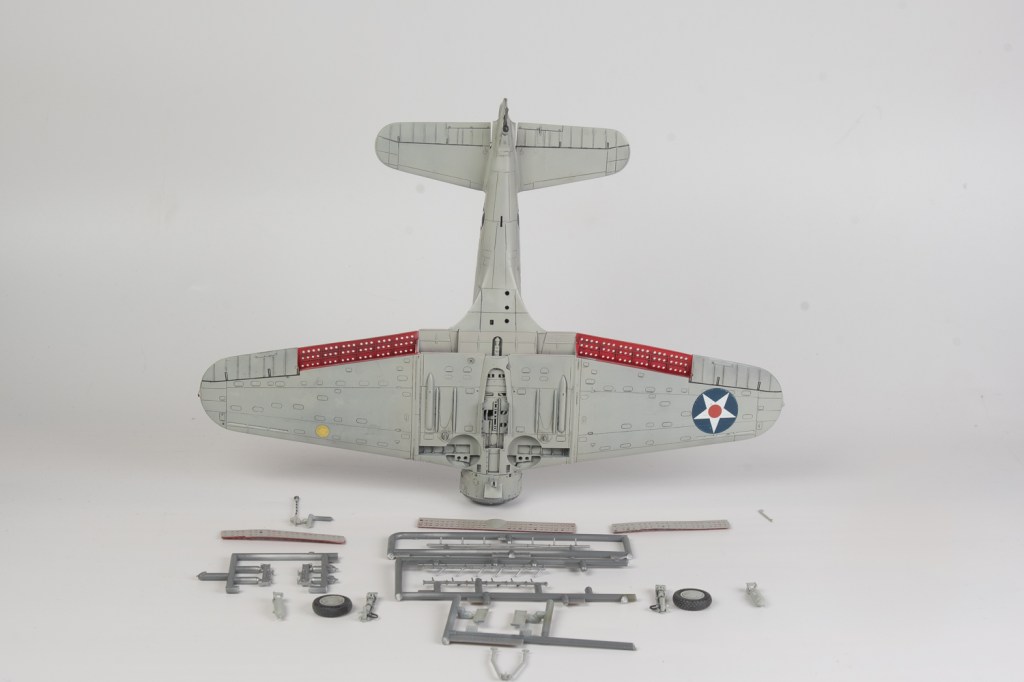
The build proceeded quickly and smoothly. This was an original boxing of the kit so I was surprised to find flash on some of the finer parts. The dive brakes were also warped, although this was a known feature of the kit, the thinness of them probably pushing the limits of moulding at the time.
Examining the parts also revealed just how much detail AM had moulded into them. The model certainly bears the hallmarks of Bill Bosworth’s time at Monogram. Time to get stuck in!
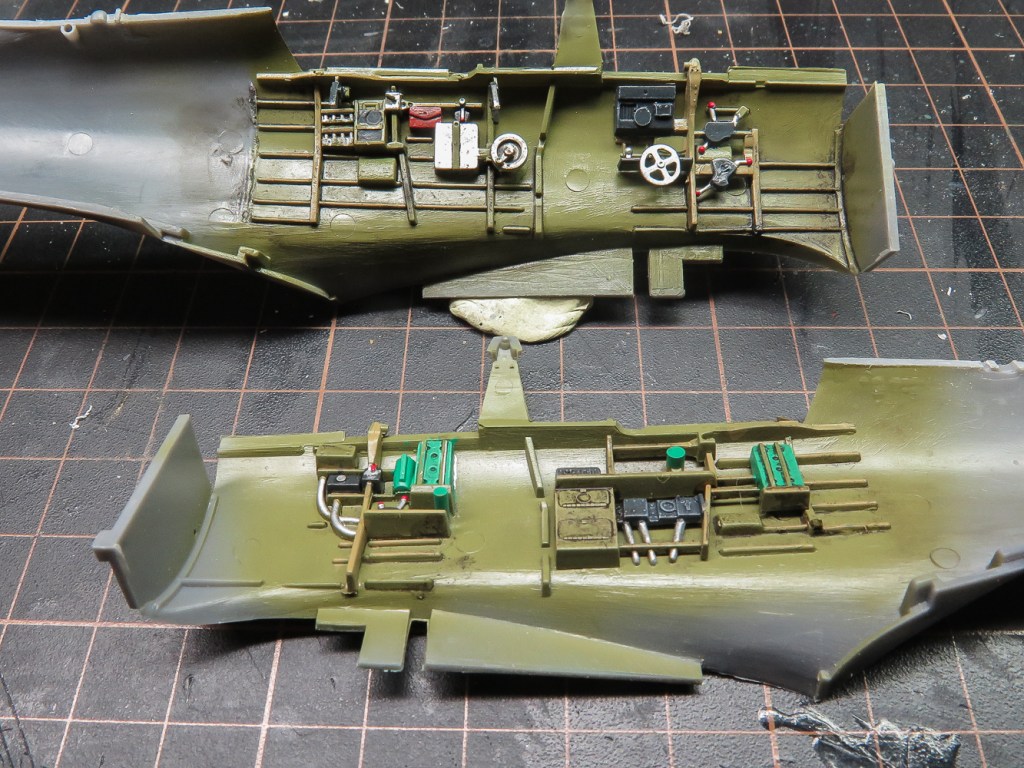
The cockpit was painted SMS Interior Green with details picked out using various Vallejo colours. Detail and Scale’s Dauntless book was used at the reference. AM supply clear plastic instrument panels with the dials being provided as a decal which is attached to the rear of the panel. The decals though are just black circles, so instead, the whole panel was painted black and drybrushed with various greys. The raised dial details were then touched in with a sharpened white pencil. A drop of gloss into each dial represented the glass. Seatbelts came from an Eduard SBD-5 set rather than using the lame kit supplied decal seatbelts. A point of annoyance with Eduard here. Eduard only give you lap belts though. No shoulder straps are provided at all. By the time of the -5, and indeed the -3, the USN was fitting shoulder harnesses . This is just Eduard being lazy again and probably relabelling an existing early Dauntless set.. All the cockpit components fitted securely in their given locations although the rear bulkhead on my kit needed a little bit of sanding to reduce its width to enable the fuselage halves to close without any gaps.
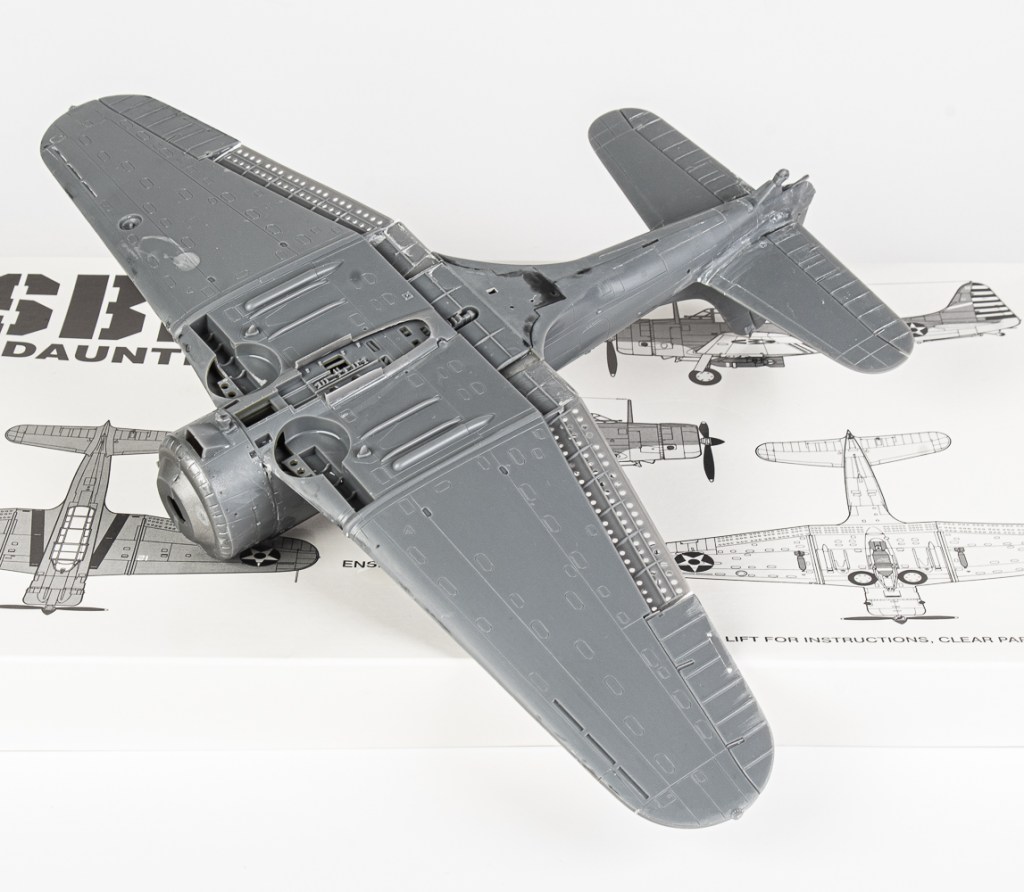
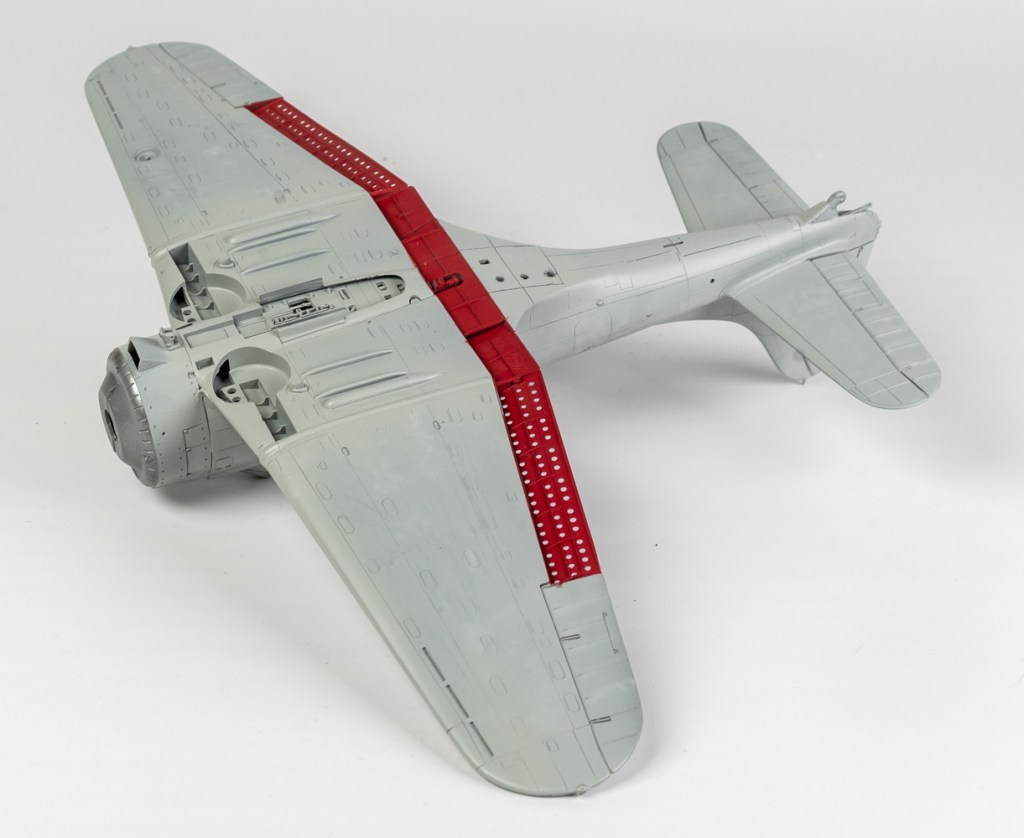
Very little filler was required on the model. The biggest application being where the bottom wing joins the fuselage. The fit here is not bad actually, and if the modeller doesn’t do as I did and manage to induce a step, it would just need some Mr Surfacer run around all the joins. However, my join needed an application of super glue to smooth it all out. During this process, the identification lights were drilled out to accept MV lenses. There is also a gap between the top dive brakes and ailerons that will need filling with plastic card.
Filler was needed around the cowl scoop and gun trough panel. Here I used Mr Surfacer, removing the excess withy some Mr Thinner on a cotton bud. The kit blast tubes were cut from the cowl gun breeches, to be later replaced with drilled plastic rod.. No filler was needed at the wing roots, the join being very tight straight from the box. Prior to commencing my build, online builds were consulted to see what other people had experienced with the build. Some comments were made about the AM instructions, which surprised me as my recollections of AM instructions were that they were incredibly helpful. Now, with the passage of time, my opinion has changed to……… Not. So. Much! The written description of the build sequence contains lots of helpful information, but the drawings are sadly lacking in both detail and precise locations of where to glue the parts. However, they are still streets ahead of Italeri’s woeful efforts with their reboxed AM kits. I briefly thought about riveting the airframe, but in the end decided not to.


Painting
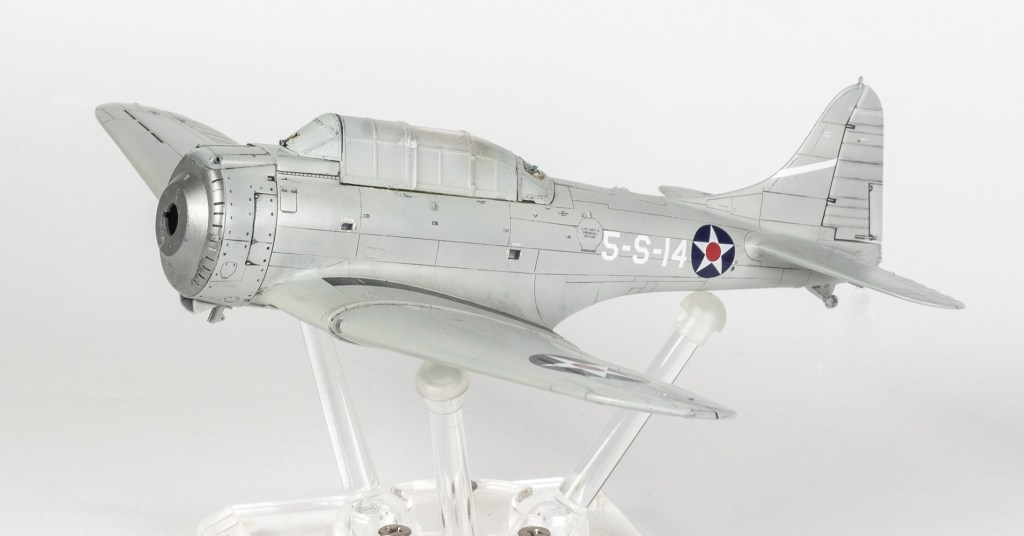
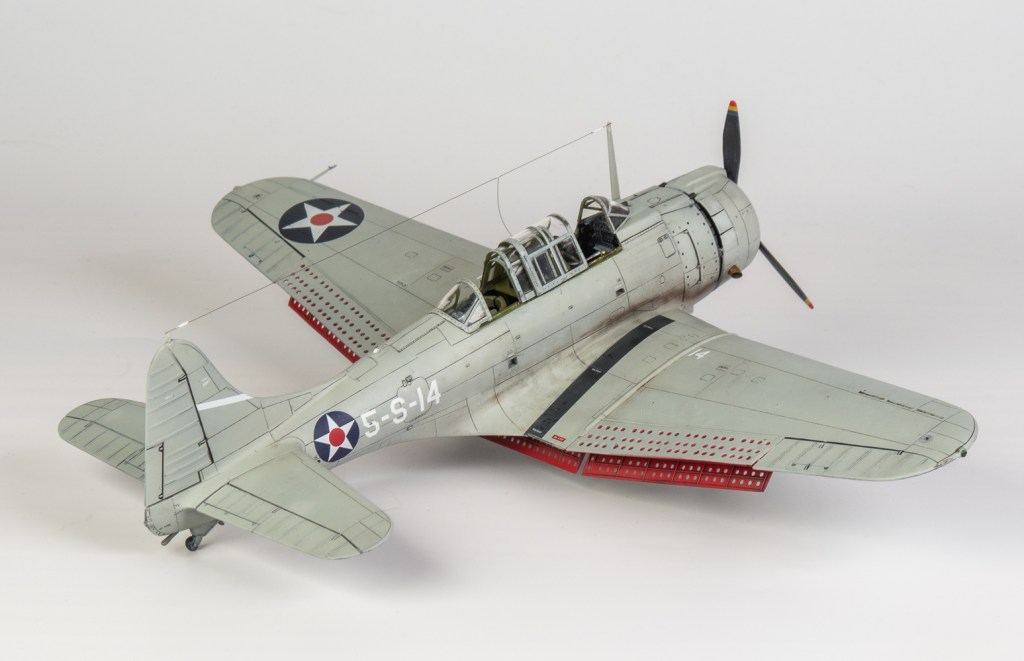
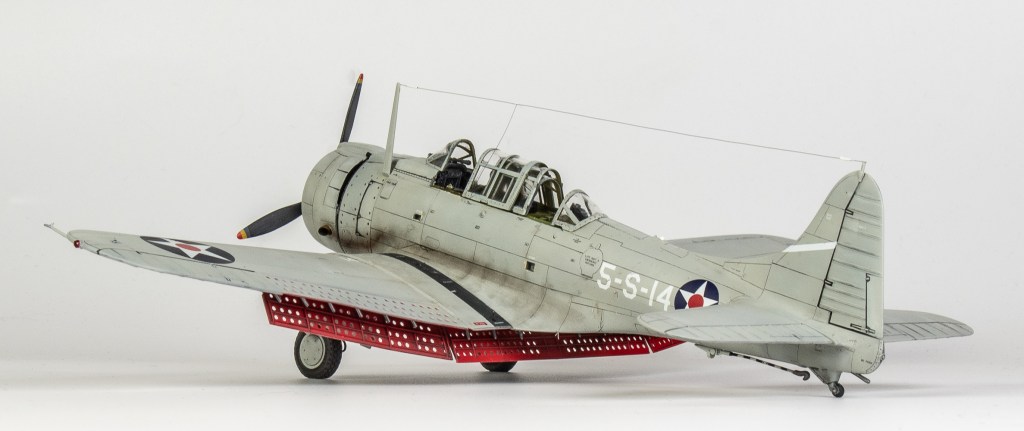
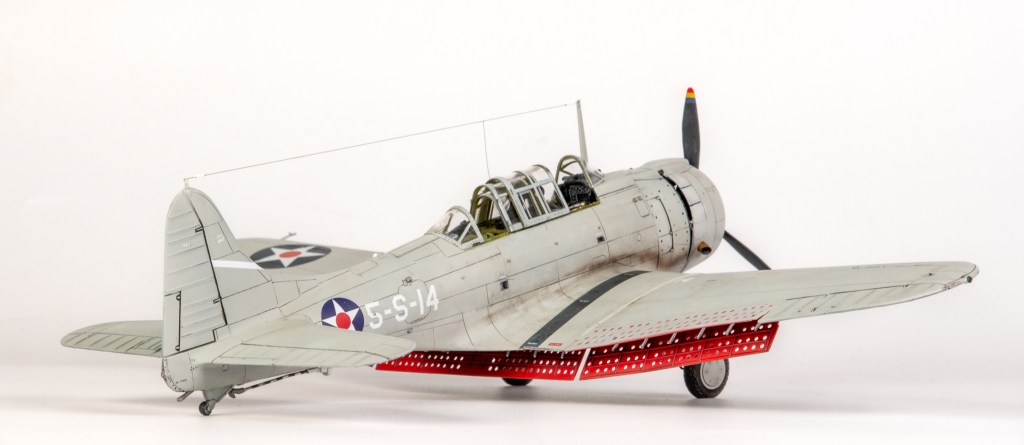
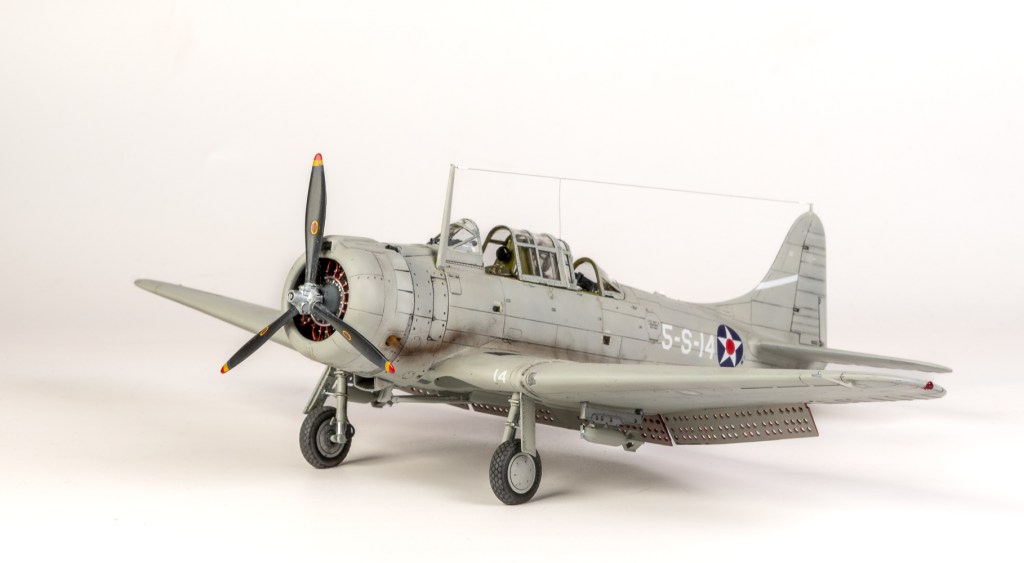
This was going to get finished as the box Coral Sea scheme, but my eye was drawn to the scheme USN aircraft wore before this. Overall Flat Light Grey. It still had the early war stars complete with red dot, although sadly not those gaudy fin stripes. And It was a lesser modelled scheme, which is also a box ticker for me. Furball offered such a scheme on their Colours and Markings Dauntless sheet, out of print on their website, but I managed to source one locally from Star Hobbies and Collectables. (locally, being Australia)
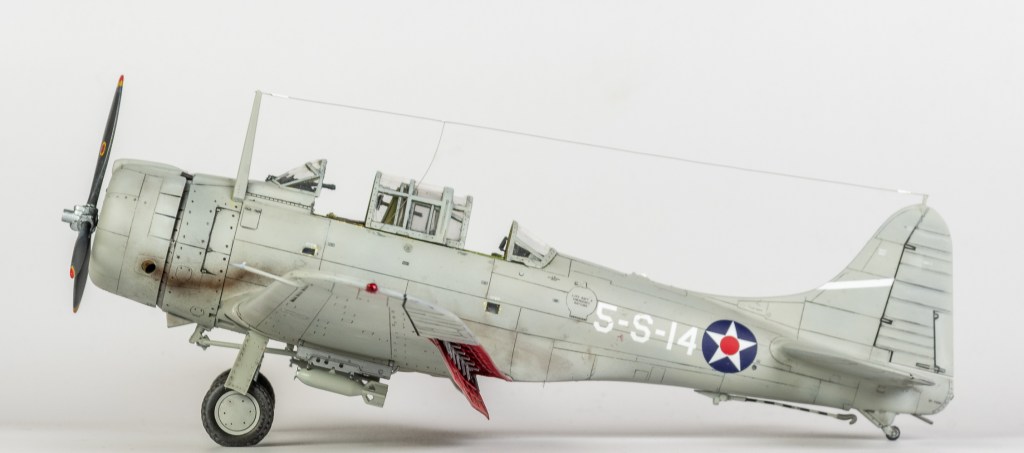
MRP Light Gull Grey was used with the interior areas of the dive brakes being SMS Flat Red. Initially all the interiors were painted red, but a local club member pointed out that the well for the central flap/dive brake was supposed to be the underside colour. Thanks Geoff, who doesn’t love even MORE masking!
Prior to the sheet arriving, I decided to take a chance on the kit decals. The underwing roundel went on with no issues, bedded down on some Mr Setter. Some sparingly applied Mig AMMO decal fix saw it sink it the panel lines. The luck ran out though using the stencils as they broke up in the water. Time to stop for the day.
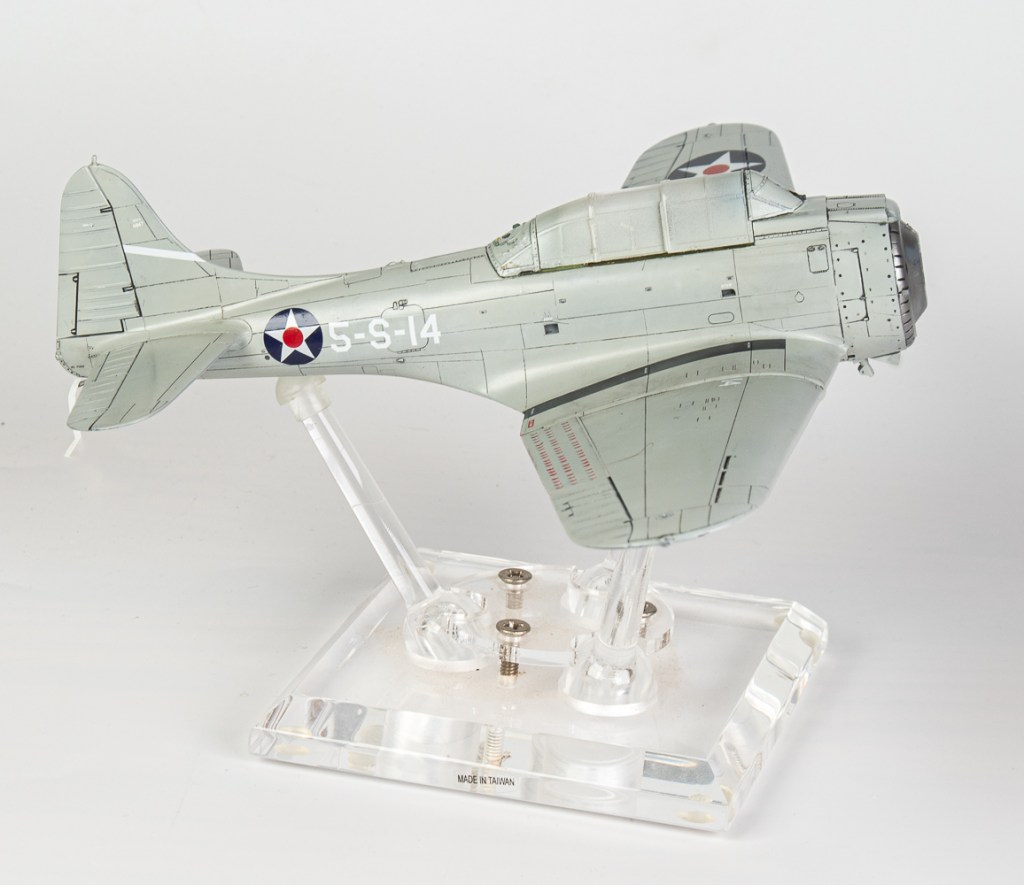
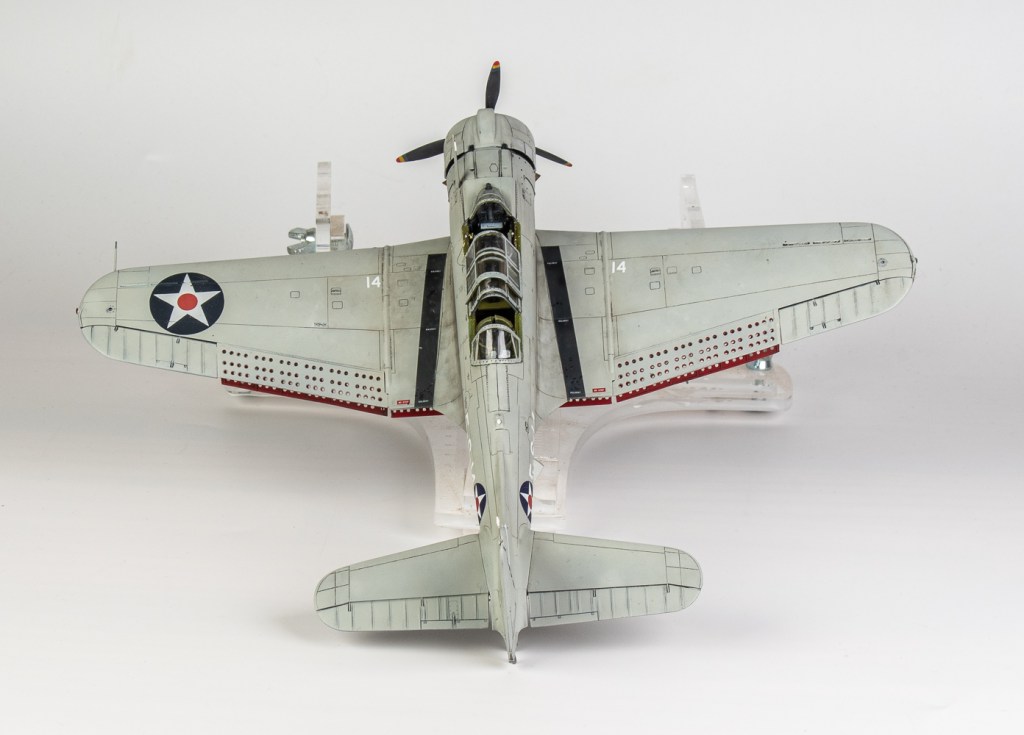
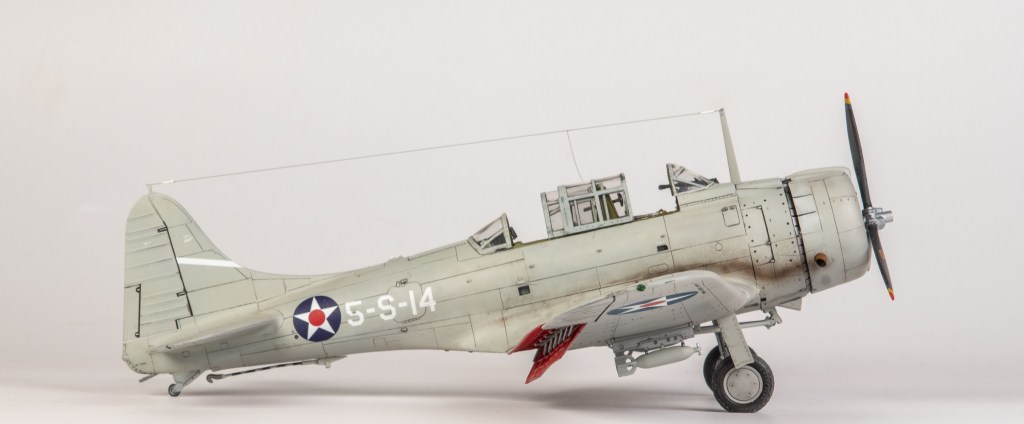
The next day started off well with the Postie delivering the Furball decals. It then took a dive when the decal set applied to the wing top star stained it due to my slightly too liberal application of the decal solvent. As it had to also lay into some vents on the wings, the decision was made to instead mask and paint the star in this location. The walkways were also painted rather than using the supplied decals. Furball decals were used in all other locations, including the stencilling.
The Jeffrey Ethell collection on Flickr has a photo of the actual aircraft.
I’ve reproduced it here, as I believe it’s actually an official USN photo taken over San Diego.
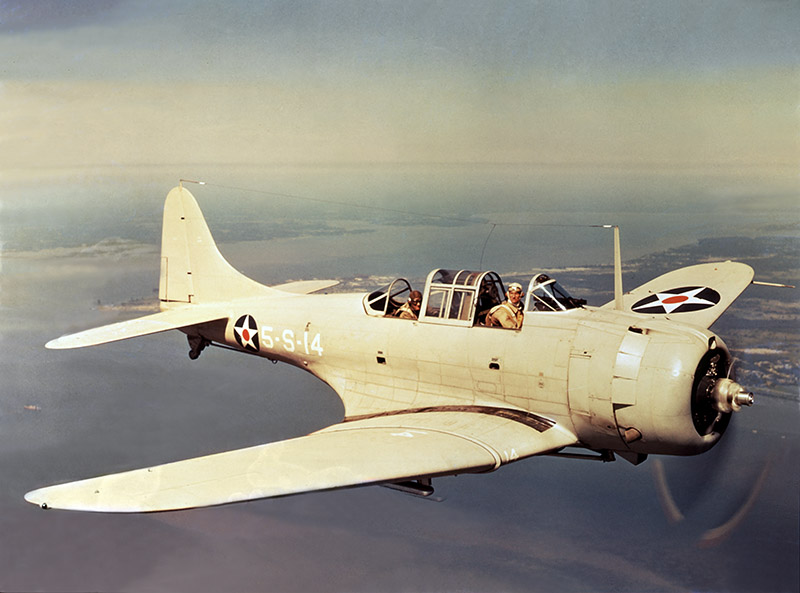
Comparing the photo to the Furball sheet, one sees Furball did not include the small number 14 on the wing leading edges. These can be made up from the various other numbers included on the sheet. The wingtop numbers were also placed more towards the front of the wing than Furball show on their instruction sheet.
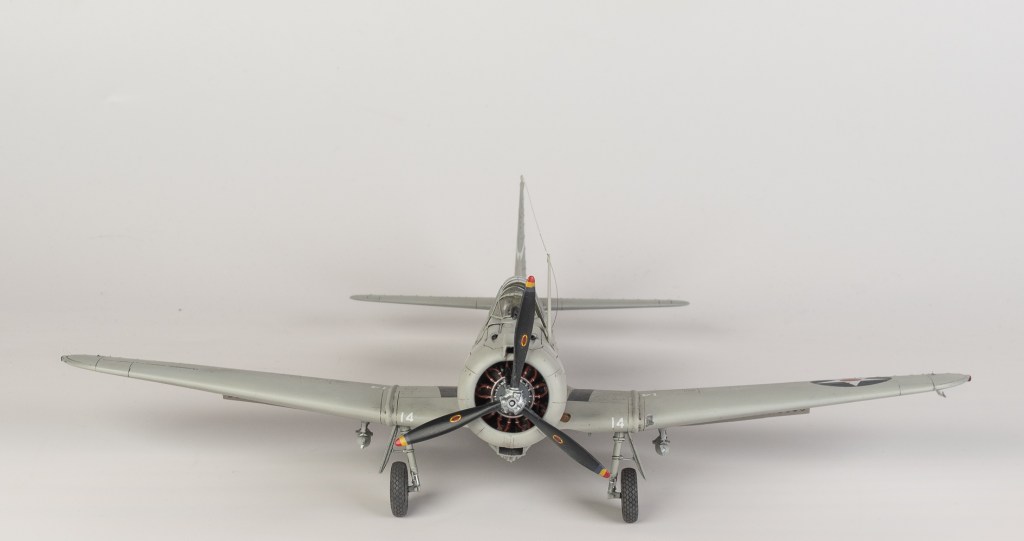
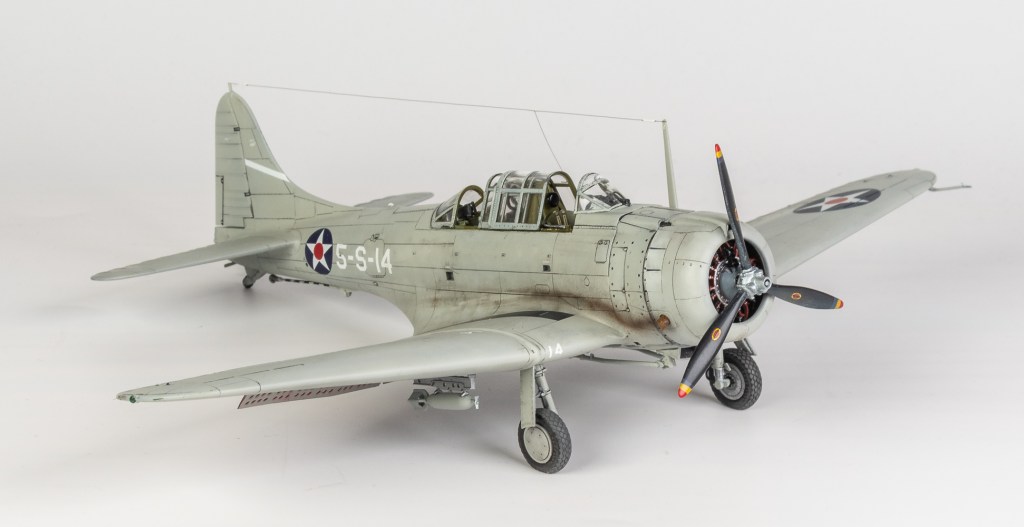
As you can see from the photo, she’s a fairly clean airframe aside from that exhaust stain. There being no evidence of even oil leaks from the cowling. Note no spinner is fitted and the propeller tips are still the early three colours of (from the tip) red, yellow and blue Modellers World Brown Grey was used for the panel line wash. The exhaust stain was airbrushed with very thinned ( not thinned enough though!) Tamiya black XF1 and red brown XF64


Final Details
The landing gear locates very positively, thanks to AM’s excellent engineering. I wish more kits were like this, talking about YOU Eduard!
The small struts that link the gear doors to the oleos were replaced with .20 plastic rod. This is far easier than cleaning the kit parts up. The gunner’s rearmost canopy was very carefully cut from the one piece closed canopy AM provide. You can’t use the provided open canopy due to it being too small as its designed to be stacked under the other canopies
The aerial wire was lycra thread with small brass tube lengths used for the insulators. Small 2.4mm MV lens were used for the underside ID lights. These are like the MVP of my bits bin. Try to find small lenses these days! The Brassin wheels were superglued on after having the axle holes drilled out larger. Really Eduard, this could have been done at manufacture, you say on the packet they are for the AM kits. I’m sure some modellers will label this as nitpicking, but I find it incredibly irritating. Reskit are also the same, labelling their wheels as specific to a particular kit, but again, the axle holes always need drilling out to suit the kit axle. And with that, the Dauntless rolls off the bench -not literally I hasten to add – as my first completion for 2026.
Final Thoughts
I really enjoyed this kit, perhaps because I set out from the start with the view of just making it a quick straight forward build. To me, Accurate Miniatures kits, even when looked at with a 21st century eye still stand as great model kits . A true testament to the work that went into designing them at the time. Although there is more aftermarket out there for them now, you can still build a detailed kit straight from the box. Its streets ahead of the Hasegawa Dauntless and will probably wear the crown of “Best Dauntless in 48 Scale” for some years yet.
Douglas SBD-3 Dauntless. U.S Navy VS-5 USS Yorktown 1941


Your mention of the 1997 Dauntless made me smile. I still have a few of my own builds from the late ’70s, so I was curious — do you still have that first one you built back then.
LikeLike
Sadly no Pierre. Several house moves over the years have seen all my models from my childhood gone. A shame as they would be great to look at again, and compare to my current builds . In fact thinking back , I have absolutely no recollection of what happened to them. I imagine they would have got thrown out, but I have no memory of that whatsoever.. Thankyou for your continued interest in my blog
Bruce
LikeLiked by 1 person
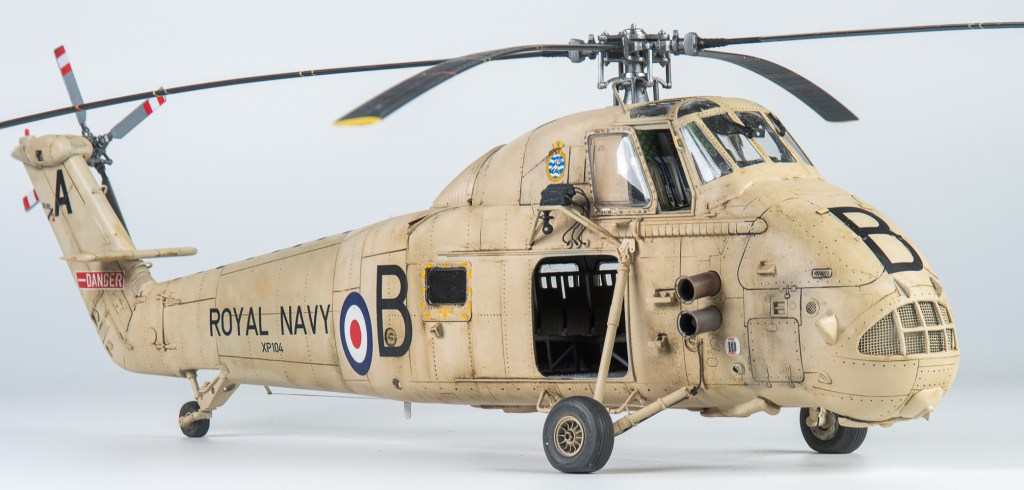
Pingback: Accurate Miniatures 1/48 Tarpon MkII | Bruce’s-Scale-Models
Another cracking build Bruce! I like the contrast between the overall grey and red interiors of the dive brakes too.
LikeLiked by 1 person