- Purchased: 2014
- Completed; 2025
- Enhancements;
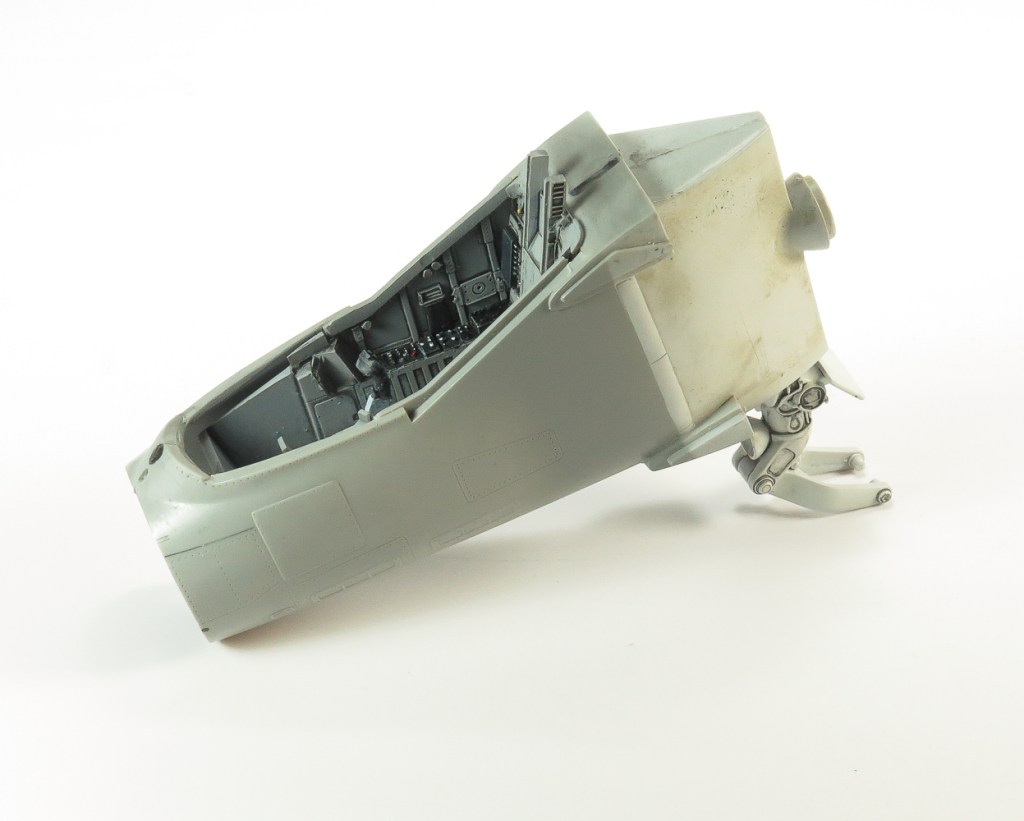
- Cockpit. Aires
- Seat; resin cast by Piero on Britmodeller. No longer available
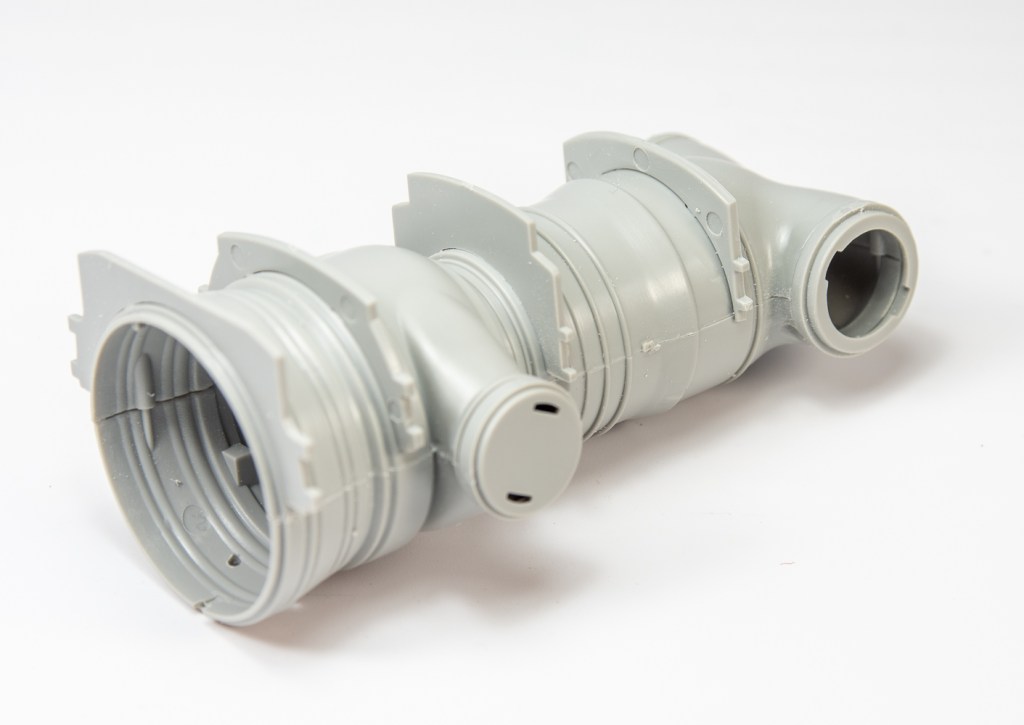
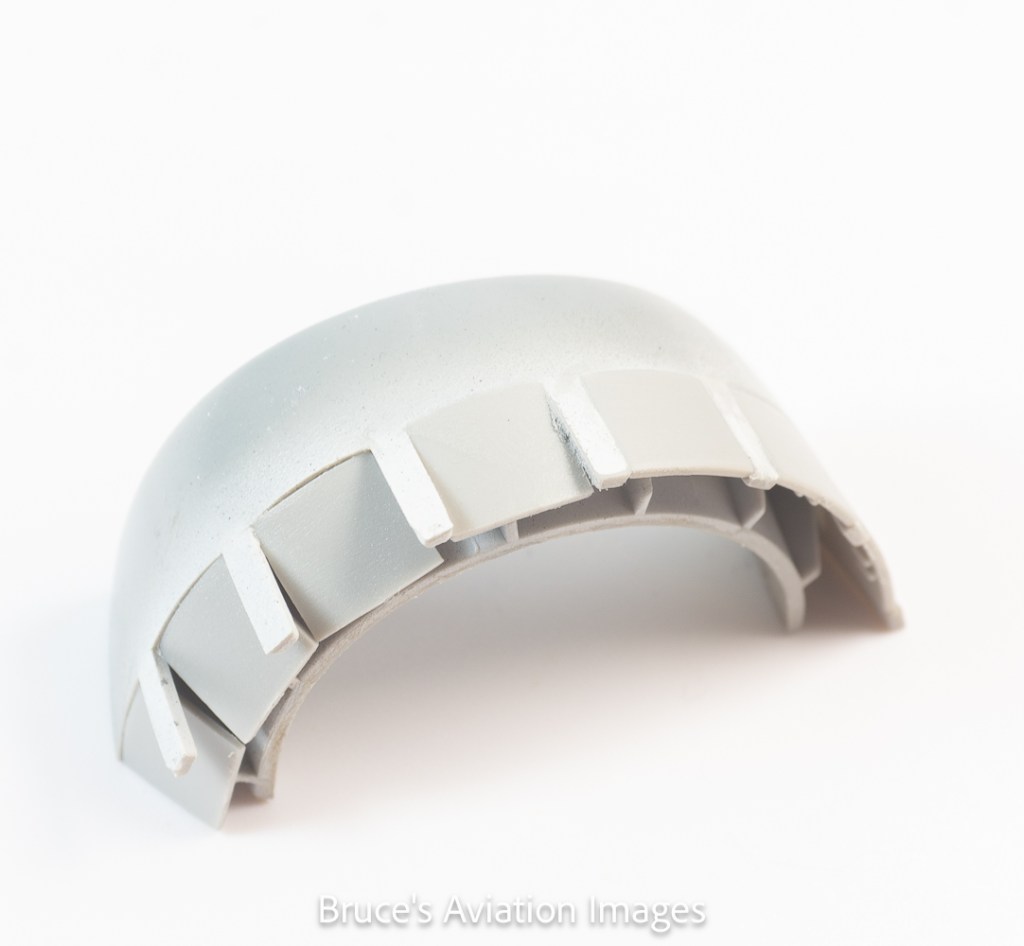
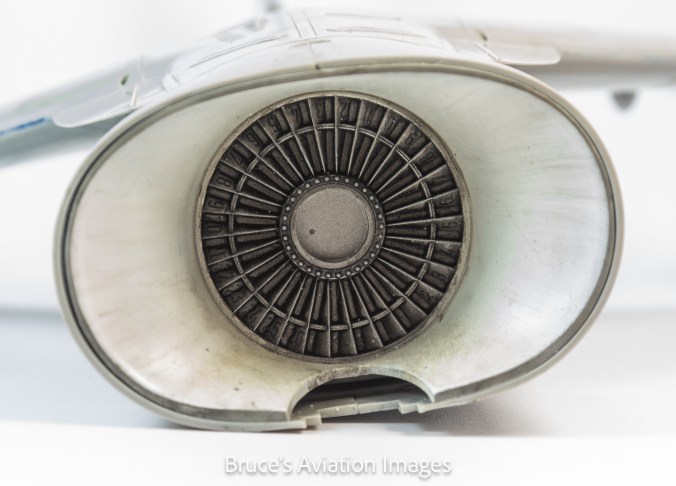
- Jet nozzles. Aires
- GR7 pylons: Wolfpack
- GR7 Nose: eBay seller Sonconat
- Tanks; Reskit
- CRV; 3D printed from modeller on eBay. Sonconat
- Bombs; Reskit
- DJRP; 3dP from ebay. Sonconat
- TIALD pod; Brassin
- BOL Rails. ; Jet Passion
Introduction
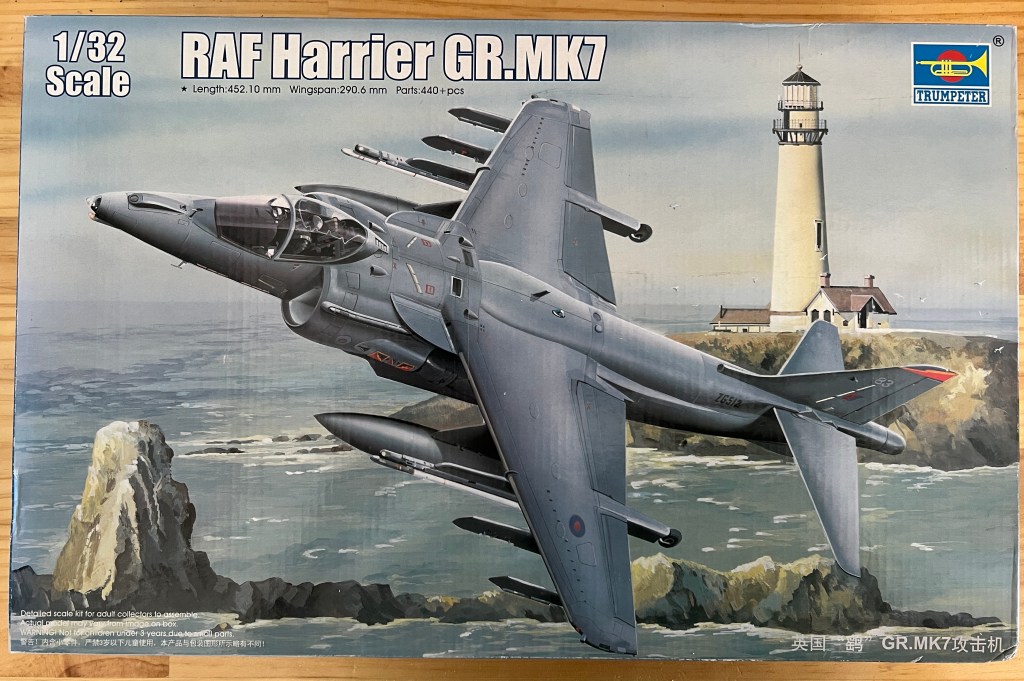
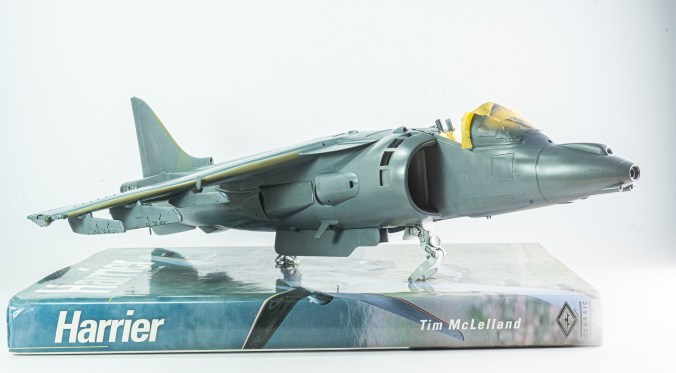
Trumpeter’s supposed GR7 Harrier followed on from their release of the US variants, these being the AV-8B and Night attack variant. I say supposed, because despite saying GR7 on the box, Trumpeter failed to include any specific GR7 parts, the nose being the most glaring inaccuracy, despite getting expert assistance from a UK Harrier model group
Trumpeter’s RAF Harrier is nothing more than their US Harrier boxed with some British markings, and even these are wrong. There are no specific RAF weapons either, the kit coming with the standard US weapon sprues. The national Markings look to be the wrong colour and size as well.
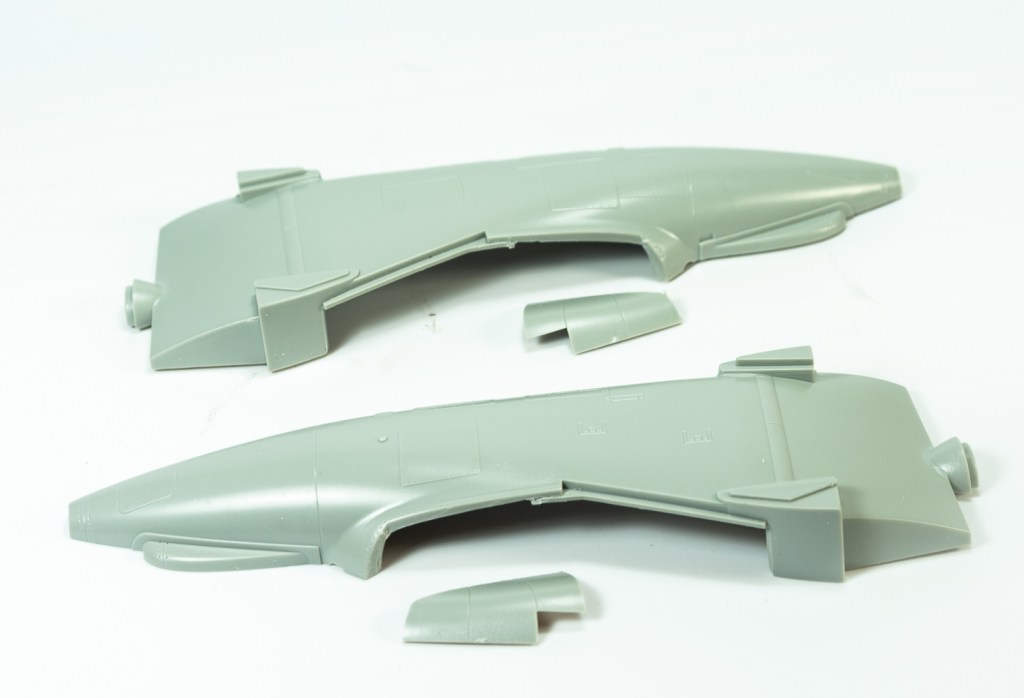
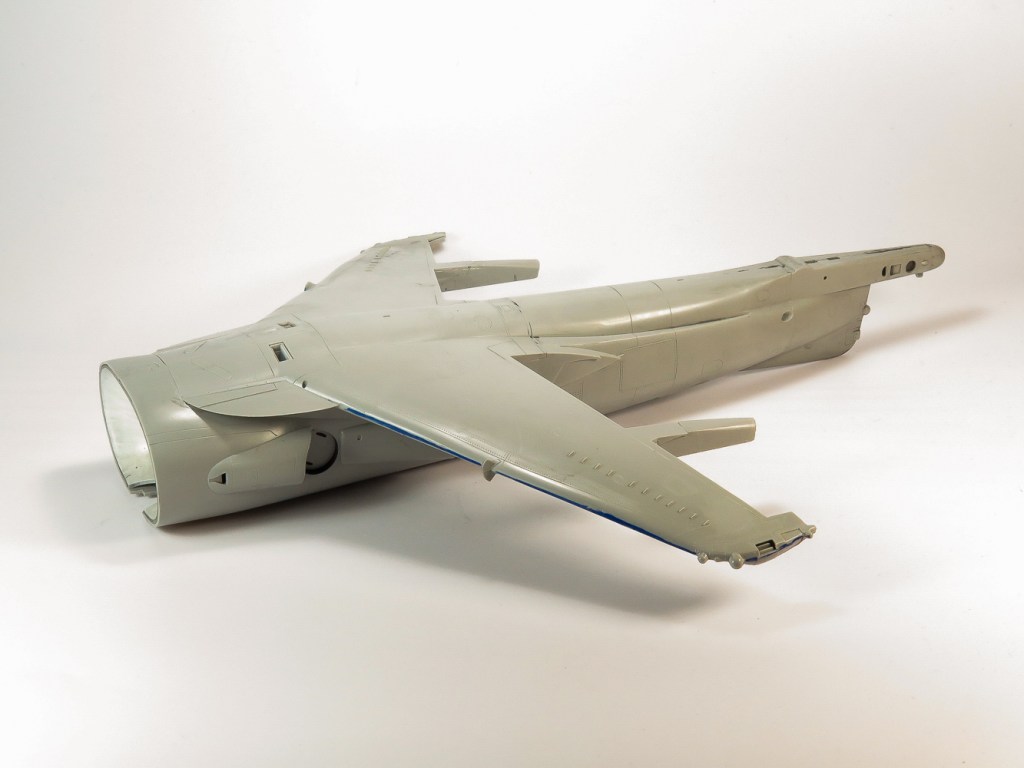
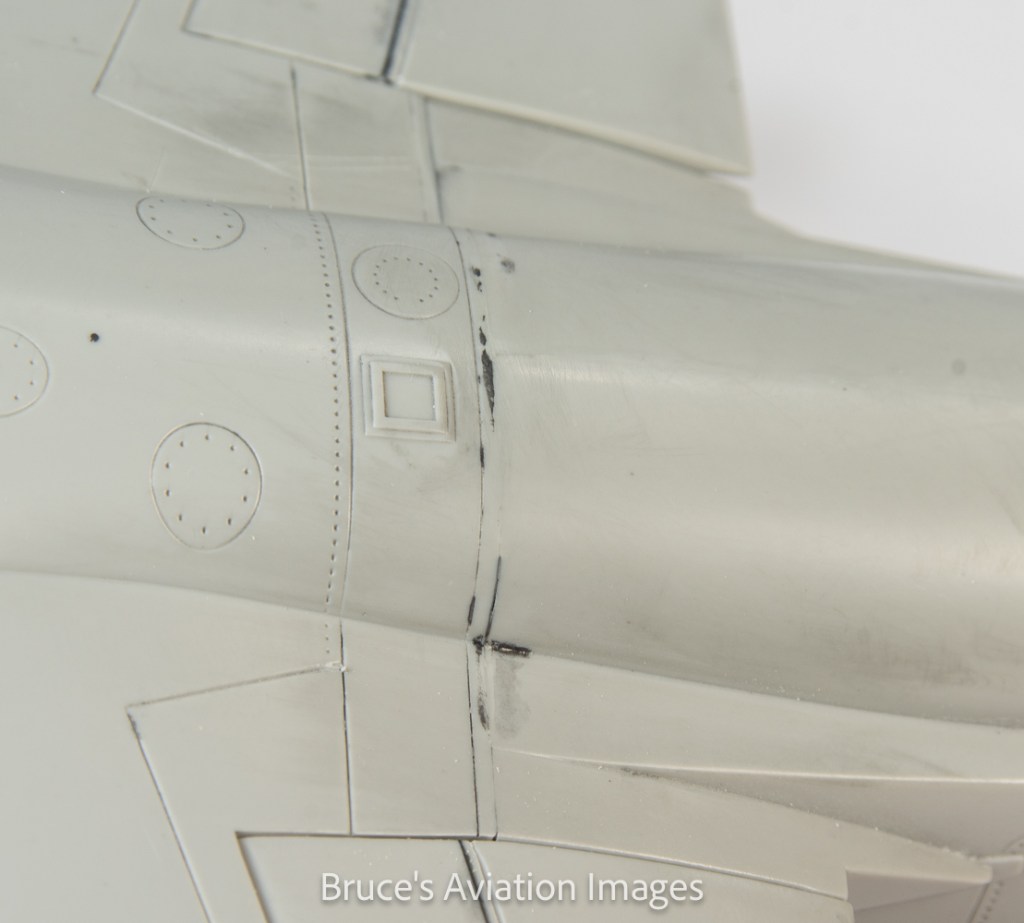
The kit has several incorrect shaped access panels for a GR7. I decided to leave these as they came in the kit, but if you want to correct your kit, pretty much all the access panels and rivet lines on the wingtips need changing .The kit wings have a weird bulge midway along the wing leading edge when looked at front on. I suspect this is Trumpeter’s method of dealing with the wing “kink” but it just looks wrong. Mould lines will also have to be removed from each upper wingtip. Raised panels on either side of the nose should be sanded flat and the foremost panel just behind the nose on the port side removed as I cannot see this panel on any GR7s I looked at. A deliberate decision was made to not go down the rabbit hole of changing every detail on the kit to accurately portray a GR7 or 9, as one could spend 6 months doing this. Consequently, whilst my model better represents a GR7 than an OOB build, it’s still not an accurate to the last detail GR7. And Im quite happy with this compromise in the name of a quick build.
Construction Notes
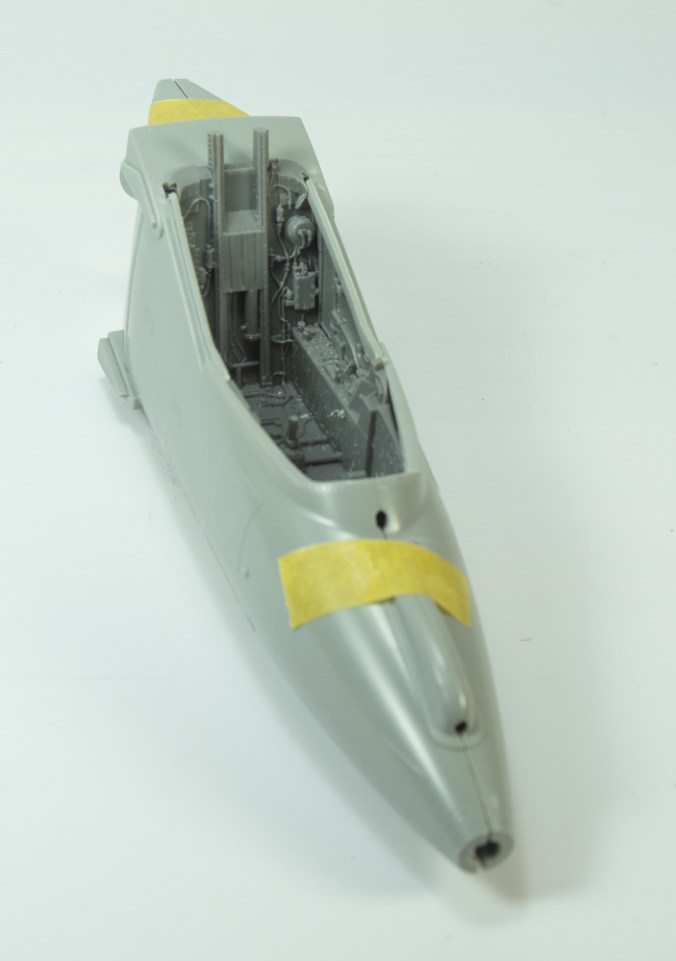
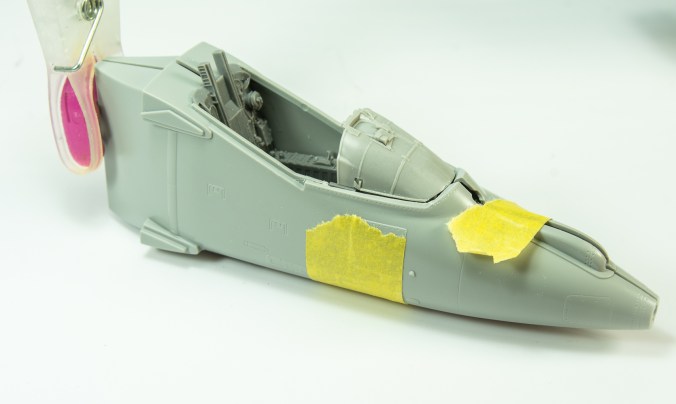
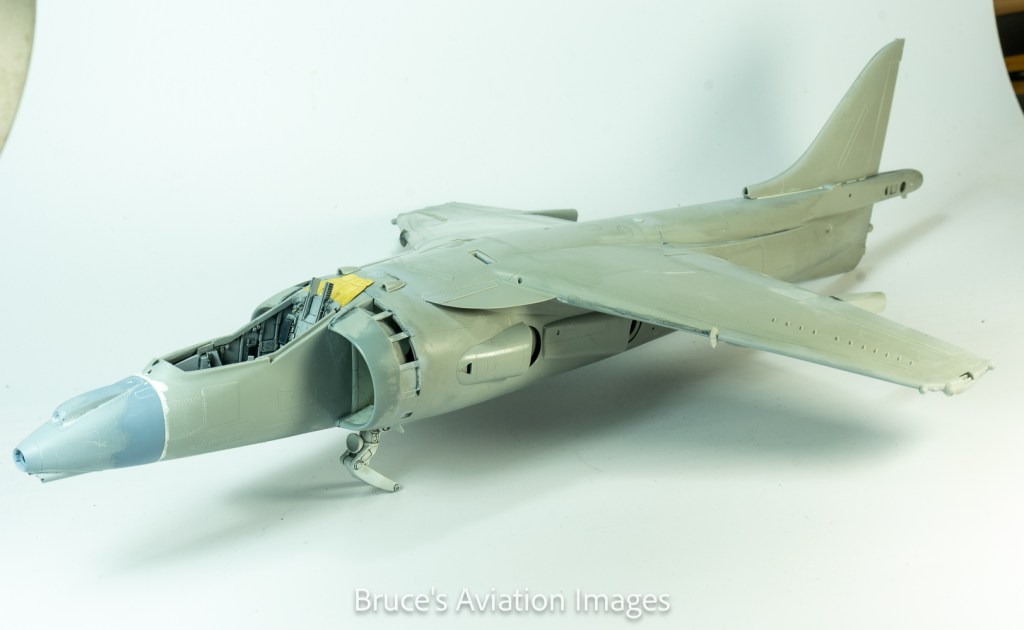
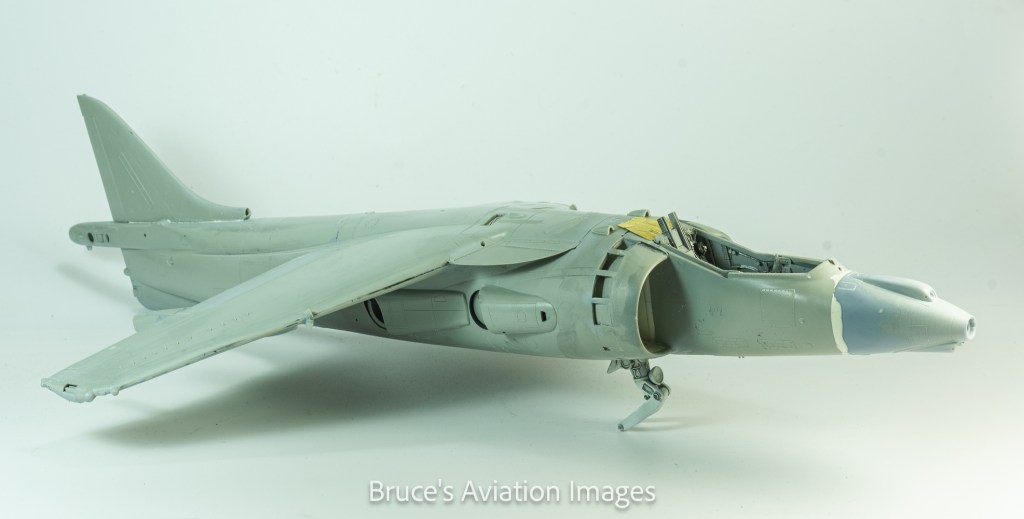
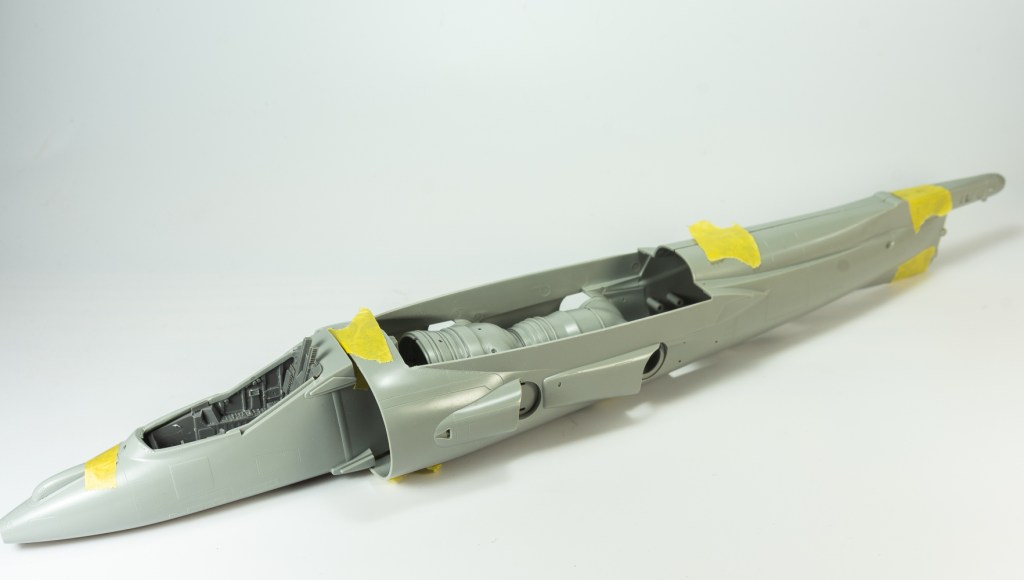
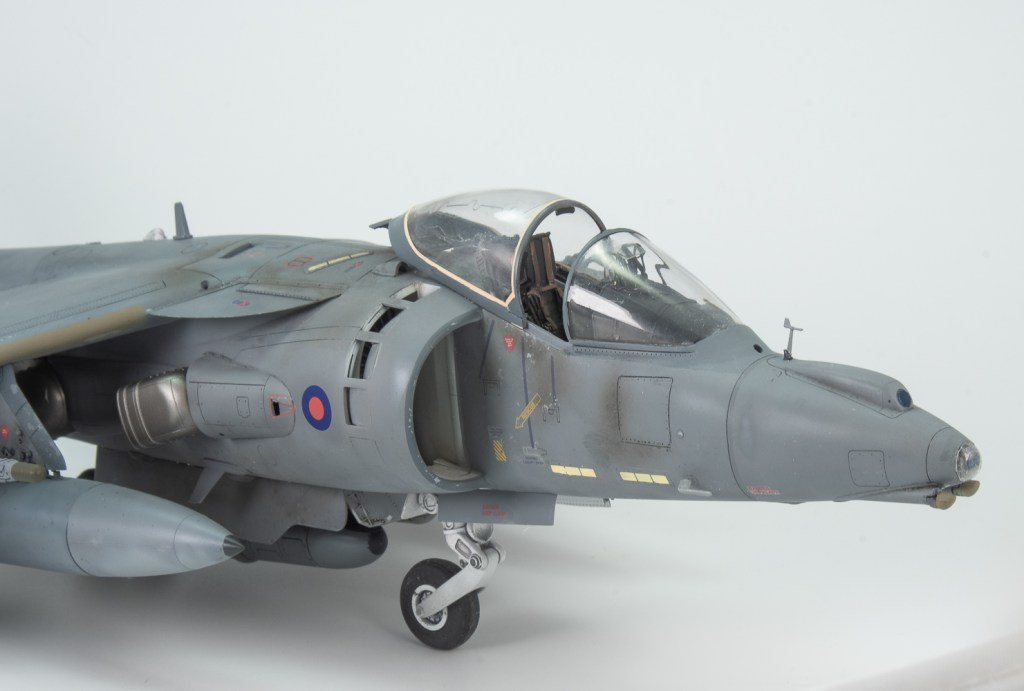
Aires’s cockpit actually wasn’t a bad fit . Although not quite a drop fit, it didn’t take too much sanding to fit between the nose halves, even locating to the kit cockpit location tabs. Ah, if only all Aires sets fitted like this.


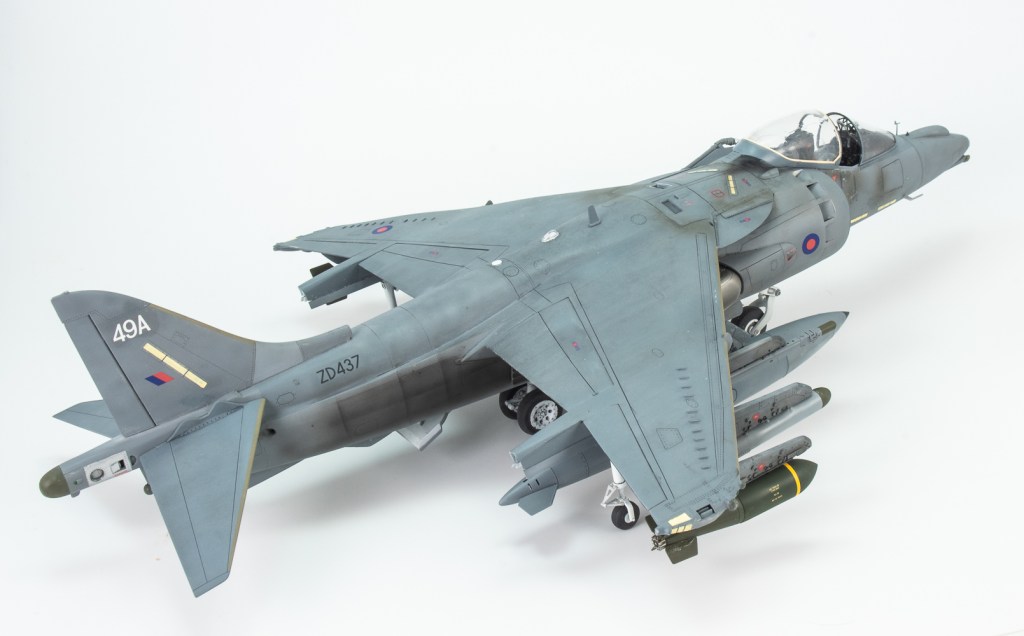
Trumpeter would also have you glue all the auxiliary intake doors in the open position, rather than just the top 3 on each side that flopped open through gravity. Look at photos of parked Harriers to see what I mean.
In a similar vein, Trumpeter would have you glue the main undercarriage doors in the open position, again not prototypical for the real jet. all photos I looked at showing the main doors closed. Achieving this took a bit of work, as the doors are not the best fit in the closed position, requiring lots of filling and rescribing.
The kit pylons are the US pattern, so the Flying Leathernecks supposedly RAF corrected pylons were used, although comparison to photos, showed they are still not correct for RAF pylons. In fact the Flying Leathernecks pylons were a bit of a disappointment, also being a very poor fit to the wings. At least the rear of them was contoured to fit over the flap actuators, unlike the kit pylons. Speaking of the flap (and aileron) actuators, they will need to be extended with scraps of thick plastic card as they are too short, and uncorrected, leave large gaps as they don’t meet the control surface actuators.
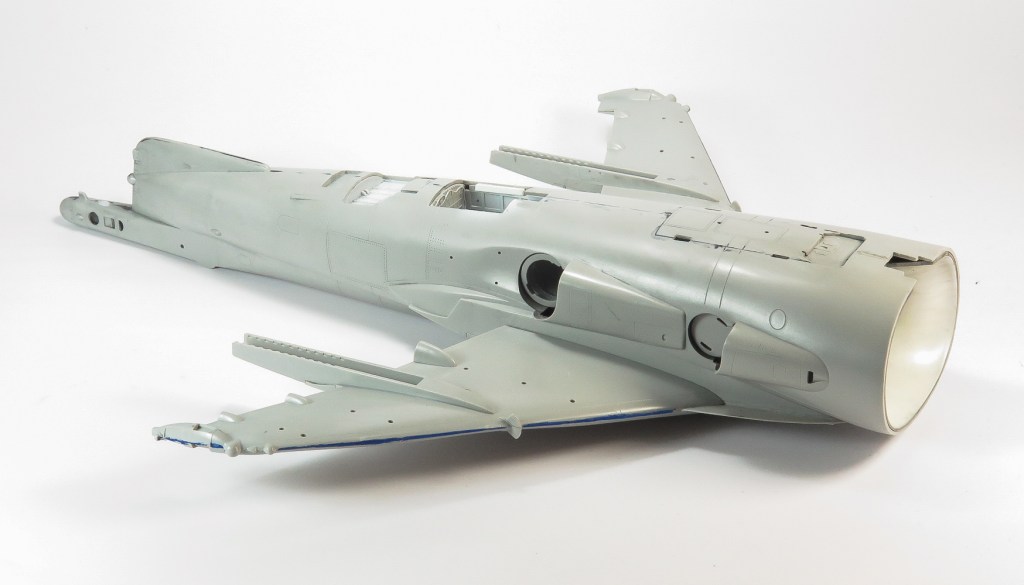
I only used the 2 halves of the engine and the mounting bulkheads, enough to mount the aires jet nozzles to. The rest of the kit engine parts were confined to the bin, as they will never be seen on the completed kit. Similarly thrown out were the kit blast plates and nozzles, these parts being replaced with the Aires items.
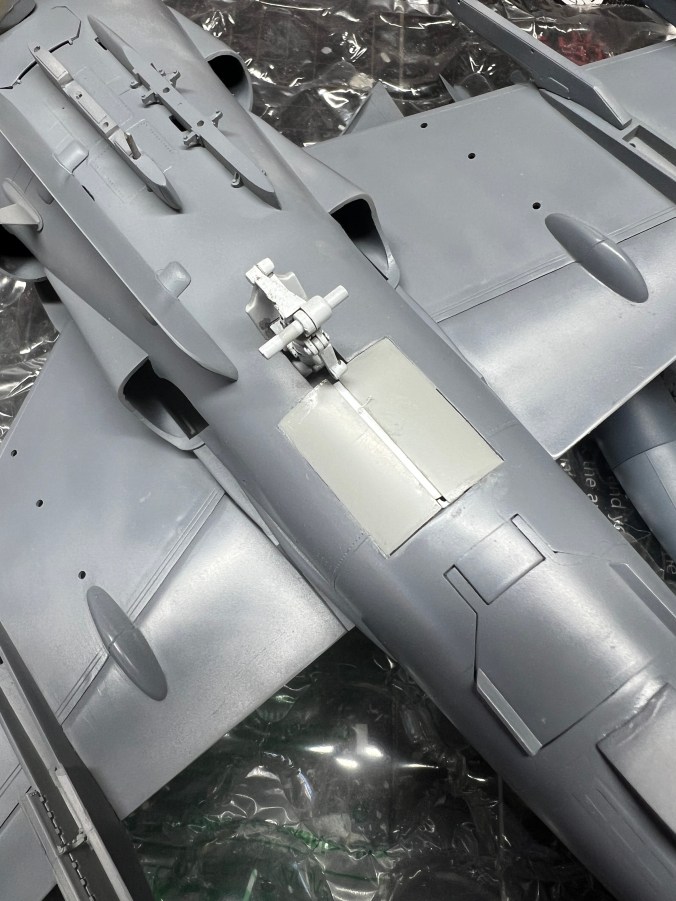
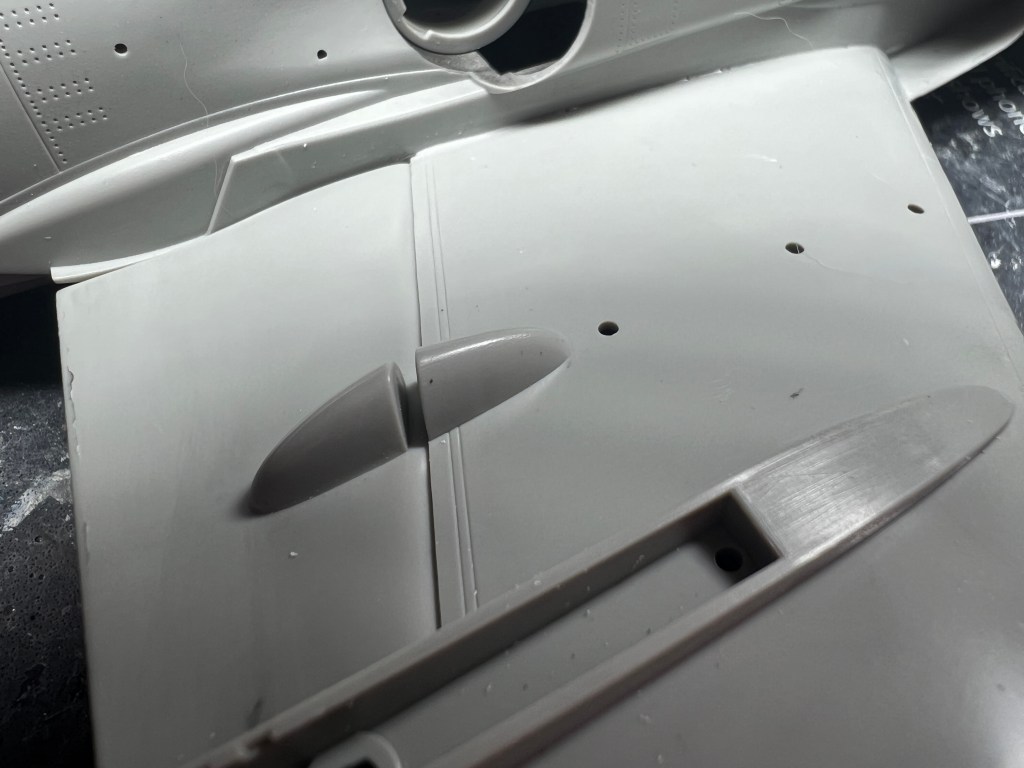
Parts D24 and D25 were not added as I could not see them on photos of real GR7As. All moulded vents on the rear fuselage and wing top were cut out and replaced with suitably sized PE mesh .
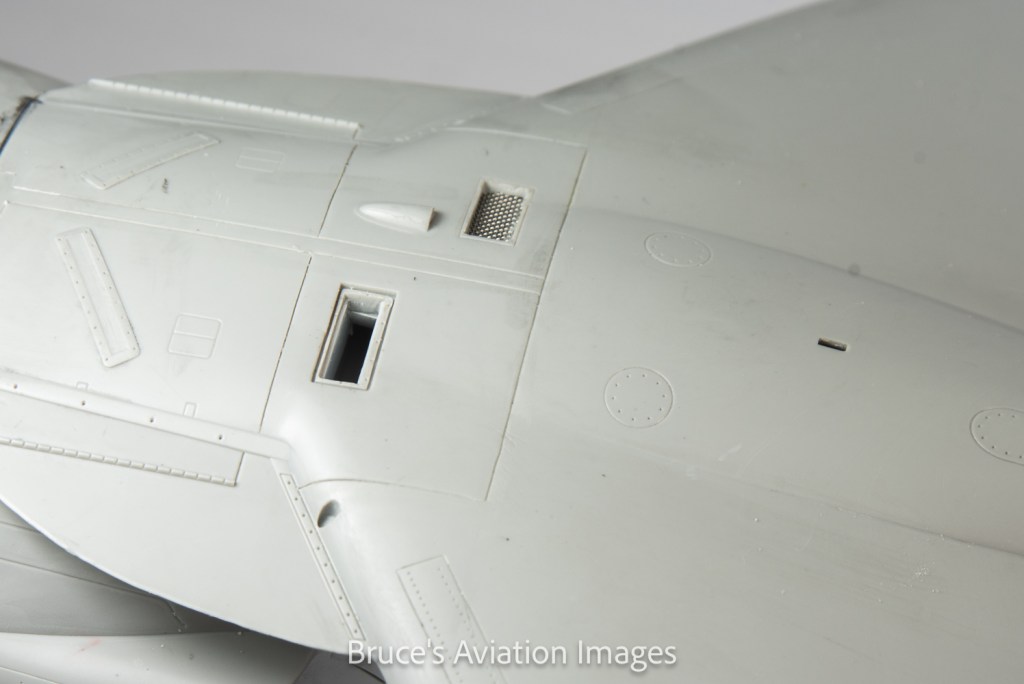
Part E55 was added but all the detail was filled and then faired into the fuselage contours. A new RAF type Flare unit was then shaped from laminated sheets of thick plastic card and added just behind the rear wheel bay. Details were represenrted with decals. The square GPS antenna was shaved off the wing centre section, and replaced with a round one as per photos.

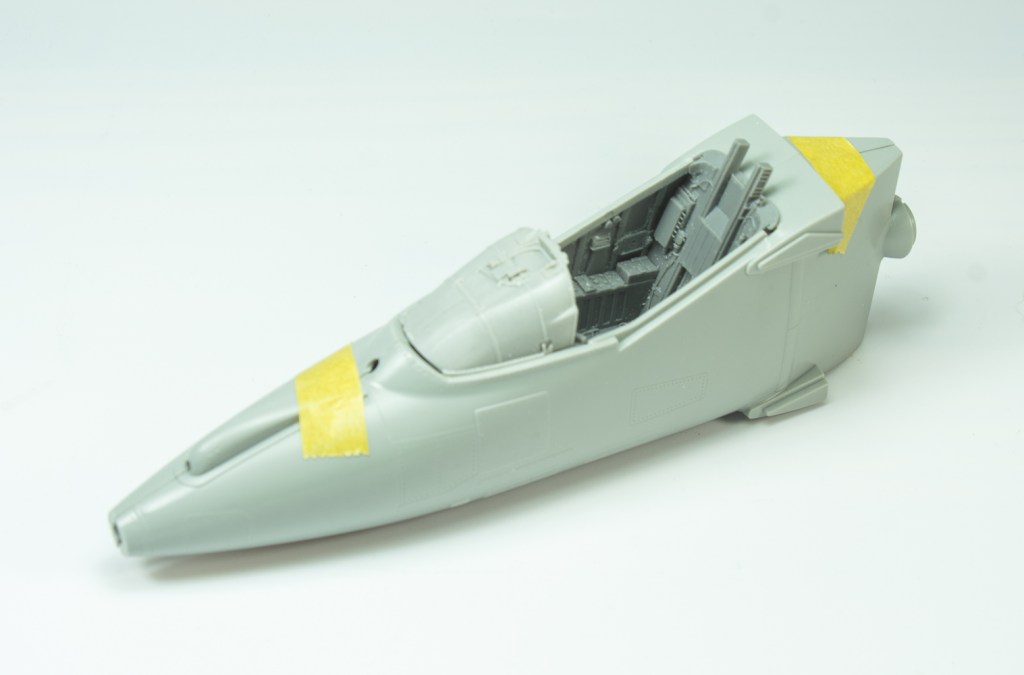

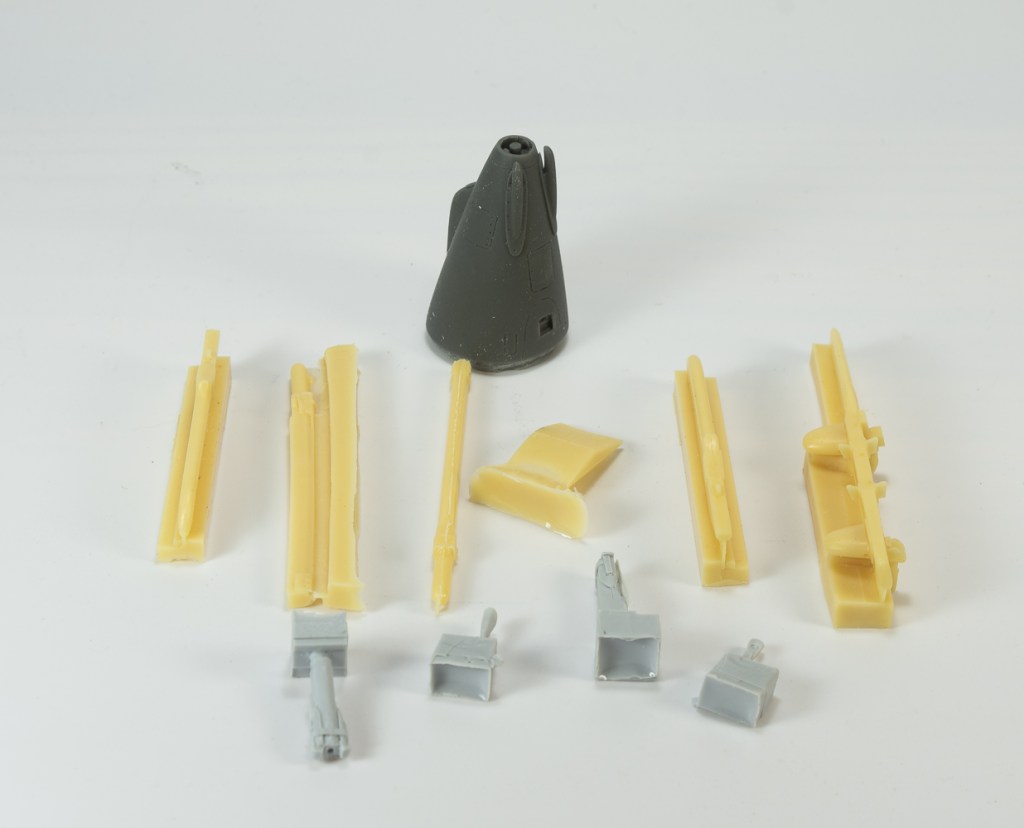

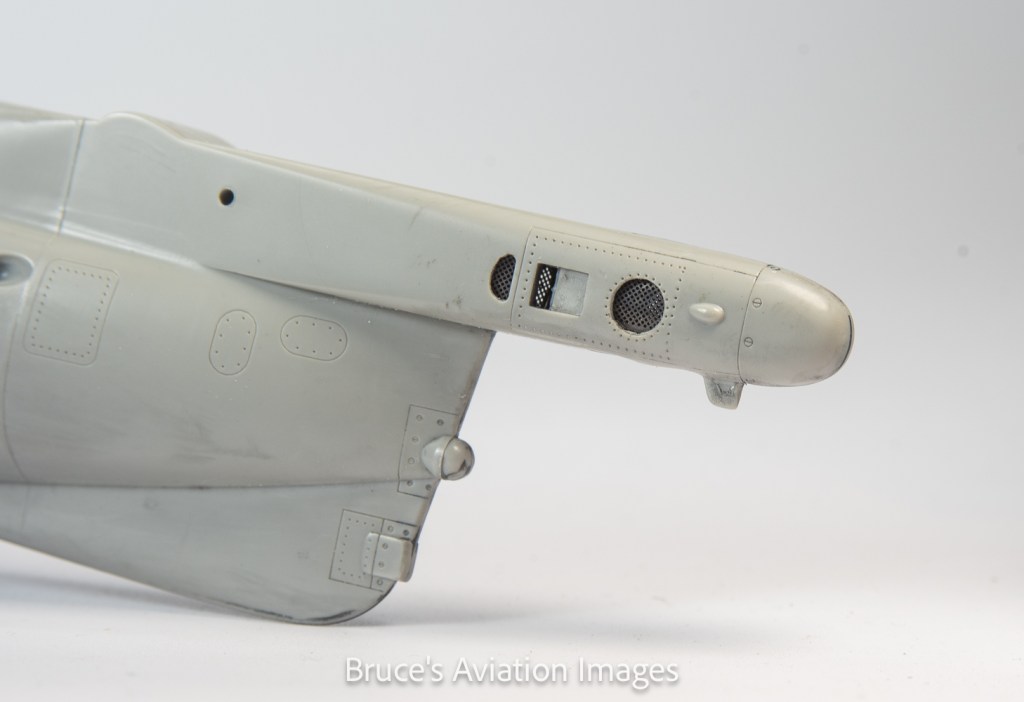
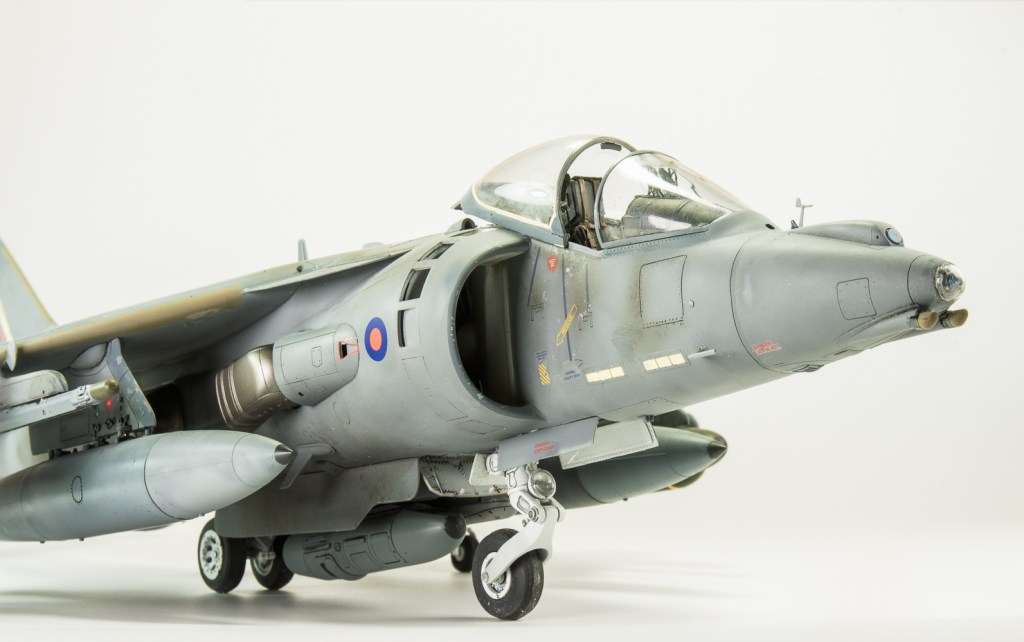
The new 3D printed nose fit reasonably well, just requiring fairing in on one side after the kit nose was cut away, it being completely wrong for a British Harrier.
Painting and Decalling
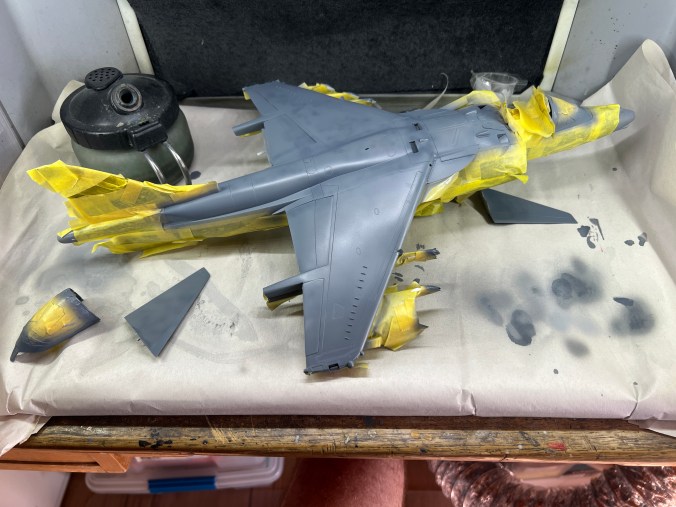
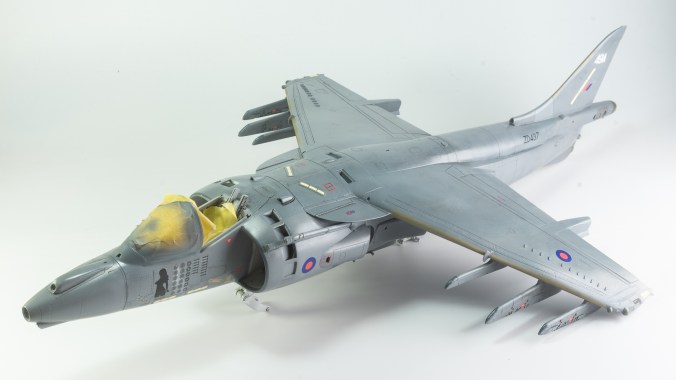
The first thing to do here was throw out Trumpeter’s painting guide. Instead, I borrowed from the painting guide for Airfix’s 72 scale kit, which calls out the correct Herrick scheme of Dark Sea Grey and Dark Camouflage Grey. The Camouflage Grey proved a problem until I found AK Real Colours offered it.
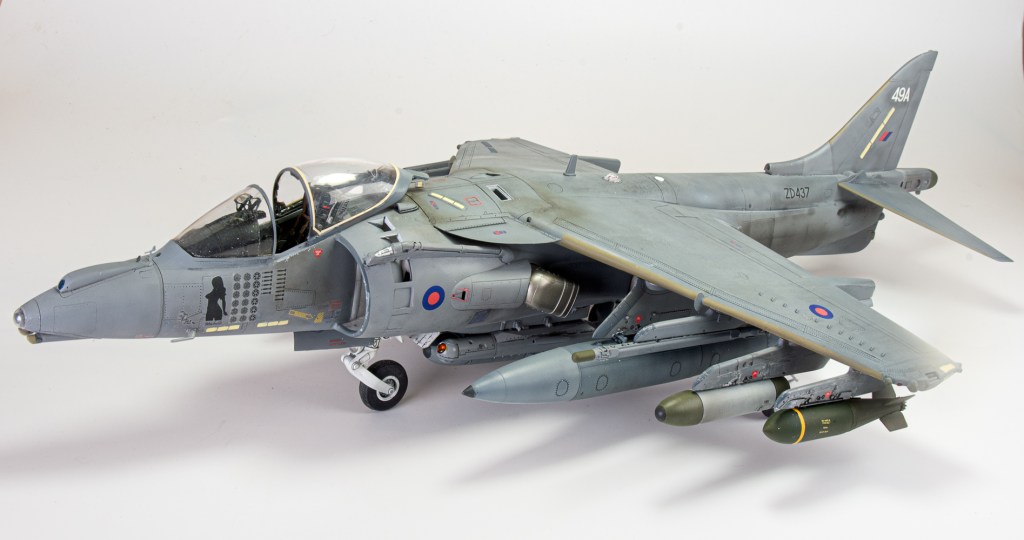
MRP furnished the Dark Sea Grey. Photos of this particular jet were quite hard to come by and I am indebted to Nick Greenall from the UK IPMS Harrier SIG for sending me some through as well as details of the correct Operation Herrick load out.
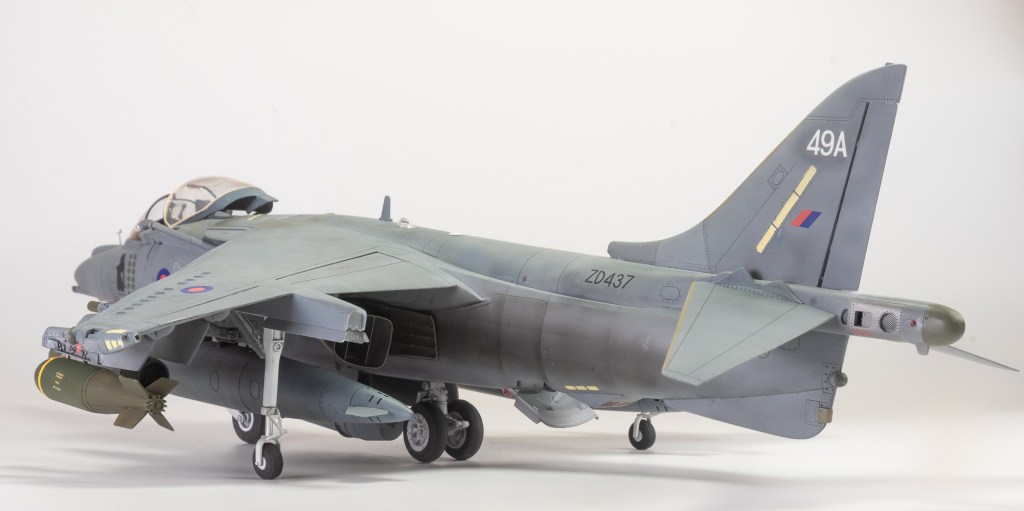
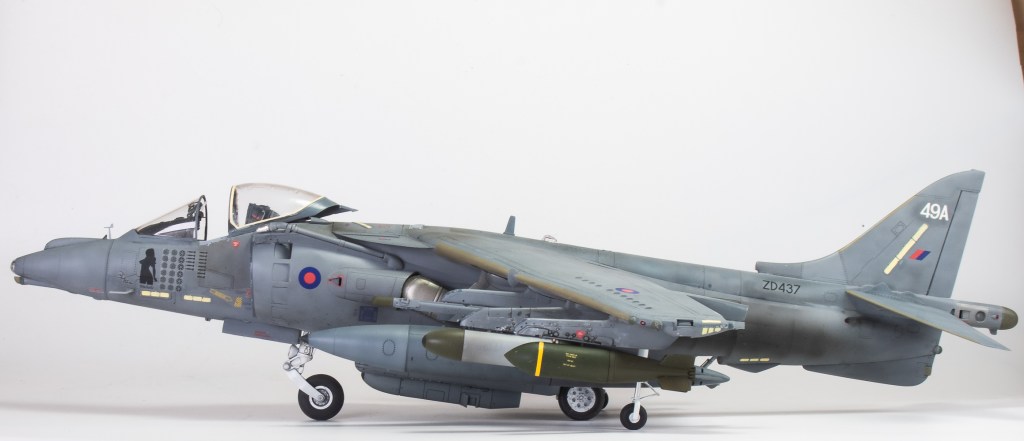
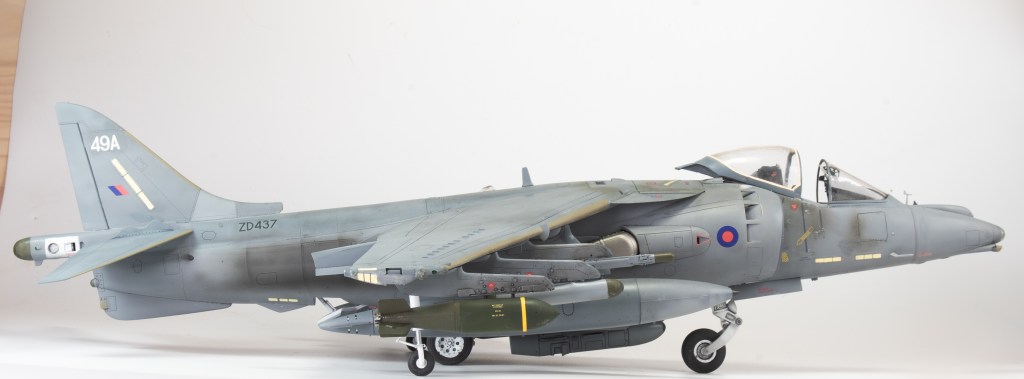
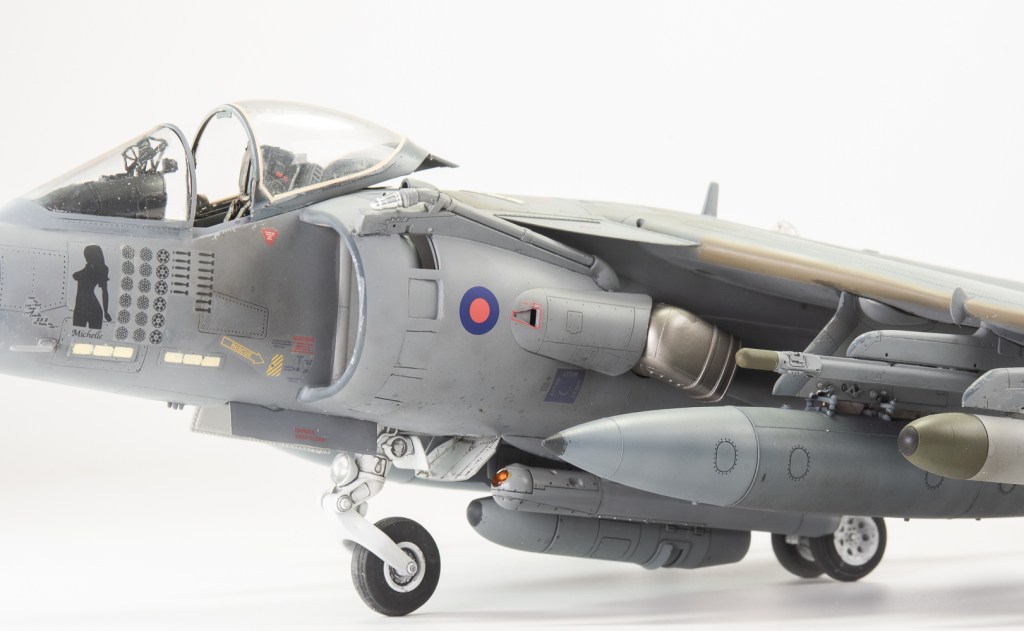
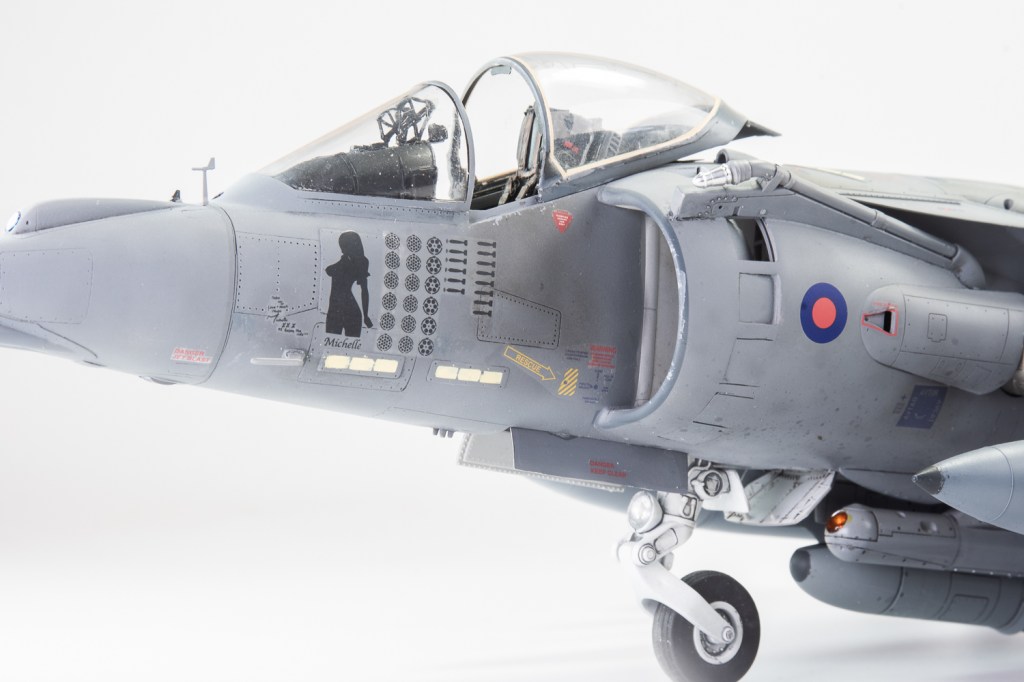
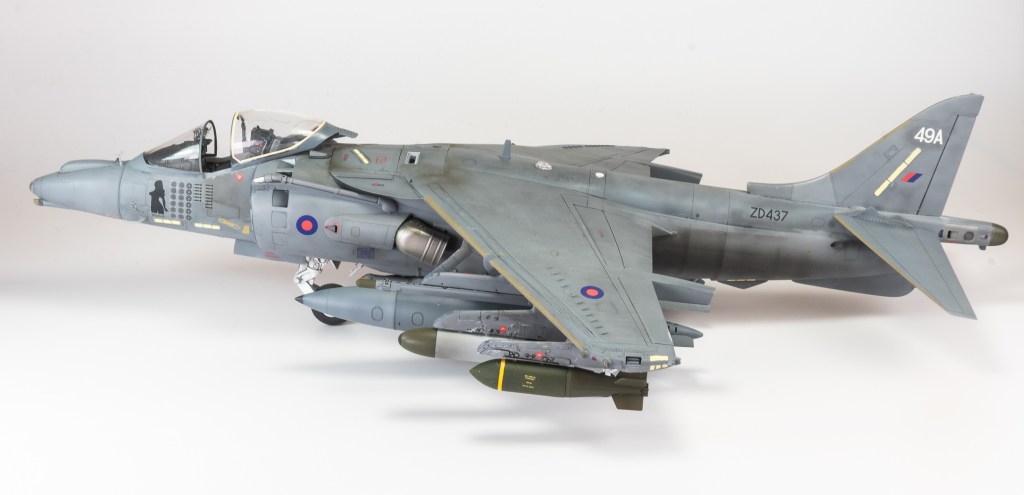
The colours were faded just slightly. Whilst photos show a lot of staining and fluid spills, there is not an awful lot of paint wear evident. A replacement grey panel was depicted on the tail despite this not being evident whilst the jet wore the nose art. Artistic Licence! The jet is pictured at a later date with light grey replacement panels in evidence, but by this stage “Michelle” had been painted out. She wasn’t getting painted out on this jet, let me tell you!! The tanks also had different greys applied to the separate sections as images of real harriers showed this was a thing.
Michelle, the mission tally and the tail number all came from Zotz decals. Not my favourite manufacturer. I find their decals quite thick, and generally non conforming to detail. Here they were coated with several layers of gloss varnish and then gently sanded to blend the carrier film into the surrounding clear coats, which, to my surprise. worked very well. A new technique to me. National markings came from an Airframe decal sheet as both Trumpeter and Zotz had the size and colours wrong, likewise all the stencilling and serial numbers. No underside stencilling was applied as it looks like it was not reapplied after the undersides were repainted with the camouflage grey on the real jet. There was some evidence of general grubbiness around the engine bay doors, so I used Starship Filth to add this. Wrong colour!! I should have just used black as it looks like there’s been an engine bay fire. Nethertheless, I was quite happy with my blending efforts, these being better than some previous attempts at the technique.

Final Assembly
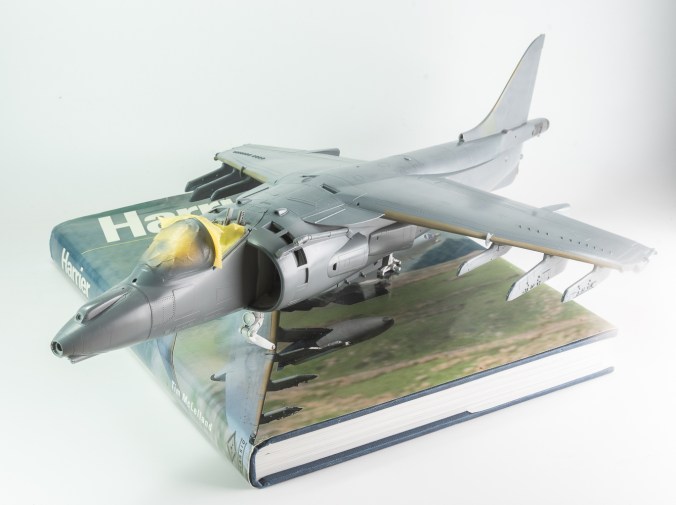
In what was becoming a recurring thing with this kit, the Trumpeter pylons and weapons were thrown in the bin. ( I used to keep all this stuff, but it was becoming unmanageable, and it turned out a lot of it wasn’t getting used, so now it just gets thrown out {I imagine Jon Bryon is grimacing with horror if he’s reading this!})
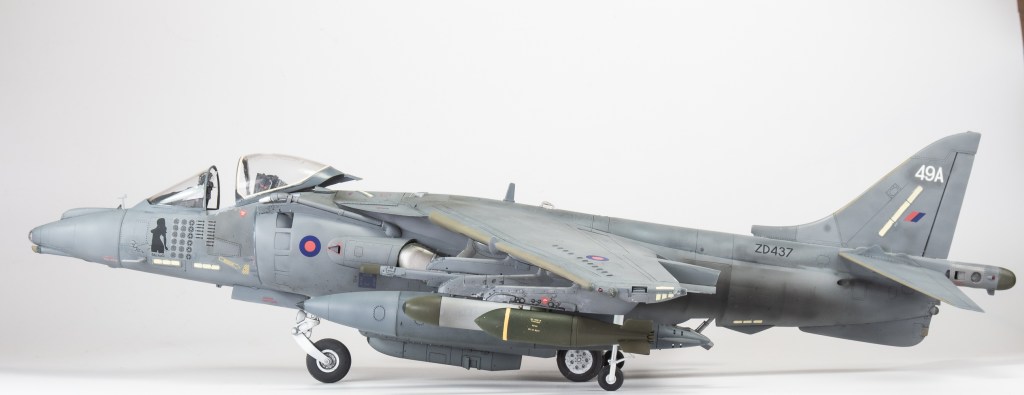
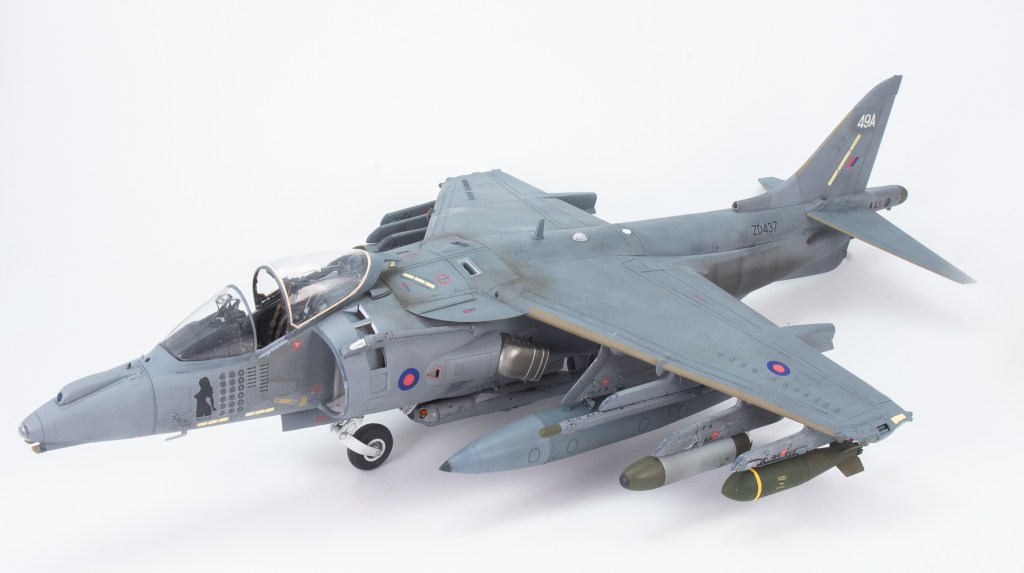
I have already given my thoughts on the Flying Leathernecks pylons, but at least they are better than nothing and I’m happy that Flying Leathernecks saw fit to release them. Kit fuel tanks were replaced with the fantastic, but expensive Reskit items. Bombs are also by Reskit. These are 1000lbers, as I could not find any 540lbers, which I think are the correct bombs for this particular loadout. The pilot will soon find the jet feels a bit sluggish!!
BOL rails came from Jet passion, the CRV pods and DJRP came from a fellow on eBay who 3d prints corrections for the GR7. Originally I was going to use a cast nose that I got years ago from a bloke off Britmodeller, but the 3DP nose had a lot more fidelity, it just needs the print lines sanding off, as do the rocket pods and the fuel tanks. And finally the TIALD pod came from Brassin, it being drilled and pinned to the adaptor pylon that comes with the Wolfpack Sniper pod, with brass rod , as were all the stores.
Conclusion
Not the most enjoyable build. OOB, the Trumpeter GR7 needs A LOT of modifications if you want to accurately portray a GR7 or 9. Aside from this, the model is not some of Trumpeters finest tooling, the plastic being textured with some panel lines that fade away. However, like all Trumpeter kits, the model looks complex, but is not that complicated to assemble. The gaps between the flap actuators, misnumbered parts in the instructions and poor engineering that required the nose leg to be fitted at an early stage all combined to make the model frustrating to construct in some respects. I doubt, I’d do another.
To finish off, I thought I’d list the Aftermarket used and how important it was to the build. Please note, these are my opinions only.
Aires Cockpit. Definitely adds to finished build with minimal effort needed to fit to kit. You will need a MB Mk12 seat though and not the American Stencil one.
Aires Jet Nozzles – Essential. Much better than kit nozzles. Again minimal effort needed to integrate into build
Resin wheels. I didn’t use any, but looking at my completed model, Im going to suggest they are essential as the kit rubber tyres are rubbish. At some stage mine will get replaced with resin ones too.
Soconat 3DP nose and DJRP – Essential if you want to accurately portray a GR7/9
Flying Leatherneck correct GR7/9 pylons. – Again essential if you want to do a RAF jet, for the only reason they more closely resemble RAF pylons than the Trumpeter pylons. And that’s not saying much!
Reskit Drop tanks – Very nice to have , as the kit tanks are inaccurate. Not essential though.
Weapons – Essential as kit weapons are US pattern weapons only.
This was my first completed build of 2025. There was a stage where it was looking like it would be my only 2025 build, So Im glad its done.
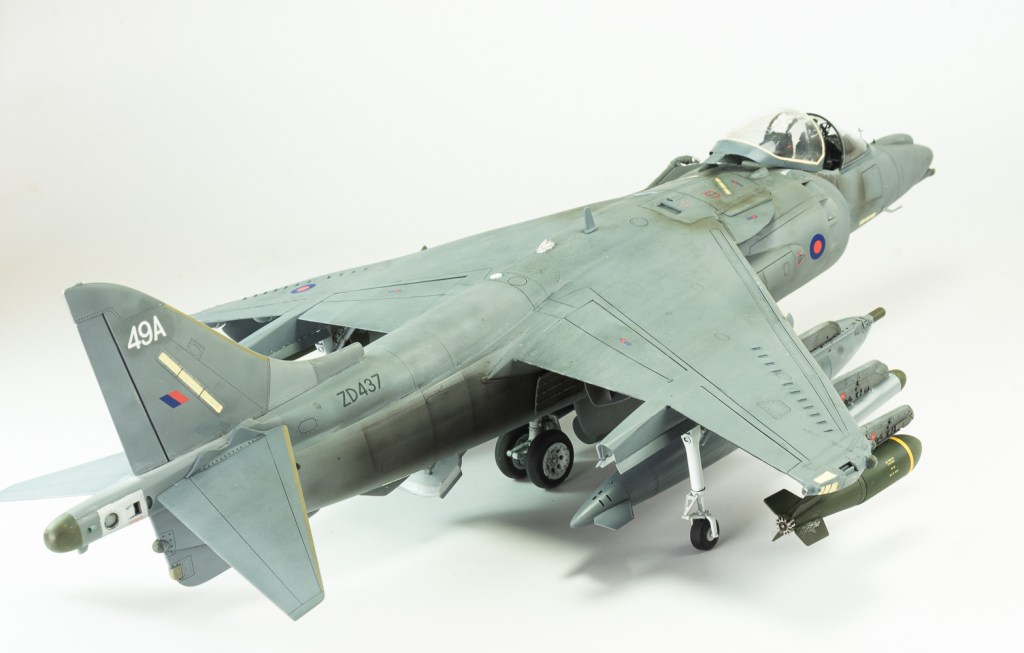
BAe Systems Harrier GR7A 1 SQN Royal Air Force. Kandahar Afghanistan 2007


Leave a reply to kfutter Cancel reply