- Purchased; 2012
- Completed; 2024
- Enhancements;
- Gaspatch turnbuckles type A
- Decals; kit
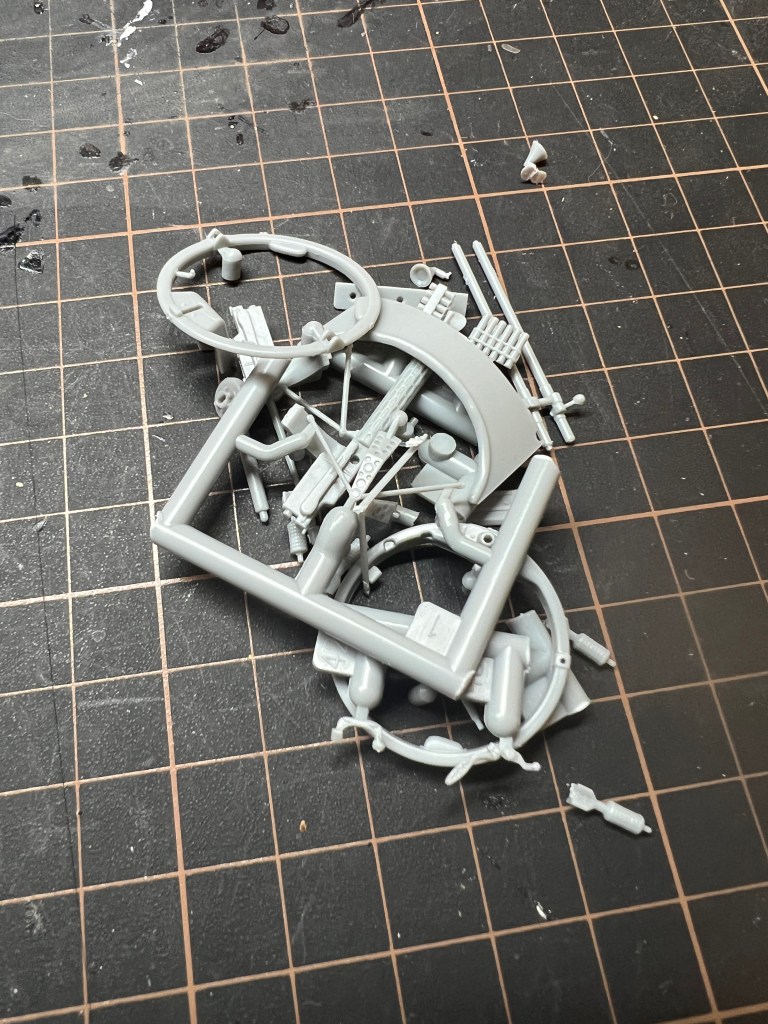
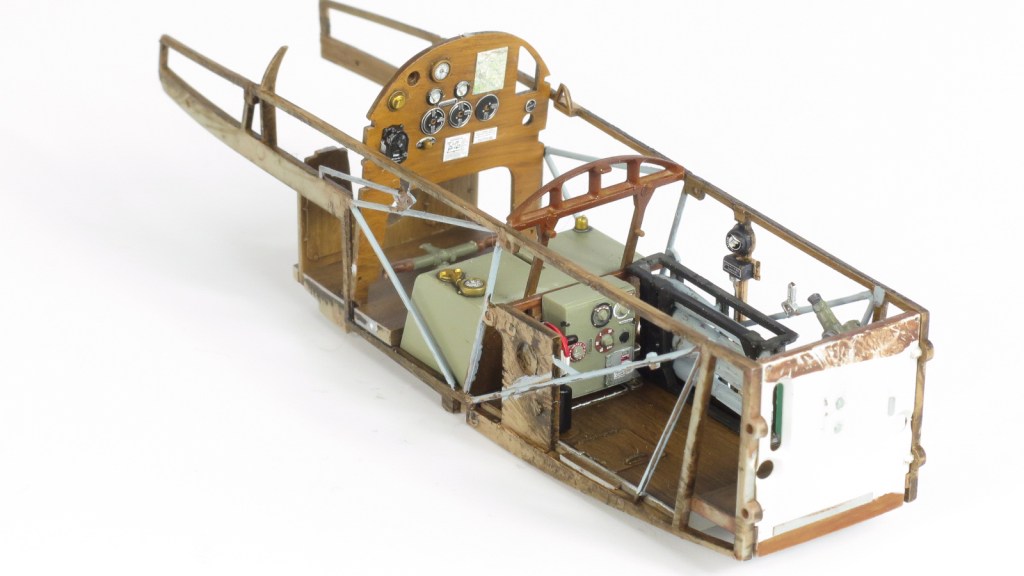
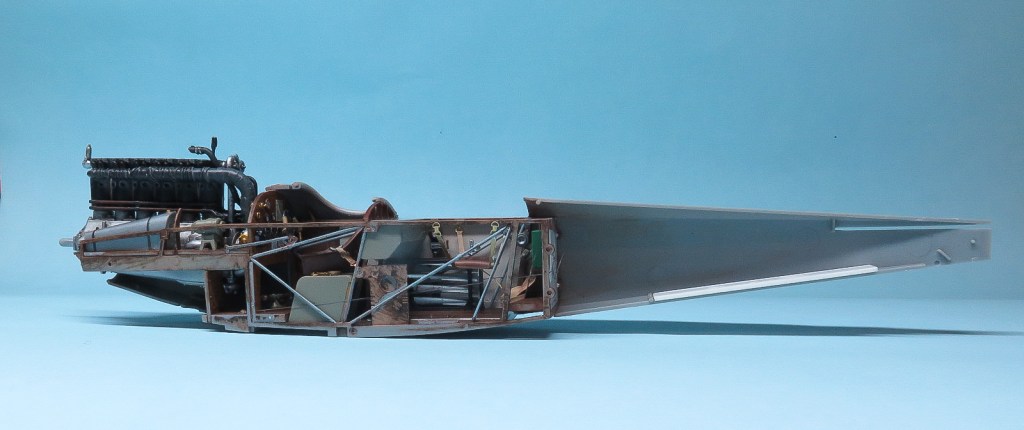
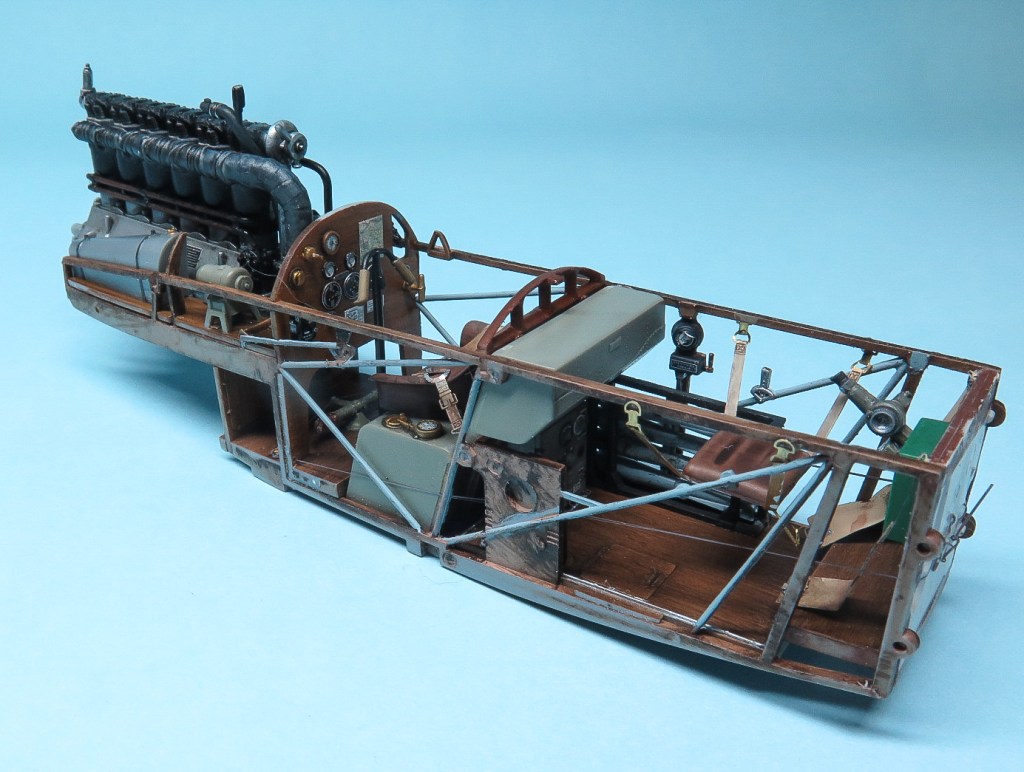
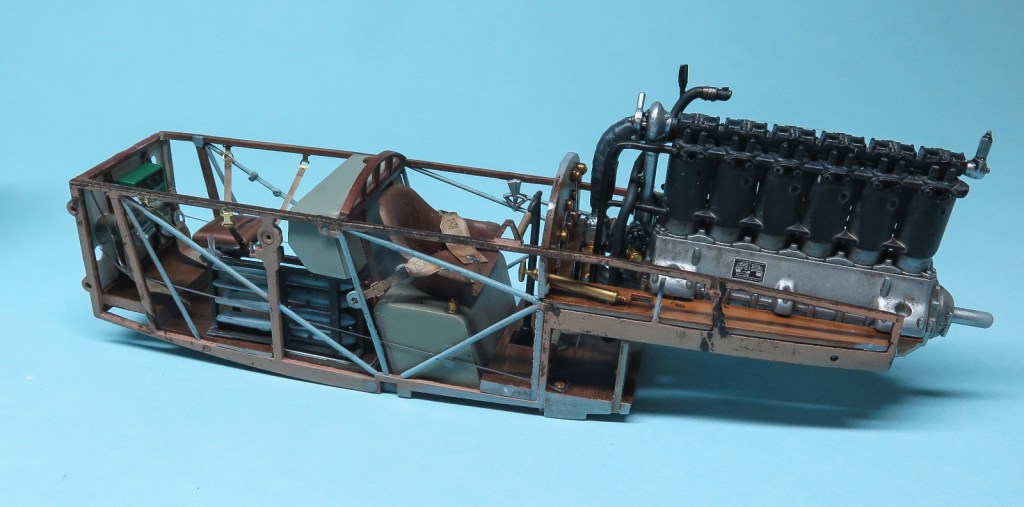
Construction
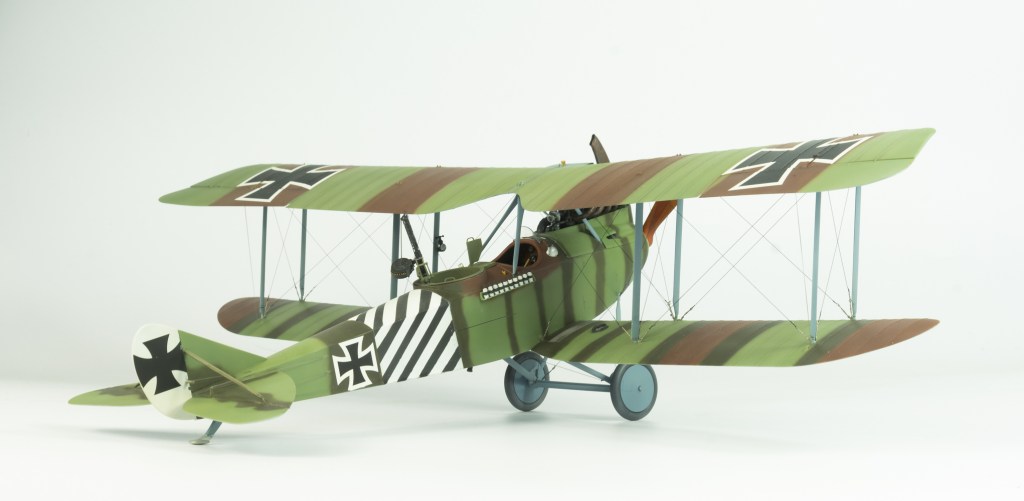
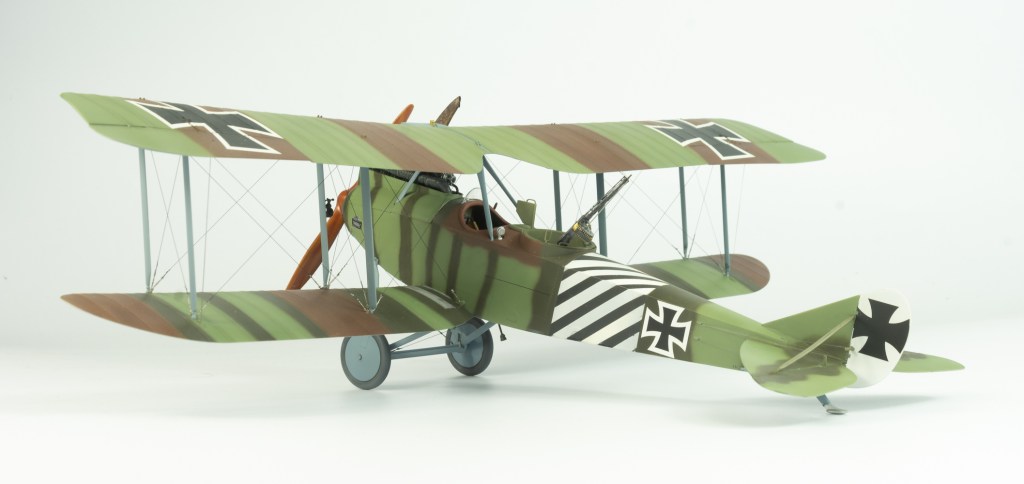
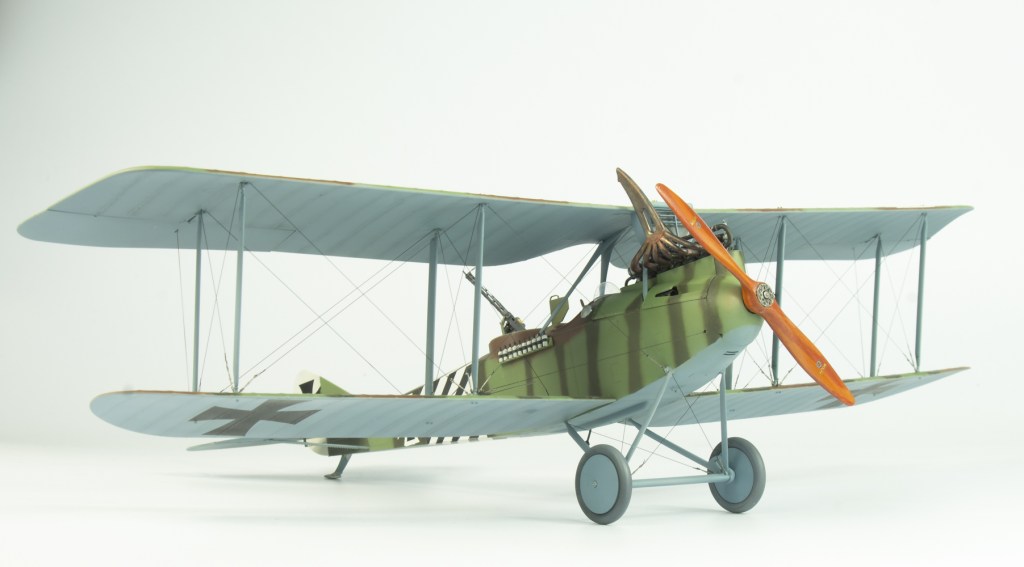
Im going to let the photos do the talking for this one, as it was pretty much a trouble free build, thanks to WNW quality engineering and production.
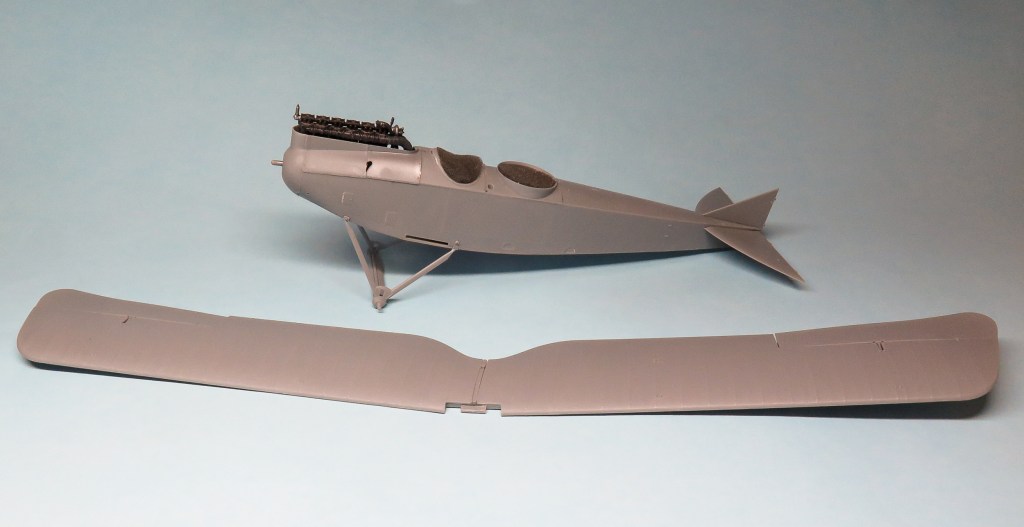


Painting and Decalling
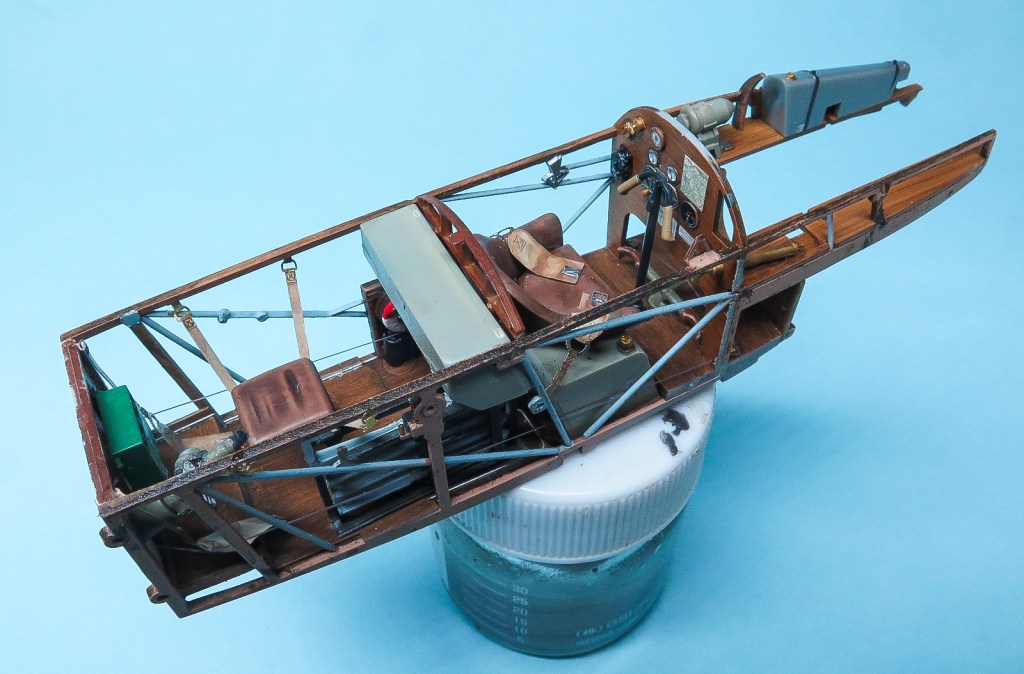
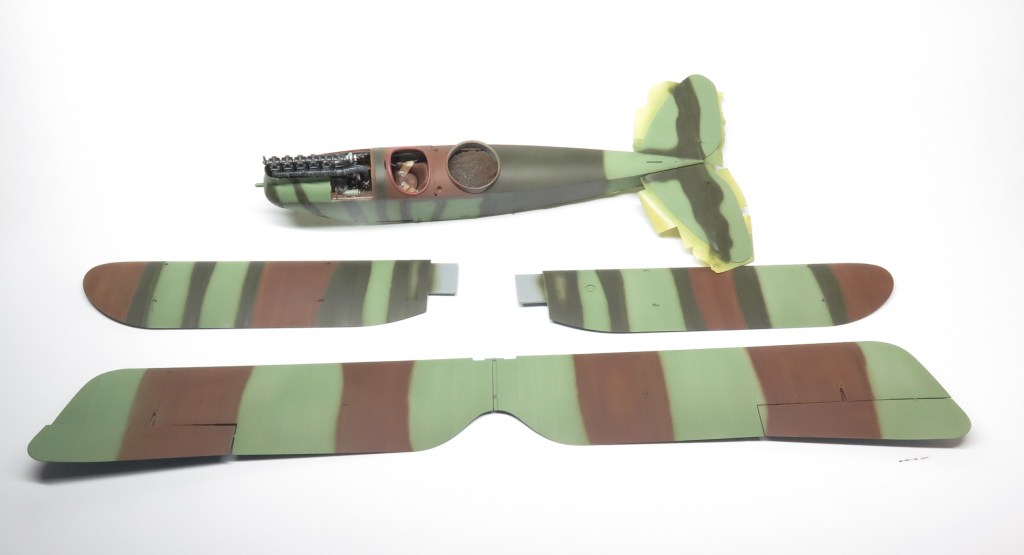
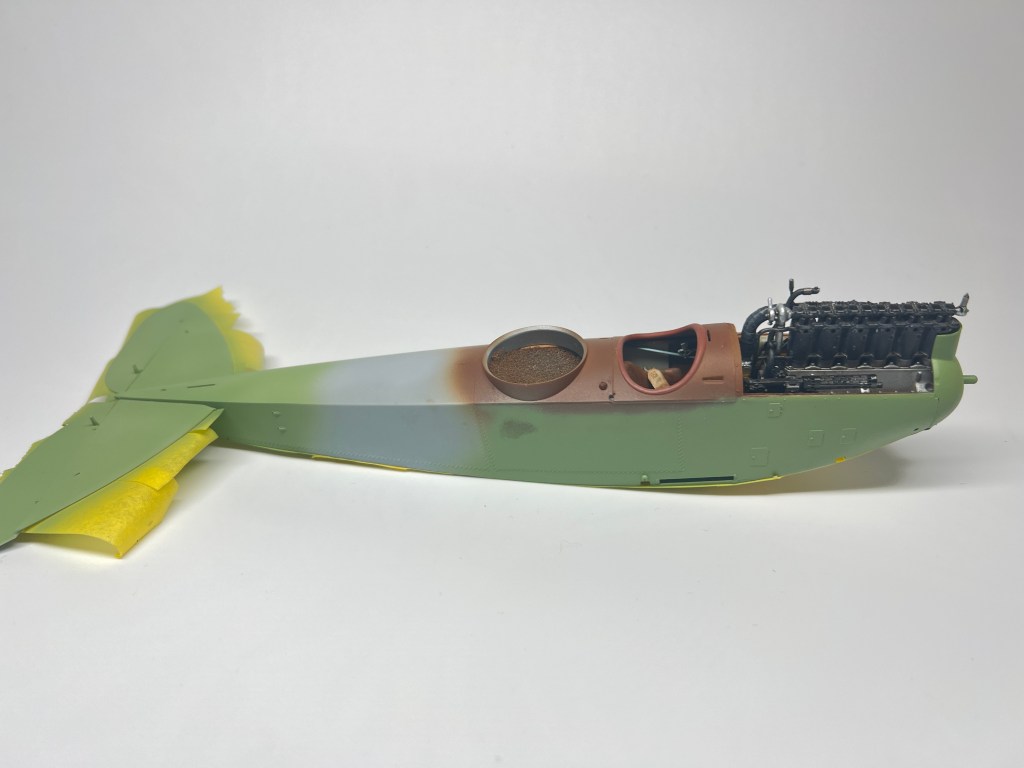
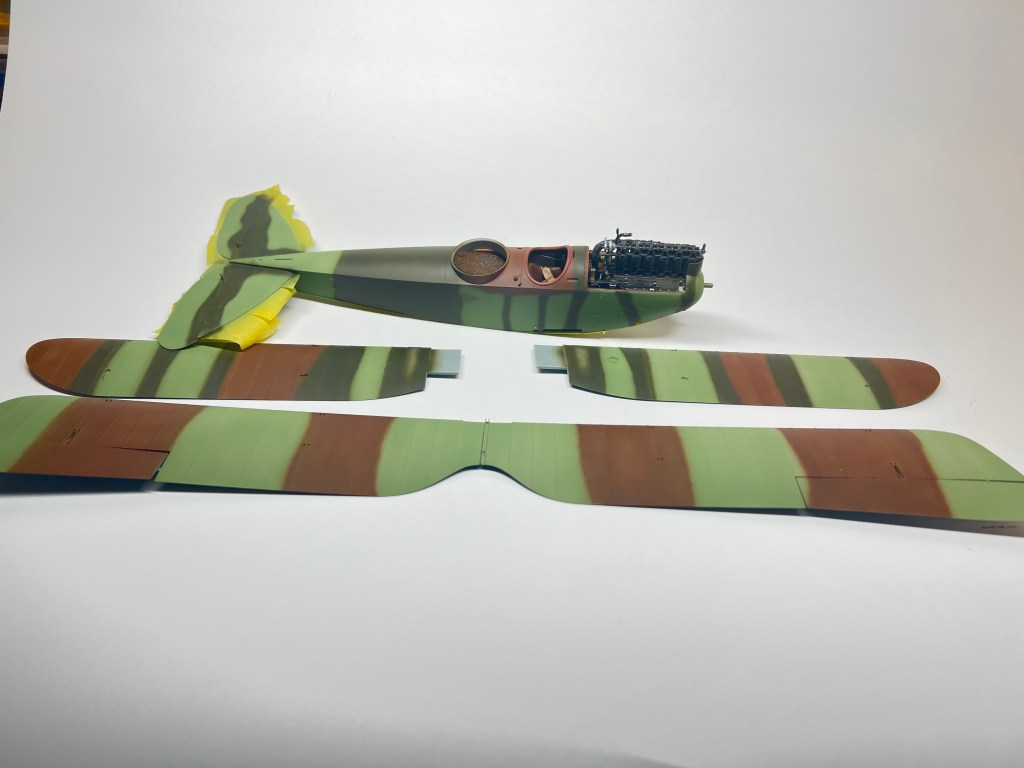
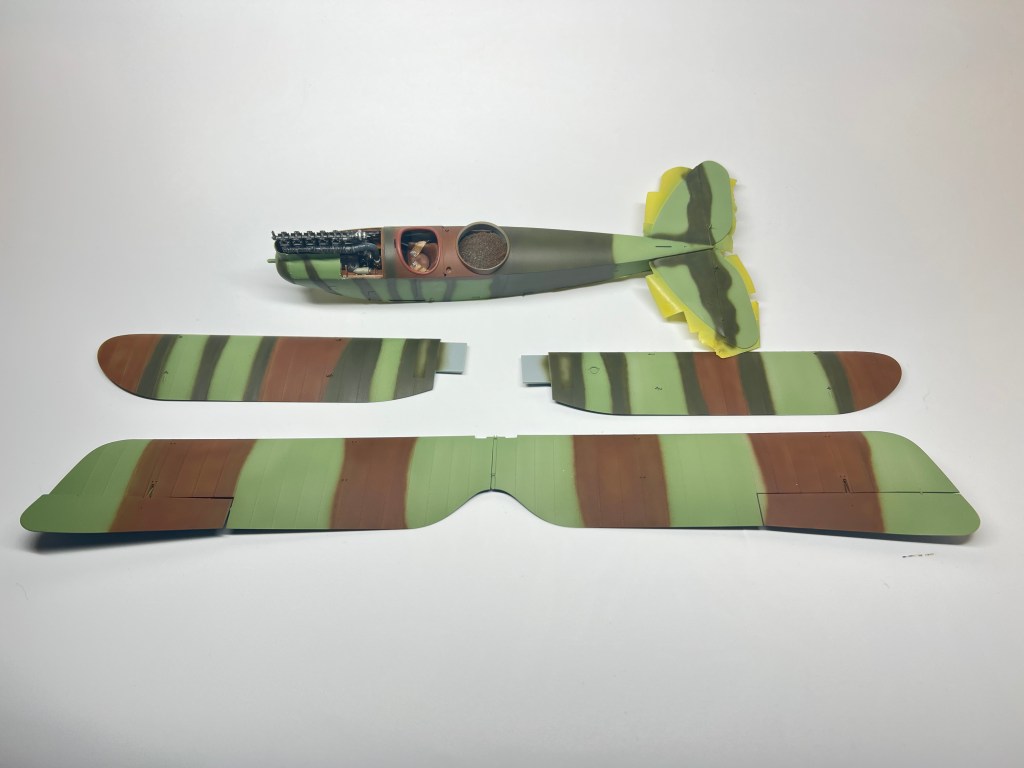
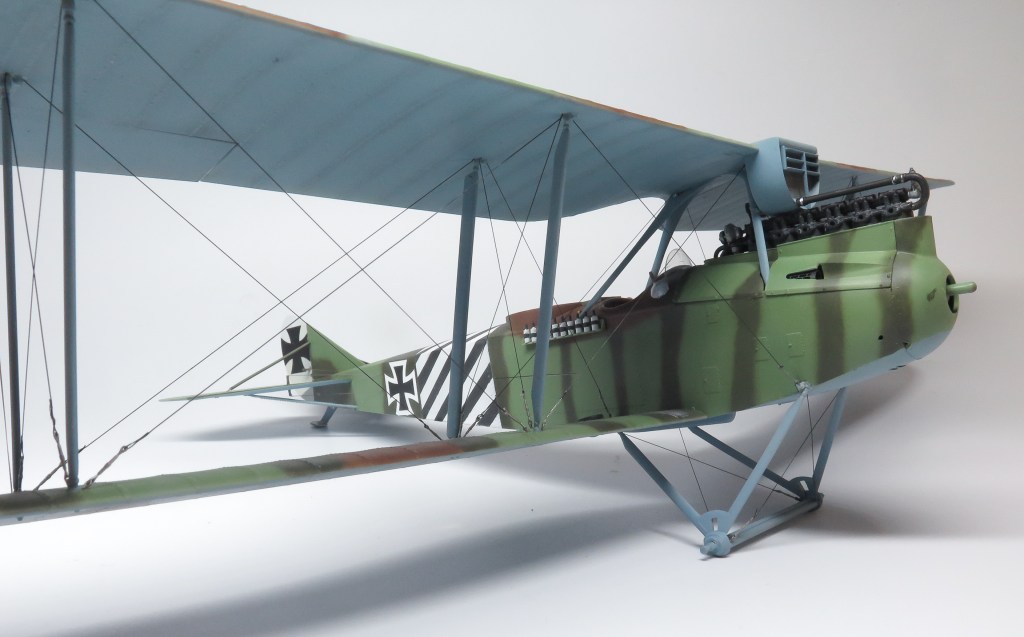
Painting was achieved on this occasion using Tamiya paints using the colours called out in the instructions. the exposed engine being first wrapped in GladWrap to ensure no overspray marred its finish
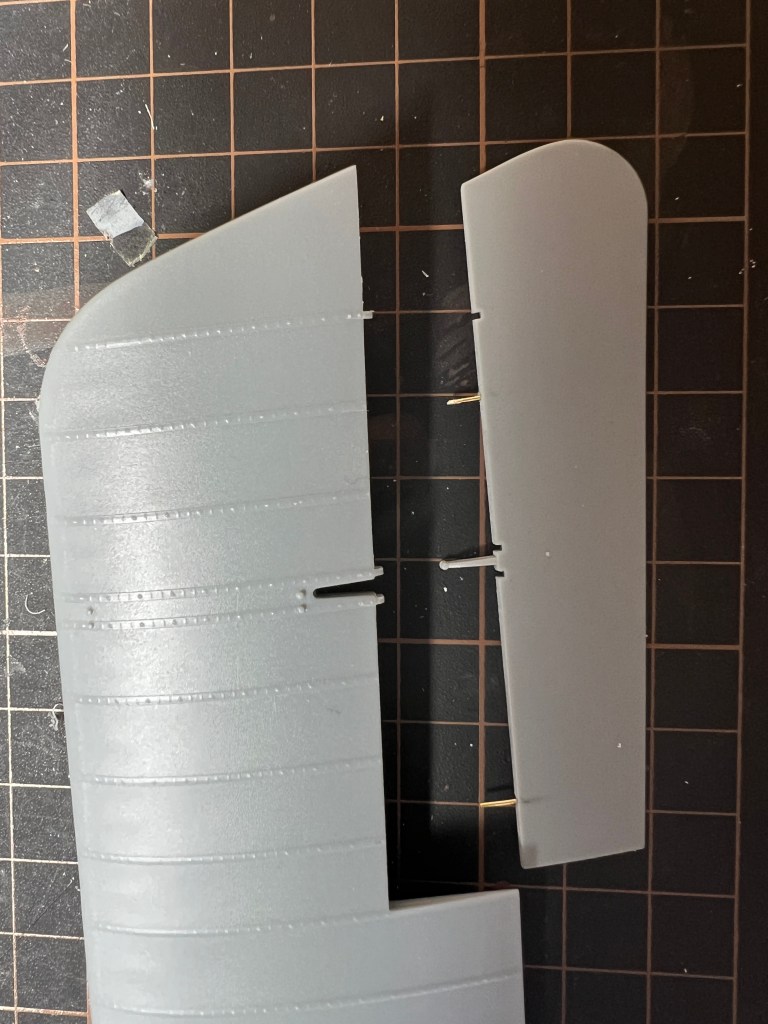
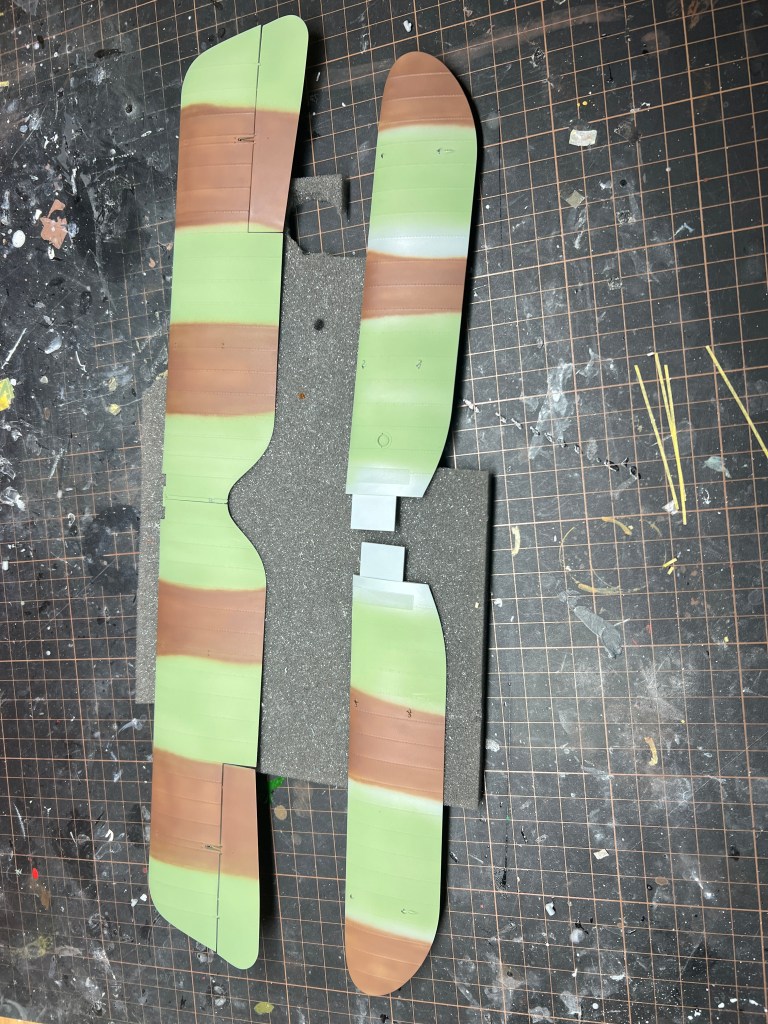
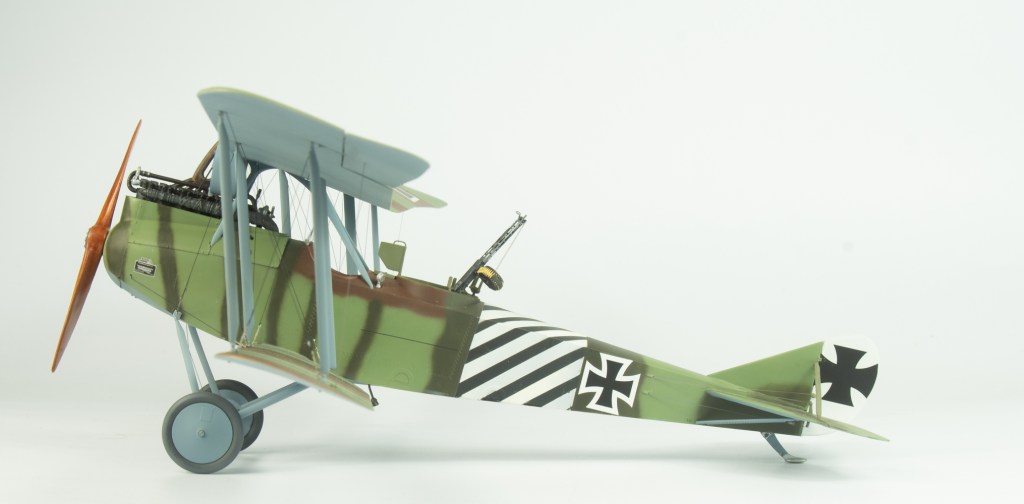
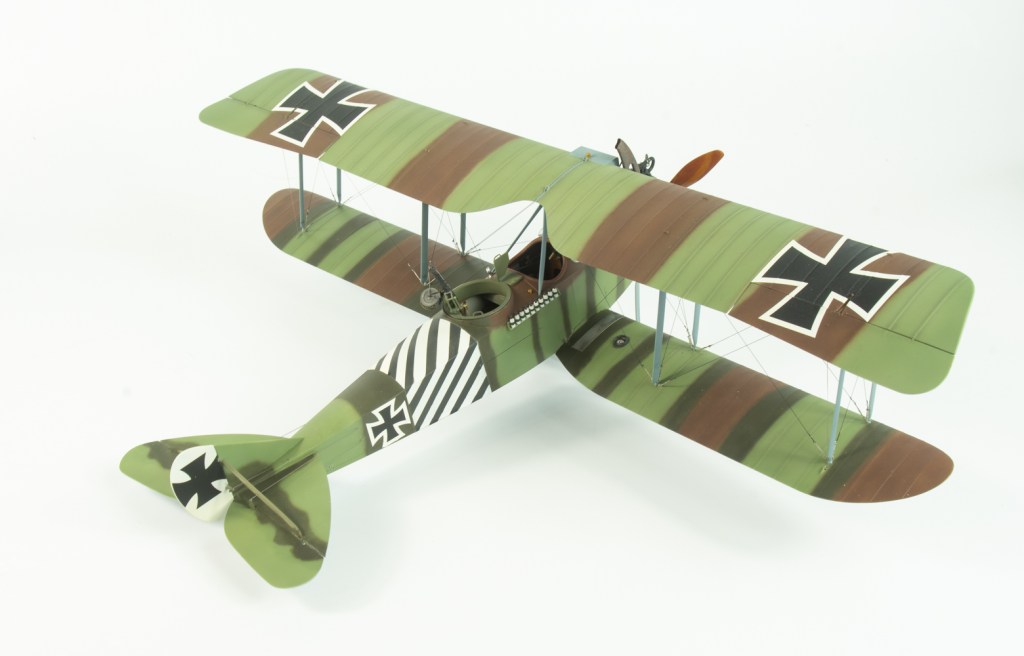
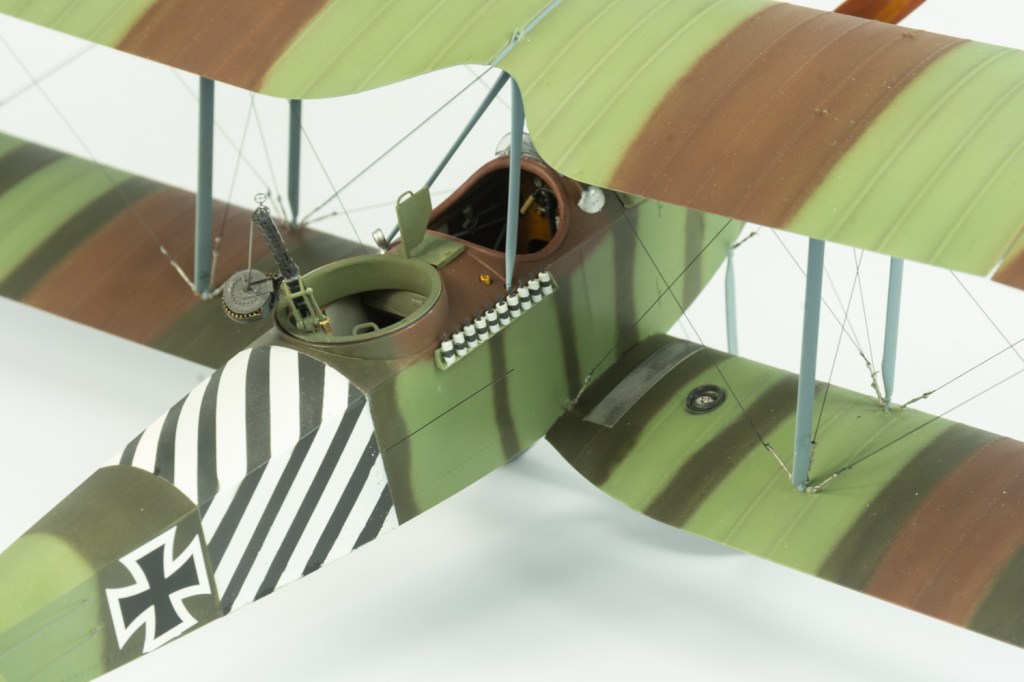
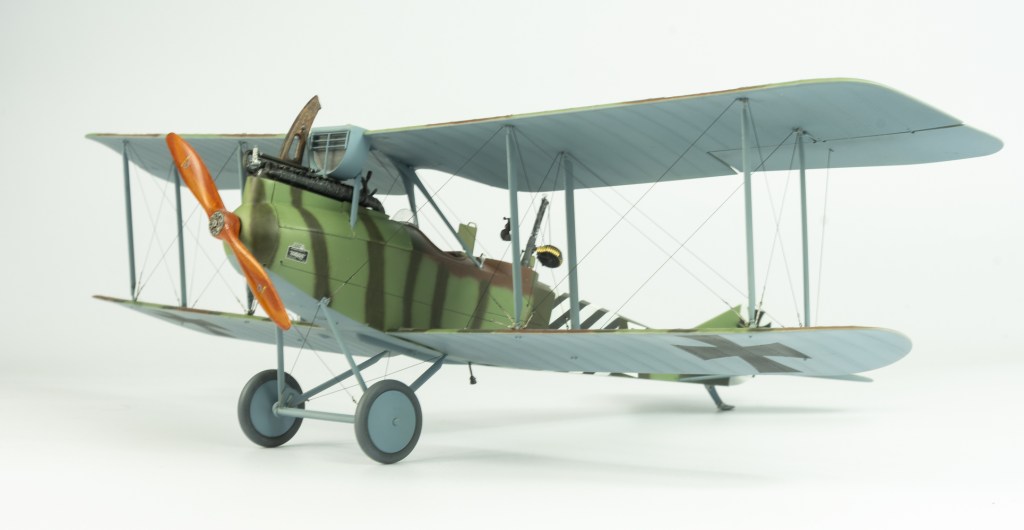
This would be a clean build, so no weathering was undertaken, however some shading to emphasise the ribs was done with some highly diluted black/brown airbrushed over the masked wing ribs. A tedious job, but I liked the effect.
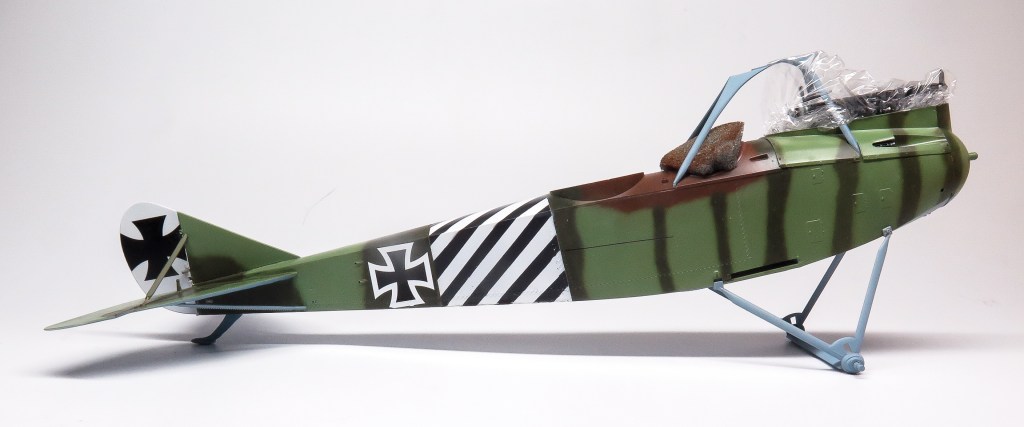
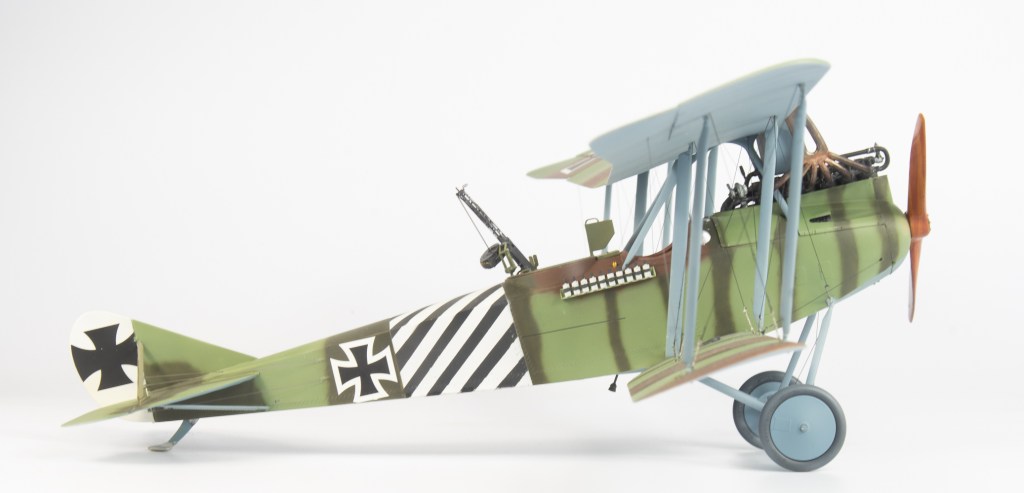
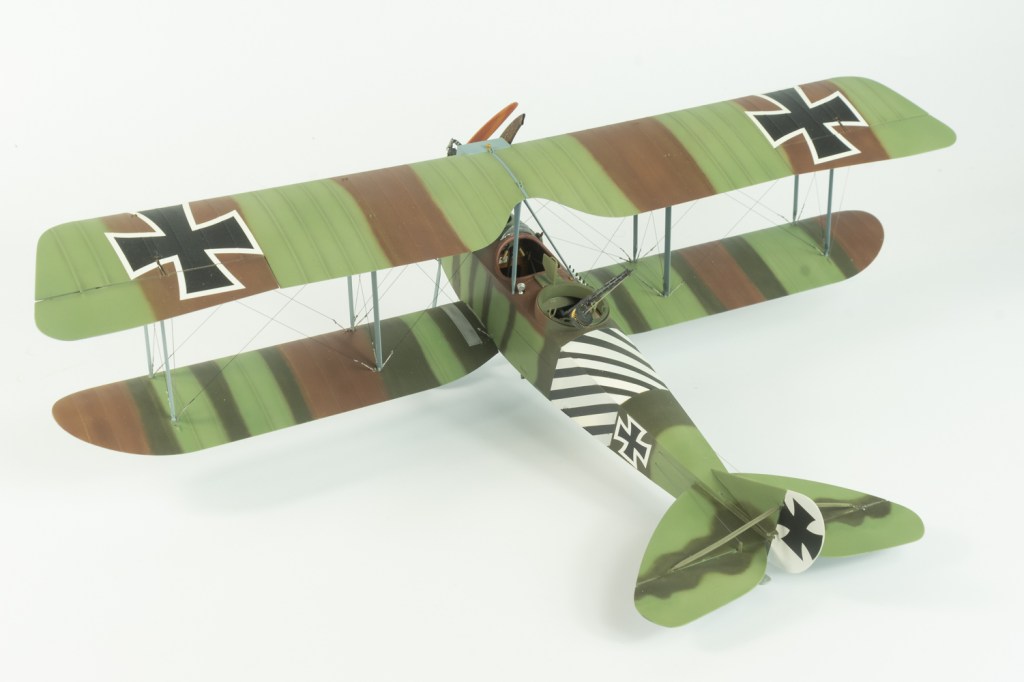
Although masks had been cut on my silhouette machine for the markings, only the stripes were airbrushed on, the decals for the national insignia being used on this occasion. Micro sol and soft ensuring they all hunkered down over the surface details. And just like that, we were ready for the GULP…….Rigging!
Rigging and Final Assembly
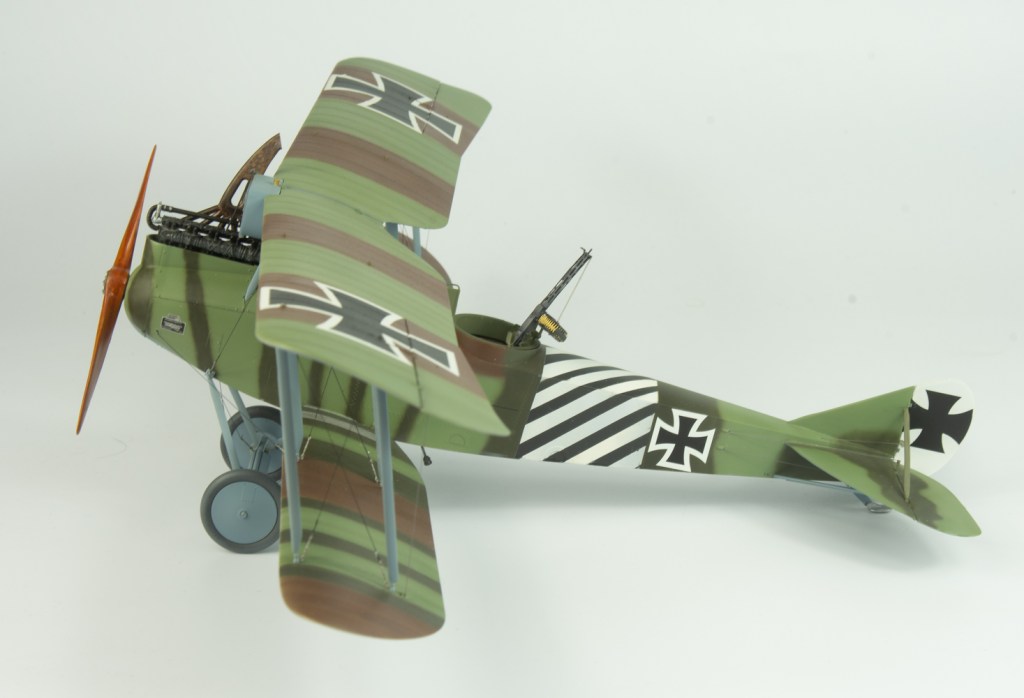
Although WNW don’t advise using turnbuckles in their hints and tips section – due to them looking overscale – my thought was they would at least make the rigging easier.
Plus, there were about 4 packs of Gaspatch turnbuckles in my aftermarket tub. Care needs to be taken when fitting these into your pre drilled holes that they will lie roughly in line with the rigging line. In the case of the Rumpler, turnbuckles were only fitted to the lower wing end points of the rigging wires. Model Kasten line was used rather than my usual EZ Line. It seemed to take to the CA glue a lot better than the EZ line, which in my experience just curls away when introduced to the glue. The Model Kasten line is also round in section, so you don’t get the twists that you do with EZ line. The downside however, is its a lot more expensive than the EZ line.

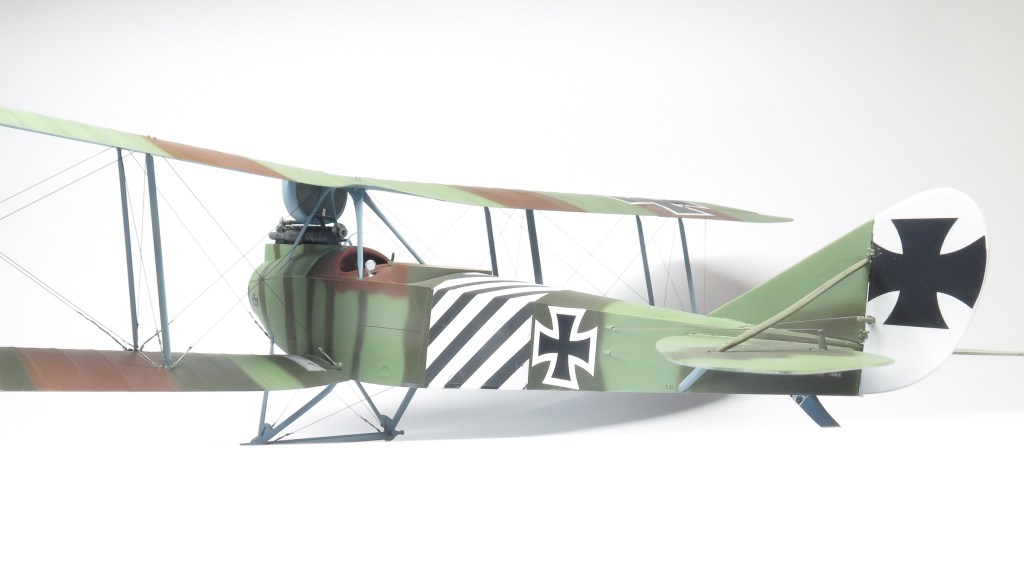
Using the turnbuckles allowed the rigging to proceed far more quickly and trouble free than any of the others methods Ive used to rig my biplanes this year. I did manage to cut the actual rigging line when trying to trim the line on a few occasions, but this was easily repaired.
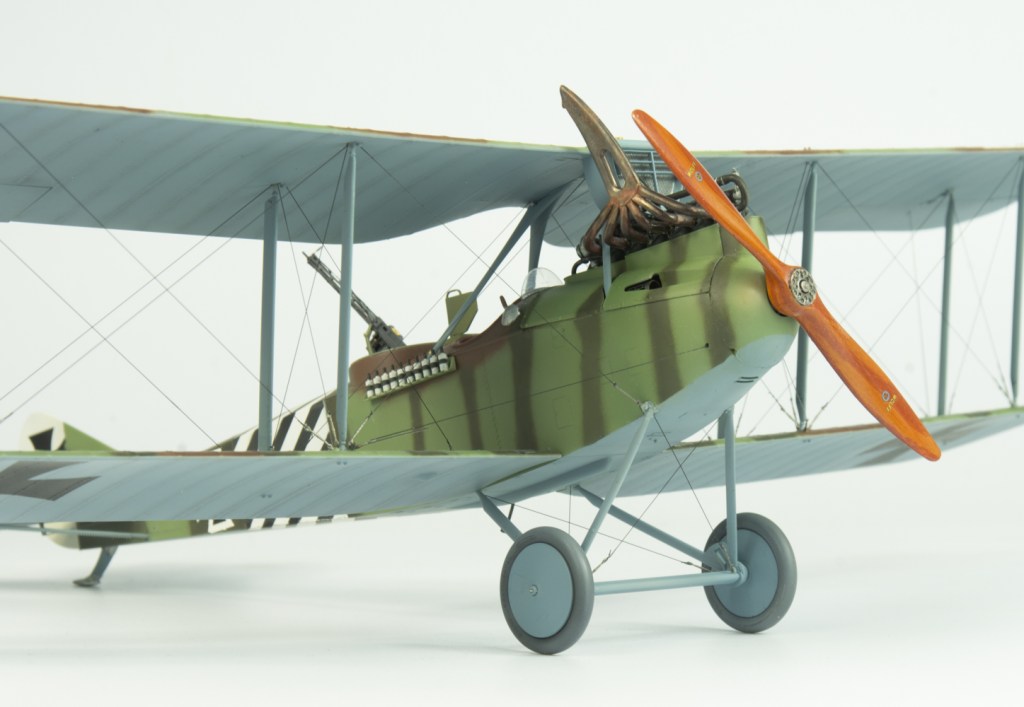
Also in my AM tub were brass barrels for the Spandau and Parrabellum guns, but the kit PE jackets were rolled using a rolling set and looked convincing enough. They were finished using Humbrol Gunmetal which can then be gently buffed using a cotton bud to impart a nice metallic sheen.
With the addition of the propeller and REXX exhausts – which should really have been added at the time of building the engine- she was done.
Conclusion
This was without doubt the most enjoyment Ive had from a model over the last couple of years. The parts fit is exemplary, as is the moulded detail and Wingnut’s instructions. Once you have the various interior components painted, the model builds up very quickly, and precisely.
If you are sitting on some WNW kits, so yourself a favour and build one≥. They are simply too much fun to build to have them sitting unbuilt in the collection, unless that is actually your thing.
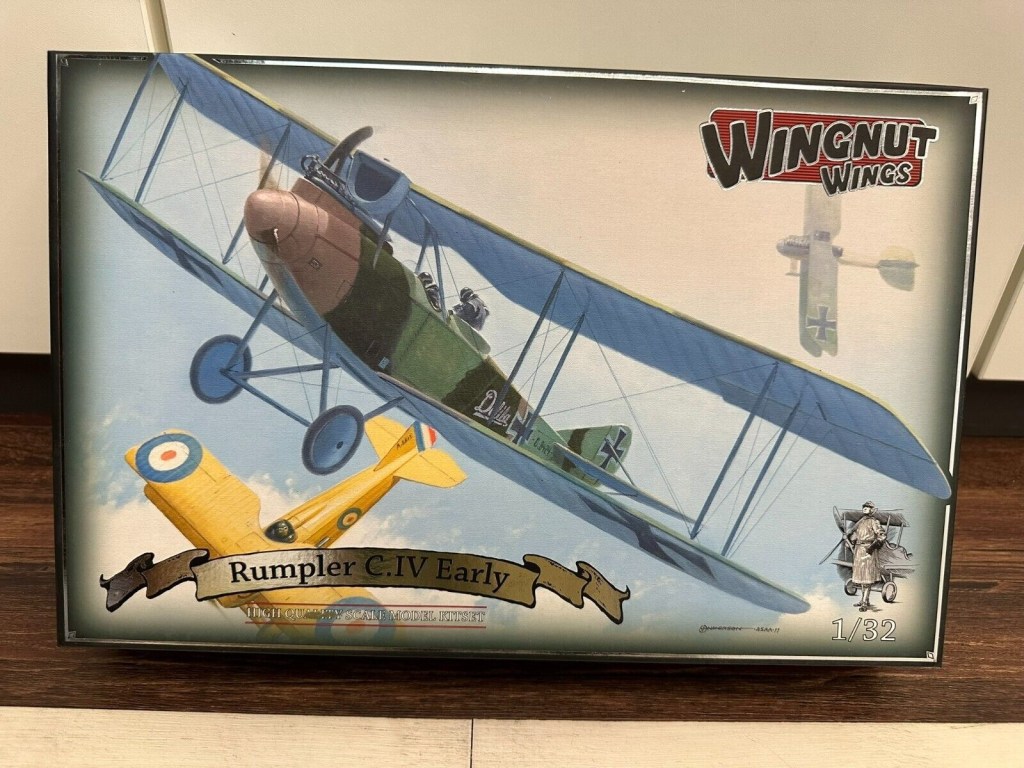
Rumpler C.IV MFA Varsenaere. Flanders 2017


Leave a comment