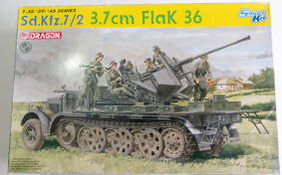
- Purchased; 2019
- Built; 2021
- Enhancements;
- Gun Barrel Voyager.
Anyone else do this?
This kit having survived “The Post Loss of Interest Sale” was plucked from the stash to form part of this years build schedule, which my modelling mates had randomly picked for me.
If you have only ever built tamiya armour, are you in for a treat! but only if you love assembling tens of parts into assemblies that tamiya would mould as maybe three parts. Then there is the instructions. small crowded drawings on a fold out page that do not do a good job at all, on illustrating to the builder, what parts are needed for what variant.
To me this is not a big thing, as I primarily build armour as a bit of a palette cleanser from aircraft. But if you’re a purist that cares what month the Stug III production line started using 8 hole sprockets instead of 6, Dragon ain’t your friend! The instructions are also littered with misnumbered parts and some parts were difficult to place thanks to vague placement drawings.
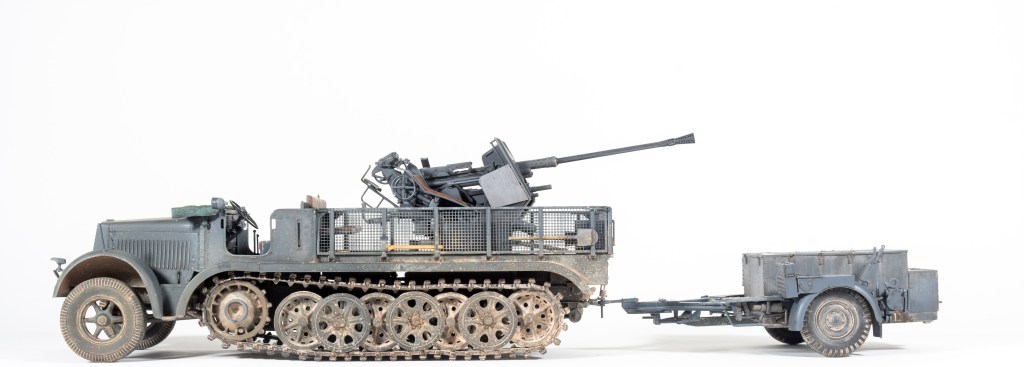
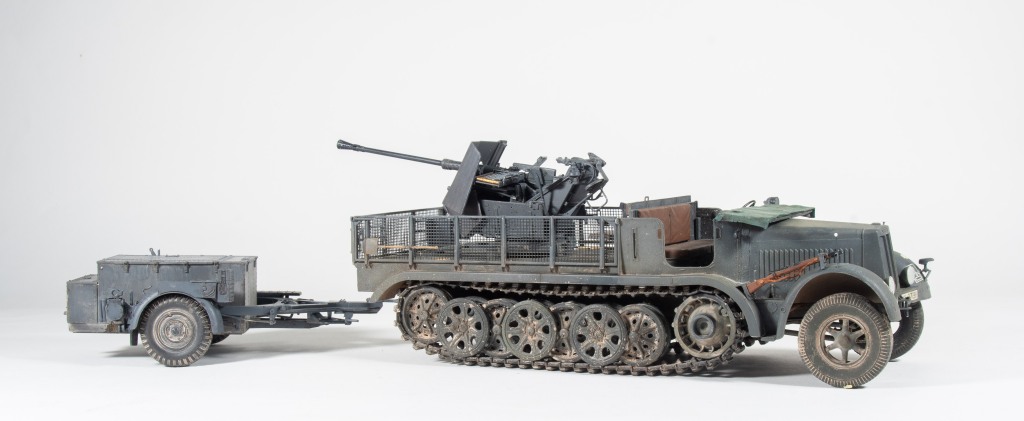
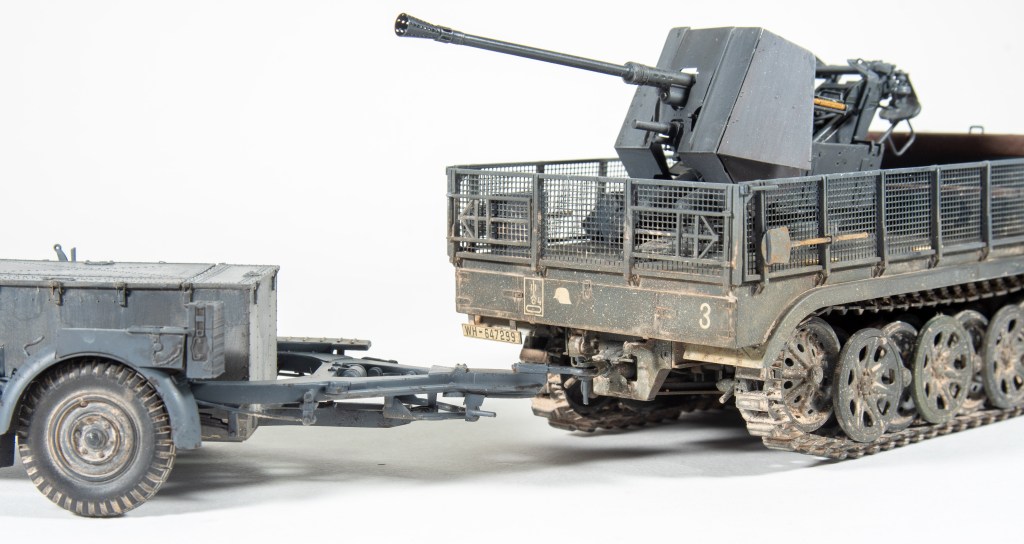
Instructions aside, the Dragon Sd.Kfz7 series kits build up into well detailed examples of the vehicle. Construction proceeds quickly thanks to the well fitting parts. I had a slight gap at the rear of the bonnet, but disguised this with a strip of glue soaked tissue paper as the actual vehicle has a canvas boot cover fitted here. PROTIP. Cut the tissue AFTER it has been soaked in glue and allowed to dry, not before!
You could leave the bonnet sides and top off if you wanted as the kit does include the engine, but I didn’t want the hassle of the extra detailing this would warrant. The other thing to watch out for is the axles are a little spindly, coupled with the tight fit of some of the wheels when pushing them on as I had a couple of axles that snapped. To make life easier, ensure that you remove all mould seams from the axles so that the wheels will slide on easier. Dragon surprisingly don’t supply decals for the drivers dials either. I thought I would be smart and fit the steering column later than the instructions call out, to aid in painting. Don’t do this. It needs to be added when called out.
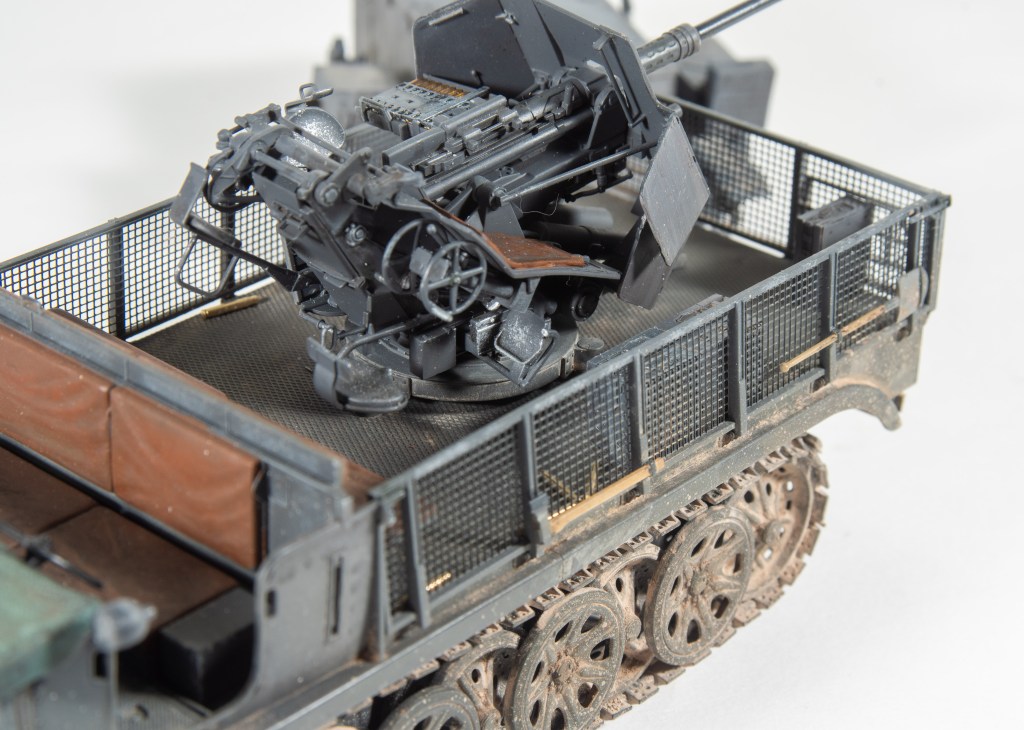
I found assembling the gun quite fiddly, and the instructions certainly did not help here. I would have liked a lot more detail drawings of where parts fitted. The dragon flash hider, although moulded quite nicely was replaced by the Voyager part as this had all the holes drilled out. I have no idea how they mill this parts but they look absolutely superb. The barrel was also replaced with the brass item.
For the finish, I envisaged an early war grey vehicle used during the dry summer months in Russia coated with a layer of dust. In reality, well I don’t think I have weathered it very well at all. Pigments were used to represent the dust, and it again just looks like I have caked it on. I need to learn a little pigment goes a long way. More successful were the oil washes I used on the rear deck. The Grey was tamiya. I looked at SMS, but there’s is a very dark colour. I know the actual colour was in real life quite dark, but small vehicles look better when the colour is lightened I think. Mud spatters were added using Mig products. I would advise all readers to look at the many tutorials available on Youtube to see these techniques demonstrated. Adding the tracks also proved quite fiddly with them breaking a few times. They are provided as separate links. Im thinking the enamel thinner used to fix the pigment in place may be weakening the glue. Ill use fruit tracks when I do the SdKfz7.
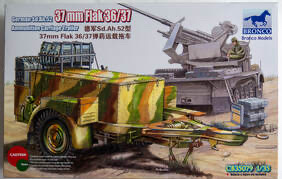
Well, this model was drawing to a close, but wait! There’s More! Looking at the few photos out there of this vehicle, it was quite often seen towing an ammunition trailer behind it. Bronco Models to the rescue. Their trailer assembled quickly, the only weakness being again, spindly axles. I ended up replacing one which I again snapped with more substantial brass wire. Much better. The trailer was coupled to the half track and then she really was complete, after a few of the voyager brass wheels were littered around the bed. Not too many as Im sure the crew would just kick them off before moving. The kit could have a lot more accessories added to give it that lived in look, but I was at the stage where I wanted to move onto the next project.
Soft skin vehicles really appeal to me, perhaps its because they don’t have to be weathered as extremely as tanks. Armour weathering is still a real learning curve for me. The Dragon SdKfz7 and 88mm gun are also in the stash having survived a couple of Stash Slash. (EDIT They didn’t survive the latest 2023 one!) Im looking forward to building them too, now that I know what to look out for.

I reckon this is your best of 2021 mate. Love the German grey.. I reckon you nailed it (But I know stuff all about German armour)
LikeLiked by 1 person