- Purchased; 2016
- Completed; 2025
- Enhancements;
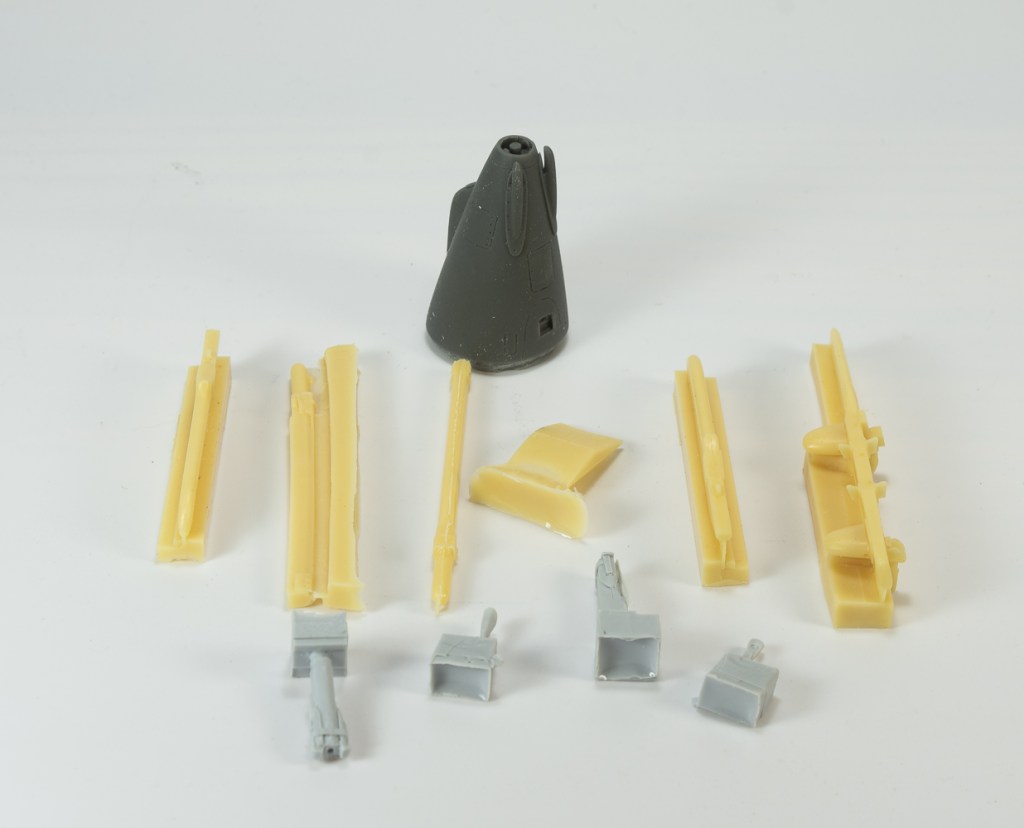
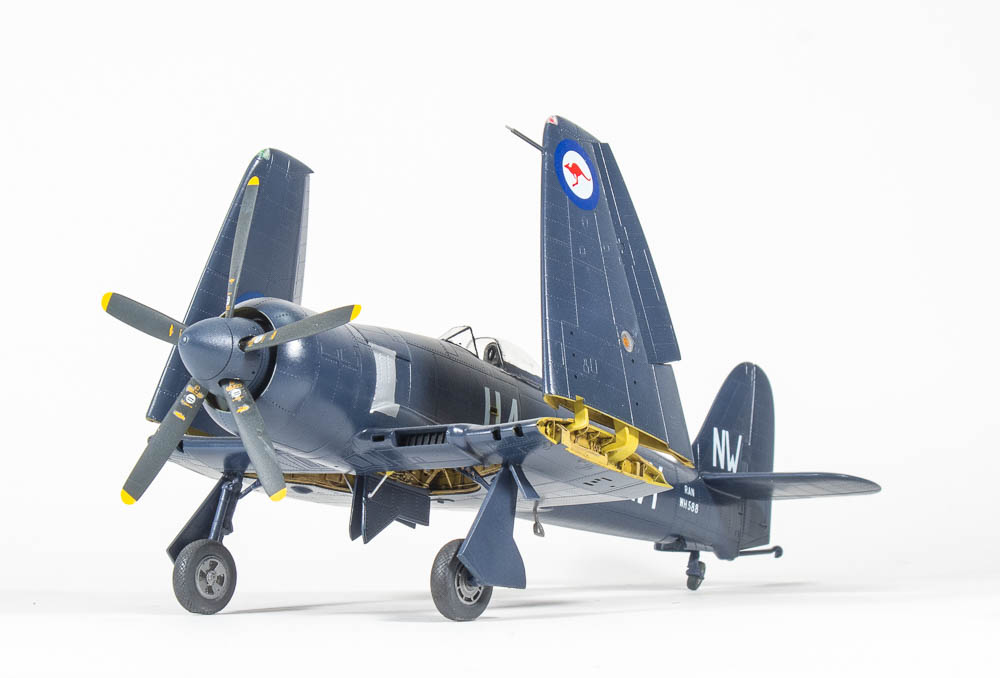
- Gun barrels. Master Details
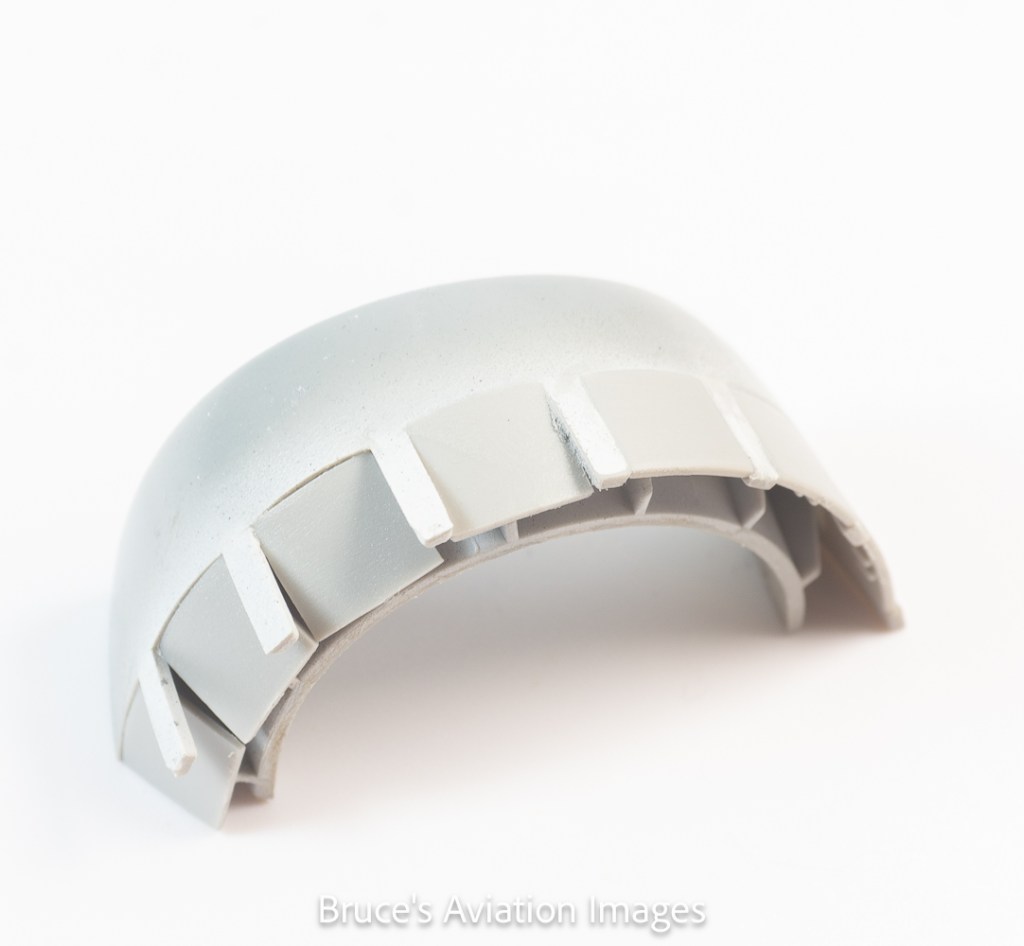
- Flaps- Brengun
- Fuel Dump Pipes – Quickboost
- Decals: Xtradecals
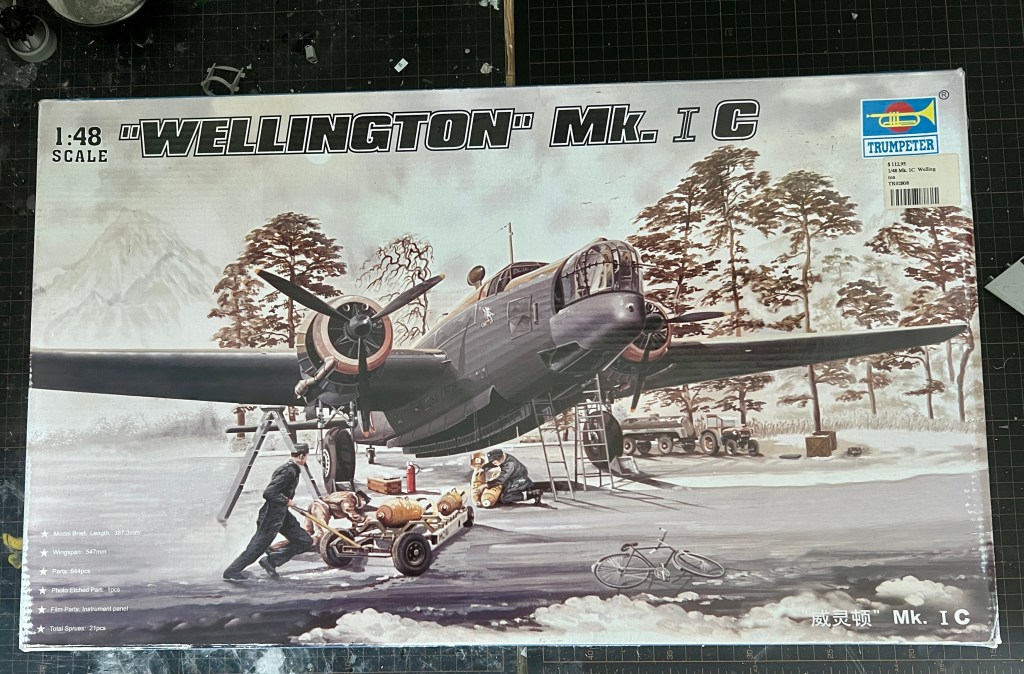
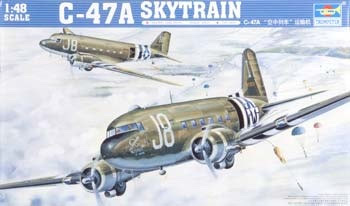
I remember being quite excited at the news that Trumpeter was releasing this, as it filled a major gap in 1/48 RAF WW2 subjects. Its not a kit that has graced many competition tables or on line sites though, so that to me tends to indicate not many are getting built, perhaps as its a sizeable model once done.
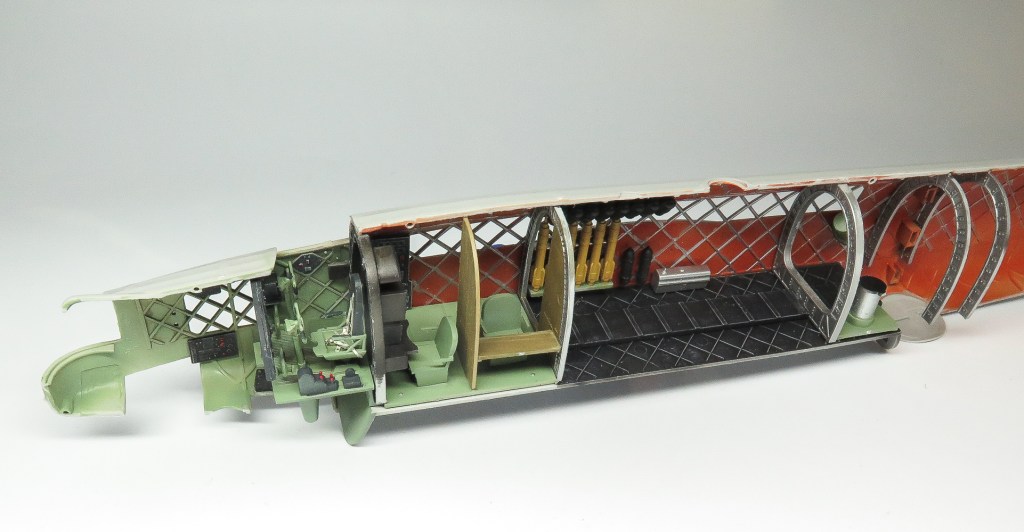
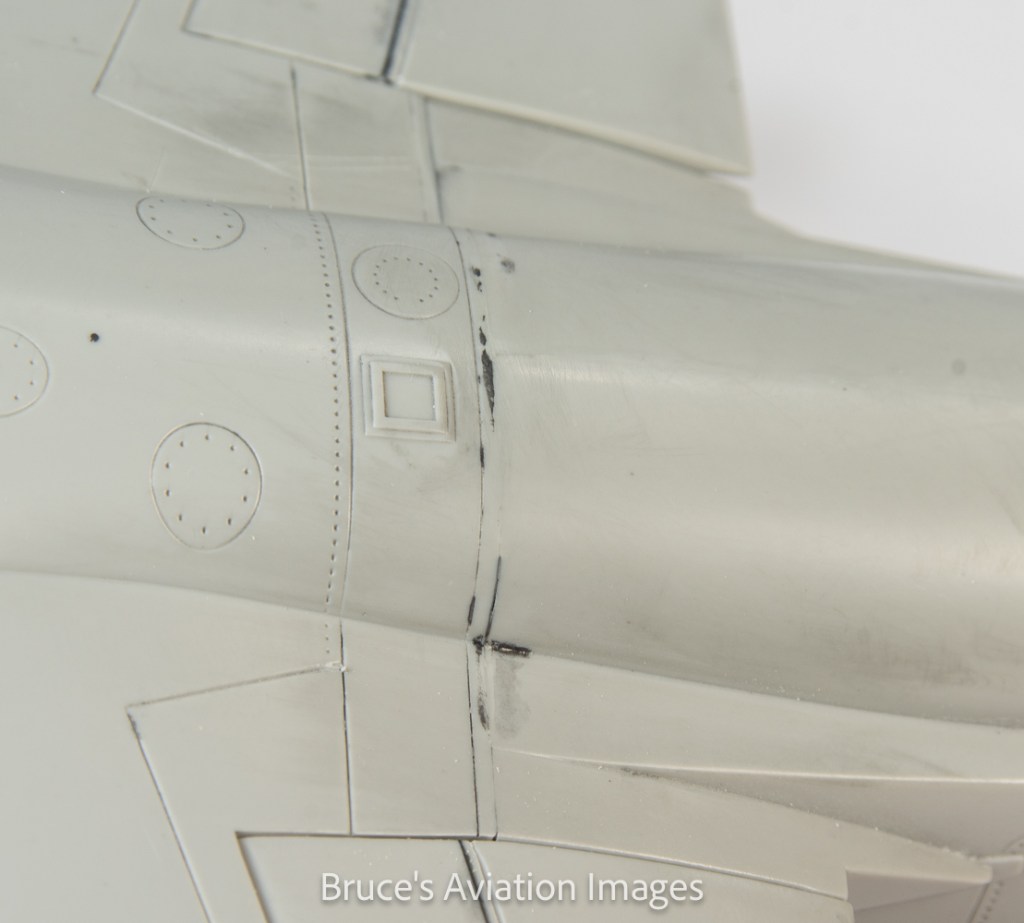
Accuracy wise, it suffers from a too narrow undercarriage and very overstated surface textures.The undercarriage I could live with, the surface detail though had to be reduced. There is a reasonably complete interior, albeit somewhat simplified, that pretty much gets hidden away once the fuselage is closed up. Fit for the most part is good, but the kit shows its age as one of Trumpeter’s earlier releases with the parts not as sharply moulded as some of their later releases, and also exhibiting fine mould seams along mating edges. Perhaps the biggest plus of the kit are the THREE sprues of early RAF type bombs Trumpeter includes to load the bomb bay with various types of bombs. Transparencies are lovely and clear, but the decal sheet, as per usual with Trumpeter RAF subjects has markings with colours that are far too bright.
Construction
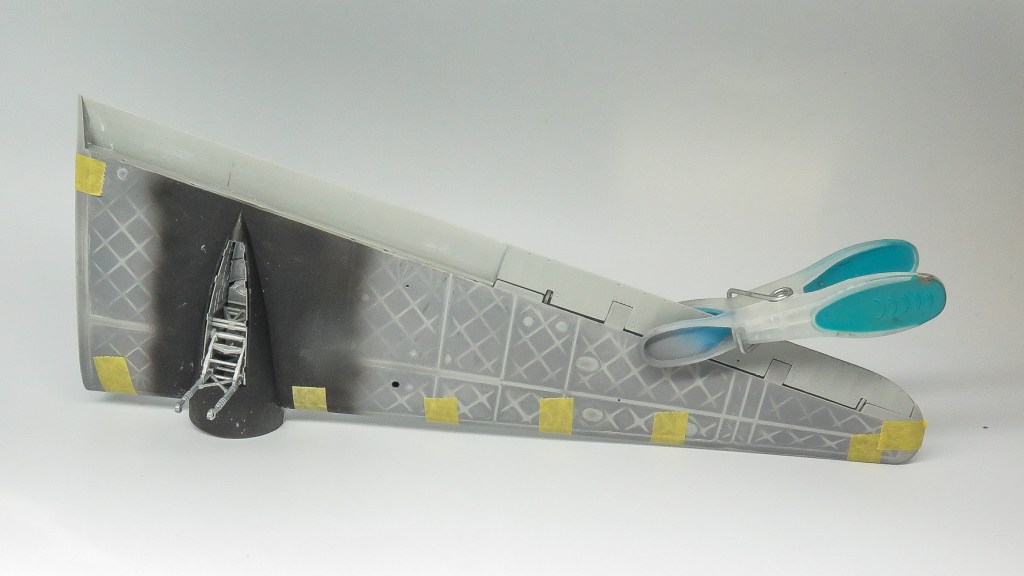
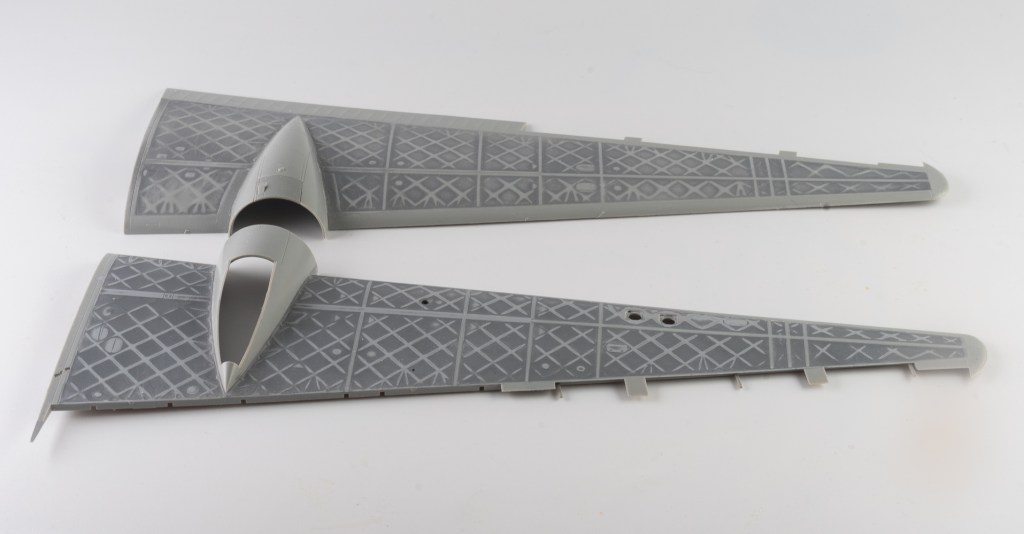
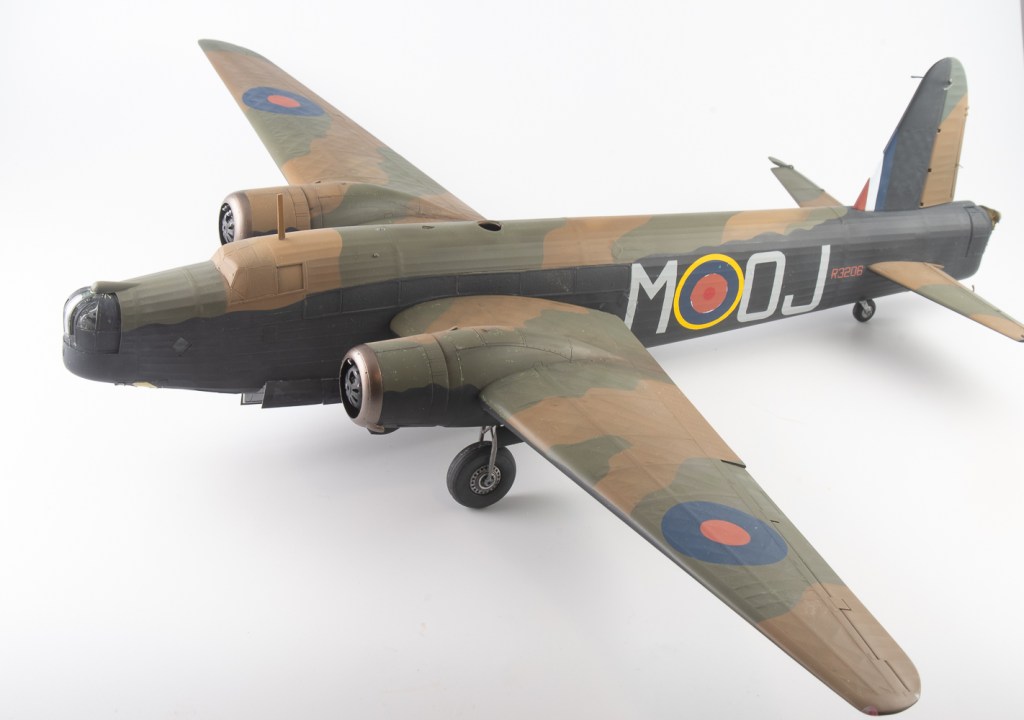
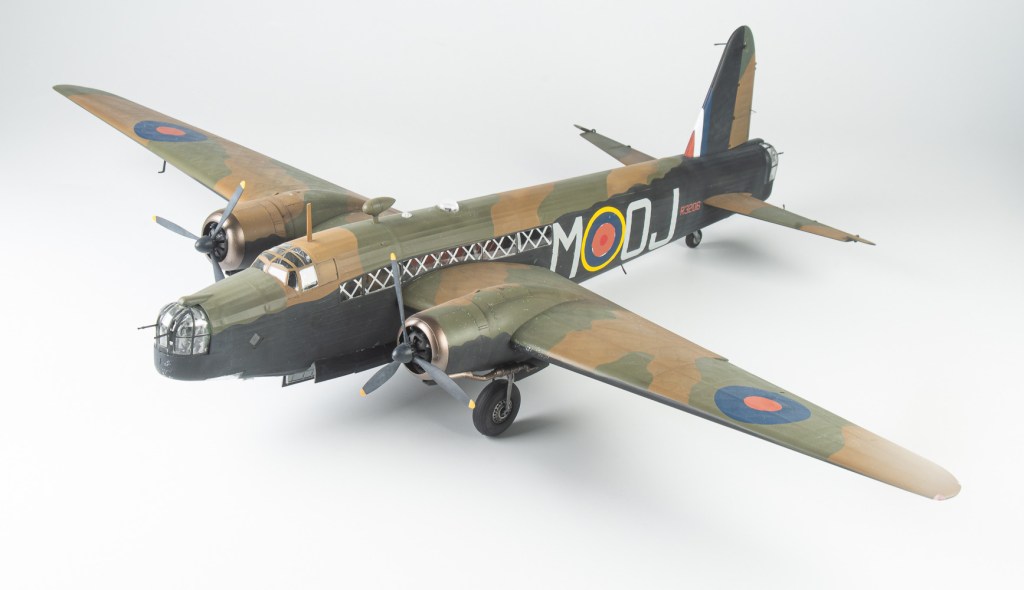
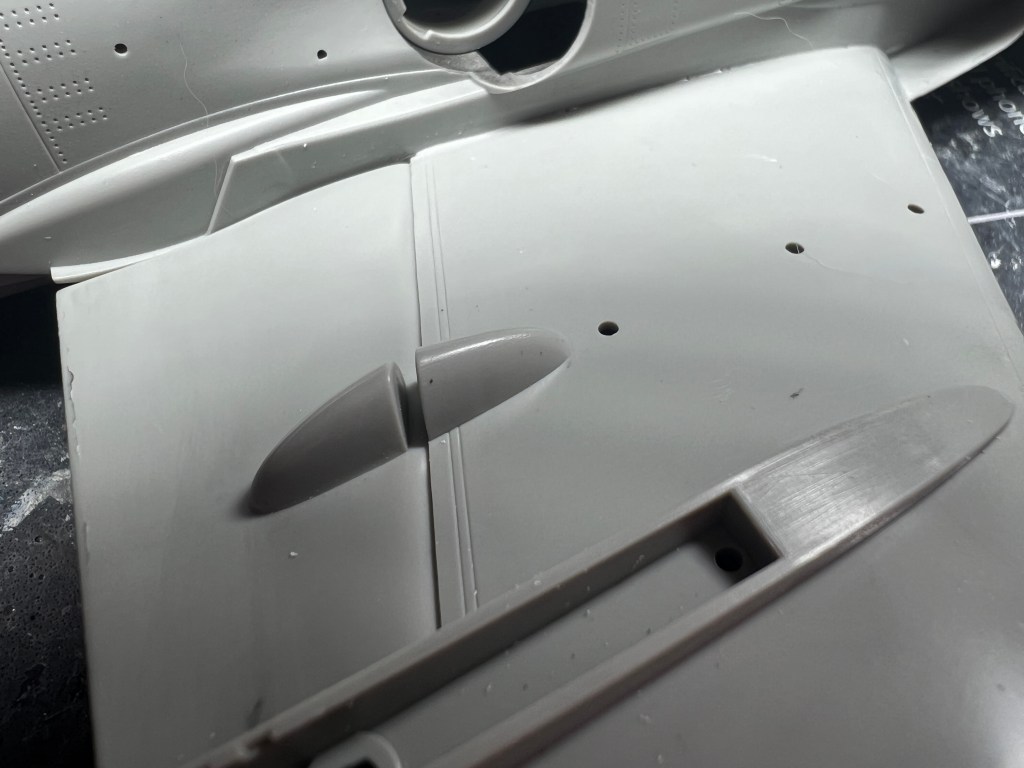
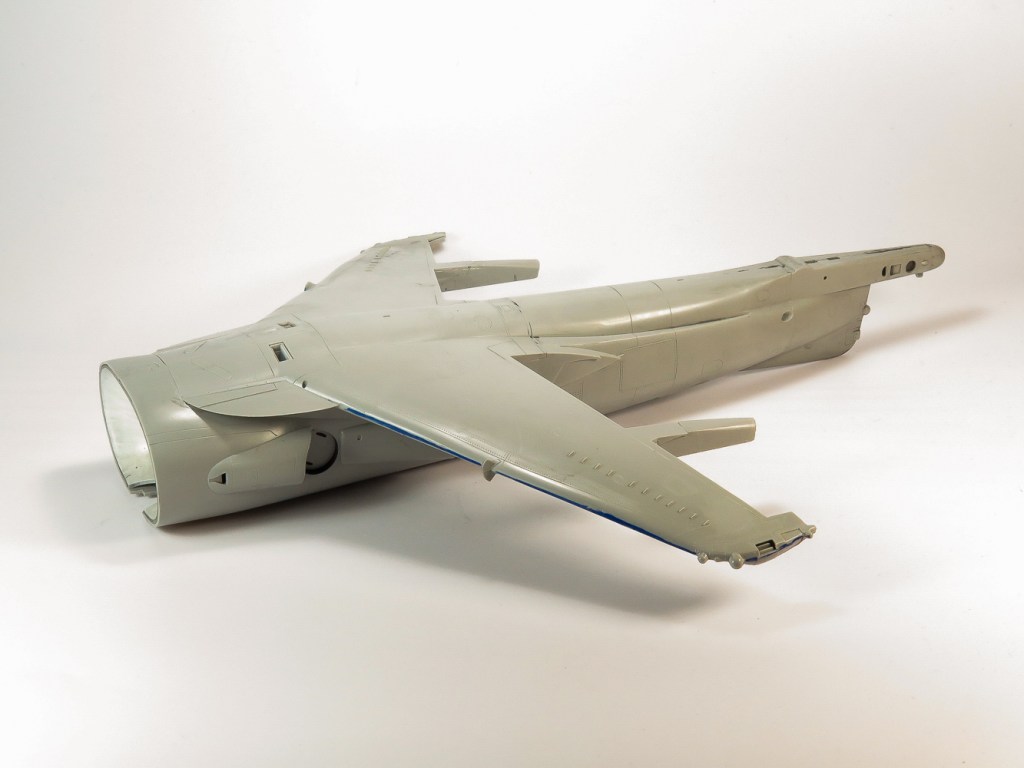
Even before construction started, several thick coats of SMS surfacer grey to the wing and horizontal stabiliser parts. Once dry, it was rubbed back until the kit surface detail showed as bare plastic . After being repeated a few times, the Trumpeter geodetic pattern had become somewhat subdued. This probably could have been taken further as it shows as quite subtle in photos, but I chose to leave it as was.
The colour call outs in the instructions were disregarded as mine would be an early war bomber and research on Britmodeller had uncovered more correct colours.
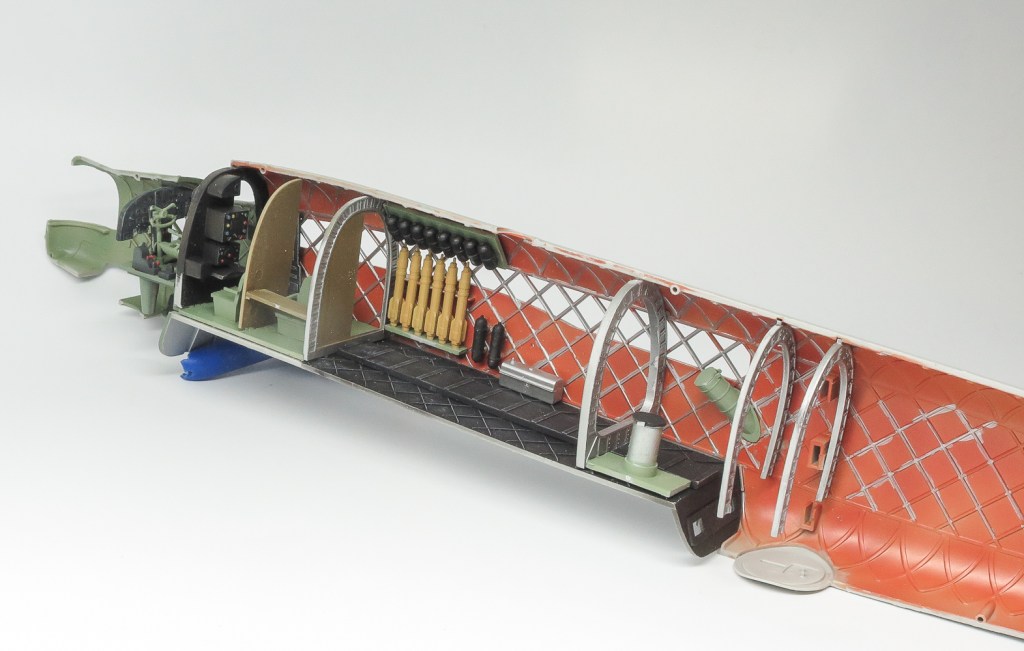
So on my kit, cockpit is RAF grey green as is the bomb aimers position. Mid fuselage is a brick red colour with silver framing. Floors are black. Bomb bay interior and insides of doors are silver.
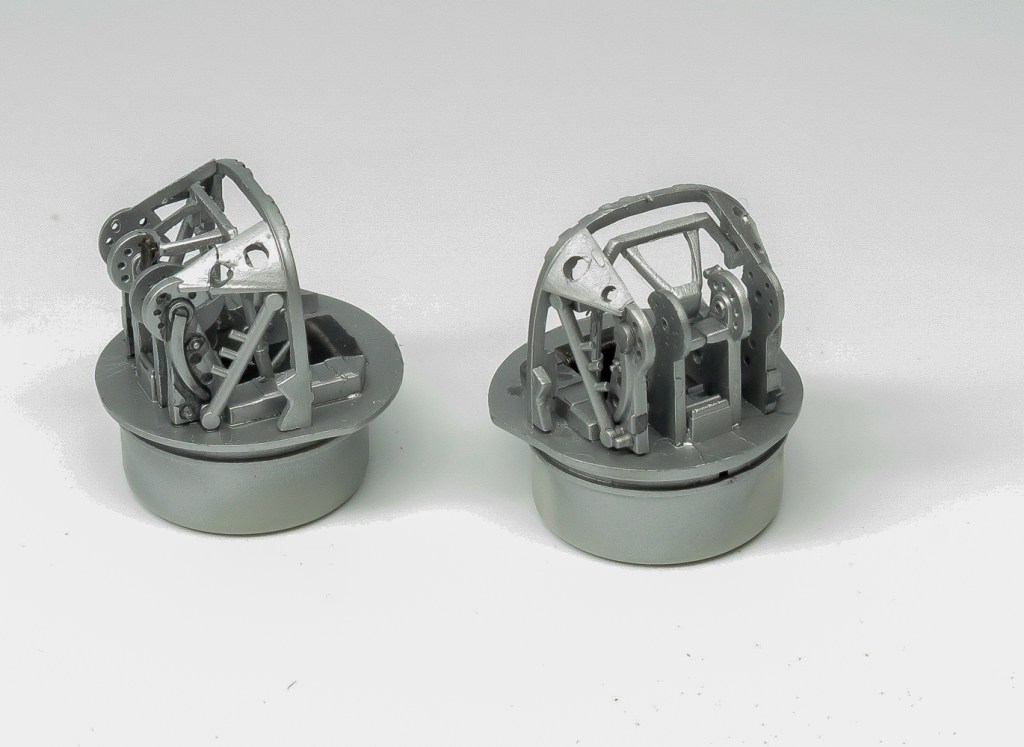
Turret interiors are also silver. Black turret interiors seem to have come later after the RAF doctrine had changed to night bombing.
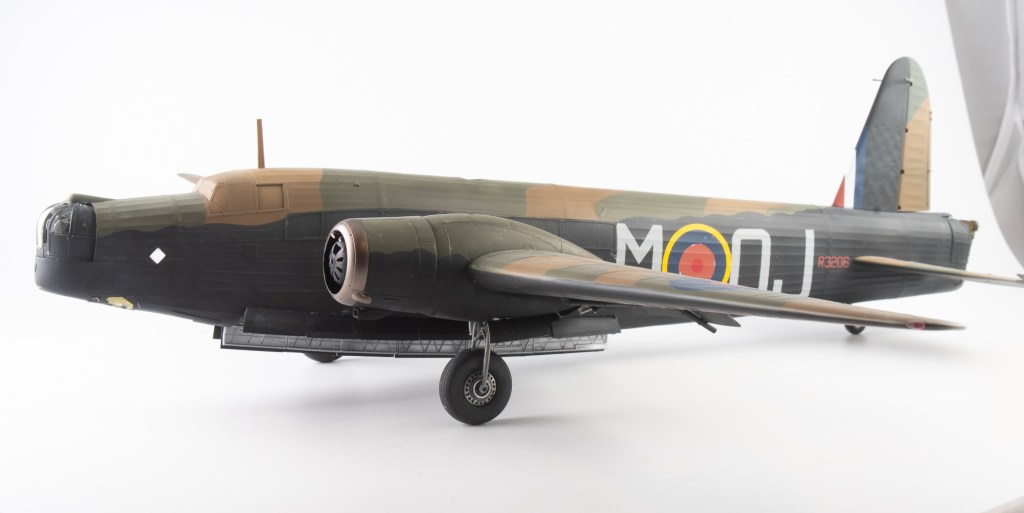
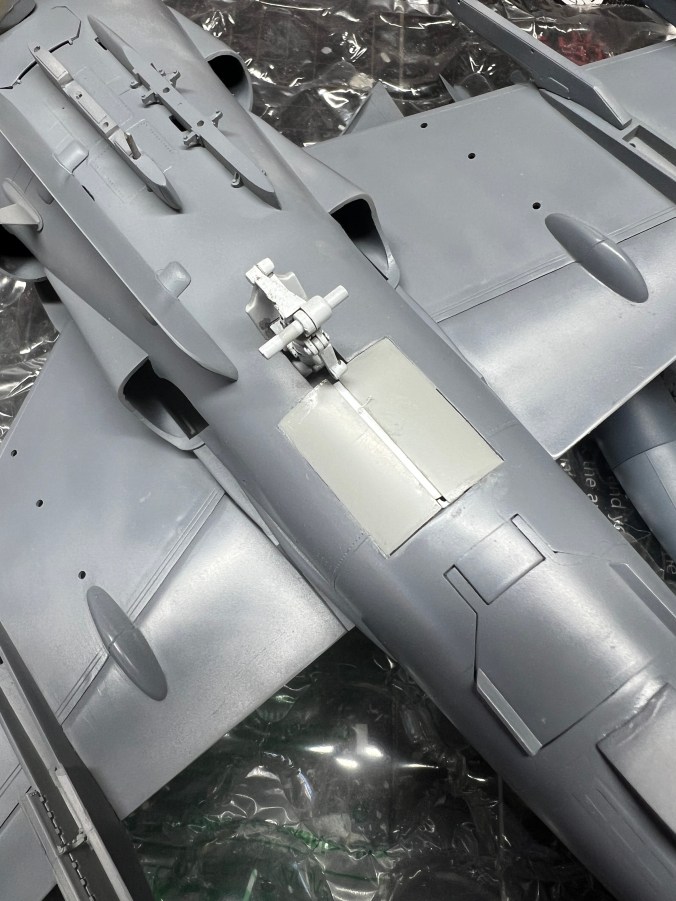
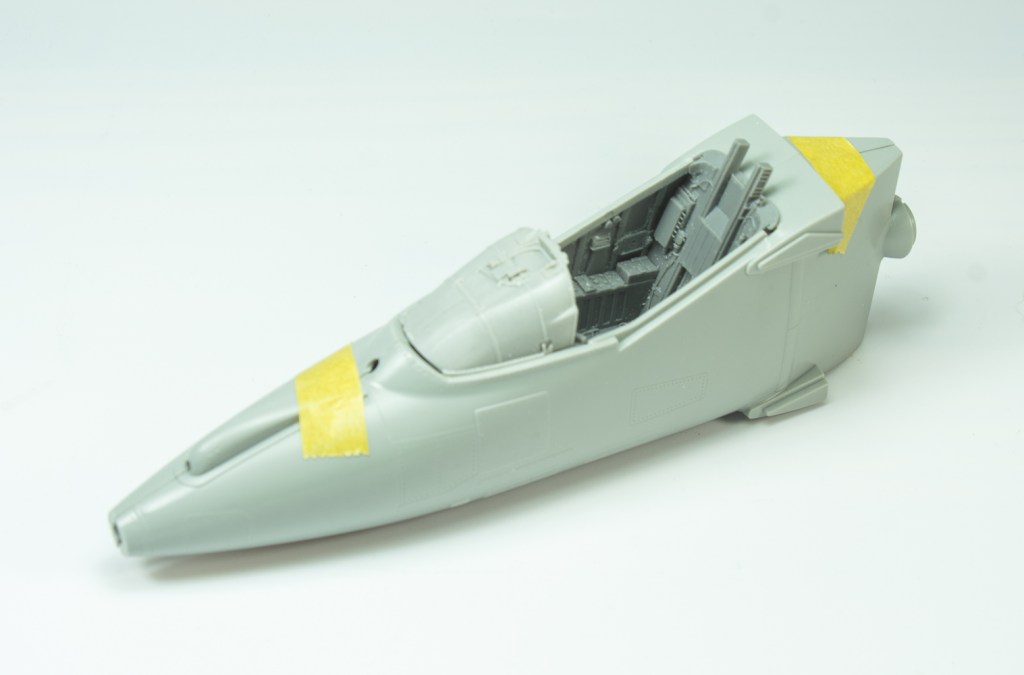
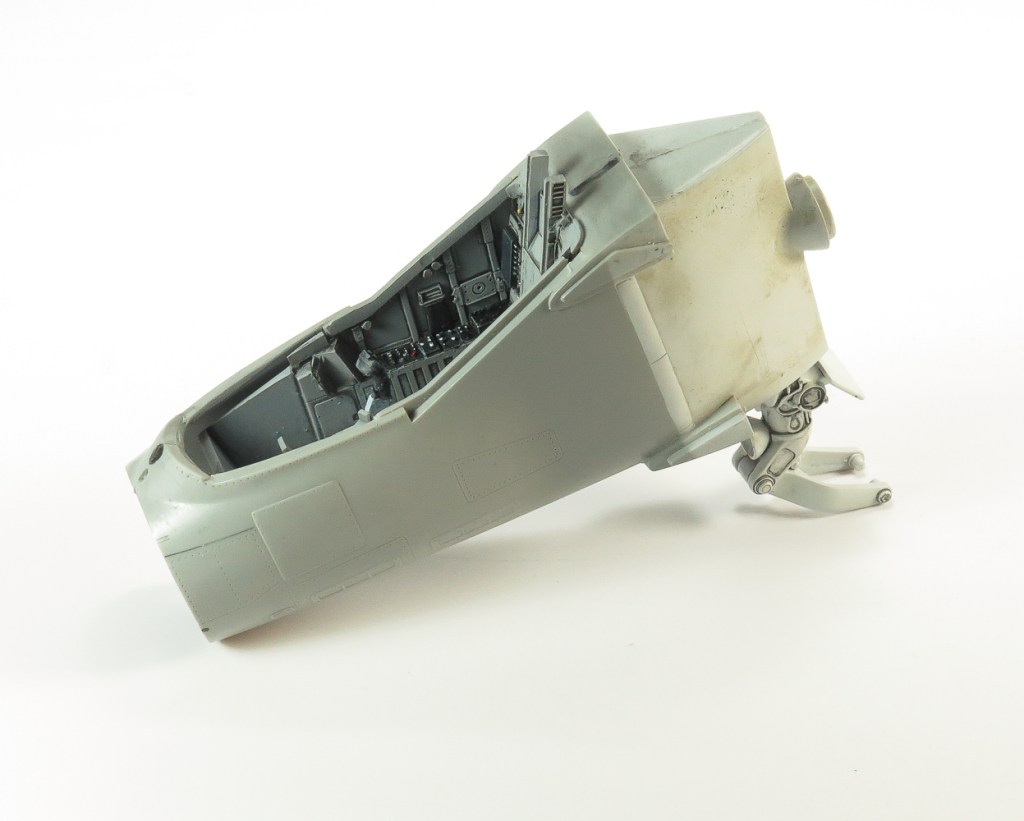
I would recommend that the turrets complete with guns are built as a whole rather than doing what I did, and leaving the guns out to be added later. This resulted in me having difficulty aligning them. The kit barrels were replaced with brass items at final assembly.
Aside from the ventral turret and rear ammunition runs, the complete interior was assembled , although not a lot of effort was expended in painting it as very little can be seen. Don’t forget to paint the underside of the front turret as this can be seen through the bomb aimers window. Trumpeter have not included a bomb sight, so one will have to be scratch built should you desire.
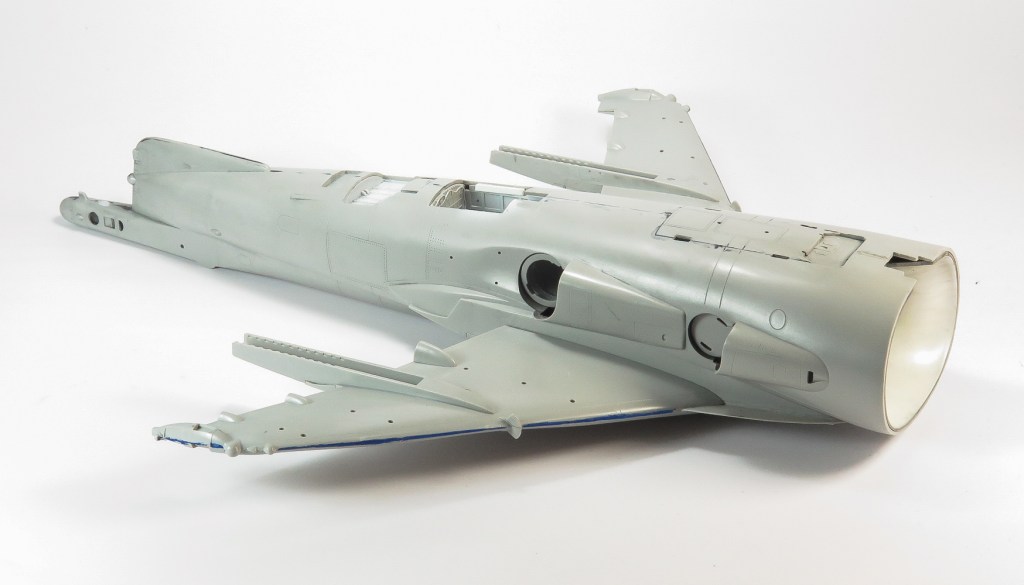
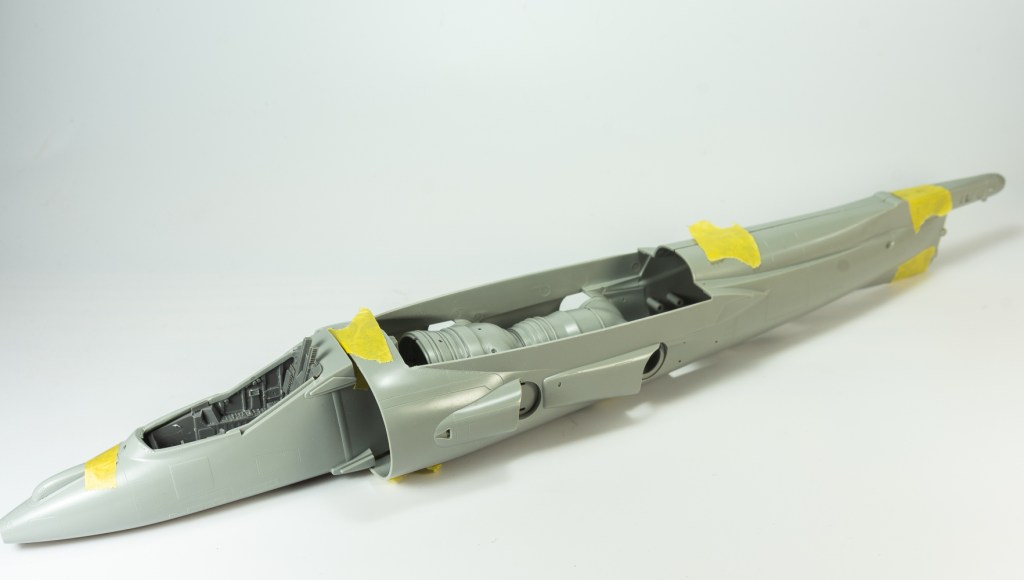
The engines assembled fine, just ensure you double check the instructions to ensure the parts are correctly orientated. Don’t bother with after market engines as you can see very little of the completed engines.
Why Trumpeter made the wheel well interiors from PE, is a bit of a mystery to me, but they must have been made by Bluescope Steel! Have fun removing them from the frets! I also took the precaution of drilling all the holes out so that the landing gear assembled easily. Apparently the wheels and therefore struts are too narrow., not something that bothered until me until found out, then it did!
Back in the day when this kit was first released CMK did resin wheel wells for it, but these have long since disappeared from shops (as has most AM for the kit). The kit rubber tyres needed to be dunked in boiling water to soften them enough to conform to the rims. Although I did have Brengun resin wheels, they were even narrower than the kit wheels so were not used.
The only major construction issue faced by me was, when locating the bomb aimers window, it was found to be wider than the fuselage cutout. This must have been me as the rest of the transparencies fitted like a glove. In the end a piece of clear CD cover and a shim were used to bring out the fuselage to match the bomb aimers window.
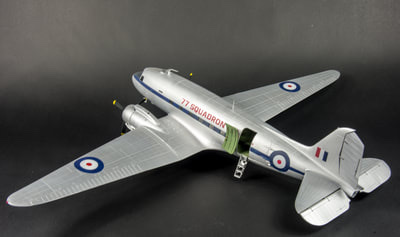
If you are reluctant to test fit the wings fearing, like the Tamiya Mosquito, they will never be able to be removed again, don’t be. The wings are a very sloppy fit, and hardly a friction fit to the support boxes, so can be slid on and off with carefree abandon. To attach these, you are best off using epoxy glue , ensuring the wings are level to get a nice solid fit. There were no gaps on my kit . The PE ?cable cutters were left off my kit as I could not find any photos of machines with them fitted. My references were the 4+ book and images from IWM website.
The Brengun flap interiors fitted nicely into the kit flap wells, once the required material had been removed. I do wish these companies though would engineer the flaps to fit far more solidly. Small glue contacts areas such as PE hinges just don’t cut it.

Painting and Decaling
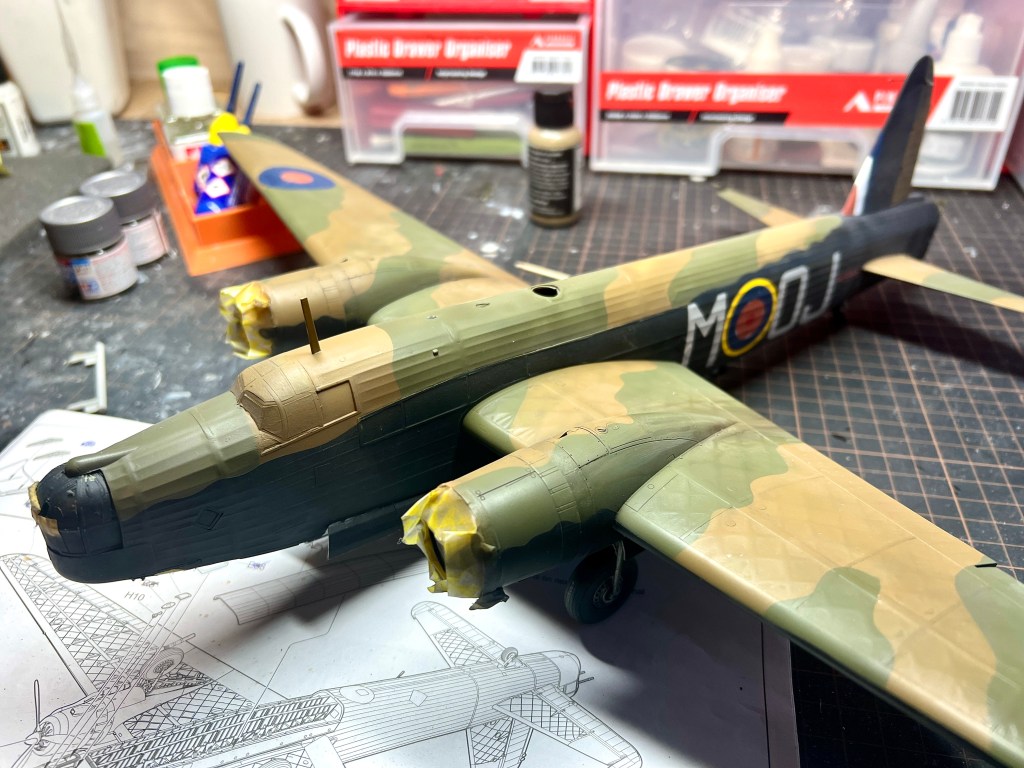
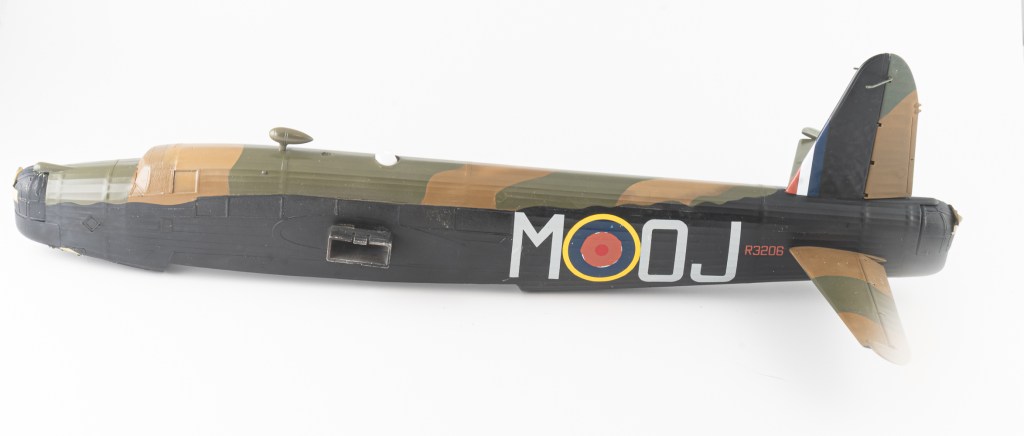
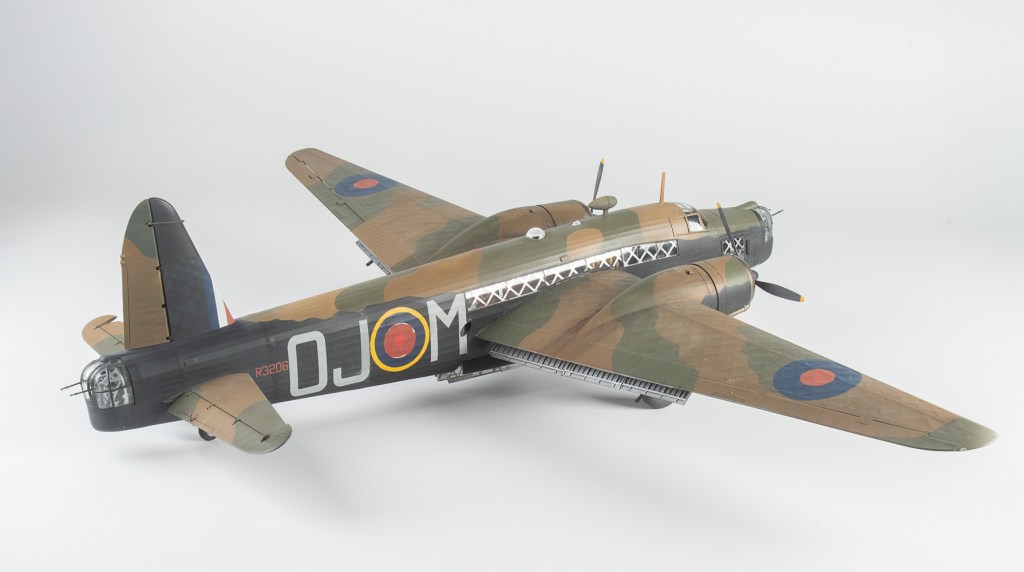
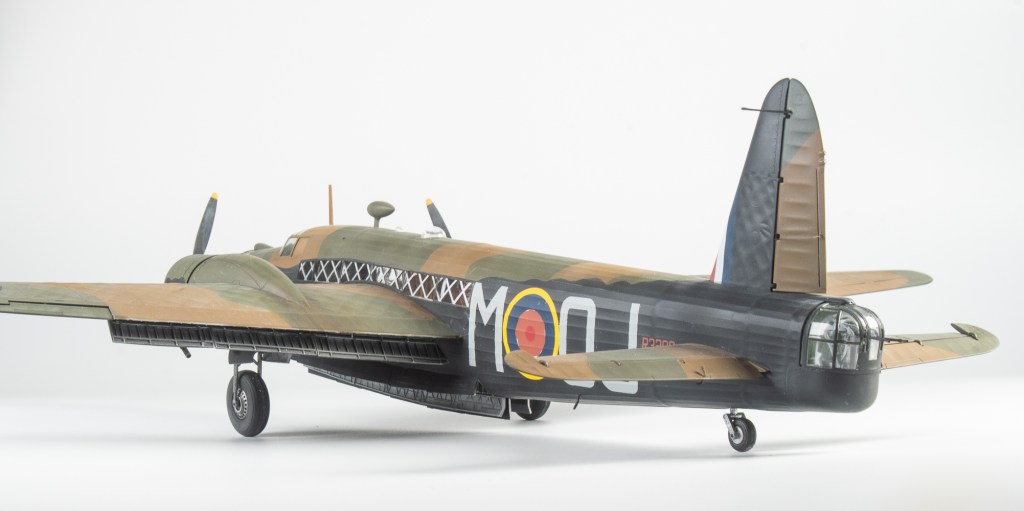
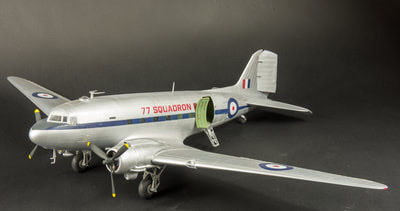
From the start, my Wellington was going to portray an early war bomber to pay homage to these early Bomber Command crews that starting taking the war to Germany just a few days after the Declaration of War. An early war scheme of overall DE/DG almost won out, but the toned down roundels on the Xtradecal sheet really appealed to me, bringing home these early attempts at toned -down markings, plus it had an early fin flash, replacement rudder and those lovely large codes. What’s not to like there?
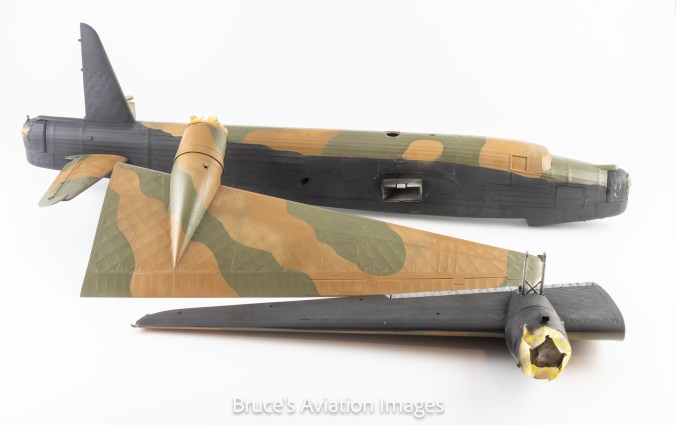
SMS Camo black is my favourite black these days, having a warmish brown tone to it. Over this was sprayed various shades of greys and other blacks such as NATO and Rubber Black. This was done through two different splatter type masks. Not forgetting to also do the flaps and bomb bay doors at the same time
For the top sides, LF camouflage masks were used with the Dark Earth being SMS, and the Dark Green GSI Gunze.. Darker and lighter shades of these colours were used to break them up. Oil paints were used to depict oil leaks and staining trailing back from the nacelles across the wings. AK Starbay sludge was used for this. A shade which in retrospect is far too browny -grey . I should have used black or Sepia
The Xtradecal decals performed well. As they are printed by Microscale, they really only needed the mild micro products to settle into any detail. As I had nil micro sol, I used Mr Setter, which was far too hot and damaged one of the roundels. It was repainted with a mask created on my silhouette machine.
Final assembly consisted of bringing the various components together and adding all the fiddly little details such as gun barrels, flaps, propellers and aerial mast. Oh! And the 30 separate bomb bay doors.

Conclusion
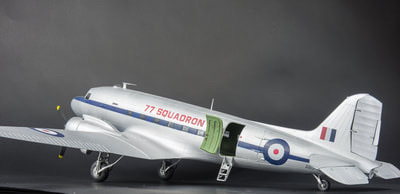
It’s a large model!
In the main, it was a fun build, let down by the very exaggerated surface detailing and some strange engineering choices such as the requirement to fit the turrets before closing up the fuselage
That aside, it was an enjoyable build, and most likely the only 1/48 Wellington we are likely to see, although back in 1975 we all thought the Tamiya Lancaster would be the only 1/48 Lancaster we would ever see!
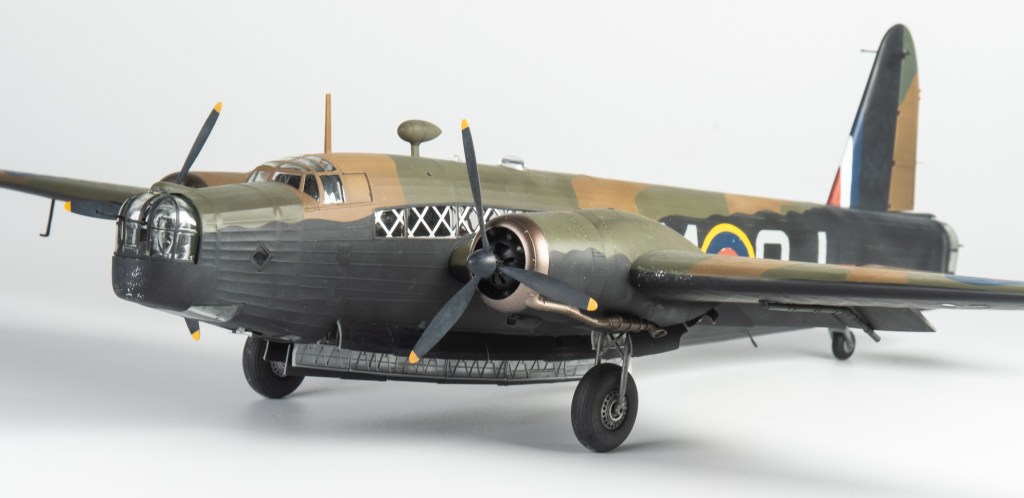
The Wellington has a lovely quaint ungainly look, belying it being one of the mainstay bombers of the RAF throughout the war. Im looking forward to the ICM Hampden joining it in the cabinet to represent Bomber Command in the first year of the war.
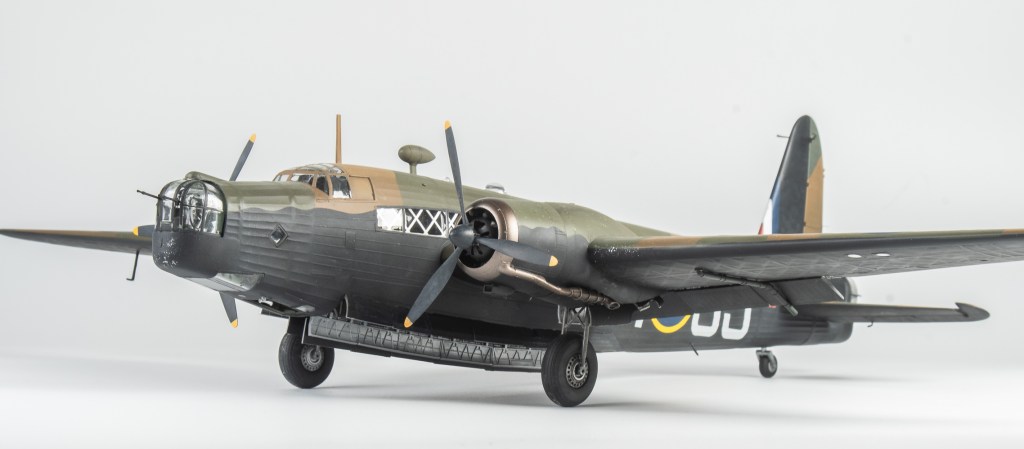
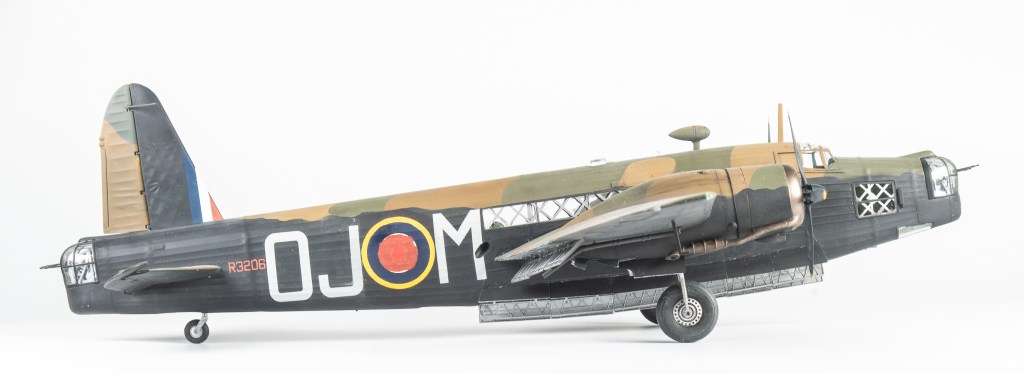
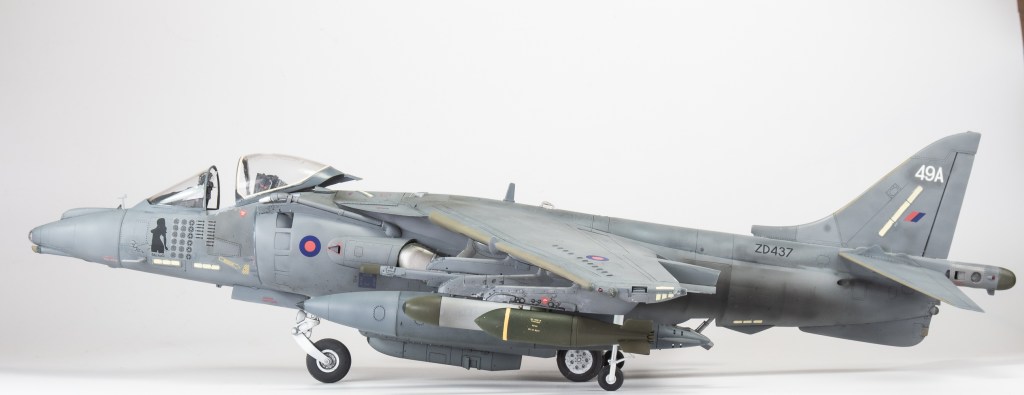
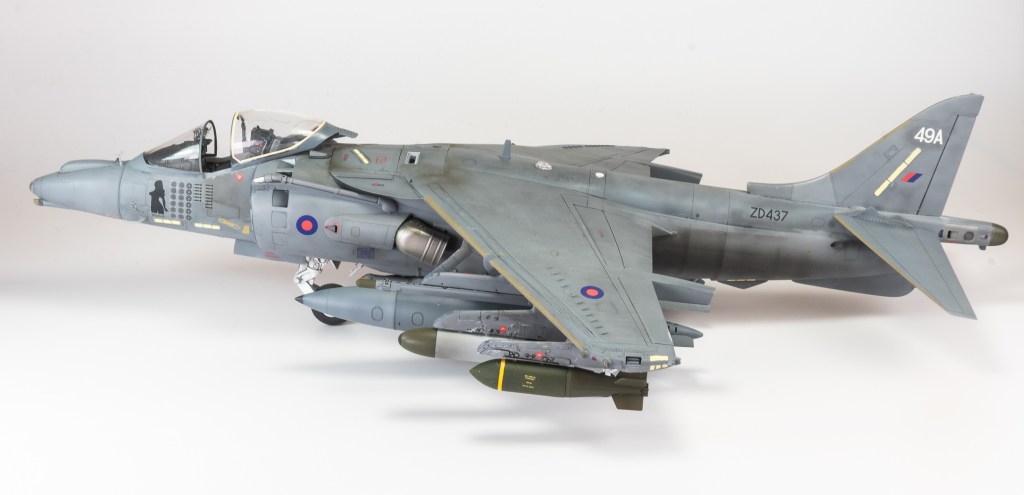
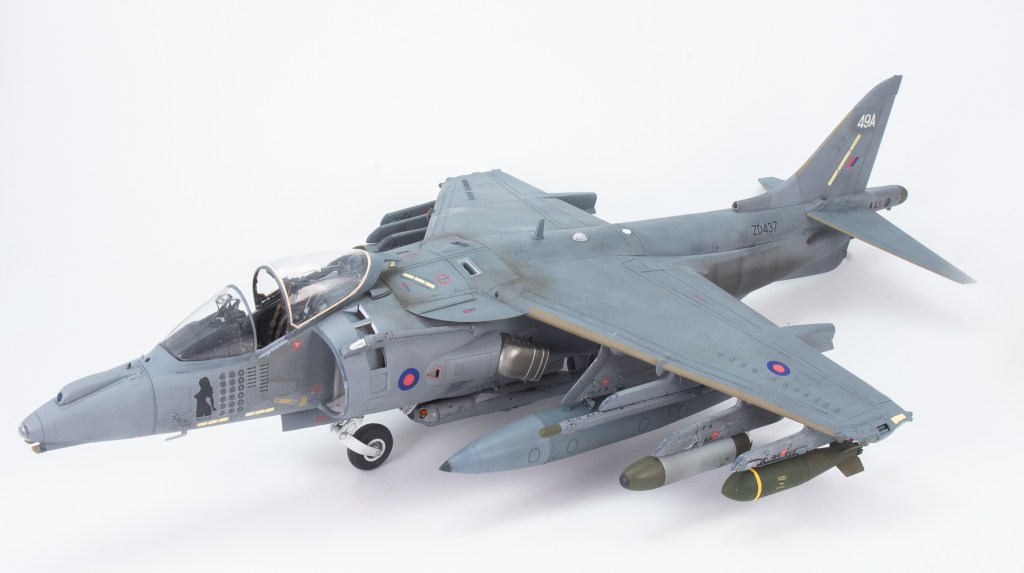
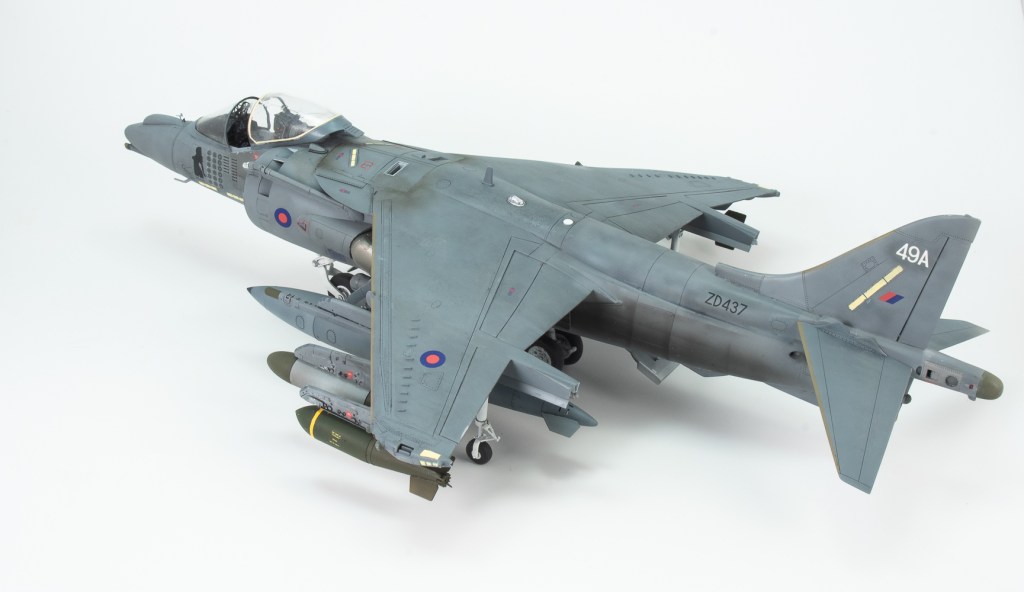
Vickers Armstrong Wellington Ic 149 SQN R.A.F Mildenhall UK 1940


Leave a comment