- Year Purchased: 2017
- Date completed March 2018
- Aftermarket used: Eduard mask set
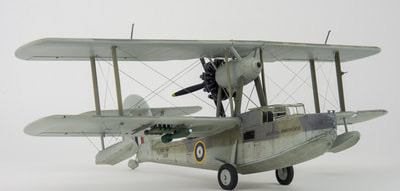
- Paint: Xtracolour Dark sea grey, Dark slate grey, FAA sky grey
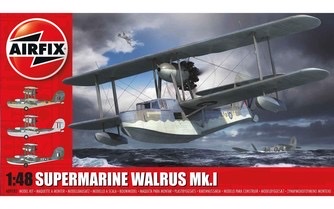
I had held off on getting Airfix’s new Walrus due to me having HPHs big resin 32 scale kit to build, however upon seeing a mate’s I just had to buy it. Not only that, I had to build it straight away!
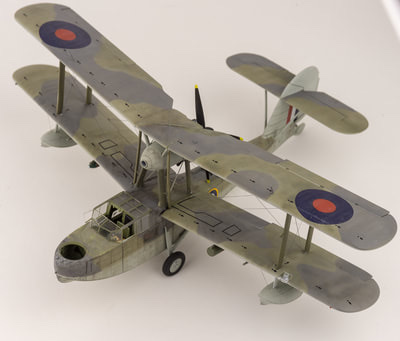
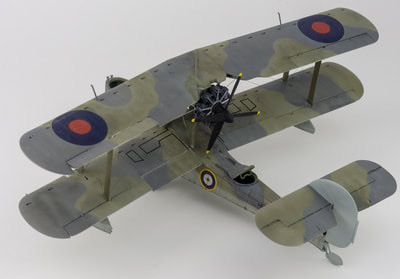
Airfix are really kicking goals with their new 48 scale kits, and this is no exception, with a fully riveted hull, stressed skin effect on the roof, a nice interior, and several options that allow you to model the wings folded or spread, canopies open or closed and wheels up or down
The model assembled well with good fit. I found it a thoroughly enjoyable build, well, until I got to the rigging!
Painting was done with xtracolours and all was good until I got to the rigging. A combination of super glue that had gone off and would not instantly set and not really knowing what I was doing sort of bought the build undone. Still, I got their in the end, better equipped to handle that wingnut wings kit I want to tackle this year.
Construction Notes
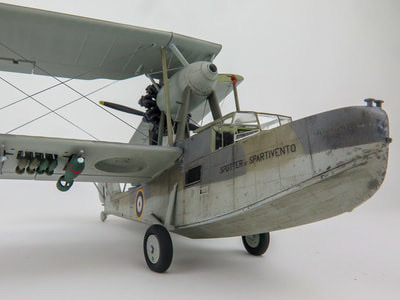
Although there are plenty of injection moulding pins present on the interior surfaces, you cant see any, apart from two in the extreme nose once the fuselage is together.
I elected to glue the roof to one side to better handle the joint as I could then attack it from both sides. Airfix have moulded some lovely surface detail into this kit so you want to reduce any need for sanding as much as possible
The centre “fan looking thing” needs all traces of the moulding seam sanded off before glueing between the two engine nacelle halves
I found the open cockpit a little too wide for the fuselage, although that could have been a fault on my part.
Back to my kit. I found when on its wheels the folded wing float dragged on the ground due to me not securely glueing the wing spar. At the last minute I decided to cut the spar off and have both wings extended, This is the wing with the aileron deflected up. I could not debond the glue join unfortunately, so I will just have to live with it.
An enjoyable kit, although the rigging turned it into a bit of a grind in the end.
Supermarine Walrus Mk1 700 N.A.S Royal Navy. H.M.S Sheffield