
- Built: 2012
- Aftermarket Used:
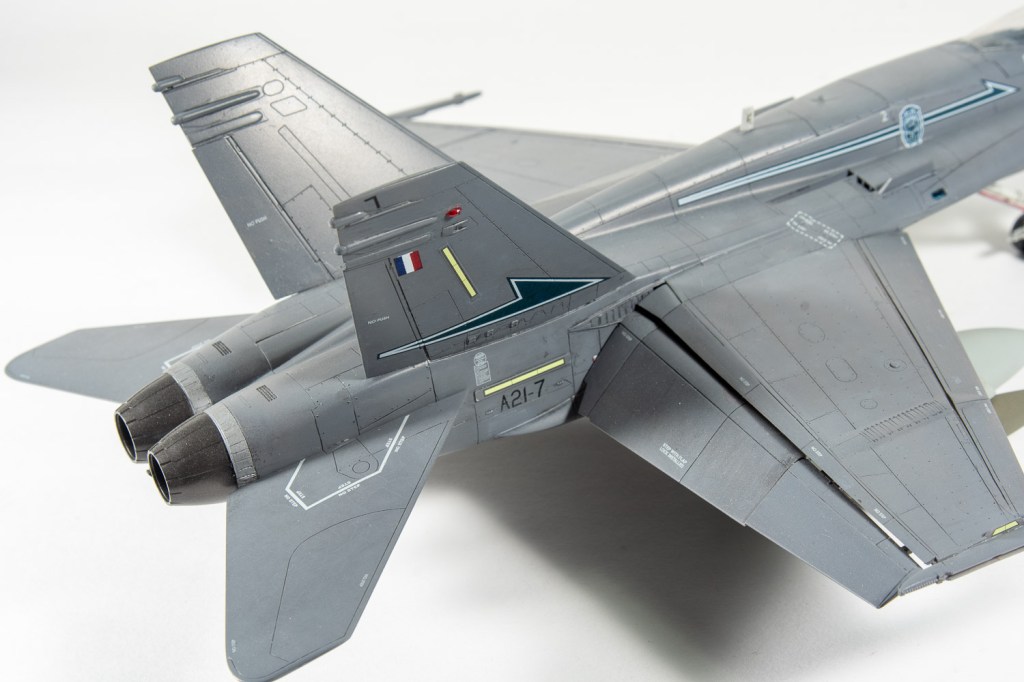
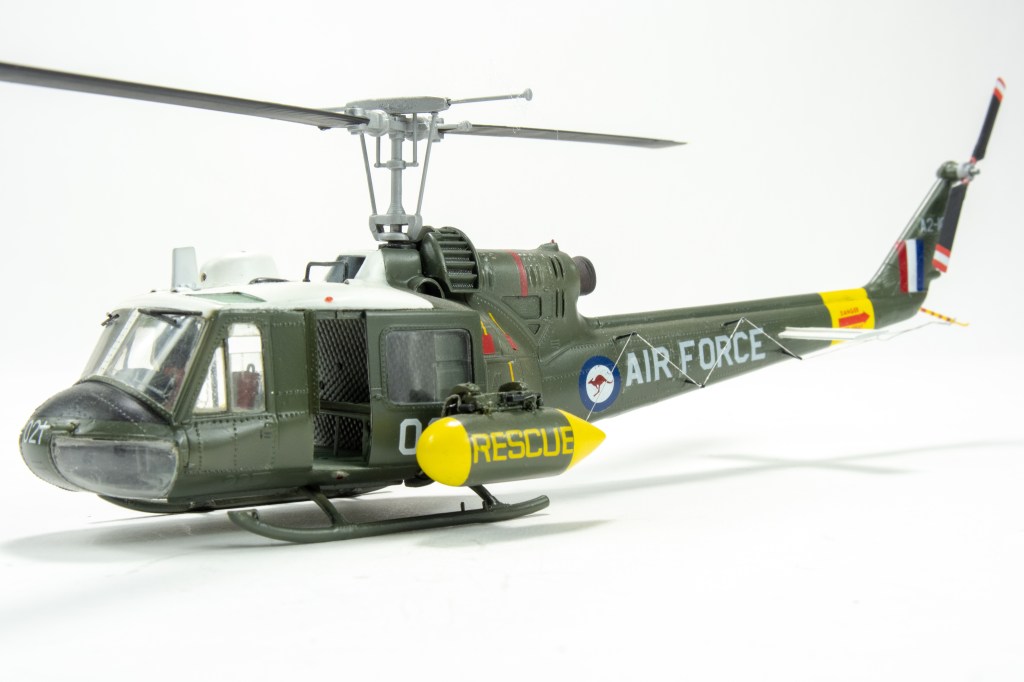
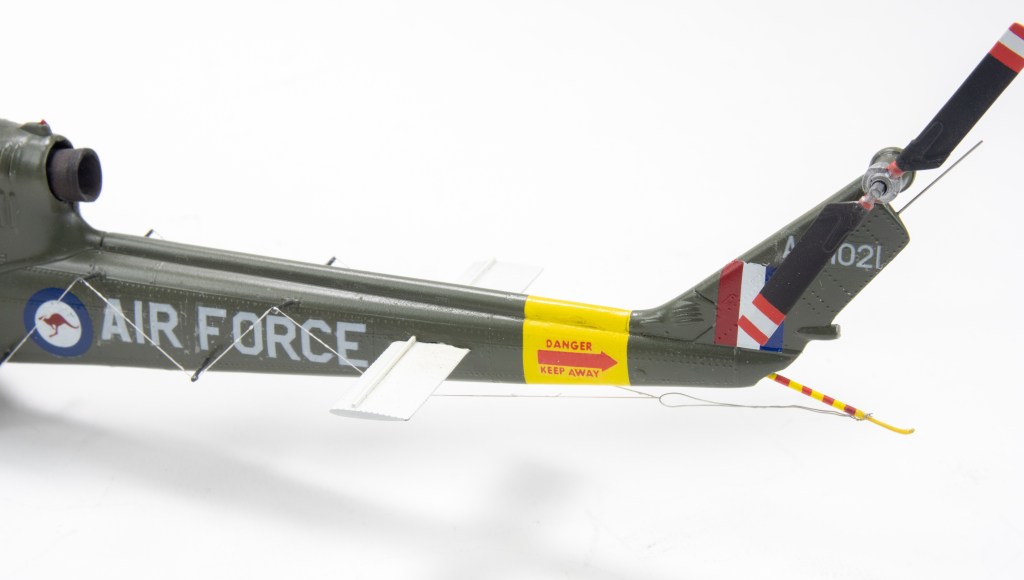
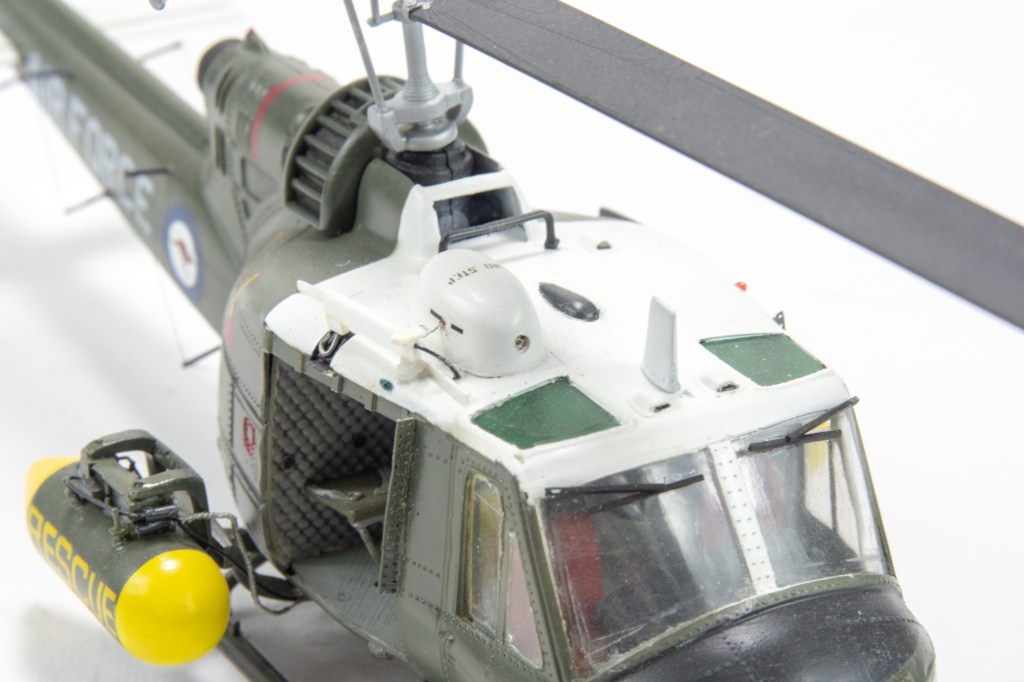
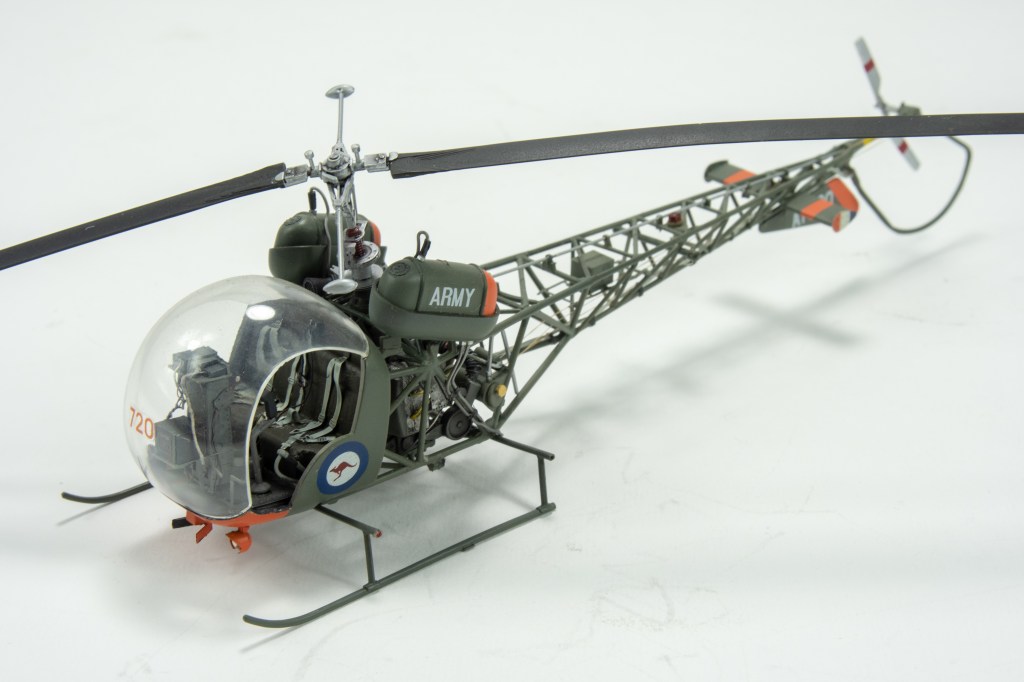
- Decals: Hawkeye Australia
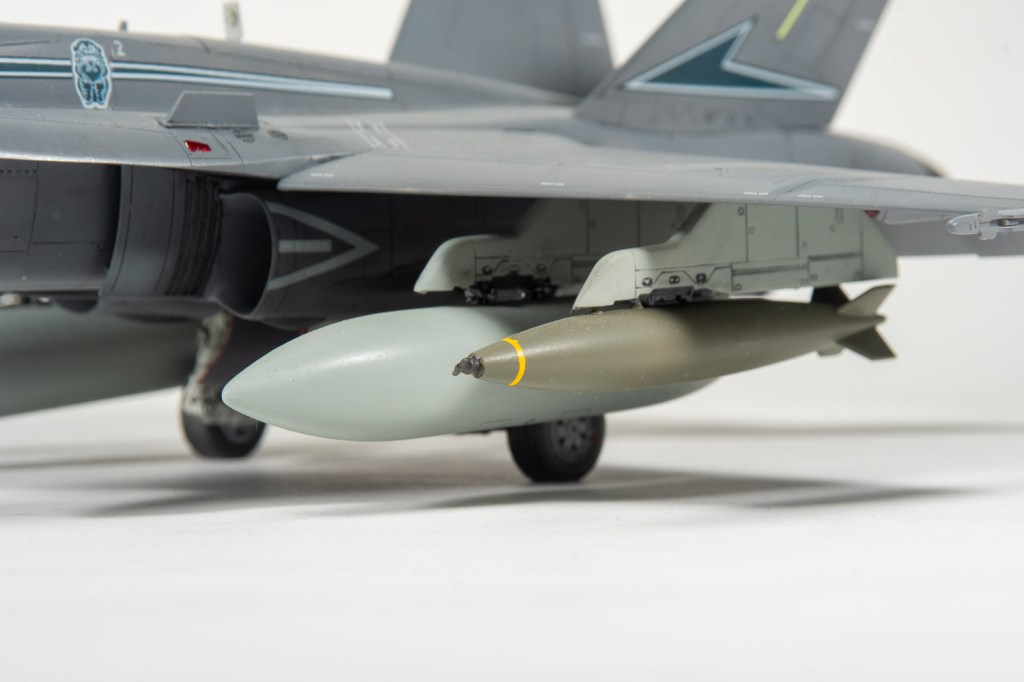
- Bomb: Hasegawa Weapons set
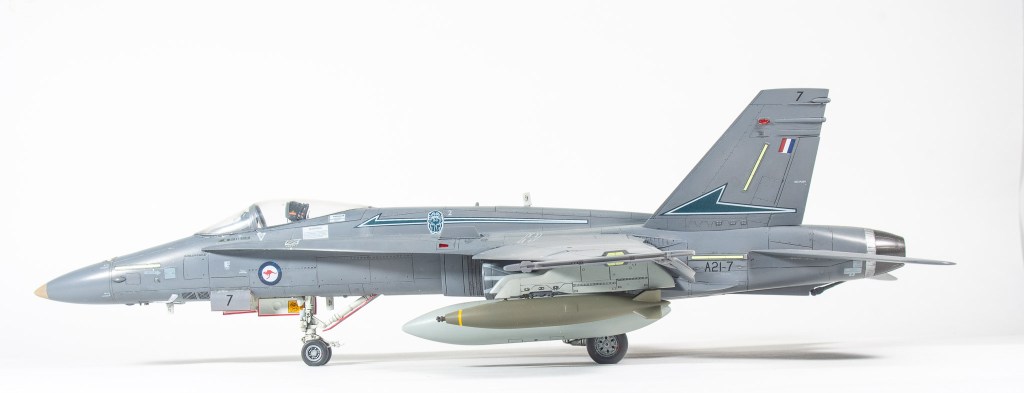
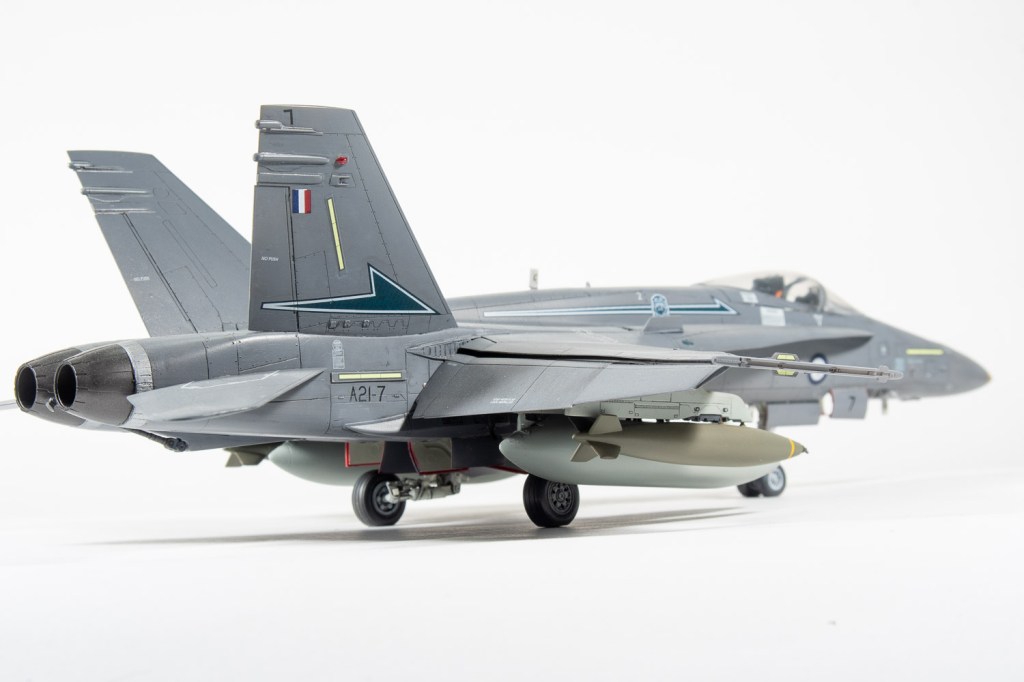
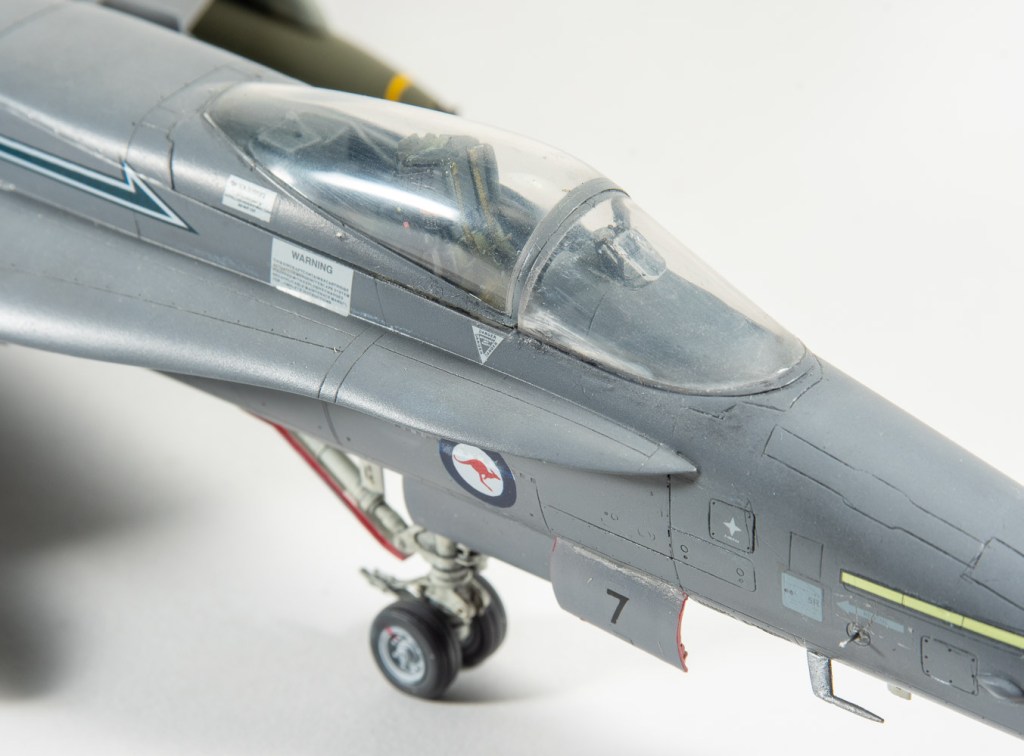
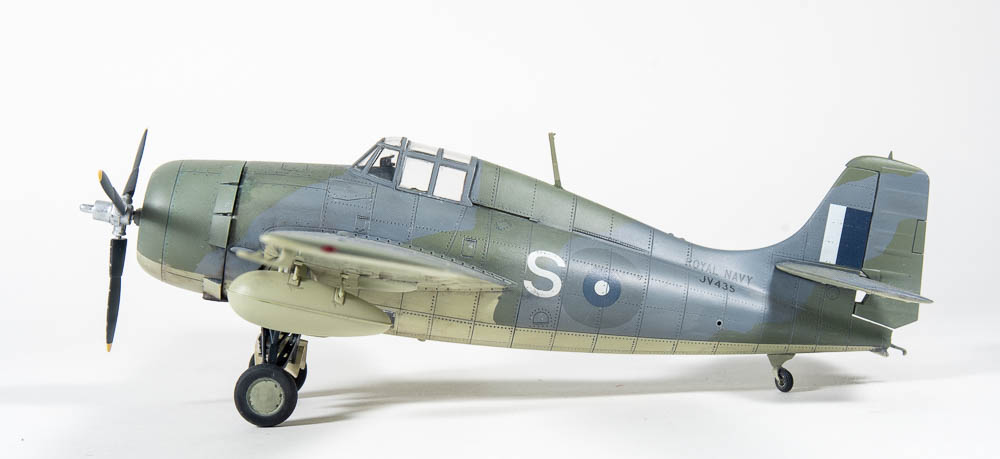
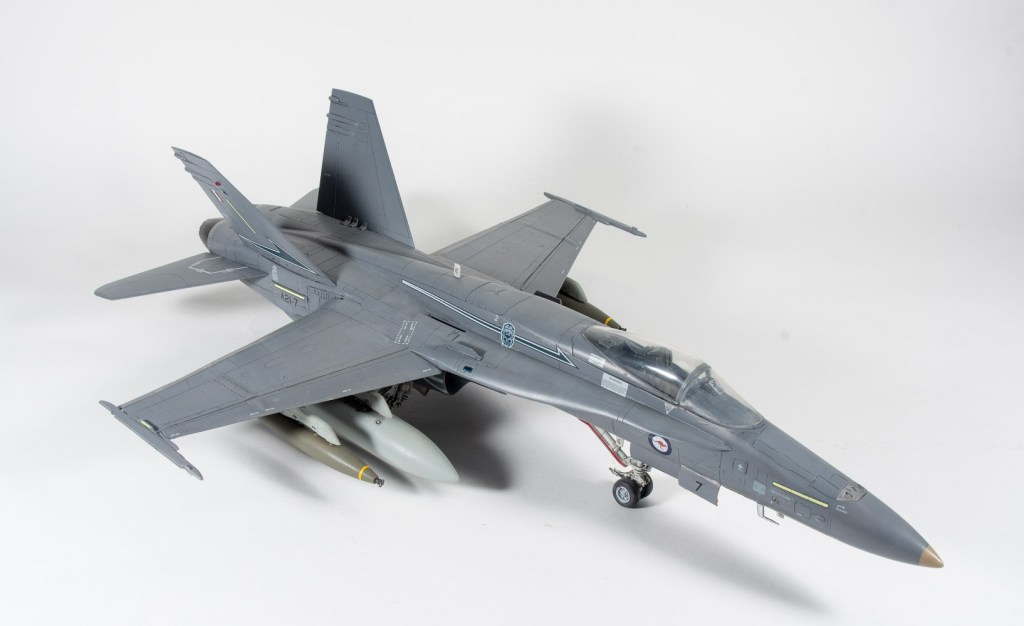
Theres not too much I can remember about this build, being as Im writing it up about ten years after completion. The gunship grey scheme the RAAF trialled appealed to me, and I thought it would make the jet stand out from all the other Aussie hornets you see.
In fact the jet standing out is why the RAAF did not go ahead with the scheme
Decals are Hawkeye decals which, although quite thick performed adequately. There are much better decals on the market now, although up to date markings for RAAF “Classic” remain rarer than hens teeth.
For some reason, even our own Australian decal manufactures can not come up with a decent decal sheet. The long OOP Afterburner sheet remaining the best out there still.
This model no longer remains ion my collection having been sold off in 2021. I will replace it with a hopefully better RAAF Classic Hornet build sometime in the future.
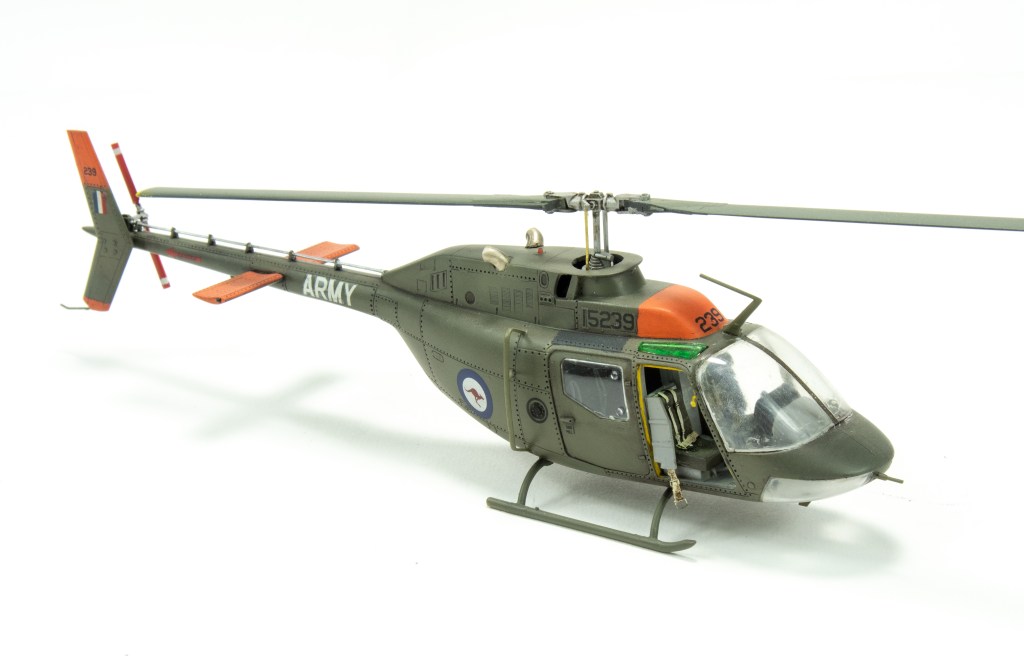
McDonnell Douglas F-18A Hornet 77SQN R.A.A.F Williamtown Australia